
A desperate father, a missing girl, and a simple investigation - but nothing is ever simple. As you peel back the layers of mystery, you uncover a dark god, vile sorcery, and a malevolent cult set to unleash horror upon the land... Horror in the House of Dagon is an enthralling and exciting adventure, with lots of role-playing, exploration, and horrifying combat encounters! This adventure is designed for 1st-4th level characters, and will take 3-6 hours to complete.

Somewhere in the region of Thesk, at the small village of Amaranth, a despicable night hag has taken residence in the farmstead of a native family. There, she devised a malicious magical disease called Lungsprout and intends to infect the unsuspecting villagers with it, using her deceptively aromatic candles. As if that wasn’t enough, she has created a powerful servant, a cross between a golem and a homunculus. She aims to slowly but steadily wipe out the entire village, and use the villagers as fuel for her hideous experiments. The players will have to rush against time and investigate the village, finding clues that will eventually lead them to the night hag herself. Will they be able to save the villagers and destroy the hag and her abominable creations?

Blinsky's Toyshop is our take on what happens to Blinsky and Piccolo during, or after the Curse of Strahd campaign. Blinsky, the toymaker in Vallaki with the cute monkey wearing a pink tutu, received a large inheritance from a long-time client. The client, Obtavius Swat, a retired adventurer and avid collector of toys, left his entire estate to Blinsky. The estate included coin, precious gems, art, and his collection of toys, some made by Blinsky and others he acquired during his travels. Blinsky used the fortune to pay a wizard to create a small island in the middle of Lake Zarovich, located just outside of Vallaki. He then paid masons and workers to build a fantastic new toyshop, which he designed to be an experience for both the young and old alike. Though the number of children in Barovia was increasing, mostly imparted to the devil Strahd’s downfall, Blinsky wanted to touch the inner child of the adults in the city. He wanted happiness. He wanted smiles. He named the castle Blinsky’s Toyshop of Marvels. One of the toys, a small silver tiara kept in a black satin-lined ivory jewelry box, was such a lovely piece. Blinsky couldn’t stand the thought of leaving it in the box. He already had enough gold and losing the small tiara wouldn’t be a large loss, so he decided to give it to his monkey – Piccolo (see Creatures of the Toyshop). He smiled at the thought of her running around in her pretty, shiny tiara. Sadly, as Barovian luck would have it, trapped inside the tiara is the sole of an evil gnome wizard named Aribetha Strangge. In his old age, Obtavious Swat forgot that he and his fellow adventurers used the tiara to imprison the gnome’s soul. Yesterday, when Blinsky placed the tiara on Piccolo’s head, silver tendrils cascaded from the tiara and into poor Piccolo’s skull, allowing Aribetha to control the monkey. Now, Aribetha has incapacitated Blinsky in the toyshop’s tower, brought many of the toys to life, and imprisoned or killed many of the workers and customers. The adventure includes costumes (which the character may wear), Strahd Hand Puppets, and a possessed Piccolo.

Beware the Druid's Curse... — Once a popular hunting lodge nestled in the Neverwinter Wood catering to avid hunters, Owlbear Lodge has been a forgotten location that Lord Neverember wants to reclaim. Its owners can’t be located, and a recent expedition team sent to the lodge hasn’t returned. Lord Neverember asks the adventurers to find the lodge, locate the missing expedition members, and clear out the establishment of any unwanted riff raff or creatures so new proprietors can reopen it, increasing tourism to the Neverwinter Region. What no one knows is that the original proprietors broke a contract made with a druid who guards the forest. This broken contract led to the demise of one of the owners, and many of the guests. Now, the overgrown an unkempt lodge is infested with strange creatures. What’s worse is that the adventurers themselves may succumb to the druid’s curse as they investigate the lodge. Product Details — ♦ 2- to 4-hour adventure for three to five characters ♦ Scalable for 1st-6th level ♦ High-quality map of the Owlbear Lodge ♦ New undead owlbear and porcupine statblocks ♦ Set in Forgotten Realms, but easily adapted to other settings

Ages ago, the tower stood as a bastion against banditry and marauders. But civilization has long since retreated from this area, and a band of goblin thieves has taken up residence in the ruined tower. Local woodsfolk beg the PCs to rid the place of the bandits before they are victimized again by the goblins of the Broken Tower. Pgs. 18-23
One Night Strahd (ONS) delivers the spectacle and catastrophe of gothic horror as a consistent and fast-paced short campaign for D&D 5e. It condenses and remixes the 200+ hour campaign of Curse of Strahd into a replayable adventure weighing in at 525 pages with 150+ illustrations, 12 maps, 16 encounters, 27 new magic items, and 60+ quick-play charts. With careful attention to the design of exploration, combat, and role-playing opportunities, our goal has been to make something for every DM and every table. After three years of extensive testing, we're proud to share this explosive adventure with you.
We get it. Factions are an integral part of D&D, but it's not always clear how to use them in your campaigns. Luckily, Factions of Sigil has you covered for each of the twelve main factions found across Sigil and the Outlands! This supplement goes over the various rules and lore around the primary factions found in Sigil and the Outlands, making it easy for any new or veteran DMs to integrate the factions more into the core stories being told, and making them feel more useful for the players that choose to join. A cult of star spawn has popped up in Sigil, and the Hands of Havoc have asked the characters to destroy it.
This is an adventure for a party of level 4-6 designed to showcase a number of newly created Oozes in the Beyond the Black Pudding compendium. The party is brought in to help figure out what to do about a giant ooze that is threatening to engulf a small town. They discover that it is being called by a magical beacon somewhere nearby, and by following a small ooze they are able to find where the signal is coming from. It turns out to have been set off by The Visionary, an intelligent Vitreous Humor (a kind of ooze beholder) with dreams of power who discovered it in an ancient temple to Juiblex. Unfortunately, having turned it on, The Visionary had no idea how to turn it off again and is now barricaded in the depths of the temple, assaulted by oozes on all sides.

A mystery scenario involving exploration of a drow archmage's tower while trying to solve the mystery of his involvement to the latest rumors of kidnapings in the nearby town. Benevolent academic or vile predator? The good people of Fern do not seem to agree these days about the nature of the owner of the iconic Dusk Tower. With a supporting cast that includes an innkeeping druid, a scorned sculptor, a belittled apprentice, an invisible butler, and a mysterious tower basement the heroes are sure to have their hands full. Can they uncover the secrets of Dusk Tower before it is too late?

A storm of unparalleled fury has been ravaging the peaks of the Earthspur Mountains for a tenday, and the Monastery of the Yellow Rose sits in its eye for now. Some monks have fled the monastery to the safety of Mulmaster and beseech you to convince their more obstinate brothers to retreat to the city before the eye of the storm shifts, and the monastery is in terrible danger. Can you brave the elements and convince the monks to escape? An eight-hour adventure for 5th-10th level characters.

Uncover the curious tale... When the party are shipwrecked they take shelter in an old forgotten cottage. They soon find themselves uncovering the mysterious death. One thing is for sure, they are not alone... Back to the sea is a 3-5 hour one shot, recommended for Level 3-4 adventurers. It offers a refreshing and different look at Ghosts in D&D. Contains 3 beautiful original digitally illustrated Maps. Unique Monsters and interesting combat scenario. Encourages player creativity and problem solving. Screen reader version.

In Necromancer’s Last Stand, your high level party is placed into the middle of a several decades old conflict. A new plan has developed as the forces of good begin to make headway. Called to the general’s tent you and your associates are asked to accept a hazardous ‘end around’ move to attempt to take out the evil leader. The way will not be easy and a plethora of challenges lay between the general’s tent and victory. There will not be attack and retreat opportunities and you know you’ve only got one shot at ending the violent conflict.

Rumor has reached your ears that the legendary Amulet of Rafael is in this region. Further investigation has revealed that a reclusive nobleman in the north called Xantus is currently in possession of the item. While details are sketchy about the item, it is well known that quite powerful in the hands of a mage. You decide that you will go north and locate the “Ice Lord” and see if he is willing to part with the item.
Provost Faurious has procured an Aethervane, an astrolabe-like instrument tied to Kythri that's used to navigate manifest zones. Unfortunately for the Provost, the Riedran ship that was carrying the Aethervane across the Sea of Rage to deliver it to their agent in Regalport fell victim to piracy. The player characters are dispatched to Regalport to meet up with the Provost’s agent there and petition High Prince Rygar for more information about the stolen cargo. When the characters dock in Regalport, they meet the Provost’s contact and are ushered into a meeting with High Prince Rygar. Wishing to show his intolerance for piracy, Rygar charters one of his own ships for the party’s use as they investigate the stolen cargo. Upon arriving at the crash site of the stolen cargo, the party is set upon by a fleet of pirates known as the Wind Whisperers. When things turn sour, a new surprise reveals itself as an unnatural storm rolls in, a stolen airship at its heart. The Wind Whisperers have found a way to convert the Aethervane to serve their own purposes. Seeking aid from Rygar and House Lyrandar, the heroes chase after the pirates by sail and airship. As they do, they are bedeviled by the Chaos Fleet—strange ships sailed by an even stranger crew that are drawn to the Aethervane and the chaos it brings. In a final airborne confrontation, the party boards the rogue airship and retrieves the sought-after artifact, with a chance to salvage or sink the stolen vessel in the process…
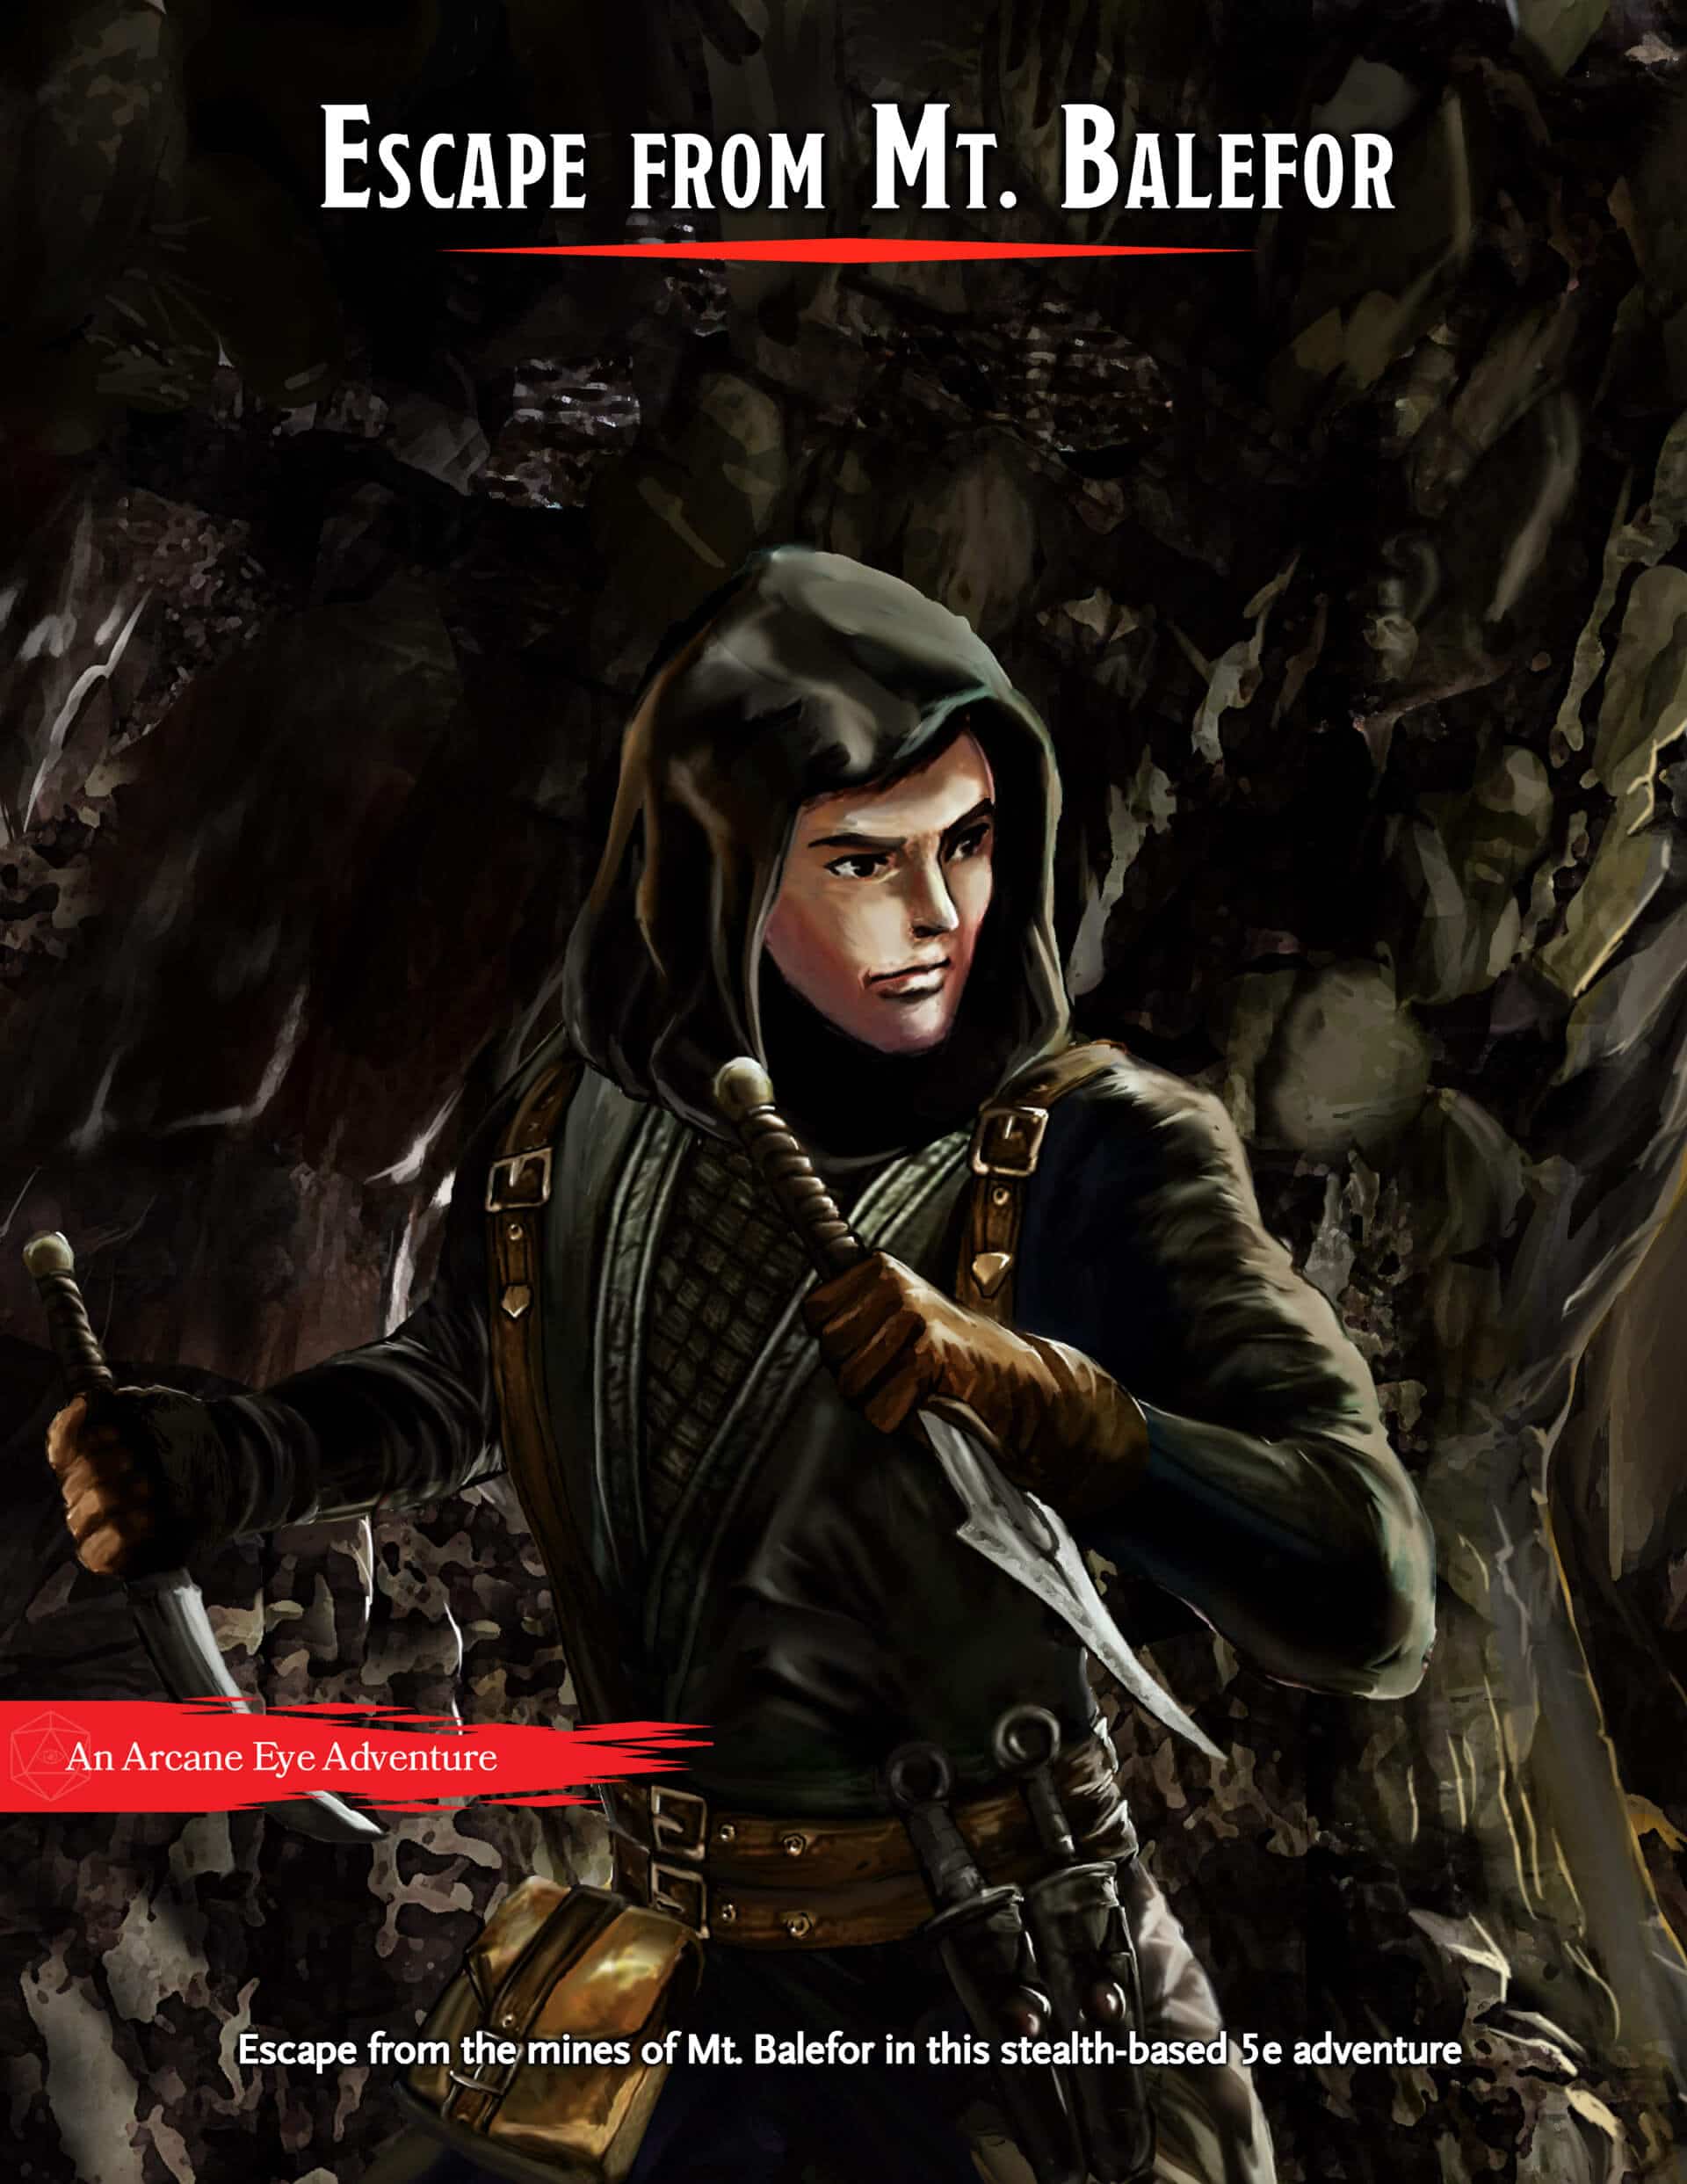
What’s Included Escape from Mt. Balefor is a self-contained 8-10 hour adventure for three to five 5th level characters. This premium module contains a full three-part story, battle maps, and NPC stat blocks. Your Mission Your party of Wood Elves will start in the mines and have to sneak and backstab their way to freedom. There are a number of chances to choose your path, whether you plan to avoid fighting or want to kill every last High Elf in the mines. There will also be a number of ways to affect the world around you if you choose to continue the story after the party escapes from the mines.
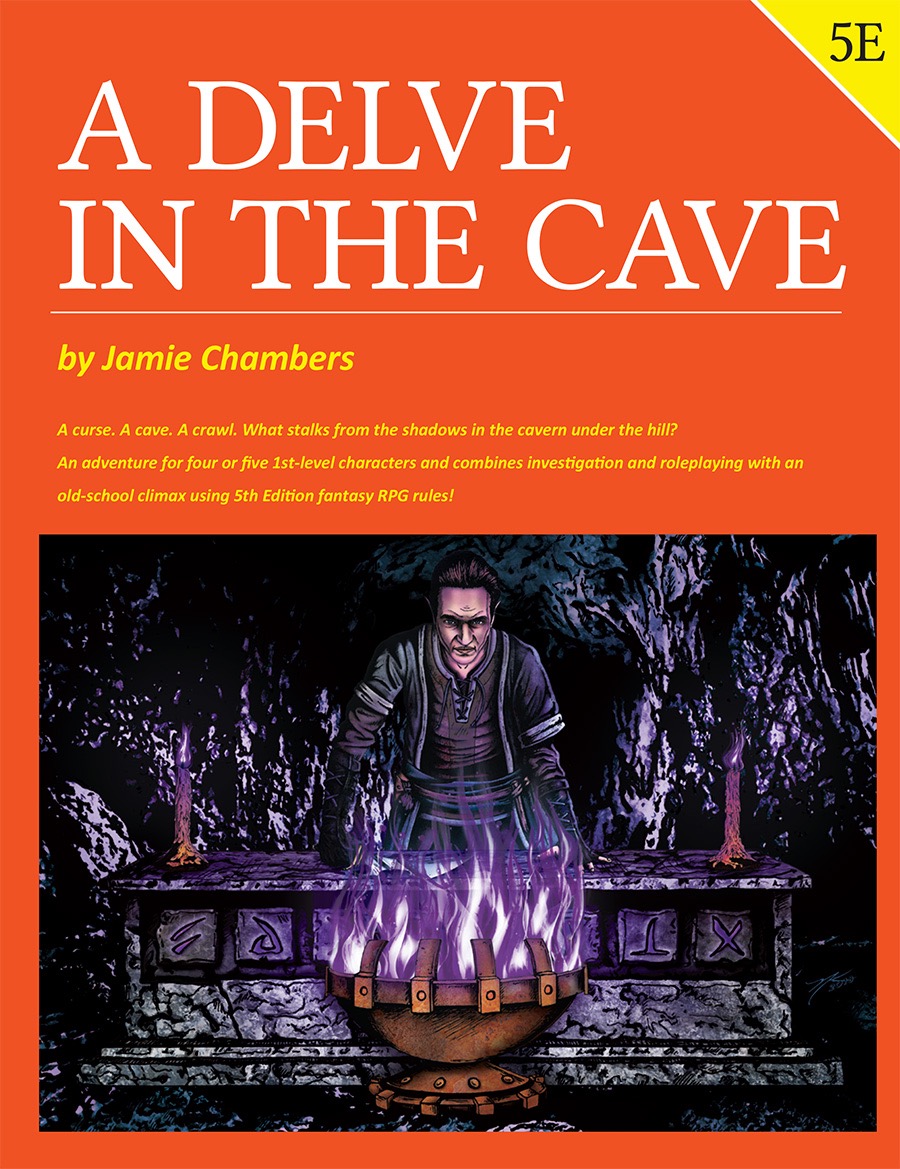
Something lurks in the shadows inside the caverns under the hill called Brin Brenin. Ancient enemies of mankind have returned for revenge, starting with the tomb of a long-forgotten hero. Somewhere inside are answers to forgotten questions, deadly monsters, and hidden treasures.

The Jail of Gundavold is a scenario designed for a solo player but adjustable enough for a party size if needed. After a foray into the wilderness Ruins of Borgdell, you found yourself ambushed with a bag tossed over your head. After a grueling trek across uncertain terrain you find yourself in jail. Are you smart enough to get yourself out of this mess?

The Cave on Foggy Hook is the first of three connected adventures in the village of Hookholm and is aimed at busy or first time Dungeon Masters. This adventure is designed for 3-5 1st level characters and can be played in a single 3-5 hour session excluding character creation. In this adventure the party will find themselves in Hookholm, a small coastal village rebuilding after a devastating storm almost wiped it off the map. The village is located on the inner curve of the Foggy Hook, a spit of marshy land jutting into the Grey Sea. Beset by the sort of calamities that new adventurers will be able to sink their teeth into and will offer opportunities for roleplaying, puzzle solving, exploration and combat. Includes 5 maps in a number of variations, a brand new monster in the vicious Kuo-toa Feral, and a new chase complications table for chases through swamps or marshes.
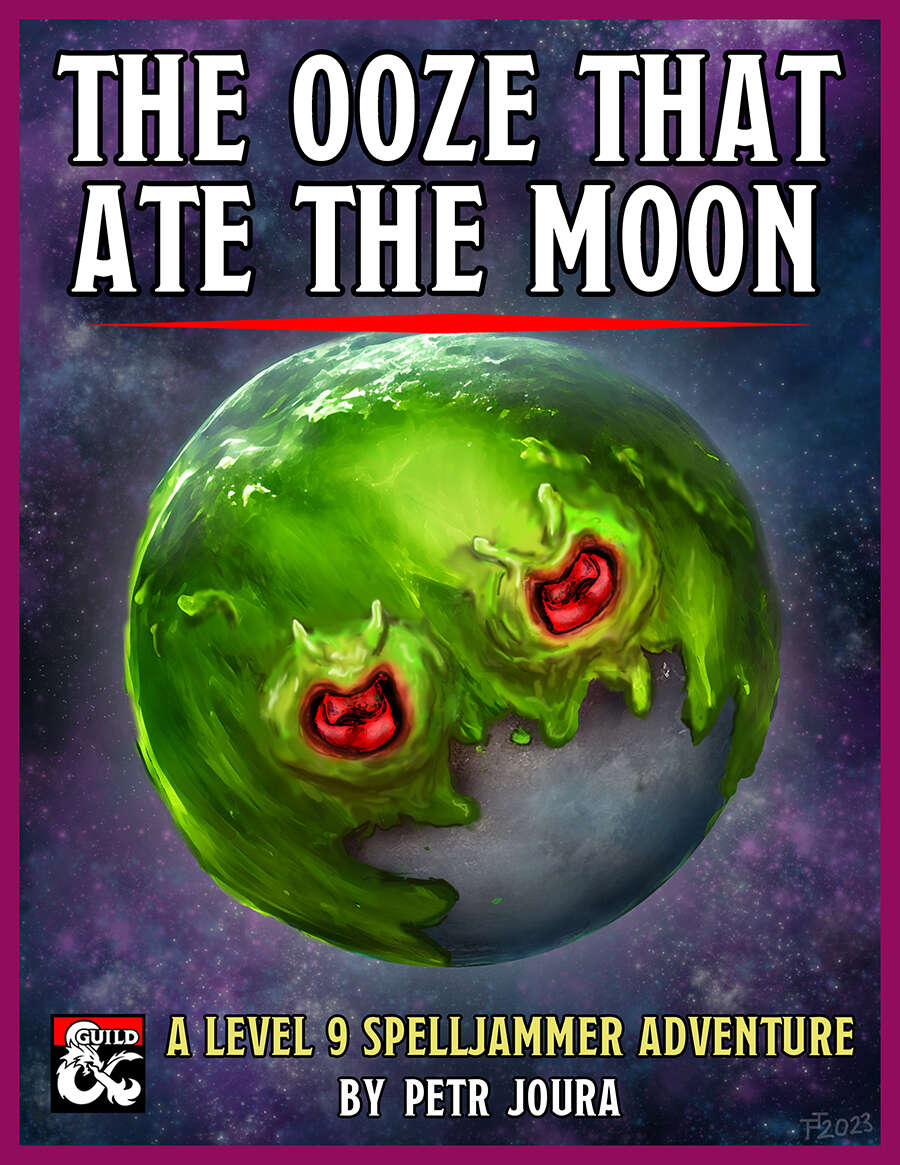
The moon is turning green. A colossal tide of green slime has begun to engulf it, threatening to dissolve it entirely. As it does so, a tide of demonic madness begins to engulf the lands below. As the green shadow flows across the night sky, the world turns mad. The source? An insane cult of plasmoids dedicated to Juiblex, the demon lord of oozes and slimes. Soon the moon may be gone, the first part of a mad plan to dissolve the multiverse into the primordial slime of the Abyss. If only some heroes could appear before it’s too late... The Ooze That Ate The Moon is 5th-edition Dungeons & Dragons adventure based on the Spelljammer campaign setting. It is an investigative high-orbit pulp thriller paired with the wacky zaniness of Spelljammer, and every playthrough is likely to be different. It is designed for four 9th or 10th level characters and to be run in 3 to 6 three-hour sessions, or 2 to 3 longer sessions. It can be run as multi-session one shot or as part of an ongoing campaign. It fits perfectly after the events of Light of Xaryxis, but is written so as to be easily incorporated into any non-Spelljammer campaign. It requires the 5th Edition Spelljammer boxed set to run. Gameplay is based around investigation and roleplaying, with a good smattering of combat in the later acts. The climax of the adventure presents the players with a problem that has no clear solution. They’ll have to use all their wits and resources to overcome it, but can they do so in time?
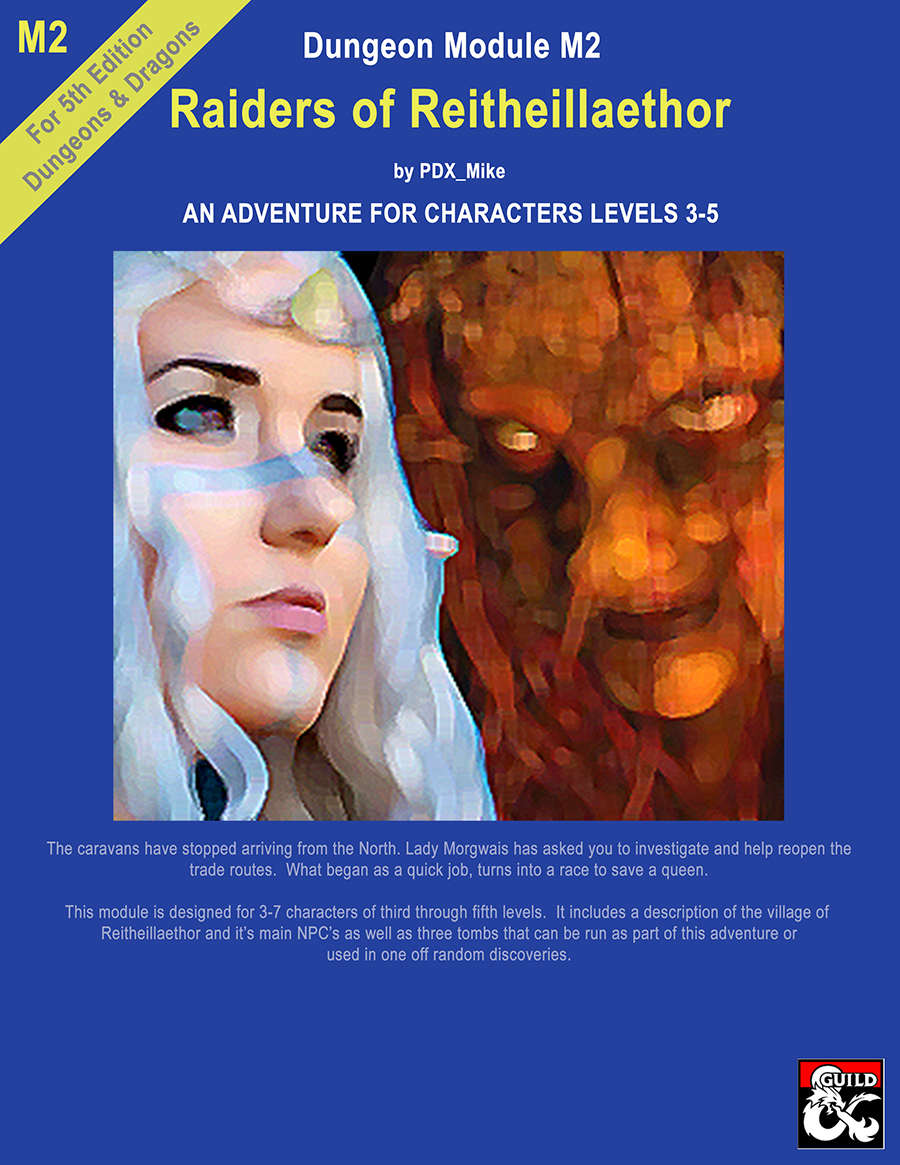
This is the second of the "High Forest Factbook" adventures series. The caravans have stopped arriving from the North. Lady Morgwais has asked you to investigate and help reopen the trade routes. What begins as a quick job turns into a race to save a queen. This module includes a detailed description of the Elven village of Reitheillaethor including it's NPCs. It can be run either as a continuation of the adventure started in "Menace of Merric", as an extended stand alone adventure or the three individual tombs included in it can be run as short one-off adventures.