
The walled city of Wheloon holds the criminal population of Cormyr. The residents of that place are bound to it forever and cut off from the outside world. Inside, plans are made and malcontents pool their resources – and outside, forces influence the innocent to ensure that a dire plot can be realized without interference from the knights and mages that guard the realm. Now you’re here with no memory of what brought you to Wheloon, and all you can think of is finding out why!
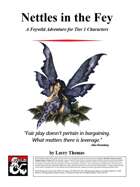
An inexperienced eladrin leader leaves herself dangerously exposed to her enemies. An exiled hag schemes to rebuild her army. A bog troll conspires to overthrow. A child is kidnapped. PCs find themselves in the middle of a power struggle between competing forces, each seeking to dominate the feywild territory known as the Unbound Regions. Trapped in the feywild until they complete the quest, the adventurers must deal with the curious culture of the fey by striking deals, battling opponents, and ultimately deciding which competitor they will support.

The promises of glory and the chance of riches draws you to Blasingdell, a small village near the infamous Stone Tooth. Within the rocky mountain lay the dwarven stronghold Khundrukar and the fabled Forge of Fury, to which a chance encounter provides you with the location of a hither-to unknown entrance. Are you brave enough to explore this mystery? Will it lead you to wealth or to your doom?

The heroes hurry to reclaim a treasured item that an evil hag has hidden away. The item they seek is well guarded by dangerous foes bent on destroying any that dare enter their domain. Estimated play time - 1 hour. This product contains two combat encounters designed for 4th level PCs, an extensive backstory, new monsters and new magic items. The encounters are easily adapted to almost any campaign setting. The text also includes optional changes that DMs may consider when running the adventure for their own campaigns. This side trek encounter is the second of a three-part "Fey's Bargain" encounter series.

Over a millennium ago, a clan of dark elves broke away from their evil kin and fled from the city of Menzoberranzan. Though many lives were lost in the initial exodus, the large numbers of the renegade band ensured that they were more successful than any could have hoped. And yet, the drow that finally arrived into the surface world found themselves shunned at every turn by those unable to see past their appearances. Just as their hope was beginning to wane, a song rang out through the night, beckoning the way to the sea and to a silver ship waiting amidst the dark waves. Many years have passed, and little knowledge remains of the strange island that the dark elves came to call their home, but the wicked Lolth forgets nothing. Evil magic converges upon El’tara and begins to steal away the light of hope. Whether through fate, mere coincidence or perhaps divine intervention, a band of adventurers find themselves standing at the shores of this land in the time of its greatest need. This adventure should run for approximately four to five hours and may be played either as a one-shot or as part of an ongoing campaign. It contains guidelines for running the adventure at any level from 1st to 8th and for a variety of group sizes.

The first part of the Dreams of Red Wizards adventure path originally published for the D&D NEXT Playtest. Following the events Ghosts of Dragonspear Castle, a new set of adventurer's will see some of the repercussions of that adventure. This adventure is intended to be continued in the Dead in Thay adventure (Note that they Dead in Thay 5e adventure featured in Tales from the Yawning Portal is missing a significant portion of interlude that links Scourge of the Sword Coast to the events within the Doomvault). The adventurers arrive when Daggerford is crowded with refugees from outlying lands. Goblins, gnolls, and orcs have been raiding the countryside. Now, food is scarce and tension is high. Blame for a theft has fallen on the refugees, and the Duke of Daggerford has forbidden more of the displaced from coming into town. After overcoming difficulties to enter Daggerford, the characters learn more about the raids. As they fight against the humanoids and delve deeper in the darkness that encircles Daggerford, the characters learn of Bloodgate Keep. After a final fiendish ambush, they’re ready to confront the real threat to the area. DM Note: This adventure points the adventurers strongly towards Bloodgate Keep but that location does not appear until the Dead in Thay adventure; at several points the party may feel drawn to explore that location rather than continue their investigations around Daggerford. However, since Bloodgate Keep is only eluded to as a source of great evil power, it can serve to easily segue to an entirely different adventure path. As a NEXT Playtest adventure, Scourge of the Sword Coast uses milestone leveling and the included stat blocks for creatures do not necessarily match or even appear in the 5e Monster Manual, nor do they have XP values or challenge ratings. In some places it will reference rules used in the Playtest but dropped or changed in the 5e release, these are unlikely to substantially impact gampley with 5e rules.

The Tower of Bondage is a frightening place for player characters that are used to raiding dungeons and once they have grown tired or run out of spells, can leave the dungeon, and find a warm comfortable inn. Not so with the Tower of Bondage. Once you enter, you may not leave unless you escape, and the only way out is down. The first level contains: ● 17 deadly encounters ● New stats for animated statues ● Traps ● Even a riddle to solve to save their lives The Tower of Bondage is a fresh look at the ancient Netherese lich known as Aumvor the Undying of the Forgotten Realms, and featured in Champions of Ruin. Having finally fled to the Endless Caverns and having reached lichdom, he was no longer able to feed upon the life force of others. His minions built hidden portals to his domain in order to trap living victims to slake his lust and continually feed his gluttony. That was long ago and the portals have been forgotten with time. Recently, a forest ranger has stumbled onto the location of one of the old portals and has made it public. Dare to enter the snare and be teleported deep into the Star Mounts without the luxury of returning to town at your leisure for supplies and rest. If you escape, you will have a better appreciation for life and a whole lot of Aumvor’s treasure to boot. Rumor has it that Aumvor the Undying is getting old and slow, and perhaps – hungry The Tower of Bondage “Aumvor’s Welcome” is the first level of a much larger complex that opens to the Endless Caverns and the under dark. 𝘐𝘧 𝘺𝘰𝘶 𝘦𝘯𝘫𝘰𝘺 𝘱𝘢𝘳𝘵 𝘰𝘯𝘦, 𝘣𝘦 𝘴𝘶𝘳𝘦 𝘵𝘰 𝘨𝘦𝘵 𝘱𝘢𝘳𝘵 2 “𝘍𝘢𝘯𝘦 𝘰𝘧 𝘵𝘩𝘦 𝘑𝘢𝘪𝘭𝘦𝘳𝘴”

A short plug in adventure that can be used as part of a larger campaign or run as a one shot for 3-4 Tier I or II characters. The Twin Temple was once a place where the people of the city can come to and get help and guidance, but change has come to the Twin Temple now. The characters seek to find what poisons this well and how they can get to the bottom of it and who is responsible. This adventure is ideal for for 3-4 tier I and II characters. Playable as a one shot or the start of a larger campaign. The characters are sent to investigate the Twin Temple and see if they can find the root cause of trouble with various clues and encounters in most rooms this adventure is customizable and adaptable to fit into most campaigns as needed.
Zor von Finklestein has purchased an aging cargo vessel and filled it with food for suffering Mulmaster. Now you only need to make sure the vessel comes into port
Baldur's Gate Break-Ins collects three heist and infiltration adventures for characters of levels 3-5, for use as a continuation of Burial in Baldur's Gate or as standalone modules. This collection fleshes out several locations around Baldur's Gate, providing adventures in every quarter of the city: Crash the world's worst dinner party in Eomane House! Contend with a criminal operation, a murderous raid, and a Feywild crossing in Jopalin's! Break up a blood-drenched cultist lair in Hamhocks Slaughterhouse! This book includes adventure hooks for running each location separately or as part of a campaign, a guide to running heist and infiltration adventures, three possible group patrons for the party, maps and rosters for each location, more than a dozen creature and NPC stat blocks, and a map pack with player and DM maps by Dyson Logos.
No description available.
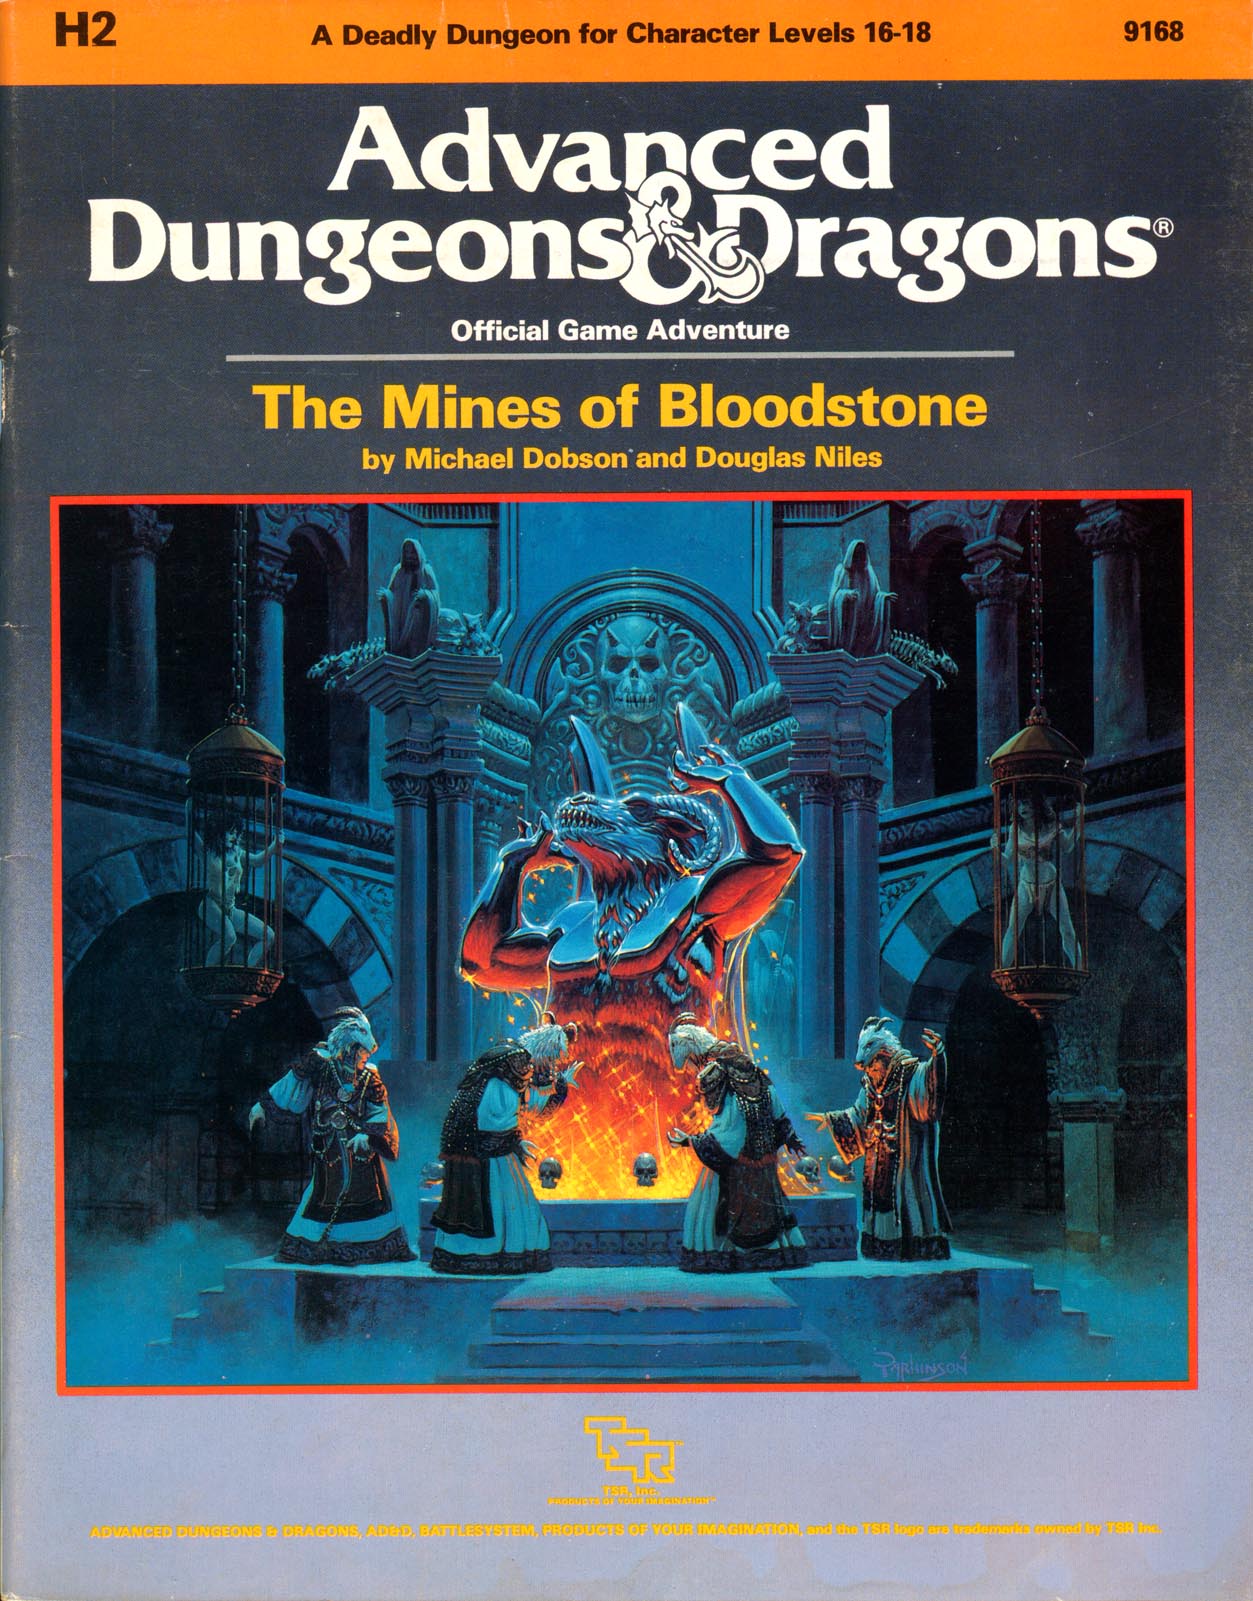
The most deadly dungeon ever devised! High-level characters brave the unexplored corridors of Deepearth to confront perhaps the most feared adversary in the AD&D game. The second chapter of the Bloodstone Pass saga follows the conclusion of the desperate war against the bandit army. A cold and bitter winter drives the villagers to the edge of starvation, and numerous horrors strike the town of Bloodstone Pass. Join the adventure as the heroes explore the depths of the ancient bloostone mines, now inhabited by fearsome demons. There they hope to uncover the fantastic treasures rumored to exist in the unknown darkness. But deep within the mines, all is not what it seems.... This module uses the new rules from the Dungeoneer's Survival Guide and Wilderness Survival Guide. The adventure also includes optional BATTLESYSTEM scenarios fought entirely underground. These supplementary products are not required to play the adventure, however. TSR 9168

Ill winds blow over Wayward. The men drink apart from their wives, while a mysterious traveler sows discontent between married couples. The Wayward wives have had enough and are plotting revenge. Part 2 of the Evenflow Saga.

Long unoccupied, the pyramid on Sorcerer’s Isle now flows with strange magical energy, warping creatures and the landscape around it. The Cult of the Dragon and Red Wizards of Thay have taken notice, and it’s up to you to keep whatever power dwells there out of their hands. An adventure for 5th-10th level characters.

While exploring for hints of the Kobolds lair, an unexpected plea changes everything. This is the fourth and final adventure in a miniseries with the following adventures being: A Chance Encounter The Mystic Circle An Urgent Rescue In addition to the adventure, there are a few of maps of the adventure area as separate jpeg files. There is also a printer friendly version of the adventure.

A mind flayer has called for a massive conference of monsters in the Underdark beneath Hillsfar. Trolls, umber hulks, demons, and more have answered the illithid's call. To infiltrate this gruesome menagerie, you must embrace the monster within yourself.

A short plug in adventure that can be used as part of a larger campaign or run as a one shot for Tier II or III characters. The Forest Forge is a secret dwarven forge under the protection of the Grey company of Dwarves. A secret organization that have sworn their lives to the protection of Moradin's blessed flame. However, through some trickery they have been exposed. Now the characters either because they need something crafted or because they are chasing the perpetrators find the forge's flame extinguished and only they can stop the fiends that are responsible. This adventure is ideal for for tier II and III characters. Playable as a one shot or the start of a larger campaign. The adventure comes with various maps, encounters and enemies that make this customizable for all parties based on your characters power and level as needed. The adventure comes complete with the following: - Full 13 page PDF adventure file. - 8 Parchment style DM and Player maps ready for VTT use. - 8 Printer friendly DM and Player maps ready for VTT well as printer friendly DM and Player maps that are VTT ready. - 1” diameter tokens ready to be cut out for use in person as well as files for use in a VTT
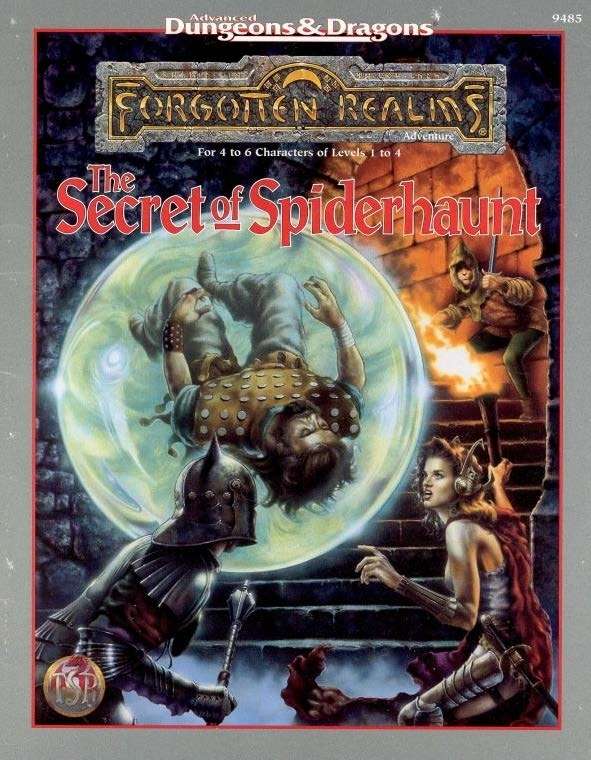
The infamous Sword of the Dales has always held a certain fascination in the eyes and hearts of the citizens of the Dalelands. Thus, it was no surprise when Randal Morn, rebel leader of Daggerdale, led an expedition into the crypt of a long-dead wizard to recover the weapon. Shaevyn the weapons-mage had created the Sword long ago, and it stood to reason that the blade would be waiting within his tomb. Perhaps the Sword of the Dales woulld allow Randal Morn to rule Daggerdale once again. But Randal Morn never returned from that fated party. Only tales of terror told by a lone survivor held any clues as to Randal's fate. A brave hand of heroes accomplished what Randal Morn's group failed to do in part one of this adventure trilogy, "The Sword of the Dales." Battling through the tomb's undead inhabitants, those heroes reached the burial crypt of Shraevyn. There, resting in the center of the coffin, was the Sword of the Dales, its azure glow filling the chamber. However, there was no sign of Randal Morn. Only a note signed by his hand held any clue as to his fate. "Seek me in Spiderhaunt," it proclaimed. "The fate of Daggerdale is in your hands." This is the second part of a trilogy of modules that began with "The Sword of the Dales." The saga concludes with "The Return of Randal Morn." TSR 9485

The jungle has opened up and revealed her secrets—now is the time to act upon them. All signs point to a long-abandoned city as the source of the undead contagion, and so you have been called upon to venture within and put an end to it once and for all. Are you up to the task? Part Three of The Rot from Within Trilogy.
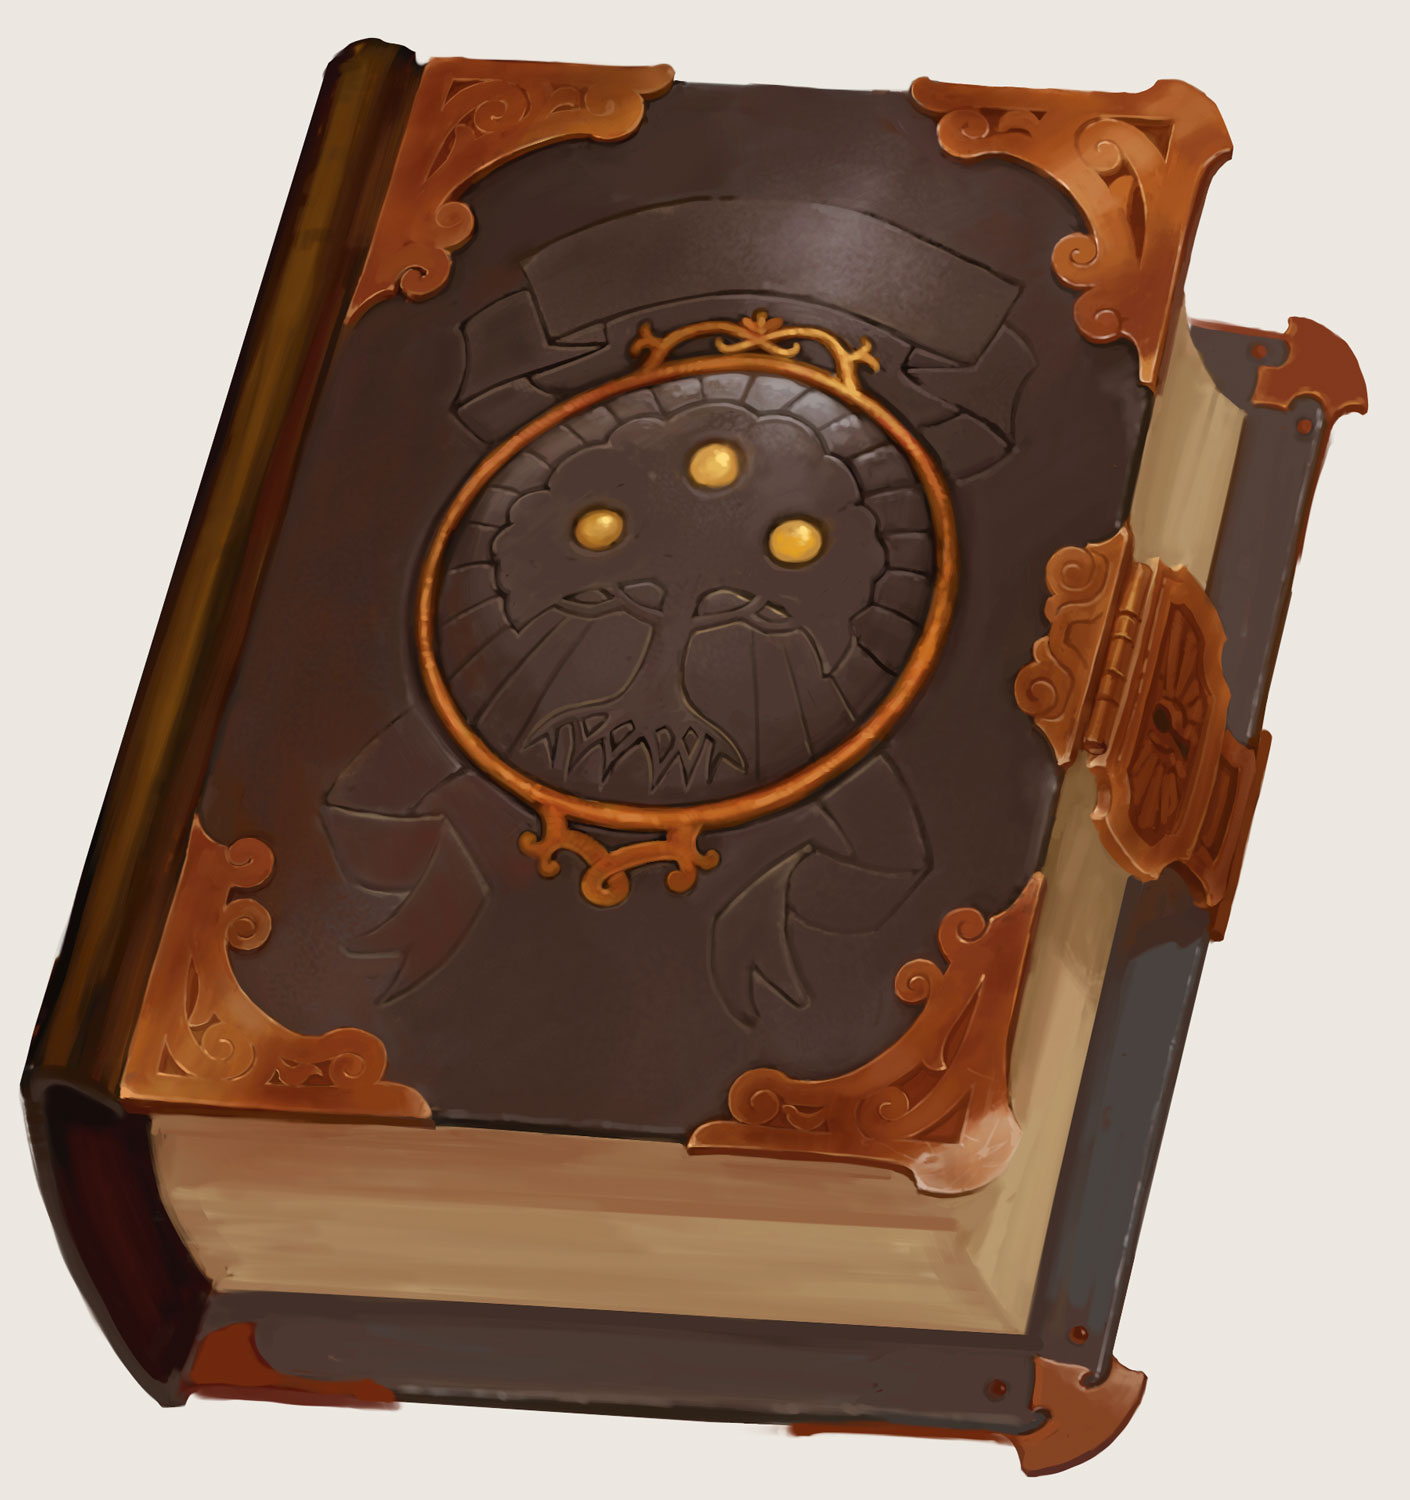
In 1492 DR, a group of adventurers are approached by a ghost in Candlekeep who urges them to investigate the unsolved, grisly murder of the Yellowcrest family in Waterdeep five years prior. The investigation leads the adventurers to the nearby village of Greenfast, which is plagued by a secretive cult.