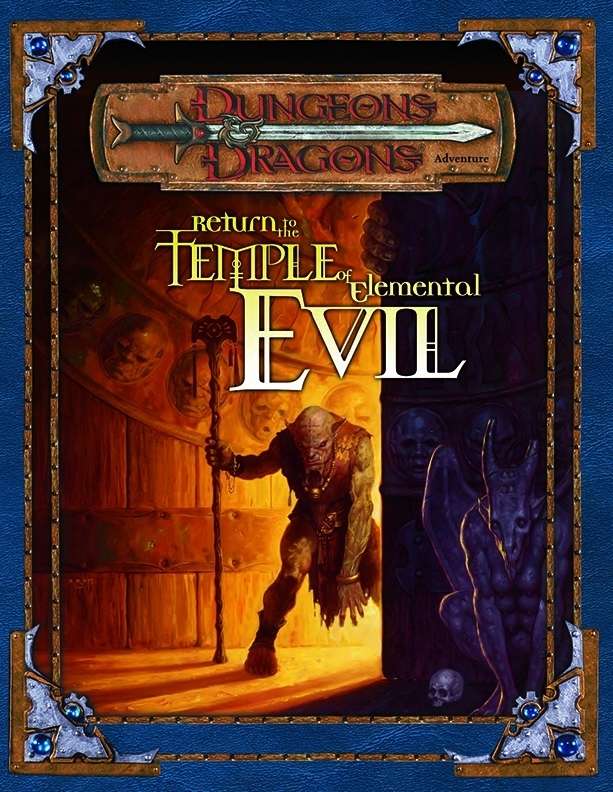
Years ago, brave heroes put the denizens of the Temple of Elemental Evil to the sword. Now, dark forces whisper again in the shadows of the once-deserted temple - forces far more insidious and dangerous than any sane person could dream. Evil has risen again to threaten the village of Hommlet. A continuation of the original AD&D Temple of Elemental Evil, made for a party of 4th-level adventurers, taking them up to 14th level.
Desolate and abandoned, the evil alchemist's mansion stands alone on the cliff, looking out towards the sea. Mysterious lights and ghostly hauntings have kept away the people of Saltmarsh, despite rumors of a fabulous, forgotten treasure. What is its sinister secret. Made for 5-10 character of levels 1-3, contains maps, handouts and encounter descriptions. The Sinister Secret of Saltmarsh is the first installment in a series of three modules designed and developed in the United Kingdom for beginning adventures with the AD&D rules. TSR 9062

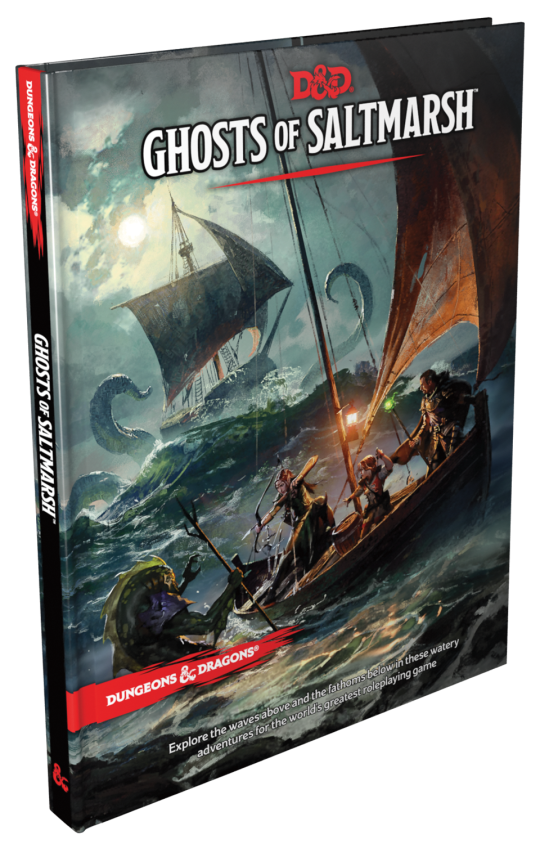
Nestled on the coast of the Azure Sea is Saltmarsh, a sleepy fishing village that sits on the precipice of destruction. Smugglers guide their ships to hidden coves, willing to slit the throat of anyone foolhardy enough to cross their path. Cruel sahuagin gather beneath the waves, plotting to sweep away coastal cities. Drowned sailors stir to unnatural life, animated by dark magic and sent forth in search of revenge. The cult of a forbidden god extends its reach outward from a decaying port, hungry for fresh victims and willing recruits. While Saltmarsh slumbers, the evils that seek to plunder it grow stronger. Heroes must arise to keep the waves safe! Ghosts of Saltmarsh combines some of the most popular classic adventures from the first edition of Dungeons & Dragons including the classic ‘U’ series and some of the best nautical adventures from Dungeon magazine: The Sinister Secret of Saltmarsh Danger at Dunwater The Final Enemy Salvage Operation Isle of the Abbey Tammeraut’s Fate The Styes All adventures have been faithfully adapted to the fifth edition rules of Dungeons & Dragons. Furthermore, this book includes details on the port town of Saltmarsh, as well as plenty of hooks to kick-off each adventure. Play through each story in a seafaring campaign leading characters from level 1 through level 12, or pull out sections to place in ongoing campaigns in any setting. The appendices also cover mechanics for ship-to-ship combat, new magic items, monsters, and more! “The Saltmarsh series consistently ranks as one of the most popular classic D&D adventures,” said Mike Mearls, franchise creative director of D&D. “With its ties to ocean-based adventuring, it was an obvious step to augment it with additional sea-based adventures and a robust set of rules for managing a nautical campaign.” Hoist your sails, pull up anchor, and set a course for adventure!
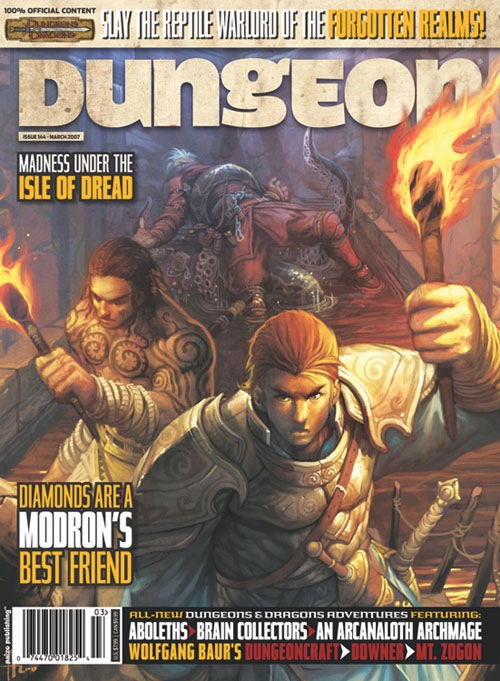
Deep beneath the Isle of Dread, in a place forgotten by the world of light, an ancient, unfathomable evil festers. Within the desiccated ruin known as Golsimorga, the debased kopru servants of Demogorgon work foul rites, steeping immature shadow pearls in pits of liquid insanity. None from the world above have yet fathomed what terrors lurk beneath the Isle of Dread, nor what mad scheme roils to profane life deep within the city's gangrenous corpse. "The Lightless Depths" is the sixth chapter of the Savage Tides Adventure Path, a complete campaign consisting of 12 adventures appearing in Dungeon magazine. For additional aid in running this campaign, check out Dragon magazine's monthly "Savage Tidings" articles, a series that helps players and DMs prepare for and expand upon the campaign. Issue #353 of Dragon features ways to improve the PCs' vessel, the Sea Wyvern, as they take their adventures back to the seas. When the PCs journey deep under the Isle of Dread to find the source of the shadow pearls, they discover horrors beyond imagining in a haunted underground city perched on sanity's razored edge. Pgs. 28-66

Important: The adventure is 1e but it has monster conversion notes for D&D 4th edition The town of Highport, once a human community overlooking Wooly Bay from its perch on the northern coast of the Pomarj, fell prey to hordes of humanoids swarming out of the jungle-covered hills surrounding the settlement. Though the orcs, goblins, kobolds, ogres, and gnolls razed much of the place in their ferocious rampages, the smoldering ruins they left behind soon became a new kind of community, a place of trade between the humanoid “locals” and the unsavory human traders who have no compunction about doing business with them. Slaves are a commodity in ready supply in Highport’s market, since many pirates raid up and down the coast of the bay, putting fishing villages to the torch and filling their holds with captured refugees. Slavery has become a thriving business in the town, and rumors abound of a cartel of Slave Lords who run things from behind the scenes, filling their coffers in secret from the buying and selling of human chattel. The trade has become so prolific that the good folk to the north have grown tired of these depredations and decided to fight back. Forces of righteousness and honor have recently descended upon Highport, some openly and others in secret, in various attempts to destroy the machinations of the Slave Lords and abolish the abominable enterprise that has taken far too many loved ones from home and hearth. One such doughty servant of goodness is Mikaro Valasteen, a cleric of Trithereon. Mikaro slipped unnoticed past the crumbling walls of Highport with a single mission: to rescue and transport as many slaves to their freedom as possible. Mikaro and a handful of faithful assistants located a number of escaped slaves—as well as rescued a few more not sufficiently restrained and guarded—and shepherded them through the gates and beyond the reach of their humanoid tormentors, returning them to their lands and homes. This covert freedom brigade enjoyed remarkable success early on, since the servants of the Slave Lords were often lax in their vigilance and sloppy in their efforts to prevent loss of the “merchandise.” After one too many shipments never made its destination, the humanoids stepped up their security and the normal channels of escape from Highport closed to Mikaro and his team. He cannot risk exposure by smuggling the freed slaves through the gates as merchandise any longer, since shipments of goods are now regularly stopped and checked. No longer able to free the slaves in that manner, Mikaro began hiding his charges in an abandoned villa in a particularly rundown part of the town. Although they are safe for the moment, their numbers have grown unmanageable, and the priest fears it is only a matter of time before someone slips up and brings slavers to their doorstep. Ever more desperate to find a new means of escape from Highport, Mikaro has started work on a plan that is both daring and dangerous. He intends to use a series of old sewers coupled with natural caverns running beneath the town as an escape route to the sea beyond the walls. But he needs someone to clear out the creatures and pitfalls he knows lie within. Pgs. 2-27

A traditional "funhouse" dungeon, White Plume Mountain begins with the archmage Keraptis stealing three artifacts and leaving cryptic poems with their former owners. The players are hired to recover the items, and find a bizarre dungeon in the side of the eponymous volcano. TSR 9027

Greatwall is in peril - not from military forces of Iuz, but from lack of goods and supplies. Caravans from Willip have ceased thanks to increased dangers on the Willip Critwall Grabford Trail. As the key fort positioned to contain the Iuzian flood, Greatwall is a strategic necessity. Its failure would mean a major incursion along the border. Your characters are hired to escort a caravan from Greatwall to Willip; if its merchants are afraid to come to the fort, the fort will go to them. This should be simple, cut and dried guard job. Right? Of course not. There are many surprises in store for your little caravan, and your characters will need to keep their wits about them day and night in order to make it to the other end. Secret plans are afoot, conspiracies are brewing, and nothing is as it seems while on the Border Watch. This module uses information presented in the From the Ashes boxed set and the Iuz the Evil accessories. However, ownership of these two products is not necessary to play this module. TSR 9406
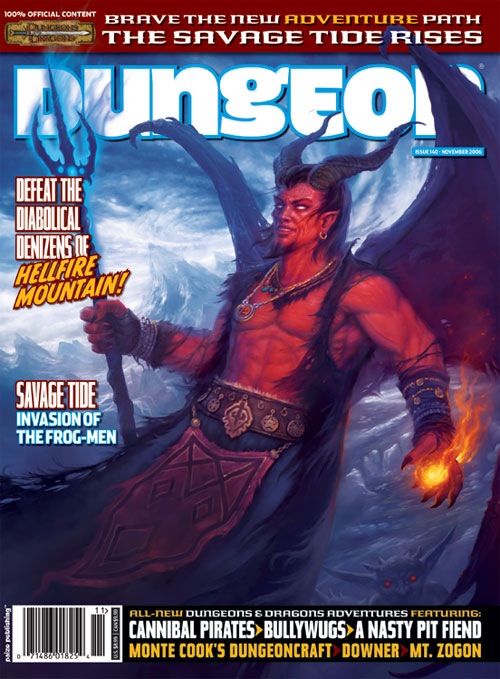
When an attempt to arrange an early inheritance backfires, a man of lesser ambition than Vanthus Vanderboren would no doubt withdraw into his sister's manse to hide under her skirts and pray that the truth of his patricide remain hidden. Fortunately for Vanthus, lack of ambition has never been a problem. Now the Vanderobrens' prodigal son slinks east along the coast of Blood Bay, lured by rumors of an incredible prize kept in a smuggler's hideout called Kraken's Cove. Yet what he is destined to find there is far more than a lucrative bit of banditry. What awaits him is the savage tide. "The Bullywug Gambit" is the second chapter of the Savage Tides Adventure Path, a complete campaign consisting of 12 adventures appearing in Dungeon magazine. For additional aid in running this campaign, check out Dragon magazine's "Savage Tidings" articles, a series that helps players and DMs prepare for and expand upon the campaign. Issue #349 of Dragon magazine looks into the region surrounding Sasserine, and provides useful information if your PCs wish to explore this area more thoroughly than they do in the course of this adventure. The hidden caves of Kraken's Cove have long served the pirates of the Crimson Fleet as a place to stage their smuggling operations. When their latest cargo backfires, the PCs find themselves faced with something far worse than murderous pirates. Pgs. 12-48
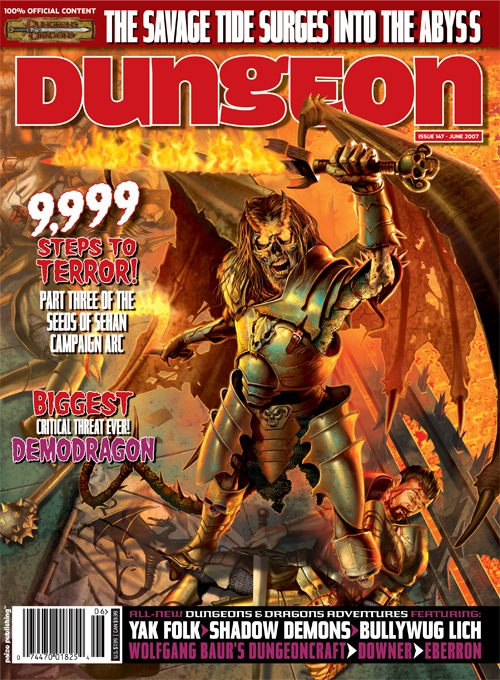
Few planes possess the raw malevolence of the Infinite Layers of the Abyss. It is a place of random violence, appalling cruelty, and pure, unadulterated wickedness. Here, unreasoning malice rules, and countless demons torture and murder for the joy of it. The Abyss is innovative in its wretchedness, with each fleeting moment birthing new and awful psychotic acts of utter evil. Those who brave its depths find no relief from its corrosive nature, nor respite from the cancerous seeds of evil blooming within all who tarry here; they find only anguish, pain and if they're lucky, sudden, abrupt death. "Into the Maw" is the ninth chapter of the Savage Tide Adventure Path, a complete campaign consisting of 12 adventures appearing in Dungeon magazine. For additional aid in running this campaign, check out Dragon magazine's monthly "Savage Tidings" articles, a series that helps players and DMs prepare for and expand upon the campaign. Issue #356 of Dragon magazine features an expanded list of strange and exotic magical items that could be purchased from the mercane merchants encountered during "Into the Maw." In order to rescue a friend, the PCs must sail into the Abyss and infiltrate a prison built by the Prince of Demons. Pgs. 48-85

Digging in the Dark People are vanishing from the village of Brookhollow. Can you solve the mystery in time to save your friends? Pgs. 12-29

A handful of would-be adventurers gathers to explore an ancient tomb, eager to trade their discoveries for a ticket to a better life. What they find within presages the advent of the Age of Worms, an era of darkness, decay, and writhing doom. "The Whispering Cairn" is the first installment of the Age of Worms Adventure Path, a complete campaign consisting of 12 adventures, several "Backdrop" articles to help Dungeon masters run the series, and a handful of poster maps of key locations. For additional aid in running this campaign, check out Dragon's monthly "Worm Food" articles, a series that provides additional materials to help players survive this campaign. Pgs. 14-47

Isle of the Ape is an adventure module for the Dungeons & Dragons role-playing game World of Greyhawk campaign setting, in which the events occur in a magical demiplane of the same name created by the mad archmage Zagyg Yragerne TSR 9153
A remote village/community in a conflict-ridden region of the Pomarj called Newtemple faces an invading army that mysteriously leaves it untouched. The local temple of Pelor (the sun god) appears to be the reason for this protection. The PCs are hired or tasked with investigating why the enemy forces spare the settlement—something feels off about the "protection."
Alhaster is in flames, choking on the poison mists of the Wormgod's first tentative breaths on the Material Plane. The Age of Worms has begun, and unless the PCs can kill a god, this new age will be dark indeed. "Dawn of a New Age" is the final installment of the Age of Worms Adventure Path, a complete campaign consisting of 12 adventures, several "Backdrop" articles to help Dungeon masters run the series, and a handful of poster maps of key locations. For additional aid in running this campaign, check out Dragon's monthly "Worm Food" articles, a series that provides additional materials to help players survive this campaign. Issue #334 of Dragon presents some advice on rules specific to the Age of Worms to aid players (and DMs) in making the transition beyond 20th level. Pgs. 52-86

This module was originally used for the AD&D Tournament at Origins '79. Your party is lost! You should never have abandoned the ship and struck out into the marshes, but your pursuers were closing on your trail, and it seemed the only way. Stumbling onward through the fens, your party makes for higher ground ahead. As you cross the ridge, you see a clearing before you. There in an ancient ruin - a worn and overgrown pyramid fills the courtyard, shining in the moonlight, seeming almost brighter than the moon itself. TSR 9032
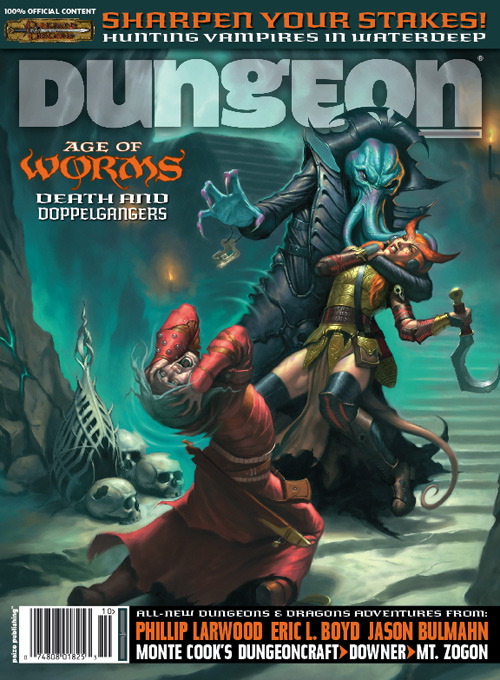
The Free City: a shining gem in the crown of cultured civilization. Beneath the surface of this bustling metropolis is a rot, festering in the darkness, manipulating the lives of those unaware of its presence. Now a small adventuring band from out of town may be in over their heads. Their actions in Diamond Lake have attracted the wrath of one of the city’s hidden masters. A gang of infiltrators and an enigmatic mastermind plot their destruction, and only tracing the rot to the root can stop the onslaught. "The Hall of Harsh Reflections" is the fourth installment of the Age of Worms Adventure Path, a complete campaign consisting of 12 adventures, several "Backdrop" articles to help Dungeon masters run the series, and a handful of poster maps of key locations. For additional aid in running this campaign, check out Dragon's monthly "Worm Food" articles, a series that provides additional materials to help players survive this campaign. Check out issue #336 of Dragon for five attractions to tempt your PCs to spend some of their hard-earned loot. This issue of Dragon also features an Ecology of the Spawn of Kyuss, one of the central creatures featured in this campaign. Pgs. 34-60
Tilagos Island does not appear on most maps of the Nyr Dyv, yet the storm-shrouded island hides the greatest repository of knowledge of an ancient cabal of druids who defeated Kyuss 1,500 years ago. "The Library of Last Resort" is the nineth installment of the Age of Worms Adventure Path, a complete campaign consisting of 12 adventures, several "Backdrop" articles to help Dungeon masters run the series, and a handful of poster maps of key locations. For additional aid in running this campaign, check out Dragon's monthly "Worm Food" articles, a series that provides additional materials to help players survive this campaign. High-level characters have a staggering array of options at their fingertips for exploration and travel, and issue #341 of Dragon outlines several of these. Pgs. 58-89
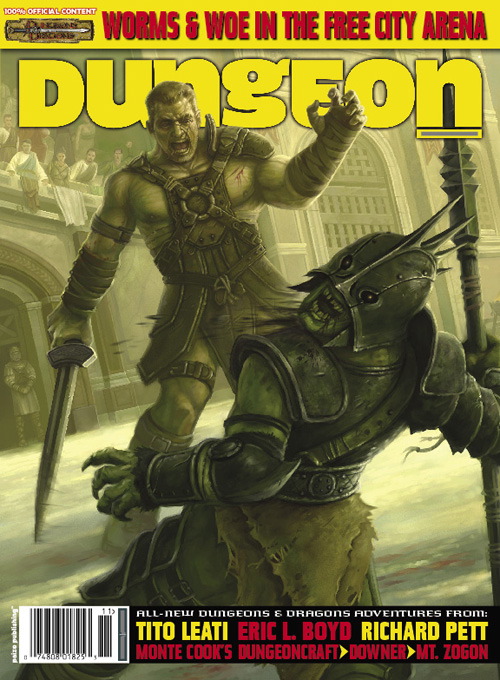
The hidden masters of the Ebon Triad have something special planned for the culmination of the Champion’s Games: a foul ritual designed to transform the arena into a stage of enormous carnage to honor their dark overgod. To stop them, the PCs must explore the dark complex of the arena’s master, and destroy his pet monster before it’s too late. An Age of Worms Adventure Path Adventure for 9th level characters. "The Champion's Belt" is the fifth installment of the Age of Worms Adventure Path, a complete campaign consisting of 12 adventures, several "Backdrop" articles to help Dungeon masters run the series, and a handful of poster maps of key locations. For additional aid in running this campaign, check out Dragon's monthly "Worm Food" articles, a series that provides additional materials to help players survive this campaign. Check out issue #337 of Dragon for guidelines on what they can purchase in the Free City. Pgs. 30-62
Chapter 2: The Sinister Secret of Saltmarsh In this version of the adventure, the characters find navigational charts and logs aboard the Sea Ghost that implicate its crew as slavers. Ned Shakeshaft is a Scarlet Brotherhood agent. He makes an attempt to foil the characters, but his true intent is to surrender and implicate Gellan Primewater as a key villain. The distraction afforded by the lizardfolk and the looming sahuagin threat gives the Scarlet Brotherhood the opportunity to bring more agents into town. posing as mercenaries brought in by Anders to protect the town. If Gellan can be removed from the council, Solmor might ask one of the characters to take his place.

The Cagewrights are defeated. The Tree of Shackled Sould is no more. Lord Vhalantru has been exposed and put down for the menace he truly was. The town of Cauldron has been saved from volcanic apocalypse. The heroes of Cauldron have earned their place in history, and more than deserve a time of rest, yet fate is not so kind. For the true menace behind the curtain still lives. As long as Adimarchus, the demon prince of madness, continues to dream his haunted dreams and writhe away the years in torment in the fiendish asylum of Skullrot, Cauldron can never be truly safe. "Asylum" concludes the Shackled City Adventure Path that began with "Life's Bazaar" (Dungeon #97) and continued with "Flood Season" (Dungeon #98), "Zenith Trajectory" (Dungeon #102), "The Demonskar Legacy" (Dungeon #104), "Test of the Smoking Eye" (Dungeon #107), "Secrets of the Soul Pillar" (Dungeon #109), "Lords of Oblivion" (Dungeon #111), "Foundation of Flame" (Dungeon #113), "Thirteen Cages" (Dungeon #114), and "Strike on Shatterhorn" (Dungeon #115). Pgs. 40-65