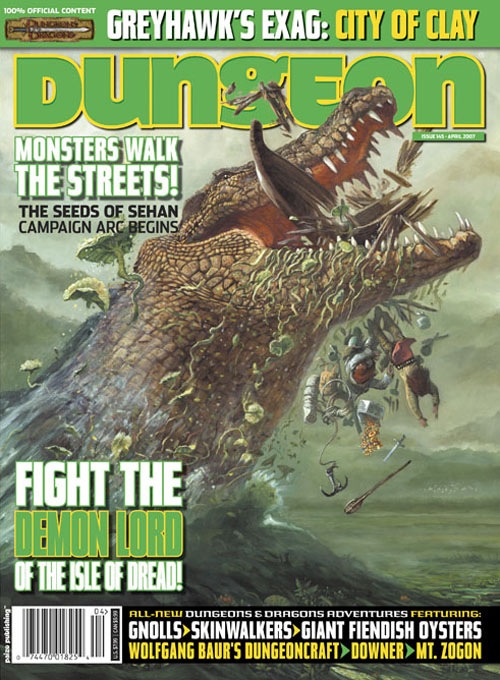
A horrific drug has seized the population of the strange city of Exag, yet confronting its source only reveals the true extent of a dire new threat. Part one of the Seeds of Sehan campaign arc, this is a D&D adventure for 8th-level characters.
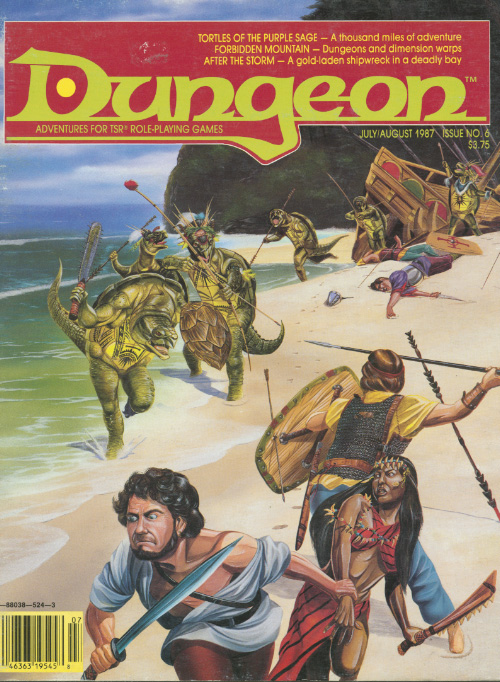
Old fog giants never die - they just slowly fade away. The House of the Brothers is an AD&D® game scenario for 3-6 characters of levels 6-10. Parties composed of less-experienced players should have higher levels, while seasoned players may be able to handle this adventure with lower-level characters. This scenario is designed to fit into the WORLD OF GREYHAWK™ Fantasy Setting. It takes place in hex M5-127 on the WORLD OF GREYHAWK boxed-set maps, three hexes north of Loftwick in The Yeomanry, on the border of the Jotens mountain range. If desired, this encounter may be used to expand a campaign using the supermodule GDQ 1-7 Queen of the Spiders, or it may stand alone. Of course, the scenario can be easily adjusted to fit into nearly any campaign world. The entire adventure may be dropped into a single evening's play. Pgs. 26-31

Stirrings of an ageless war between Law and Chaos are drawing you into an epic adventure! A Struggle More Savage than Good vs. Evil Imagine a time before the words Good and Evil had meaning, a day when the world was young. Discover an ancient conflict that predates the stars. It was in these days that Law and Chaos forged worlds out of nothingness; their war began while the cosmos was yet unfinished. The Rod of Seven Parts defines epic role-playing. The reappearance of the Rod has awakened the powers of Chaos, and their queen seeks to turn the whole world into a battleground. Bold heroes must undertake the enormous task of seeking out and assembling the pieces of the Rod, but even its power cannot stand alone. Ages ago, primal forces of Law stood fast against Chaos; now their champions must once more confront the Queen of Chaos and her foul spyder-fiends, lest the flame of civilization be extinguished. Follow the quest for the capricious Rod as it leads characters on a journey of high fantasy. The Rod of Seven Parts is designed for four to six heroes and heroines of levels 10 to 12. This boxed set includes: Initiation to Power, a 96-page book of grand adventure playable in any AD&D world, including original campaigns; The War Against Chaos, a 64-page book of world-crossing adventures pitting PCs toe to toe against the minions of Chaos; Might and Menace, a 32-page book detailing the mysterious powers of the Rod of Seven Parts: how it affects both its enemies and its friends; Monsters, a 16-page book of new villains, new monsters, and even a new race! 6 two-sided reference cards; 6 full-color poster maps portraying the key locations heroes can visit. Read about this ancient artifact in the epic novel The Rod of Seven Parts by best-selling author Douglas Niles! TSR 1145
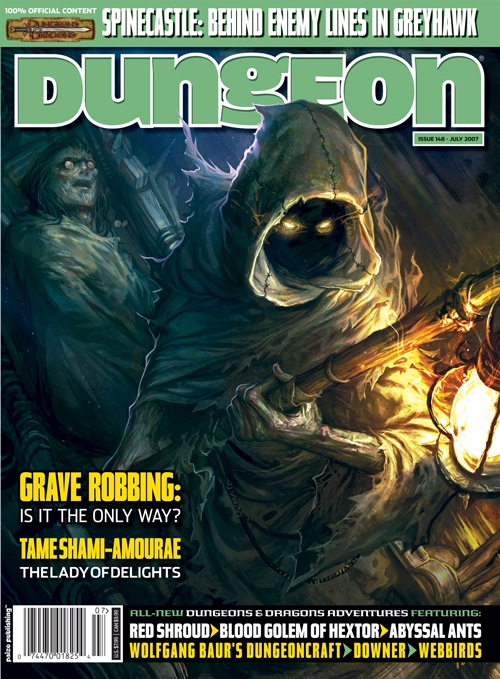
The PCs must infiltrate a city ruled by monsters to search for the spymaster that holds the key to saving a besiged nation. Pgs. 26-50
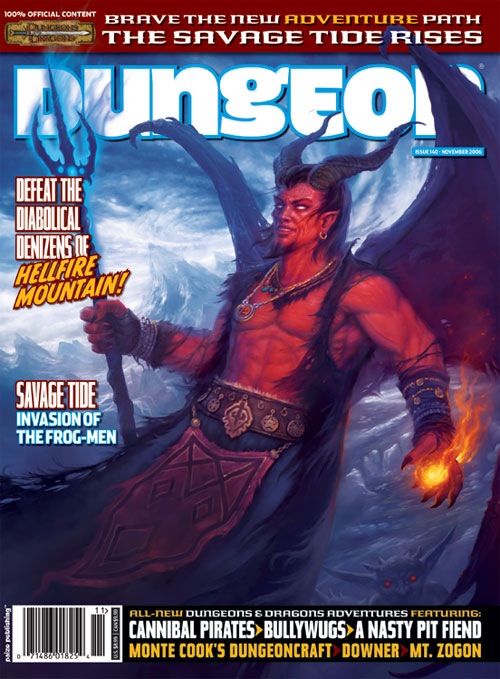
When an attempt to arrange an early inheritance backfires, a man of lesser ambition than Vanthus Vanderboren would no doubt withdraw into his sister's manse to hide under her skirts and pray that the truth of his patricide remain hidden. Fortunately for Vanthus, lack of ambition has never been a problem. Now the Vanderobrens' prodigal son slinks east along the coast of Blood Bay, lured by rumors of an incredible prize kept in a smuggler's hideout called Kraken's Cove. Yet what he is destined to find there is far more than a lucrative bit of banditry. What awaits him is the savage tide. "The Bullywug Gambit" is the second chapter of the Savage Tides Adventure Path, a complete campaign consisting of 12 adventures appearing in Dungeon magazine. For additional aid in running this campaign, check out Dragon magazine's "Savage Tidings" articles, a series that helps players and DMs prepare for and expand upon the campaign. Issue #349 of Dragon magazine looks into the region surrounding Sasserine, and provides useful information if your PCs wish to explore this area more thoroughly than they do in the course of this adventure. The hidden caves of Kraken's Cove have long served the pirates of the Crimson Fleet as a place to stage their smuggling operations. When their latest cargo backfires, the PCs find themselves faced with something far worse than murderous pirates. Pgs. 12-48

Lost Tombs, Volume 2 The lich Lyzandred: a madman, an undead archmage, a survivor of the twin cataclysms that destroyed tow great empires. His name invokes fear in the hears of the smallest children, the bravest warriors, and the wisest sages. Like a malicious cat, the lich toys with all who stumble into his maze, tormenting them with strange puzzles and obscure riddles, monsters and demons, weird traps and dangerous magics. All who enter the crypt of Lyzandred find themselves scarred with his rune, proof of their visit -- and their folly. But there is a method to the madness of Lyzandred, a purpose to his twisted games. If you're lucky, you might even live to learn about it. The Lost Tombs series begins with Star Cairns (Volume 1) and concludes with The Doomgrinder (Volume 3). Each adventure is playable separately, or they can be linked to form an epic-length story. TSR 9580
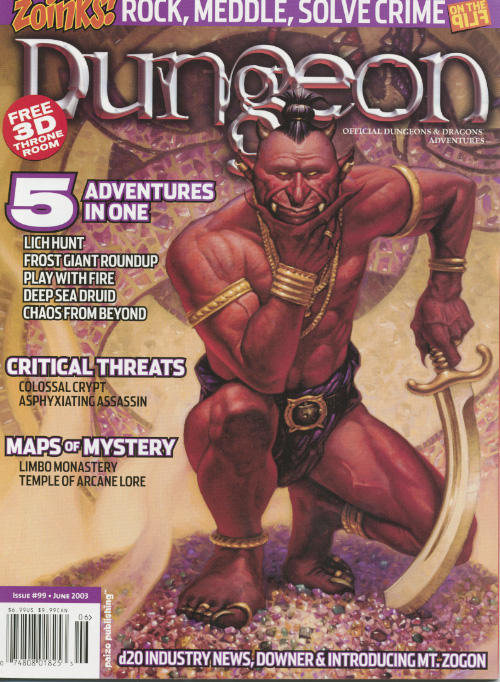
A minion of chaos has come to the Prime Material Plane from the void of the Far Realms to terrorize and conquer in the name of its masters. The PCs must act quickly to assemble a legendary artefact powerful enough to weaken the minion so it can be defeated. Pgs. 20-47

Important: The adventure is 1e but it has monster conversion notes for D&D 4th edition The town of Highport, once a human community overlooking Wooly Bay from its perch on the northern coast of the Pomarj, fell prey to hordes of humanoids swarming out of the jungle-covered hills surrounding the settlement. Though the orcs, goblins, kobolds, ogres, and gnolls razed much of the place in their ferocious rampages, the smoldering ruins they left behind soon became a new kind of community, a place of trade between the humanoid “locals” and the unsavory human traders who have no compunction about doing business with them. Slaves are a commodity in ready supply in Highport’s market, since many pirates raid up and down the coast of the bay, putting fishing villages to the torch and filling their holds with captured refugees. Slavery has become a thriving business in the town, and rumors abound of a cartel of Slave Lords who run things from behind the scenes, filling their coffers in secret from the buying and selling of human chattel. The trade has become so prolific that the good folk to the north have grown tired of these depredations and decided to fight back. Forces of righteousness and honor have recently descended upon Highport, some openly and others in secret, in various attempts to destroy the machinations of the Slave Lords and abolish the abominable enterprise that has taken far too many loved ones from home and hearth. One such doughty servant of goodness is Mikaro Valasteen, a cleric of Trithereon. Mikaro slipped unnoticed past the crumbling walls of Highport with a single mission: to rescue and transport as many slaves to their freedom as possible. Mikaro and a handful of faithful assistants located a number of escaped slaves—as well as rescued a few more not sufficiently restrained and guarded—and shepherded them through the gates and beyond the reach of their humanoid tormentors, returning them to their lands and homes. This covert freedom brigade enjoyed remarkable success early on, since the servants of the Slave Lords were often lax in their vigilance and sloppy in their efforts to prevent loss of the “merchandise.” After one too many shipments never made its destination, the humanoids stepped up their security and the normal channels of escape from Highport closed to Mikaro and his team. He cannot risk exposure by smuggling the freed slaves through the gates as merchandise any longer, since shipments of goods are now regularly stopped and checked. No longer able to free the slaves in that manner, Mikaro began hiding his charges in an abandoned villa in a particularly rundown part of the town. Although they are safe for the moment, their numbers have grown unmanageable, and the priest fears it is only a matter of time before someone slips up and brings slavers to their doorstep. Ever more desperate to find a new means of escape from Highport, Mikaro has started work on a plan that is both daring and dangerous. He intends to use a series of old sewers coupled with natural caverns running beneath the town as an escape route to the sea beyond the walls. But he needs someone to clear out the creatures and pitfalls he knows lie within. Pgs. 2-27

"Gnolls have captured the heroes! After stripping the characters of all equipment except their armor and clothing, the gnolls drag them to an expansive briar maze known as the Twisted Thickets and set them loose. Then, armed to the teeth, the gnolls hunt down their prey. The characters must survive the hunt and outwit their pursuers. Stripped of your armor and weapons, you are cast into the Twisted Thicket and hunted like rabbits. If you want revenge, you must first survive Yeenoghu's evil Hunters. After dealing with the gnoll hunters, the heroes can try to reclaim their lost equipment and exact revenge on the tribe, which lairs in the caves beneath Dead Gnoll’s Eye Socket." Pgs. 2-14

An expansion on the original Tomb of Horrors with plot and explanation. Contains a facsimile of the original adventure. The Dark Intrusion is causing the dead to rise from their graves. This is linked to a being known as the Devourer. Following the trail of Desatysso, a wizard who followed a similar quest, the players must enter the Tomb, and beyond that, the cursed City that Waits and the Fortress of Conclusion.

Vecna Lives is a high level adventure that pits players against the lich and almost demi-god Vecna. Although based in Greyhawk, the adventure is easily adaptable to Ravenloft and Planescape. This adventure is meant to kill characters. If you are a DM who cannot bring himself to kill a player’s prized character or one who can be pressured to “give a guy a break,” you must be extra strong when running Vecna Lives! For centuries, Vecna-archmage, despotic tyrant, the most fearsome of all liches-has been nothing but fearful legend to the honest folk of Greyhawk. Once the supreme master of all undead sorcerers, even today his Hand and Eye are object of immense power. Now something evil is stirring in the lands around Greyhawk. The Hand and Eye of Vecna have been found-and Vecna wants them back. TSR 9309

Giants have been raiding the lands of men in large bands, with giants of different sorts in these marauding groups. Death and destruction have been laid heavily upon every place these monsters have visited. This has caused great anger in high places, for life and property loss means failure of the vows of noble rulers to protect the life and goods of each and every subject -- and possible lean times for the rulers as well as the ruled. Therefore, a party of the bravest and most powerful adventurers has been assembled and given the charge to punish the miscreant giants. This module contains background information, referee's notes, two level maps, and exploration matrix keys. It provides a complete module for play of ADVANCED DUNGEONS & DRAGONS, and it can be used alone or as the first of a three-part expedition adventure which also employs DUNGEON MODULE G2 (GLACIAL RIFT OF THE FROST GIANT JARL) and DUNGEON MODULE G3 (HALL OF THE FIRE GIANT KING). TSR 9016
If the PCs are to avert the Age of Worms, they must invade the heartland of Kyuss' power, the Wormcrawl Fissure, and destroy one of the world's most powerful dracoliches before the Wormgod awakens. "Into the Wormcrawl Fissure" is the eleventh installment of the Age of Worms Adventure Path, a complete campaign consisting of 12 adventures, several "Backdrop" articles to help Dungeon masters run the series, and a handful of poster maps of key locations. For additional aid in running this campaign, check out Dragon's monthly "Worm Food" articles, a series that provides additional materials to help players survive this campaign. Issue #343 of Dragon presents statistics for some extraplanar entities the PCs may wish to call upon to aid them in the Wormcrawl Fissure. Pgs. 54-89

"Wherein the local clergy makes the terrible mistake of not hiring enough assassins for the job." Synopsis: The heroes have just returned from the abyss (Occipitus) and reestablish themselves in Cauldron, when they are assaulted by a group of professional assassins. After they repel the attack, they trace back the lead to the temple of Wee Jas, where they find plenty of opposition from the second in command, Ike Iverson. After dispatching of the cleric and securing of a (spare) soul cage, the group finds evidence of a place important to the cagewrights' cause - an ancient underground complex named Karran Kurral. Mounting an expedition to that place, they find more evidence towards the horrific destiny on schedule for Cauldron. However, they gain access to the Soul Pillars after defeating a dracolich, that they can use to gather plenty of intelligence on the cagewrights' plans. Pgs. 12-51

Greatwall is in peril - not from military forces of Iuz, but from lack of goods and supplies. Caravans from Willip have ceased thanks to increased dangers on the Willip Critwall Grabford Trail. As the key fort positioned to contain the Iuzian flood, Greatwall is a strategic necessity. Its failure would mean a major incursion along the border. Your characters are hired to escort a caravan from Greatwall to Willip; if its merchants are afraid to come to the fort, the fort will go to them. This should be simple, cut and dried guard job. Right? Of course not. There are many surprises in store for your little caravan, and your characters will need to keep their wits about them day and night in order to make it to the other end. Secret plans are afoot, conspiracies are brewing, and nothing is as it seems while on the Border Watch. This module uses information presented in the From the Ashes boxed set and the Iuz the Evil accessories. However, ownership of these two products is not necessary to play this module. TSR 9406
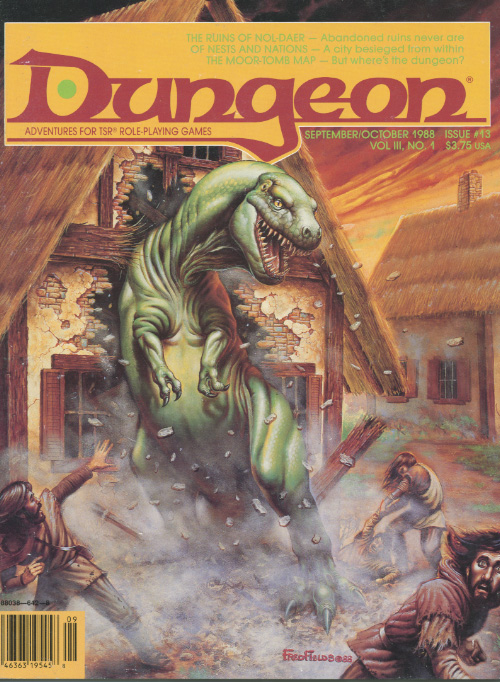
Abandoned and forgotten ruins never are. He left the Abyss to visit his human mother, not realizing he was a century too late. Still, there was a lot he had left to do... An ancient castle, Nol-Daer, has of late become the site of frequent strange occurrences. Gargoyles and Blood Hawks roost in the keep's ruined towers, Dwarves have been disappearing from the nearby area, and a Cambion controls it all from the shadows. Pgs. 3-17 & 64
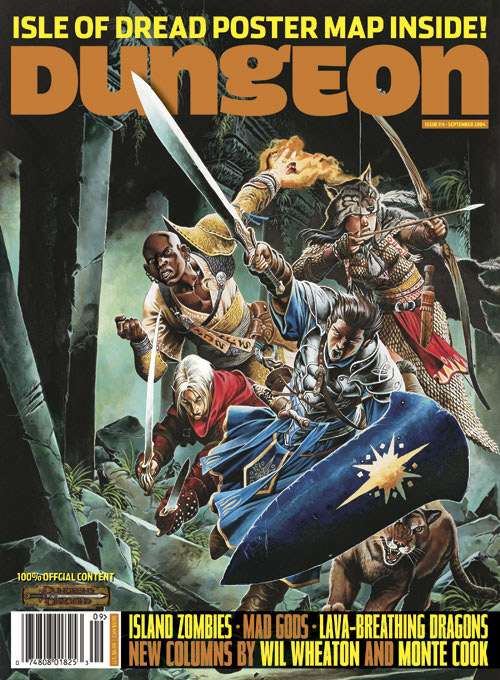
A hunt for a missing key leads the heroes from the streets of the city of Greyhawk to the Tomb of Blood Everflowing in the treacherous Cairn Hills. Pgs. 18-20, 22 & 24-39

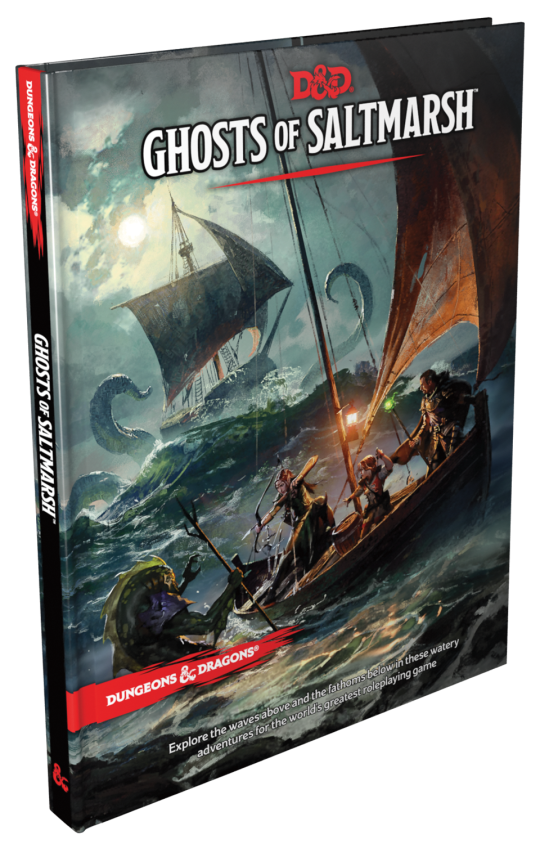
Nestled on the coast of the Azure Sea is Saltmarsh, a sleepy fishing village that sits on the precipice of destruction. Smugglers guide their ships to hidden coves, willing to slit the throat of anyone foolhardy enough to cross their path. Cruel sahuagin gather beneath the waves, plotting to sweep away coastal cities. Drowned sailors stir to unnatural life, animated by dark magic and sent forth in search of revenge. The cult of a forbidden god extends its reach outward from a decaying port, hungry for fresh victims and willing recruits. While Saltmarsh slumbers, the evils that seek to plunder it grow stronger. Heroes must arise to keep the waves safe! Ghosts of Saltmarsh combines some of the most popular classic adventures from the first edition of Dungeons & Dragons including the classic ‘U’ series and some of the best nautical adventures from Dungeon magazine: The Sinister Secret of Saltmarsh Danger at Dunwater The Final Enemy Salvage Operation Isle of the Abbey Tammeraut’s Fate The Styes All adventures have been faithfully adapted to the fifth edition rules of Dungeons & Dragons. Furthermore, this book includes details on the port town of Saltmarsh, as well as plenty of hooks to kick-off each adventure. Play through each story in a seafaring campaign leading characters from level 1 through level 12, or pull out sections to place in ongoing campaigns in any setting. The appendices also cover mechanics for ship-to-ship combat, new magic items, monsters, and more! “The Saltmarsh series consistently ranks as one of the most popular classic D&D adventures,” said Mike Mearls, franchise creative director of D&D. “With its ties to ocean-based adventuring, it was an obvious step to augment it with additional sea-based adventures and a robust set of rules for managing a nautical campaign.” Hoist your sails, pull up anchor, and set a course for adventure!

When Monsters threaten the village of Crystalbrook, it's up to adventurers to track down where they're coming from. The investigation leads them on a journey across planes. In the Feywild, the heroes must explore an enchanted island garden and unravel the plot of a foul hag, before she and her fiendish companion can perform a ritual to seize control of the island. "Beyond the Crystal Cave" is a Dungeons & Dragons adventure designed for the winter 2011 season of the D&D Encounters official play program. This season incorporates character options from Player's Option: Heroes of the Feywild, and it comes with three full-color maps, thirteen ready-to-play encounters, and information on the D&D Encounters program. Originally found in Dungeon Magazine #211 now available as a stand-alone adventure. Pgs. 63-122
Chapter 2: The Sinister Secret of Saltmarsh In this version of the adventure, the characters find navigational charts and logs aboard the Sea Ghost that implicate its crew as slavers. Ned Shakeshaft is a Scarlet Brotherhood agent. He makes an attempt to foil the characters, but his true intent is to surrender and implicate Gellan Primewater as a key villain. The distraction afforded by the lizardfolk and the looming sahuagin threat gives the Scarlet Brotherhood the opportunity to bring more agents into town. posing as mercenaries brought in by Anders to protect the town. If Gellan can be removed from the council, Solmor might ask one of the characters to take his place.