
The Thieves Guild Ebonclad has assigned to party a mission to find the missing Ebonclad Seeker, Osme Sunshadow, as well as investigate the prospective thief Korina Ren. The mission’s conclusion takes the party on a “traditional” dungeon dive in search of a missing guild member, however, how they get there will depend on the work they do in the city. Finally, the mission gives you, the GM, multiple scenarios to choose from that will affect its outcome.
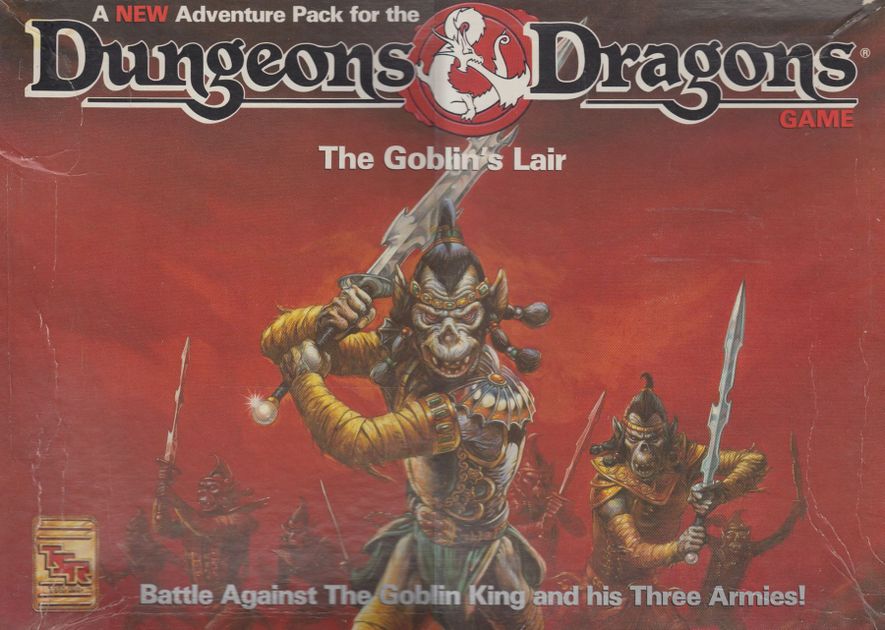
Agents for the Mayor of Kleine have discovered the stronghold of the Red Hand goblins deep within the Burning Hills. They have also discovered that the goblins are forming an alliance with local hobgoblin and bugbear tribes to sweep the humans out of Thunder Rift forever. The PCs must reach the lair before the hobgoblin and bugbear agents return to their own tribes. if the envoys do not return, the tribes will assume that the goblins murdered them and attack the goblins instead of the human settlements. In this way, the humans of Thunder Rift gain some unexpected allies against the Red Hand goblins. This is the most dangerous and demanding of the three adventures in this set. It is recommended that you play it after Red Hand Trail and Trouble Below. However, it can stand alone as an adventure in its own right if you wish. Part of TSR 1076 The Goblin's Lair

Avalanches are hardly news in Icewind Dale. The frequency to which it is occurring, however, defies logic. What is the cause of this strange phenomenon? What horrors could have unleashed such force of nature with such reckless abandon? Horror Beneath the Frost is a slasher horror adventure set in Icewind Dale, deep within the Reghed Glacier. It features yetis, mind flayers and a boneclaw! The adventure is designed to be easily dropped into: • Any homebrew campaign where avalanches occur. • Icewind Dale: Rime of the Frostmaiden campaign. • Plague of Ancients Seasonal Campaign for the Adventurers League (AL) organized play program. Inside you will find: • A slasher horror adventure optimized for five characters with an average party level (APL) of 8. • Scaling advice for three to seven 5th to 10th level characters. • A printer-friendly version of the adventure. • 4 digital maps importable to Roll20, Foundry VTT and your VTT of choice. Includes gridded, grid-less and printer friendly versions of the maps. • D&D Adventurers League compatible adventure (Dungeon Seed: This Seems Familiar | DC-POA-JL01)

This alternate starter campaign takes you to all the familiar locations of the Lost Mine of Phandelver adventure from the other side of the veil. Some places look the same, some very different. The entire plane is trying to strip you of your mind, your memory, and your motivation. Discover how the Forge of Spells was fueled. Learn the location of lost adventurers from the original Phandelver expedition. See what Cragmaw Castle looked like in its prime. All of this and more, as this takes you from level 1 to level 5 with well over 20 hours of play time. If you are looking to start a new campaign or just experience familiar locations in a new setting, this supplement accommodates. Inside you'll find: Maps: Nine encounter maps Cragmaw Castle rebuilt, including the upper floor, and underground level. Wave Echo Cave before it was tunneled. A very different looking Redbrant Hideout Ruins of a town similar to Phandalin A swamp and muck version of Cragmaw Hideout Plus new magic items, and more Monsters: 37 new creatures Lore Information on a shadowy Yuan-ti empire A new offshoot of the abyssal demonhive A cult using the stoic ways of stone to evade the Raven Queen's watchful eye and pilfering ways. New players vying for control of the Shadowfell Shadowfell Guide: Information on the plane, its inhabitants, and included with this supplement is the best selling Shadowfell Random Encounters appendix. Easter Eggs Hidden throughout the story are references to Lost Mine of Phandelver. Including references to other hard cover books as well.

The town of Innisfall lives in the shadow of dragons, but has managed to broker a peace with them through the years and avoided outright destruction. Now, a dragon has been murdered and the visiting party of adventurers is accused of perpetrating the deed. Can our heroes prove their innocence and restore the uneasy truce the town has lived under for generations?…

The adventurers are asked to search for a local temple official who has not returned after leaving to search for a hidden treasure vault. On their way, they are attacked by some Kobolds and chase the fleeing monsters to the hidden entrance. The adventurers explore the ruins and discover what has become of the missing temple official.

This short adventure is set in the Forgotten Realms campaign setting; it may be run as a standalone adventure, or as a side trek for a larger module . Alternatively, this adventure could be inserted into any campaign setting. Trouble is brewing near the town of Red Larch; specifically, in the caves near Lance Rock. A few good adventurers are needed to investigate the increased orc and ogre sightings in the area.

Nightmares that kill, a mysterious thief that only steals knick-knacks, tales of a huge beast terrorising fisherfolk, an inn with disappearing guests, discoveries of hidden magic portals and rumours of an assassin at large: None of these things are enough to stop the ever-flowing tide of traders and travellers crossing the Bridge of Fallen Men, but its protectors - Cormyr's Purple Dragons - are short on time, and courage... ...will adventurers answer the call?

The young heroes are invited to Massie Littlefoot’s birthday party before she departs for wizarding school in Waterdeep. At the height of the party, Clonker, an ogre known to live nearby, steals Massie’s cake! The heroes must brave the forest and get Massie’s cake back before everyone goes home. This introductory adventure is designed for level 1-2 characters. What Is This Project? An Ogre and His Cake is an introductory 5th edition Dungeons & Dragons adventure built for and tested by kids. It is every parent or guardian's dream to share their passions with the young ones they love. We hope Clonker, the lovable ogre, opens these doors for you. We also want to support children and families who are unable embark on every adventure. All of our creator royalties (50% of what you pay, with the other 50% supporting the upkeep of the Dungeon Masters Guild and Wizards of the Coast) will be donated directly to Extra Life, a non-profit organization focused on supporting children's hospitals through communal gaming events.
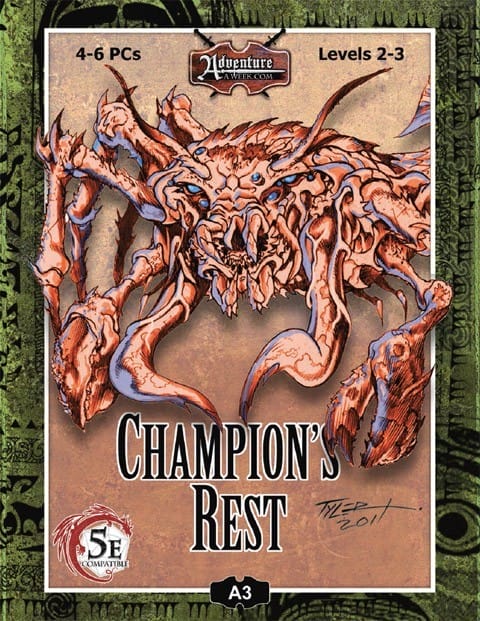
The Loi’Tok burial mound of the Vikmordere was abandoned long ago. The party is hired by the mayor of the local town to locate some soldiers who went missing after entering Loi’Tok. Strangely enough no sign of the soldiers can be found within the burial site aside from a few scattered weapons and pools of blood. Before the party has time to investigate, Vikmordere barbarians show up searching for a group of their own missing kinsmen. Will the two groups blame each other or join forces to solve the mystery surrounding the recent disappearances?

Blinsky's Toyshop is our take on what happens to Blinsky and Piccolo during, or after the Curse of Strahd campaign. Blinsky, the toymaker in Vallaki with the cute monkey wearing a pink tutu, received a large inheritance from a long-time client. The client, Obtavius Swat, a retired adventurer and avid collector of toys, left his entire estate to Blinsky. The estate included coin, precious gems, art, and his collection of toys, some made by Blinsky and others he acquired during his travels. Blinsky used the fortune to pay a wizard to create a small island in the middle of Lake Zarovich, located just outside of Vallaki. He then paid masons and workers to build a fantastic new toyshop, which he designed to be an experience for both the young and old alike. Though the number of children in Barovia was increasing, mostly imparted to the devil Strahd’s downfall, Blinsky wanted to touch the inner child of the adults in the city. He wanted happiness. He wanted smiles. He named the castle Blinsky’s Toyshop of Marvels. One of the toys, a small silver tiara kept in a black satin-lined ivory jewelry box, was such a lovely piece. Blinsky couldn’t stand the thought of leaving it in the box. He already had enough gold and losing the small tiara wouldn’t be a large loss, so he decided to give it to his monkey – Piccolo (see Creatures of the Toyshop). He smiled at the thought of her running around in her pretty, shiny tiara. Sadly, as Barovian luck would have it, trapped inside the tiara is the sole of an evil gnome wizard named Aribetha Strangge. In his old age, Obtavious Swat forgot that he and his fellow adventurers used the tiara to imprison the gnome’s soul. Yesterday, when Blinsky placed the tiara on Piccolo’s head, silver tendrils cascaded from the tiara and into poor Piccolo’s skull, allowing Aribetha to control the monkey. Now, Aribetha has incapacitated Blinsky in the toyshop’s tower, brought many of the toys to life, and imprisoned or killed many of the workers and customers. The adventure includes costumes (which the character may wear), Strahd Hand Puppets, and a possessed Piccolo.

Uncover the curious tale... When the party are shipwrecked they take shelter in an old forgotten cottage. They soon find themselves uncovering the mysterious death. One thing is for sure, they are not alone... Back to the sea is a 3-5 hour one shot, recommended for Level 3-4 adventurers. It offers a refreshing and different look at Ghosts in D&D. Contains 3 beautiful original digitally illustrated Maps. Unique Monsters and interesting combat scenario. Encourages player creativity and problem solving. Screen reader version.

Reeve Dunder Chorley has an offer you can’t refuse - perform at his village fete in exchange for a small fortune! Visit picturesque Brindlebury and dive into country life! Judge pumpkins, show off your skills, fight Elder gods… Smashing Pumpkins is a 5e Folk Horror adventure for a level 3-5 party. The adventure has five parts, four of which are set in a rural, sand-box locale. Total playing time is around 12 hours or 4 sessions, based on a party of 4 adventurers playing at Level 3. It can be played as a one-shot or part of a larger campaign. Included within the 80-page booklet: Over 12+ hours of gaming in an immersive sandbox environment full of interesting locales and encounters. Catchy narrative hooks, side-quests and minigames to draw your players in with hours of atmospheric play. 7 intricately detailed, full-colour maps (also included as jpegs for digital play) and over 15 interactive and eccentric NPCS. GRAB A CIDER AND JOIN THE REAP!
Mirefield is under attack! The Yellowspittle Kobolds have begun to leave the Silverdark Woods, and it's up to the Heroes to take the fight to them and uncover the reason for their sudden aggression.
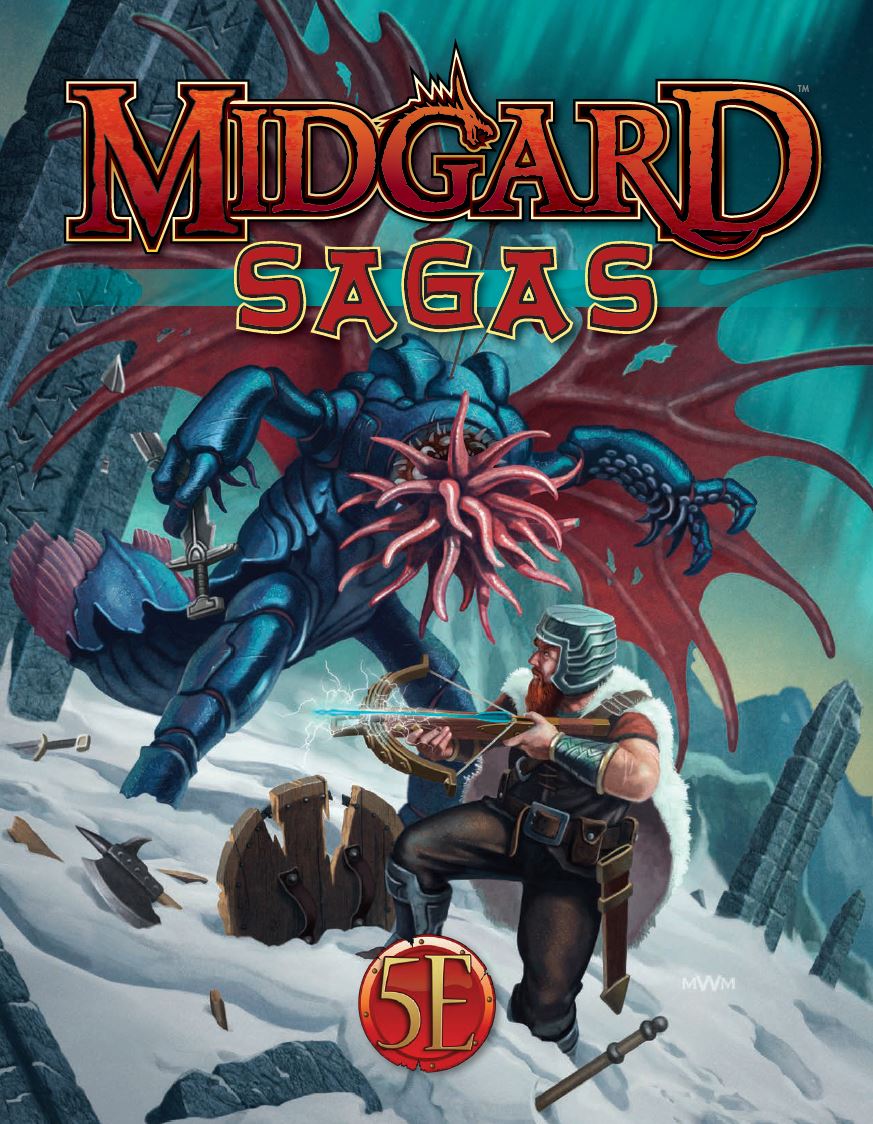
In the thriving city of Zobeck, a breakdown of the vital Puffing Bridge is throwing a wrench into the entire city. Workers can’t reach their jobs, merchants and goods can’t reach markets. In short, if this problem isn’t fixed quickly, there’ll be chaos in the Free City. Of course, this isn’t a simple mechanical breakdown but an act of sabotage, and the saboteurs are still at work when characters arrive to investigate.

While camping in the wilderness, the characters find a tracker surrounded by wolves. Once the heroes dispatch the beasts, the tracker reveals that she is seeking aid in the fight against the darkness enfolding her community, Silver Lake. Should the characters help, they find the village terrorized by lycanthropes that hail from a tiny island rising from the mist-shrouded lake.The island is a fey crossing, and heroes who set foot on it find themselves in the Feywild, where a war is brewing; the lycanthrope clans are at each other’s throats, and many are turning their feral eyes outward to the rich lands beyond their secluded valley. To avert an unimaginably savage war, the heroes must rescue a werewolf lord from his captors and expose the conspiracy that threatens to drench the Feywild in blood...
Jobel the genie was famous for his bejeweled creations. But when a job to build a wizard’s tower took a turn for the worse, Jobel was imprisoned in a massive gemstone and buried deep within the earth. For one hundred years, the genie plotted his escape, using subtle magics, and slowly, he was able to work the gem toward the surface, where he’d be much more likely to be found and freed.

A fiend lurks among the Black Blade goblins. A shapeshifting barghest fashioned by the General of Gehenna to exact revenge on all goblin-kind. It’s aim: to kill as many goblin leaders as possible… A masked goblin approaches the party asking for help. Two tribe leaders are dead. But a rival for chief has control of the crime scene. Will the party discover the barghest among the goblin ranks? Can they stop this imposter before it strikes again? Adventure Overview The adventure’s story is spread over 4 parts and takes approximately 4 hours to play. The adventure begins with a Call to Action scene. Part 1: Goblin Politics. Krill sends his emissaries to implore help from any strong intermediary. The party is asked to investigate the murder of Thrawn in Dringly’s lair. This is Story Objective A. Part 2: The Opposition. Gain entry into Dringly’s lair and investigate the murder of Thrawn. Gather enough evidence to find the killer. This is Story Objective B. Part 3: To The Lair! Now that the players have determined the barghest (Yeep) is to blame, they need to get to Krill’s lair quickly as he is in imminent danger. This is Story Objective C. Part 4: The Barghest.When the players arrive at the lair, they need to get to Krill and expose and defeat the barghest. This is Story Objective D. Adventure Background A barghest named Yeep has begun its onslaught of attacks against the Black Blade goblins. Starting with Chief Gnar, then his second in command Thrawn, the barghest is moving methodically down the line of command. Krill is now chief. But he has some problems: Two leaders of the Black Blades are dead. Who killed them and why? Is he next? Dringly, the next in command, has decided to take his lair for himself, declaring himself Chief of the Black Blades. Who are the Black Blades? The Black Blades are a tribe of goblins in the local area. They are known for dipping their blades in a dark black substance. It is rumored these blades are poisonous. The Black Blades regularly attack passersby on the road to rob them. The Black Blades have two lairs, one run by a chief who leads the whole tribe, and another overseen by a boss lieutenant. The Black Blades have a well-established pecking order which is how Krill stands to become chief. The next in line is Dringly, who has also declared himself chief and wants Krill dead. Krill suspects that there is something suspicious about two leaders being killed within a day of each other, but he has already burned Gnar’s body without any investigation. He needs to investigate the body of Thrawn, but it is in Dringly’s lair. Krill wishes to avoid direct confrontation with Dringly at the present for three reasons: 1) Any violence would only kill his own tribe members and further divide the lairs. 2) He believes there is still hope for negotiation to reunite the Black Blades. 3) He believes that if he were to attempt negotiations himself, Dringly would kill him. This adventure features: Two maps. Ready for your favorite Virtual Tabletop. A full color pdf. A black and white pdf. One custom monster, a reprint of barghest, all others available in the Monster Manual. Four hours of entertainment involving: roll playing a goblin bard, investigating a murder scene, tracking down a barghest before it strikes again. Applicable to any setting.
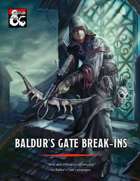
Baldur's Gate Break-Ins collects three heist and infiltration adventures for characters of levels 3-5, for use as a continuation of Burial in Baldur's Gate or as standalone modules. This collection fleshes out several locations around Baldur's Gate, providing adventures in every quarter of the city: Crash the world's worst dinner party in Eomane House! Contend with a criminal operation, a murderous raid, and a Feywild crossing in Jopalin's! Break up a blood-drenched cultist lair in Hamhocks Slaughterhouse! This book includes adventure hooks for running each location separately or as part of a campaign, a guide to running heist and infiltration adventures, three possible group patrons for the party, maps and rosters for each location, more than a dozen creature and NPC stat blocks, and a map pack with player and DM maps by Dyson Logos.

*THIS IS A D&D NEXT/5E PLAYTEST ADVENTURE* Imani, a Turmishan wizard and former adventurer, seeks the aid of heroes to infiltrate Dretchroyaster’s lair and recover the Diamond Staff of Chomylla—the key to powerful magic and wisdom locked away for thousands of years. In addition to his own sagely interest in the lore of lost Uvaeren, Imani recognizes the dangers of such powerful magic falling into evil hands. The dracolich has secured the staff in his lair’s cen- tral chamber, using ancient wards of protection that can be bypassed only by four artifact-idols once belong- ing to a cult of Bhaal. Each group of adventurers enters the dungeon through a different section of the dun- geon—a forgotten temple of Bhaal, a vast underground lake, a troglodyte village, or Dretchroyaster’s vaults. Dretchroyaster’s lair is no simple set of caverns and ancient ruins. It sits atop a source of great power and energy, which the dracolich and his Cult of the Dragon allies hope to use to unlock the secrets of the staff. Only by undertaking a unified assault against Dretchroyas- ter’s lair can the adventurers hope to recover the Diamond Staff and survive the dracolich’s fury. The adventurers must make their way through the lair and recover the Bhaalite idols that will help unlock the Diamond Staff, all the while dealing with the lair’s creatures and avoiding the dracolich as he pur- sues intruders. Entering the Chamber of the Diamond Staff, the heroes must overcome its magical wards and claim the staff before being slain by the dracolich and his servants.