
When Treason Walks the Land... Trouble stirs in Dunador! The King lies dead of a wound received during a hunting expedition. His brother, Lord Edrin, challenges the rightful Crown Prince, a half-trained young man named Edmund, for possession of the throne while Edmund travels on a pilgrimage to the holy shrine of Nevron. Forces throughout the kingdom vie for control of the realm. Can the player characters find the Crown Prince and protect him from the treacherous forces at large in Dunador? N3: "Destiny of Kings" (1986), by Stephen Bourne, is the third adventure in the novice series for AD&D. It's up at the upper end of what could be considered "novice" play, though, with the pre-rolled characters being 3rd and 4th level. It was released in February 1986. Like N2: "The Forest Oracle" (1984), this adventure is offered as a generic adventure, not specifically based in any existing AD&D setting. Suggestions are given in the conversion guide to place the adventure in the Forgotten Realms. Out of the Dungeons. One of the most impressive elements of N3 is its complete lack of dungeons. Instead - as was increasingly the case by the mid 80s - the players are heavily embroiled in a plot. They must find the prince of Dunador and return him home safely. Elements of investigation and intrigue thus find their way into the game. There is also some opportunity for wilderness adventure - a quality that was also becoming more common in AD&D by the mid-80s. Future History. A decade after its original publication, Wizards of the Coast updated "Destiny of Kings" to 2nd edition AD&D and reprinted it (1998). It was one of the few classic adventures to receive this treatment. This conversion guide allows DMs to run the original module with 5th Edition rules and provides a reference sheet for encounters. To use this conversion guide you will need a copy of Destiny of Kings, originally available in hard-copy and now for sale in digital format at the DMs Guild.

Amunrahx the Intrepid is your typical red dragon, with one important difference. He draws power both from the size of his hoard and the amount of trade and commerce flowing through his domain. Amunrahx is a Tyrant—proud, egotistic, and self-centered. “The Intrepid” is a self-given title. He is powerful and dangerous, but he is no match for a party of heroes and can’t stand up to an army on his own. Amunrahx depends on minions and lieutenants to deal with obstacles and constantly seeks to acquire more forces. As his domain grows, he gains ever-greater influence over the surrounding economy, creating a vacuum of wealth and skilled talent that chokes the life out of nearby cities while Amunrahx lounges and savors his victory. Tyrants and Hellions is a Dungeon Master's aide, containing fifteen villains complete with schemes, lairs, backstories, and everything else you need to drop them into your own 5th Edition Dungeons & Dragons campaign. Within its 400 pages you'll also find the methods, both mechanical and thematic, used to create villains that spark the imaginations of your players. Amunrahx is one of these villains, and his adventure takes up 33 pages (pg 74-93). Published by 2CGaming

The town of Ylraphon on the border of the Flooded Forest has been targeted by the yuan-ti. One of them has uncovered an ancient ritual to change the people of the area called the Old City into their servants. Can the adventurers stop the yuan-ti in time? The whole of the Moonsea may be at risk if they fail. Published by Mount Ogden Gaming Company.

This beginning level adventure pits your PC party against humanoid thugs who have found a nice niche in a narrow pass headed to HAVENDALE. Adorning the pass is a rock formation that appears to be a large skull thereby giving its name to the pass. These humanoids are led by a large Ogre named Roark. The mayor of Feastelburg has placed a bounty on the head of Roark and his evil minions. Is your party strong enough to rid the area of this menace?

Imprisoned in the first layer of Hell a group of unfortunate adventurers must find their way out amidst the chaos of the Blood War. Will they escape before the Lord of the Keep finds them? Well, only time will tell...
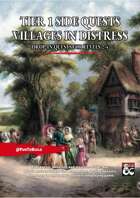
The poor village of Bunting Freely, somewhat off the beaten track, is suffering from an oral health crisis. The villagers are plagued by overly aggressive Tooth Fairies due to a confluence of events in recent history.
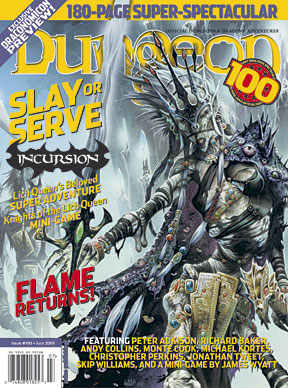
The PCs follow the trail of some particularly competent kobold thieves to the lair of a dragon cult deep in the swamp. There they discover efforts underway to grant sentience to the skeleton of a powerful red dragon once named Flame. Eventually the PCs determine that trouble has returned to the Western Mountains in the form of a band of fire giants ruled by a clone of the original red dragon named Flame.
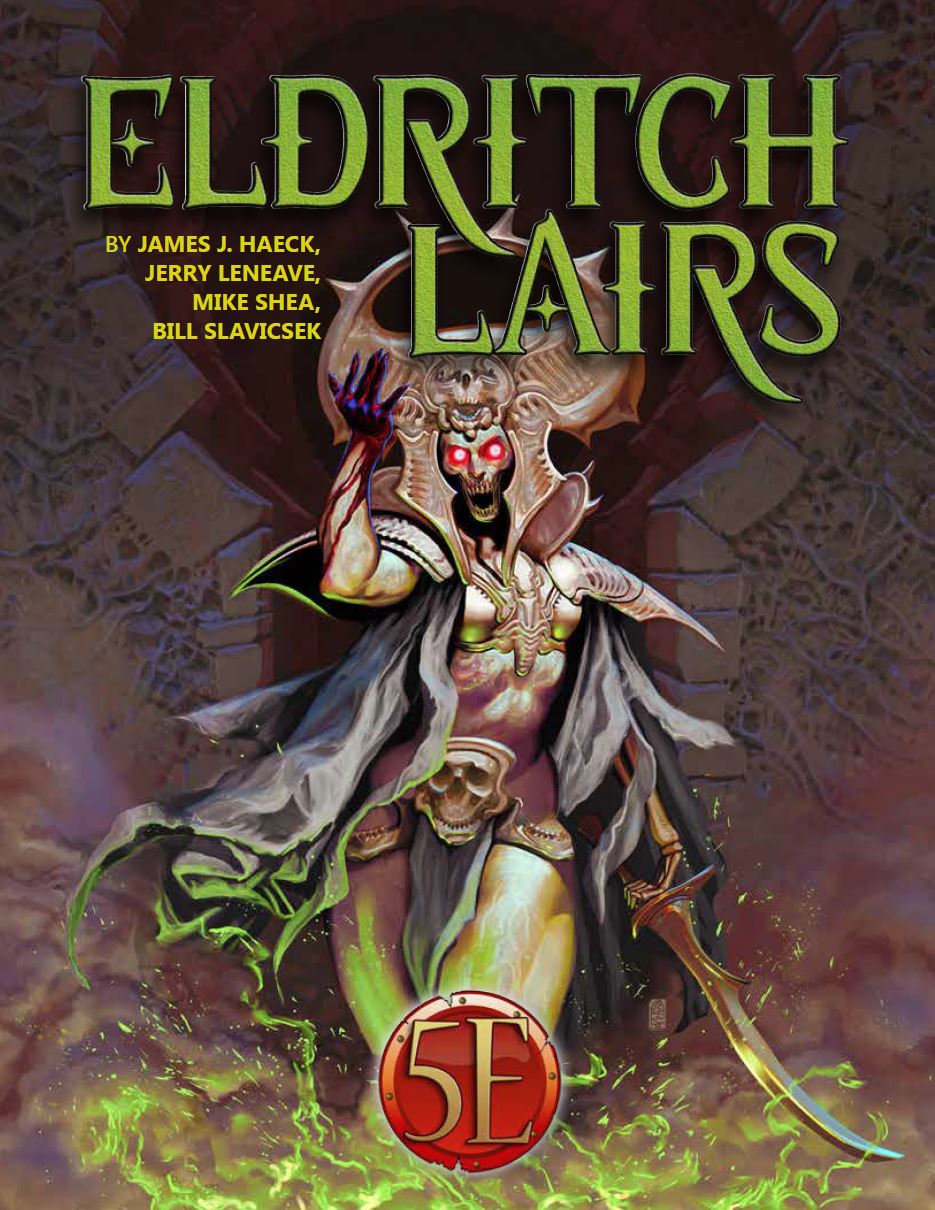
Within the darakhul city of Gonderif, at the nadir of a thousand‑foot‑deep chasm, is the site of a vile tournament where Gonderif ’s most rebellious slaves and war prisoners are forced to fight to the death—and through undeath after undeath—until only one living champion remains. Whether they came as captives or as liberators, the PCs must survive the Undying Tournament.

Tucked away in the Springwood Forest is the Elven settlement of Silvantri. The town is filled with those Elves who left their ancestral home in the Treetop Forest. The community is elevated and suspension bridges link the buildings together. This setting will allow those enjoy Elven backgrounds to further their joy.
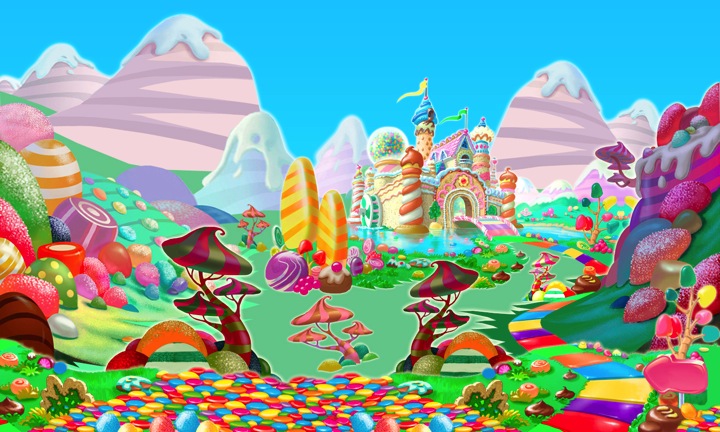
Welcome to Assault on Gumdrop Mountain. This is designed to be a fairly tough adventure for 5th and 6th level Dungeons and Dragons characters using the 5th edition of rules. In it, the characters wade into such nasty circumstances that only the assistance of a hallucinogenic elixir makes it possible for them to act at full capability. While under the effects of the drug, the characters perceive the world as a candy-infused landscape and monsters as sugary assailants. The adventure is broken into 9 fairly small chapters containing one significant event or a connected series of small events.

The final installment of the three-part Rock Con ’17 convention is here! Can the heroes enter the stronghold of the brazen thief and recover the final tome? The challenge is high but the stakes are much higher for failure!

Something evil is devouring the souls of the living in Chult, but before the characters take on the horrors in Tomb of Annihilation, they must first uncover the death curse’s origin by braving a lich’s tower in the Cloakwood. This introductory adventure is designed for a party of four to six 1st-level characters, who should advance to 2nd level by the adventurer’s conclusion. It is a prelude to Tomb of Annihilation that should take about 2 to 3 hours. This product includes Fantasy Grounds files for the adventure. What Inspired Cellar of Death? The introduction of Tomb of Annihilation states Syndra Silvane learned about the Soulmonger from the Harpers, who “received their intelligence from a lich.” This adventure is the story of how the Harpers gathered that information. Cellar of Death has a second purpose: to give characters a greater stake in the outcome of Tomb of Annihilation by creating an NPC they love. The death curse kills this NPC, giving the characters a personal reason to go to Chult.

A fiend lurks among the Black Blade goblins. A shapeshifting barghest fashioned by the General of Gehenna to exact revenge on all goblin-kind. It’s aim: to kill as many goblin leaders as possible… A masked goblin approaches the party asking for help. Two tribe leaders are dead. But a rival for chief has control of the crime scene. Will the party discover the barghest among the goblin ranks? Can they stop this imposter before it strikes again? Adventure Overview The adventure’s story is spread over 4 parts and takes approximately 4 hours to play. The adventure begins with a Call to Action scene. Part 1: Goblin Politics. Krill sends his emissaries to implore help from any strong intermediary. The party is asked to investigate the murder of Thrawn in Dringly’s lair. This is Story Objective A. Part 2: The Opposition. Gain entry into Dringly’s lair and investigate the murder of Thrawn. Gather enough evidence to find the killer. This is Story Objective B. Part 3: To The Lair! Now that the players have determined the barghest (Yeep) is to blame, they need to get to Krill’s lair quickly as he is in imminent danger. This is Story Objective C. Part 4: The Barghest.When the players arrive at the lair, they need to get to Krill and expose and defeat the barghest. This is Story Objective D. Adventure Background A barghest named Yeep has begun its onslaught of attacks against the Black Blade goblins. Starting with Chief Gnar, then his second in command Thrawn, the barghest is moving methodically down the line of command. Krill is now chief. But he has some problems: Two leaders of the Black Blades are dead. Who killed them and why? Is he next? Dringly, the next in command, has decided to take his lair for himself, declaring himself Chief of the Black Blades. Who are the Black Blades? The Black Blades are a tribe of goblins in the local area. They are known for dipping their blades in a dark black substance. It is rumored these blades are poisonous. The Black Blades regularly attack passersby on the road to rob them. The Black Blades have two lairs, one run by a chief who leads the whole tribe, and another overseen by a boss lieutenant. The Black Blades have a well-established pecking order which is how Krill stands to become chief. The next in line is Dringly, who has also declared himself chief and wants Krill dead. Krill suspects that there is something suspicious about two leaders being killed within a day of each other, but he has already burned Gnar’s body without any investigation. He needs to investigate the body of Thrawn, but it is in Dringly’s lair. Krill wishes to avoid direct confrontation with Dringly at the present for three reasons: 1) Any violence would only kill his own tribe members and further divide the lairs. 2) He believes there is still hope for negotiation to reunite the Black Blades. 3) He believes that if he were to attempt negotiations himself, Dringly would kill him. This adventure features: Two maps. Ready for your favorite Virtual Tabletop. A full color pdf. A black and white pdf. One custom monster, a reprint of barghest, all others available in the Monster Manual. Four hours of entertainment involving: roll playing a goblin bard, investigating a murder scene, tracking down a barghest before it strikes again. Applicable to any setting.

Sometimes protecting the cargo is easy but getting the pay not so much. Work has been scarce, coin hard to come by, armor needs maintenance, weapons need to be sharpened and food is needed in the belly. Monsters on the road, on the other hand, are more and more common.
The village of Wistil is known for only two things: amiable halflings and tasty red apples. Someone has spoiled this year's crops and the halflings are scrambling to figure out how to respond. A band of stout folk set out from the town searching for answers; but, they have gone missing. The heroes are called in to investigate. Includes a random encounter sidebar, an overland map, and a map of the hill giant's hovel.

Greetings! I've created a sea-themed supplement that you might find uuseful: Encounters on the Savage Seas is a 100-page supplement containing mini-adventures, NPCs, new ships, locations, and magic items. In all, the writers have produced 19 unique encounters, NPCs, and locations for you to add to any nautical campaign. We’ve even included scaling suggestions so they can be used with different party levels. •Visit the township of Badu - the village riding on the back of a gigantic dragon turtle •Encounter space pirates •Interact with goblin pirates commanding strange water vehicles •Roleplay with Loan Sharks •Endure the Fog of Horrors •and so much more.... You can view the 30-page preview by clicking this link:https://www.dmsguild.com/product/270757/Encounters-on-the-Savage-Seas Also, go grab my FREE playable race: Otterfolk: https://www.dmsguild.com/product/267692/Otterfolk I hope you enjoy the content if you pick it up!
A little beer, a little trouble, a little party on the rubble. Can't a half-ogre find a little peace in the riverside town full of adventurers, bigots, and thieves? "'Trouble at Grog’s' presented something no one ever expected to see: a sympathetic half-ogre. All Grog wanted to do was settle down as proprietor of the Happy Half-Ogre Inn and Tavern. Little did he know his success would rub the competition the wrong way, leading to some 'inn-fighting' with the owner of the rival Dagger Rock Tavern, Yuri Kineron." - Christopher Perkins Pgs. 41-64
"Doom Croaker's Branches" is a lindwurm lair suitable for four or five 4th level characters. This adventure can be completed in one session.
Smoke still rises from the shattered buildings and ruined streets of the troubled town of Cauldron, yet if not for the actions of a band of heroes, it would not exist at all. A sinister cabal of cultists bent on plunging Cauldron into the prison plane of Carceri had awakened the volcano below the town, and amidst the attacks of dragons and fiends from the outer planes, these heroes were able to evacuate the city and then strike at the cultists in their lair near the volcano's heart. Now, this cult, the Cagewrights, lies shattered, their members put on the defensive for the first time. All that remains is to finish the job, but the surviving Cagewrights still have some surprises left in their mysterious stronghold under the snake-haunted ruins of Shatterhorn. "Strike on Shatterhorn" is a Dungeons & Dragons adventure designed for four 18tth-level characters. This adventure is part of the Shackled City Adventure Path that began with "Life Bazaar" (Dungeon #97) and continued with "Flood Season" (Dungeon #98), "Zenith Trajectory" (Dungeon #102), "The Demonskar Legacy" (Dungeon #104), "Test of the Smoking Eye" (Dungeon #107), "Secrets of the Soul Pillars" (Dungeon #109), "Lords of Oblivion" (Dungeon #111), "Foundation of Flame" (Dungeon #113), and "Thirteen Cages" (Dungeon #114). The Adventure Path concludes in Dungeon #116 with "Asylum." Pgs. 56-82

A hideous hag threatens to corrupt everything it can, including a young bronze dragon who protects this stretch of coastline. The heroes must stop Dread Shelan at all costs, lest the entire area come to ruin. Can the brave adventurers defeat Dread Shelan and her pet sahuagin? This package (adventure, maps, etc. within) forms a complete module for use with Dungeons & Dragons ® 5th Edition rules. It is especially designed for Dungeon Masters to initiate play with a minimum of preparation, and to invoke that OSR look and feel you remember from the original Saltmarsh back in the 80s. In addition to descriptive and situational material, this module also includes special informational sections giving background history and legends, listings of possible monsters and treasures and how to place them, a list of adventuring characters, tips on various aspects of play for the Dungeon Master, and helpful advice for starting players. Old School Look and Feel! Instructions given for scaling the encounters for levels 5 to 10.