
A group of young islanders have been snubbed by the village elders as they move off to protect their island. Their dispair doesn't last long as they quickly find themselves facing foes of their own! After boarding a small fishing boat the group quickly finds themselves sucked into the swirling currents where adventure finds them! The original PCs are included!

Dutch "Boss" Tillinghast, leader of the Sea Lord's Guard, is as corrupt as he is powerful. When his disloyal and understaffed Guard fail to capture a magic-using thief, Tillinghast turns to mercenaries--i.e., the PCs. "Thieves and Liars" is a short "interlude" adventure designed to be played between Terror in Freeport and Madness in Freeport.

The ancestral swords of a powerful lord have been stolen! In the dark of night, on the eve of battle, a shadowy figure crept into Lord Kunemura's chamber and made off with the most potent symbols of his power and lineage. Worse, Lord Kunemura had declared war on his old enemy, Lord Shotokami. The imminent battle will be decisive, and the future of Lord Kunemura's lands and family hang in the balance.
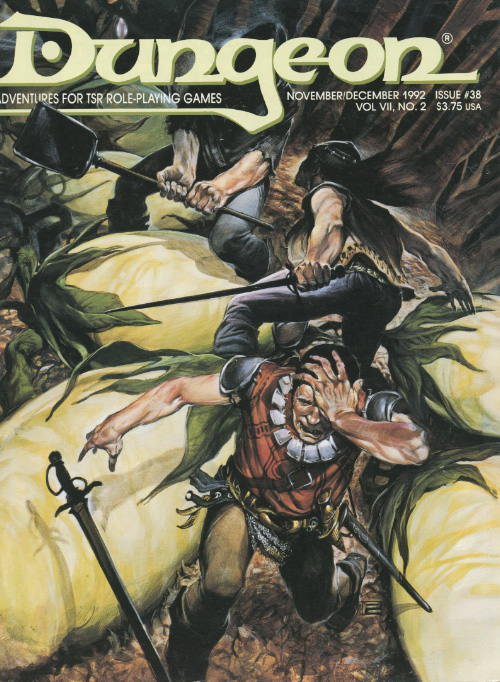
A boxful of trouble. Sugar and spice and everything nice, that's what little girls are made of - but not this one! Think of this short adventure as 'Home Alone' meets AD&D. An apprentice to the town's wizard accidentally got into the cursed items while her teacher was away. Now she's acting strangely and playing a dangerous game of hide and seek with the party! Pgs. 44-47

"Dreams Within Dreams" provides a group of heroes with the first hints that ther eis something more to dreams and nightmares than images caused by eating a big meal right before bedtime. It brings them into contact with the first level of reality. One here who experiences a nightmare also catches the interest of Hypnos, a member of the Nightmare Court. This leads to another revelation - dreams can have profound and even dangerous affect on the waking world. Adventure I: Dreams Within Dreams From Book Three: Book of Nightmares: https://www.adventurelookup.com/adventures/the-nightmare-lands TSR 1124

The Haunted Hamlet and other hexes details four unique modular locations for your game. Made for old school essentials, but can easily be used with other old-school systems or even 5E. The four locations detailed in the zine focus on gameable content and being easy to use at the table. The locations are not connected to one another and can be sprinkled onto your campaign map however you like, or run as one shots. The PDF is graphic and art heavy and utilizes random tables and other tools to make it easier for GMs to run in a pinch. Details: 40 pages Single column text 8.5 x 5.5 aspect Black & White Bookmarks Four hex locations Random tables A rival NPC party A sky merchant A one page town Two hirelings

A D&D 5e adventure set inside Shakespeares’ Romeo& Juliette. Enter Verona and Investigate what caused the Capulet mansion to sink underground and become a cursed hellscape Play as your characters or use the pre-generated characters (including Mercutio the tiefling warlock, Rosalind the elven wizard, Balthasar the halfling rogue, and more). You don’t need to know Shakespeares’ Romeo and Juliette to enjoy this dungeon dive but it helps :-) This product includes: The Adventure Printer-friendly character sheets A high Res map for VTT
The Bark Witch of Carcass Country is a procedural pointcrawl for FRONTIER SCUM. It consists of tables encompassing: Adventure hooks to lure scum to the swamp Antagonist motivation to add depth and guide the story Locations that provide (un)safe spaces for PCs Exploration via an overloaded, exploding encounter table that escalates the plot Mundane and strange creatures with full stat blocks Signs of the Bark Witch to sow dread and chaos The module can be run purely randomly, as a pick-and-choose toolkit, or anywhere in between. Depending on the rolls and approach, it works as a one-shot or a multi-session adventure. The Bark Witch of Carcass Country is an independent production by Walton Wood and is not affiliated with Den of Druids. It is published under the FRONTIER SCUM Third-Party License. FRONTIER SCUM is copyright Den of Druids

The Archpriest, leader of the Church, has defied a summons to the Immortal Capital. You have been chosen to retrieve the recalcitrant pontiff. Kidnap the Archpriest is designed to be an implicit tutorial for diplomacy, stealth, theft, bluffing, and cunning. It is a system-less, setting-less heist module featuring: a city (with a map) a fortress (with interior and exterior maps) two hectic days and nights a guide to designing your own heists. glorious black and white art by Luka Rejec scheming cardinals, frantic servants, and secret plots By the author of the CoinsandScrolls blog and Tomb of the Serpent Kings.
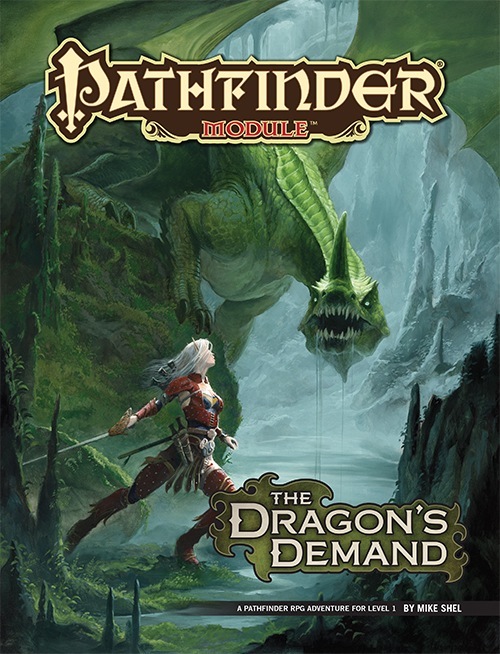
Founded by a famous dragonslayer, the small town of Belhaim has become a sleepy rural community just off the beaten path, a settlement where everyone knows everyone and strangers are the talk of the town. But when Belhaim’s peace and quiet is shattered by the sudden collapse of the last standing tower of its founder’s castle, things quickly bloom out of control. Why were there bodies of kobolds amid the rubble? What’s the sinister secret behind the strange sounds of flapping wings in the night? And what’s happened to local wizard Balthus Hunclay, who’s not answering knocks on his door? The collapsed tower had long been an eyesore to the cantankerous old man—could he have had something to do with its destruction? And what of the rumors of strange stirrings in nearby Dragonfen? Has Belhaim’s ancient draconic nemesis returned?

The country of Rhyl has been beset nearly every night for many years by a large, terrible creature that flies out from the mountains near the city of Asereht. Nearly a year ago the creature broke through the wall of King Namreh’s castle and carried off the king’s son, Prince Laechim, along with a large amount of the royal treasure. After the creature’s raid on the castle, King Namreh ordered his army to search the mountains and discover Astylis’ complex. The soldiers made two forays into the mountain wilderness, but each time were harassed and eventually driven back by goblin raiders. Since the failure of the second assault, the king has taken to commissioning small parties of mercenaries and adventurers, sending them into the mountains with promises of great reward upon the completion of the rescue mission. For reasons which the king has never found out, none of these rescue parties has ever returned to Asereht. Your party is now attempting to be the first. Pgs. 37-44
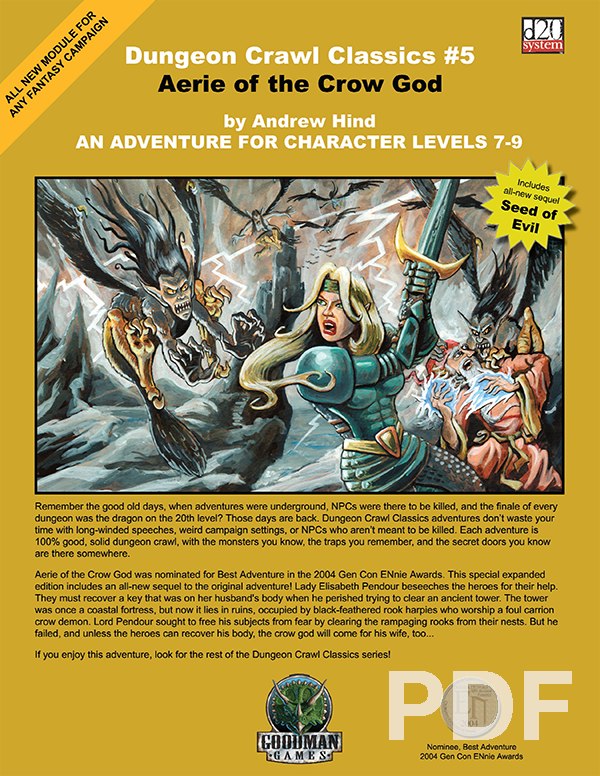
Lady Elisabeth Pendour beseeches the heroes for their help. They must recover a key that was on her husband’s body when he perished trying to clear an ancient tower. The tower was once a coastal fortress, but now it lies in ruins, occupied by black-feathered rook harpies who worship a foul carrion crow demon. Lord Pendour sought to free his subjects from fear by clearing the rampaging rooks from their nests. But he failed, and unless the heroes can recover his body, the crow god will come for his wife, too…
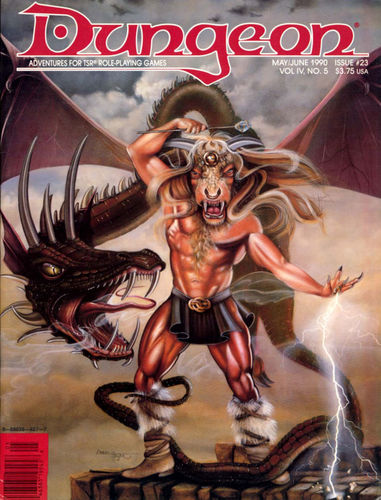
Looks can lie as well as words. Magical minotaurs? Mutant giants? Vampires? One or more of these is preying upon the caravans, and you're going to stop them. A band of ogre magi took over an abandoned dwarven stronghold and have started ambushing merchant caravans. Their leader, Krugii, wants to gain enough power to eventually control a kingdom. In his quest for power, he has bonded a young bronze dragon and has accelerated its growth. The ogre mages all have different personalities and different forms that they prefer to polymorph into. The PCs are hired to take a caravan through Deception Pass and protect it against the random monsters that have been marauding lately (actually ogre mages in disguise). After protecting the caravan, the players track the attacks back to the stronghold of the ogre magi and clear it out. Pgs. 40-62
A side-quest adventure - An abandoned keep in the forest provides a exploration sidequest, and an excellent base of operations for your party once cleared. Includes a great new monster and mechanic to repair the keep. Published by Limitless Adventures

A fiend lurks among the Black Blade goblins. A shapeshifting barghest fashioned by the General of Gehenna to exact revenge on all goblin-kind. It’s aim: to kill as many goblin leaders as possible… A masked goblin approaches the party asking for help. Two tribe leaders are dead. But a rival for chief has control of the crime scene. Will the party discover the barghest among the goblin ranks? Can they stop this imposter before it strikes again? Adventure Overview The adventure’s story is spread over 4 parts and takes approximately 4 hours to play. The adventure begins with a Call to Action scene. Part 1: Goblin Politics. Krill sends his emissaries to implore help from any strong intermediary. The party is asked to investigate the murder of Thrawn in Dringly’s lair. This is Story Objective A. Part 2: The Opposition. Gain entry into Dringly’s lair and investigate the murder of Thrawn. Gather enough evidence to find the killer. This is Story Objective B. Part 3: To The Lair! Now that the players have determined the barghest (Yeep) is to blame, they need to get to Krill’s lair quickly as he is in imminent danger. This is Story Objective C. Part 4: The Barghest.When the players arrive at the lair, they need to get to Krill and expose and defeat the barghest. This is Story Objective D. Adventure Background A barghest named Yeep has begun its onslaught of attacks against the Black Blade goblins. Starting with Chief Gnar, then his second in command Thrawn, the barghest is moving methodically down the line of command. Krill is now chief. But he has some problems: Two leaders of the Black Blades are dead. Who killed them and why? Is he next? Dringly, the next in command, has decided to take his lair for himself, declaring himself Chief of the Black Blades. Who are the Black Blades? The Black Blades are a tribe of goblins in the local area. They are known for dipping their blades in a dark black substance. It is rumored these blades are poisonous. The Black Blades regularly attack passersby on the road to rob them. The Black Blades have two lairs, one run by a chief who leads the whole tribe, and another overseen by a boss lieutenant. The Black Blades have a well-established pecking order which is how Krill stands to become chief. The next in line is Dringly, who has also declared himself chief and wants Krill dead. Krill suspects that there is something suspicious about two leaders being killed within a day of each other, but he has already burned Gnar’s body without any investigation. He needs to investigate the body of Thrawn, but it is in Dringly’s lair. Krill wishes to avoid direct confrontation with Dringly at the present for three reasons: 1) Any violence would only kill his own tribe members and further divide the lairs. 2) He believes there is still hope for negotiation to reunite the Black Blades. 3) He believes that if he were to attempt negotiations himself, Dringly would kill him. This adventure features: Two maps. Ready for your favorite Virtual Tabletop. A full color pdf. A black and white pdf. One custom monster, a reprint of barghest, all others available in the Monster Manual. Four hours of entertainment involving: roll playing a goblin bard, investigating a murder scene, tracking down a barghest before it strikes again. Applicable to any setting.

Sometimes protecting the cargo is easy but getting the pay not so much. The caravan is already on its way, some disagreement with the guards makes them leave the cargo without protection midway. You are just in the right place to catch up fast and guard the wagons the last stretch home.

When the water source of the city-state of Guerino is poisoned and its citizens enchanted, a group of adventurers must follow the treacherous path deep into Mistfall Mountain and restore balance to the kingdom. Pgs. 91-97
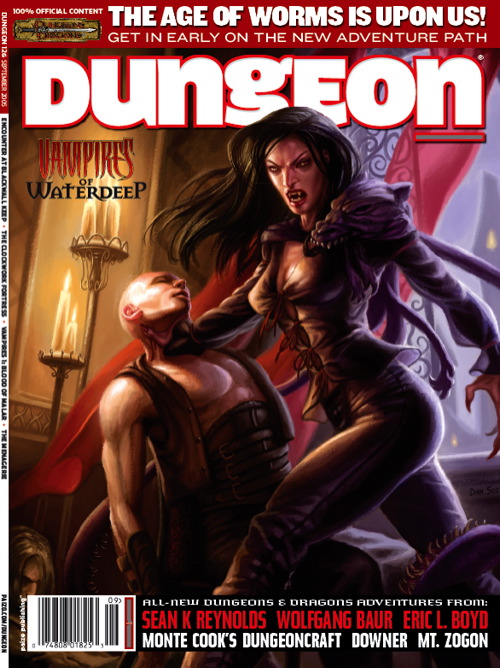
A mechanical man discovers his ancestral fortress has fallen to a lunatic derro, but something worse than mad derro haunts the Clockwork Fortress' gears. This adventure is a sequel to Dungeon Issue #115's "Raiders of the Black Ice," although you need not have run that adventure to enjoy "The Clockwork Fortress." Pgs. 42-61
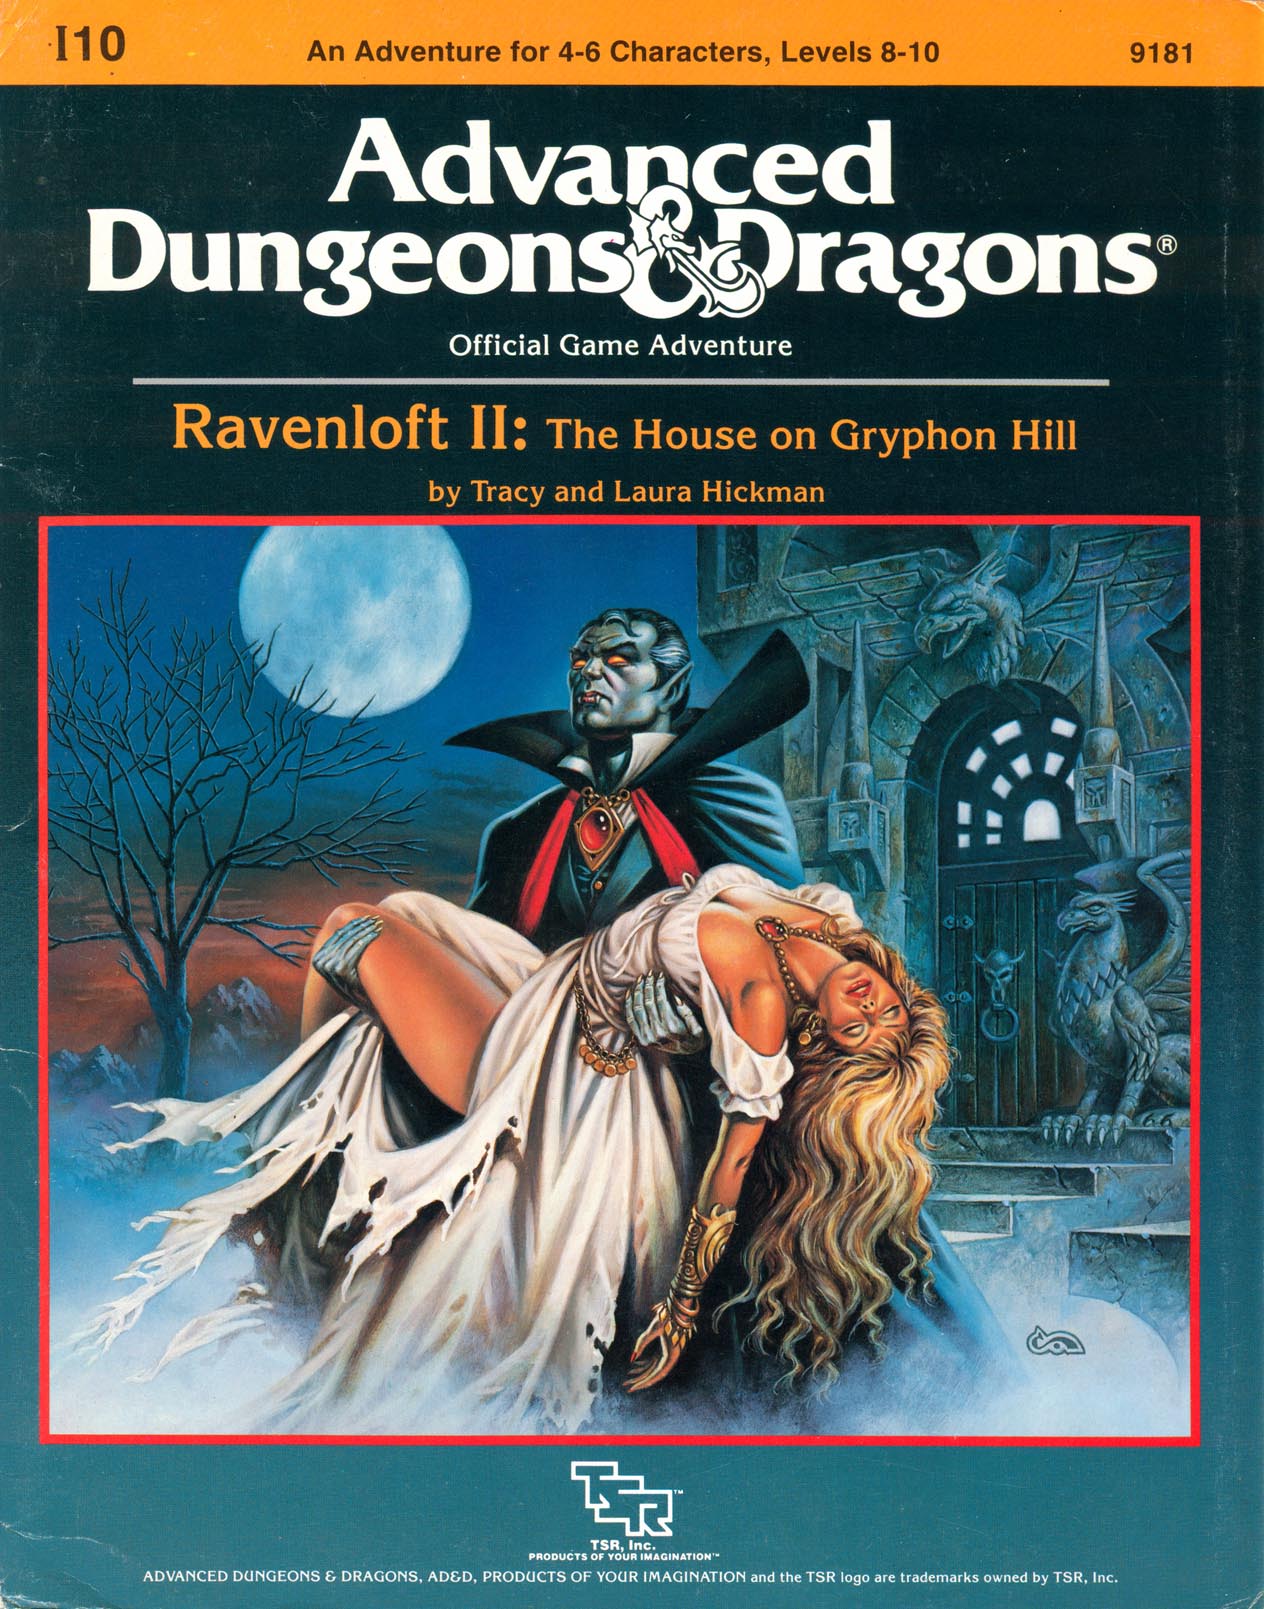
"I AM THE ANCIENT ... I AM THE LAND ..." Your screams still echo in your room. Cold sweat soaks the bedsheets and trickles down your back. It seemed so real! The great towers of a darksome place called Ravenloft ... it's misty vales and the terrible tragedy of a man who had sold his soul to unlife. Now the sunlight streams through the window with the promise of a new day. The dread nightmare at last is over. In the cold sunlight of a dying autumn, you step from your room at the inn and stroll along the friendly streets of Mordentshire. But, from the back of your mind the dream creeps forward to haunt you. Why do the faces of those who have befriended you now seem those of strangers? Why do those who called you here in terror, now seem to dismiss your task as a folly? More .. why are you advised so strongly, to forget about the House on Gryphon Hill ... the domain of the fair haired Count Von Zarovich, a name that cries out from your dark nightmare? You halt, as the swirl of events grow more confusing with every passing minute. Which is the dream ... and which the reality? TSR 9181

A plug in adventure that can be used as part of a larger campaign or run as a one shot for 3-4 Tier I characters (scalable for tier II characters) set in the Forgotten Realms. This adventure can be placed in other settings as well. The characters have learned of a new and young threat in the Mere of Dead Men. Sent to identify and solve the issue for the nearby people of the region there are multiple setups and information for continuing adventure within the Mere. The adventure comes with the following: 10 page PDF adventure file. 1 Regional Map of the Mere of Dead Men 3 Parchment style DM and Player maps ready for VTT use 3 Printer friendly DM and Player maps ready for VTT well as printer friendly DM and Player maps that are VTT ready 1” diameter tokens ready to be cut out for use in person as well as files for use in a VTT