
Kalzok the Minotaur pirate discovered an old smuggler's hold on a tiny island in the Nelanther Isles, not far from Nemessor. The island sits amid a dangerous archipelago encircled with scores of hidden shoals that is avoided by all but the most daring or foolish navigators. The area's waters are notorious for claiming the ships of unwary sea captains who tried to steer through the gauntlet of hidden reefs. This offering includes an overview of Kalzok's island along with the details of Kalzok's hidden lair.

A spirit is attacking a town — no one knows why, but they’re determined to be rid of her. The adventuring party is recruited to investigate. However, what appears to be a simple haunting turns into a story of justice. Pgs. 43-59
Under raging storm clouds, the vampire Count Strahd von Zarovich stands silhouetted against the ancient walls of Castle Ravenloft. Rumbling thunder pounds the castle spires. The wind’s howling increases as he turns his gaze down toward the village of Barovia. A lightning flash rips through the darkness, but Strahd is gone. Only the howling of the wind fills the midnight air. The master of Castle Ravenloft is having guests for dinner—and you are invited. Spans levels 1-10.

'Fierce' was written for the annual release of Fierce, a tasty Berliner Weisse, at Off Color Brewery in Chicago, Illinois. It's a one-shot intended for both beginner players and DM's, with the space for personal flair to be added or to be run as-is.

The party makes their way into a small mining village by the name of Skalintown. They quickly realize that the people here are terrified, hiding behind closed doors and peering out through boarded up windows. A gang of criminals that call themselves The Calamity have promised to destroy the city and everyone in it if they don't receive a tribute of twenty thousand gold by the end of the week. This is a poor town and even with everyone's wealth combined, it doesn't come close to that value . . . but they are fighters. Perhaps all they need to hold back these invaders is some help. The deadline is four days away and the closest town that would be able to help is three days travel one-way. Skalintown tried to reach out for aid, but no one cared enough to risk their own lives to help them. Now they must rely on your players for help. The party will need to rally the townsfolk and strategically decide how to prepare for the assault. Do they dig trenches to trip up enemy wolves, do they train the townsfolk to use crossbows, or perhaps they create explosives to detonate when the bandits make it into the city? Each of the party's decisions affect the final battle and means that every group will have a unique experience in their fight against The Calamity. This adventure is heavily influenced by the traditional Wild West shootout. Try to capture that feeling for your players by playing music of that era, in the way the townsfolk act and speak, and the way the town itself is operated. There are thousands of different options for the fight and if your players play their cards right, they make quick work of the gang and earn a pretty penny while they do so.
You are hired by a mine operator to retrieve the mine's gnomish engineer who has barricaded himself in the mine's lower reaches. But there's more going on than just a crazy gnome and his robots sabotaging the mine. You'll need to explore the forest, build alliances, and brave a rollercoaster ride on a mine cart to get to the bottom of this adventure (pun intended). This is a gamebook-style solo adventure that you can play in your browser. You make a 2nd level character sheet, roll your own dice, keep up with your inventory, spells, and HP, and are on your honor to be honest. It's all text-based with some public domain illustrations, and you click on options as you make decisions and roll the dice.

This couldn’t get worse. The key you are searching for has fallen into the hands of the eye tyrant of Skullport himself. Now you just need to rob Xanathar without getting disintegrated. Part Three of the Skullport Shakedown trilogy. A 2-4 Hour Adventure for Tier 2 Characters. Optimized For: APL 8
Into the shadows. You must brave the perils of the Shadow World to keep a tighmaevril weapon from the wicked clutches of the Gorgon. PCs are recruited to help a noble and his halfling friend find a weapon with immense power, called bloodsilver. Includes a sidebar for adapting the adventure to another setting, an overland map, and a map of the ruins Pgs. 8-31 & 69

Important: The adventure is 1e but it has monster conversion notes for D&D 4th edition The town of Highport, once a human community overlooking Wooly Bay from its perch on the northern coast of the Pomarj, fell prey to hordes of humanoids swarming out of the jungle-covered hills surrounding the settlement. Though the orcs, goblins, kobolds, ogres, and gnolls razed much of the place in their ferocious rampages, the smoldering ruins they left behind soon became a new kind of community, a place of trade between the humanoid “locals” and the unsavory human traders who have no compunction about doing business with them. Slaves are a commodity in ready supply in Highport’s market, since many pirates raid up and down the coast of the bay, putting fishing villages to the torch and filling their holds with captured refugees. Slavery has become a thriving business in the town, and rumors abound of a cartel of Slave Lords who run things from behind the scenes, filling their coffers in secret from the buying and selling of human chattel. The trade has become so prolific that the good folk to the north have grown tired of these depredations and decided to fight back. Forces of righteousness and honor have recently descended upon Highport, some openly and others in secret, in various attempts to destroy the machinations of the Slave Lords and abolish the abominable enterprise that has taken far too many loved ones from home and hearth. One such doughty servant of goodness is Mikaro Valasteen, a cleric of Trithereon. Mikaro slipped unnoticed past the crumbling walls of Highport with a single mission: to rescue and transport as many slaves to their freedom as possible. Mikaro and a handful of faithful assistants located a number of escaped slaves—as well as rescued a few more not sufficiently restrained and guarded—and shepherded them through the gates and beyond the reach of their humanoid tormentors, returning them to their lands and homes. This covert freedom brigade enjoyed remarkable success early on, since the servants of the Slave Lords were often lax in their vigilance and sloppy in their efforts to prevent loss of the “merchandise.” After one too many shipments never made its destination, the humanoids stepped up their security and the normal channels of escape from Highport closed to Mikaro and his team. He cannot risk exposure by smuggling the freed slaves through the gates as merchandise any longer, since shipments of goods are now regularly stopped and checked. No longer able to free the slaves in that manner, Mikaro began hiding his charges in an abandoned villa in a particularly rundown part of the town. Although they are safe for the moment, their numbers have grown unmanageable, and the priest fears it is only a matter of time before someone slips up and brings slavers to their doorstep. Ever more desperate to find a new means of escape from Highport, Mikaro has started work on a plan that is both daring and dangerous. He intends to use a series of old sewers coupled with natural caverns running beneath the town as an escape route to the sea beyond the walls. But he needs someone to clear out the creatures and pitfalls he knows lie within. Pgs. 2-27
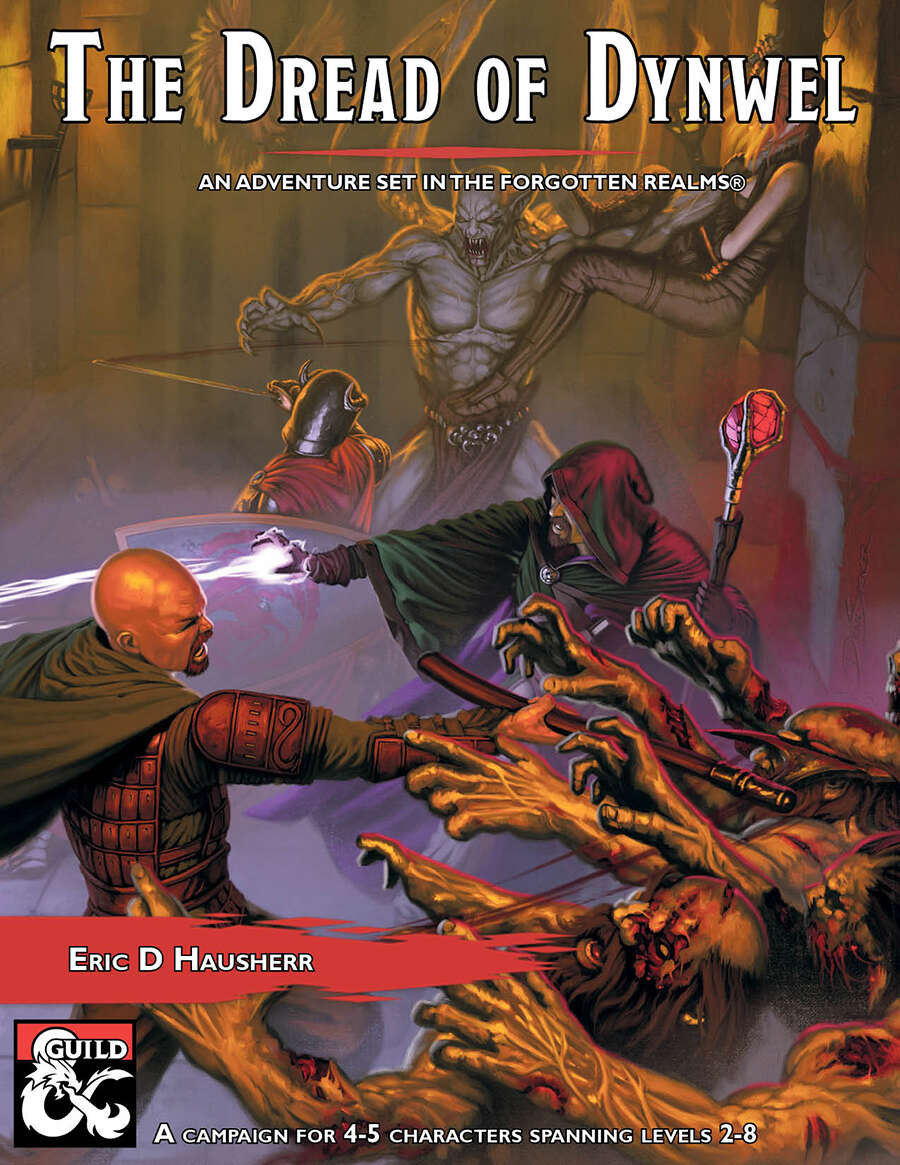
The Dread of Dynwel is an adventure set in the Forgotten Realms and optimized for 4-5 players. The characters start as a down on their luck but somewhat experienced crew of adventurers with a wanted poster which pays a much-needed gold reward. Soon, events in the Sunset Vale are revealed as more dangerous than they seem, sweeping the characters along with them. From the heights of the Sunset Mountains, the alleyways of Scornubel, and depths of the Reaching Wood: The Dread of Dynwel covers levels 2 through 8 and features material which can be played as a full campaign or dropped into an ongoing one.

Chapter 1 - When a relative of someone close to the characters goes missing from a nearby village, the players are asked to investigate. The party has to recover stolen goods from a thief before setting out from the City of Ravens Bluff. They travel through the wilds of Vesperin in search of the missing person, finding trouble and helping locals along the way. Chapter 2 - As the journey continues, the party arrives in a small hamlet suffering from a strange blight. The players will need to investigate the situation and choose sides in a longstanding feud between the mayor and a local magic user. Chapter 3 - After clearing a tribe of violent orcs from a nearby mountain pass to protect the residents of a town, the party will have to enter the lair of a long-dead dragon to rescue their quarry from a band of goblinoid slavers, where they discover an entrance into a dwarven city, lost and forgotten centuries ago. Chapter 4 - The party will have to traverse the ruins of the dwarven city, avoiding hazards and battling the horrors that lurk there, to uncover the identity of the slaver's leader. A discovery that will lead them through a treacherous forest to the city of Tsurlagol in search of a pirate ship called the Star Carver, and its drow captain, The Viper's Kiss. Along the way, they meet an unlikely ally. Chapter 5 - Once they arrive in Tsurlagol, the players will have to choose between gaining the assistance of the city council to fight the pirates head on, or making a deal with the Viper's Kiss, herself. The path they choose will either lead to an epic battle on the Sea of Fallen Stars, or into the deadly sewers and tunnels beneath the city to face an enclave of wererats, undead, and a tribe of mad, kraken-worshipping kuo-toa, in search of a fabled relic. The Laughing Horde of Ruin, Part 1 is the first module of an original 5e adventure campaign. It is designed for character level 1-5, and uses material from the Dungeon Master's Guide, Monster Manual, and Volo's Guide.

For centuries, Aelmor Monastery near the port town of Sestone was a safe haven for scholars, monks, and pilgrims seeking enlightenment, its renowned library home to an enormous collection of ancient manuscripts, tomes, and peculiar writings. After suffering a devastating attack at the hands of a possessed monastery elder, Aelmor fell into ruin, its troubled past forgotten. When villagers start disappearing and turn up horribly mutated days later, fear takes a grip of Sestone. What sinister forces are at work? And to what end? The Claws of Madness is a standalone adventure carefully designed for a group of 1st-level heroes, including new monsters, magic items, and a thrilling story arc. Edited by Michele Carter (co-editor of the 5th Edition Player’s Handbook), this dungeon crawl combines the best elements of classic adventures with fresh new exciting avenues. The story in this book also provides the perfect base for an epic, long-running campaign suitable for higher-level characters, in which the heroes unravel the dark mystery of the mythical Hand of Narkul . . . Published by LoreSmyth SmiteWorks.

"A legend has circulated through the Barony of Loup-Montagne for hundreds of years concerning the order of inheritance for the title of baron. The legend holds that if the title is passed to someone who is not the eldest heir, the spirits of the forest will lash out against the people of the barony." Players will find themselves investigating a mystery in the small, superstitious town of Roulune. "As is normal in a gothic horror tale, the true situation in Roulune is different from what it seems. Figuring out the real story and the real connections between people will be key to the player characters’ success in this adventure." "This adventure is meant for characters of levels 4 to 6. The default setting is the Barony of Loup-Montagne, but any remote, heavily wooded principality with highly superstitious residents will do."

Who knows why adventurers are drawn together? The lust for gold, a common foe, or the whimsy of fate? Pull up a stool, stoke the hearth, and let YOUR story begin! A Four-Hour Adventure for Tier 1 Characters. Optimized for APL 1.

The Temple of Draxion is an adventure with 2-3 encounters that uses clever tactics, trickery, and good defensive positions to make low-level monsters challenging. The defenders in the encounter try to deceive the PCs; groups willing to accept anything the DM says at face value will horribly misjudge the actual level of danger they are in. The adventure is set in a partially-collapsed dungeon that was once a temple to Erythnul, but is now the headquarters of a pair of aspiring bandits, and their kobold employees. Pgs. 12-15

A slaver gang known as the Bloodreavers are terrorizing the countryside from their base deep in the labyrinth under Thunderspire Mountain. But these slavers are only the symptom of a larger threat in the bowels of Thunderspire.

The Iron Route, an important trade road east of Phlan, is beset by competing bandits. An exiled Black Fist officer leads his band of mercenaries turned cloaked ruffians, while a mysterious dragonborn sorcerer commands screaming savages from the north. In this war over the trade route, the beleaguered merchants are the victims, and Phlan suffers from a lack of supplies. It’s up to adventurers to strike out and reopen this vital route.
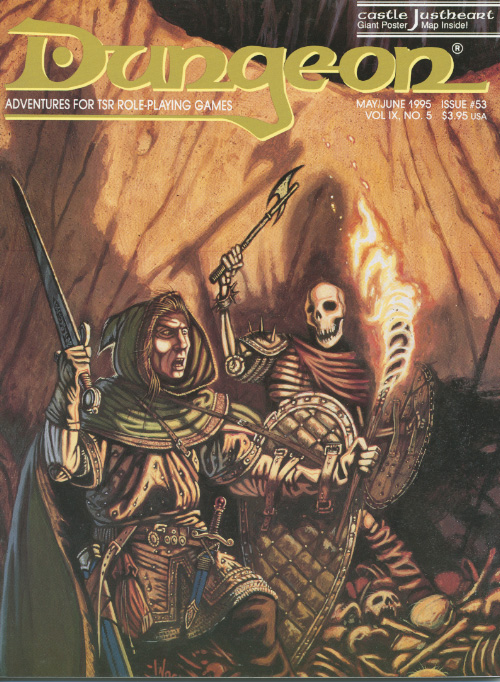
"While staying in the quant rual town of Keswig, the PCs are approached by a troubled young woman named Elexa Justheart. Elexa has just returned from the Galhanor Crusades--a war fought against giants and humanoids in the distant Galhanor Mountains. After serving six months as a cleric in a series of major battles, she recently arrived home to find her uncle's castle occupied by evil brigands." -- from the module. Includes overland maps and maps of the tower and castle.

A ruined monument to folly and ego, the Shadowed Keep stands atop an isolated bluff deep in a mist-wreathed forest. Sacked by marauding goblins decades ago the place was thought abandoned, but shadows now creep among the forest's great boles and footprints have appeared on the single, overgrown track leading to the keep. Travellers have begun to disappear with alarming regularity from the nearby road and the local folk fear some slumbering evil has claimed the ruin as its own. Dare you brave the terrors of the Shadowed Keep to crush that which lurks within or will darkness shroud the surrounding lands? Designed to be easily inserted into a GM's home campaign, Shadowed Keep on the Borderlands is an excellent starting locale to test the mettle of neophyte adventurers. Shadowed Keep on the Borderlands is designed for the medium advancement track. 1st-level PCs completing all the challenges of the place can expect to reach 3rd-level by the time they have exhausted all the keep has to offer.

The Hardest of Hearts is a gothic horror adventure for 4-5 characters of 5-6th level. It can be played over the course of 6-8 hours and should roughly take one playing session if the party is quick, or two if the party is progressing slowly. This is the first part of the Carnival of Lost Souls campaign. It can also be played as a standalone adventure. The Hardest of Hearts features: - Exciting journey through the cold wilderness of Lamordia, which features a special travel system and survival rules - Exploration of the old mansion which has been taken over by the vicious local gang - the Corpse Collectors - Several custom diseases to challenge your players - Moral dilemma at the end of the adventure which the characters will have to solve - New custom monsters to make combat encounters truly memorable and exciting - High-quality maps, also available in universal vtt format Look out for the next adventures in the Carnival of Lost Souls series: Dementlieu: Dance with the Devil, Kalakeri: The Forbidden Temple and Valachan: Hunter’s Moon! They will be released over the course of the next two months. Once all four adventures are out, we will also release a special Campaign Guide, which will explain in detail how to best set up and play the campaign. However, if you want to start your campaign right now, don’t worry - we have included a short appendix at the end of each adventure which will explain the basics!