
Faced with an unusual alliance of giants raiding the countryside, the party must venture into the steading of hill giant chief Nosnra and uncover maps to the locations of the other giant strongholds. “Steading of the Hill Giant Chief ” can be run as a stand-alone adventure, or you can play it as the first part of a four-part series that continues with “Warrens of the Stone Giant Thane” (Dungeon 198), “Glacial Rift of the Frost Giant Jarl” (Dungeon 199), and “Hall of the Fire Giant King” (Dungeon 200). The adventure is part of the Against the Giants series originally by Gary Gygax, hence the writing credit.
The hobgoblins were not the only forces that remained after Kalarel was slain. Before the Keep’s portal was fully sealed, evil spirits from the Shadowfell escaped into the Nentir Vale. They were drawn to Kalarel’s own dark soul, which remained in the mortal world thanks to a spirit-orb the priest had created to prevent him from moving on after death. The presence of these malignant spirits caught the attention of a frost witch called the Rime Mistress and her followers—unaligned territorial beasts—who rose up to defend their domain. The Rime Mistress knows that the spirits present a greater threat than the hobgoblins do, so she and Prang, the Iron Gauntlet leader, have agreed to an uneasy truce. Thus, the hobgoblins and the creatures of the Cairngorm Peaks are united in their struggle against Kalarel’s spirit army.
Ambushed on the road by goblinoids and then follow them to their lair in an old, abandoned hunting lodge in a forest. This is a short adventure that can be played in a session. The Goblins’ Gambit is perfect for situations where the party suddenly decides to go completely off the rails and the gamemaster does not have anything prepared for the destination. It is designed to be simple and the gamemaster is empowered to read and run it quickly. A 3rd level party is ideal for this adventure, but it can be easily tuned up to 5th level or down to 1st level by adding or removing a few simple enemies. This adventure can be used in three different ways - The starting adventure - This is a great adventure to start a new campaign with. A good option to use for a brand new group of players A random encounter - This is perfect for use for a random encounter along the road A retrieval mission - This adventure can also be used as a low level mission from a patron What is included? The adventure pdf DM's map of two different locations Two high resolution (8192x6144) maps for an abandoned hunting lodge and a roadside encounter (grid and gridless), which can be printed out as a tabletop map to play on.

The heroes arrive at the eponymous Keep on the Borderlands, a fortress on the edge of civilization built to stave off the chaos and evil of the wilderness. Using it as a home base, a party can make forays into the surrounding wilderness, encountering monster and marauder alike. The centerpiece of the adventure is certainly the CAVES OF CHAOS, a network of tunnels and caverns found in the walls of a nearby but isolated ravine. It is here that hordes of evil humanoids have made their home. Through combat and negotiation, the players can try to explore and map out these caves, perhaps with the aim of accumulating valuable treasure or even cleansing the land of evil creatures. However, even the Caves are not all they seem. Beyond the goblins and kobolds lurk dark horrors: cults dedicated to fiendish chaos and a Minotaur's enchanted labyrinth await the unprepared adventurer. But for the hero who is brave, clever, and fortunate in equal and sufficient measure, great treasures and glory await in the Caves of Chaos that lie beyond the Keep on the Borderlands! TSR 9034
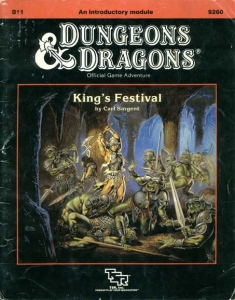
Someone has "borrowed" a cleric, and without him, the fabled King's Festival cannot go on. Unfortunately, it looks like the orcs have him, and your characters must rescue him. A great learning adventure, King's Festival provides players and DMs with a valuable introduction to fantasy role-playing in the land of Karameikos. Full of helpful hints for the players and the DM, this module also provides a full dose of excitement! Orcs, carrion crawlers, and villains challenge the characters' fighting skills, and a host of traps and puzzles confound their wits! TSR 9260

This couldn’t get worse. The key you are searching for has fallen into the hands of the eye tyrant of Skullport himself. Now you just need to rob Xanathar without getting disintegrated. Part Three of the Skullport Shakedown trilogy. A 2-4 Hour Adventure for Tier 2 Characters. Optimized For: APL 8

He wanted a scabbard - but got the shaft. If the book is to believed, there's a magical sword - completely unguarded! - ripe for the taking. This short adventure starts with the players finding a diary describing the final resting place of Hrothgar and his powerful intelligent sword. In a quest for the sword, the players investigate a small cavern system and find the sword in a gelatinous cube. Pgs. 32-37

Danger Lurks in the Lendore Isles. Bands of evil creatures prowl the hills overlooking the town of Restenford. Now you have come to this sleepy little village looking for adventure and excitement. You seek to fathom the unexplored reaches of Bone Hill and unlock the mysteries of Restenford. TSR 9045

A storm of unparalleled fury has been ravaging the peaks of the Earthspur Mountains for a tenday, and the Monastery of the Yellow Rose sits in its eye for now. Some monks have fled the monastery to the safety of Mulmaster and beseech you to convince their more obstinate brothers to retreat to the city before the eye of the storm shifts, and the monastery is in terrible danger. Can you brave the elements and convince the monks to escape? An eight-hour adventure for 5th-10th level characters.

To Kill A King Death to King Ovar the tyrant! Life to law and order! Four characters are charged with a mission so insane, so daring, that terming it an assassination does not do it justice. Are the four volunteers who would lay low King Ovar killers or heroes? If murderers, how are they better than the madman theyre assigned to kill? And even if they are mere assassins, are they determined enough to overcome the Maze of Zayene? Snared in the Wizards Web
Goblin attacks have always plagued the farmers and merchants who live and travel along the roads leading to Whitesparrow. But a recent rash of new attacks are something different. The goblins of one particular tribe have gotten particularly smart, attacking with careful tactics and cunning ambushes. The village guards haven’t been able to outwit the goblins, even when laying traps of their own and hiring mercenaries to stop them. Even as goblins go, Rosethorn isn’t much to look at. He’s small and runty, and yet a lucky break placed him in charge of the Brownleaf goblin tribe. When he claimed a powerful magic relic from a dead wizard three months ago, Rosethorn found his intellect multiplied many times over. The world began to make a more intricate kind of sense to him, and he saw patterns in the ways other folk traveled the roads. After hiring a spy in Whitesparrow to tell him which wagons to pursue, Rosethorn cunningly bribed the wagons’ guards to throw battles in the goblins’ favor. He then moved the lair of the Brownleaf tribe away from their dank caves and into the ruins of the Bearded Man—an enormous dead tree at the center of the Howling Wood. There, Rosethorn continues his campaign of ambush against the foolish villagers, increasing his wealth and power with each robbery.

Many Cannith creation forges were lost on the Day of Mourning, but a rogue artificer has uncovered one of those that pursued some of the most experimental and dangerous research during the Last War. But while seeking the forbidden knowledge in the forge, this explorer awakened a dark power that was more than she could handle, and that now threatens the region. Pgs. 4-34

The final confrontation with the giant, King Snurre, and the entry of mighty adventurers into the caverns under his stronghold (DUNGEON MODULE G3, HALL OF THE FIRE GIANT KING) discovered the Dark Elves, the Drow, had instigated the giant alliance and its warfare upon mankind and its allied races. This module contains background information, a large-scale referee's map with a matching partial map for players, referee's notes, special exploration and encounter pieces, a large map detailing a cavern area, encounter and map matrix keys, and an additional section pertaining to a unique new creature for use with this module and the game as a whole. A complete setting for play of ADVANCED DUNGEONS & DRAGONS is contained herein. This module can be played alone, as the first part of a series of three modules (with SHRINE OF THE KUO-TOA, D2, and VAULT OF THE DROW, D3), or as the fourth part of a continuing series of modules which form a special progressive campaign scenario (DUNGEON MODULES G1, G2, G3, D1, D2, D3, and Q1, (QUEEN OF THE DEMONWEB PITS). TSR 9019

The battle against the slavers continues! You end your fellow adventurers have defeated the slavers of Highport, but you have learned of the existence of another slaver stronghold, and you have decided to continue the attack. But beware! Only the most fearless of adventurers could challenge the slavers on their own ground, and live to tell of It! Second part of Scourge of the Slavelords (A1-4) TSR 9040

At just 8 pages, with lots of illustrations, this adventure is much shorter than most TSR-published modules of the era (mid-90s). It is a very simple D&D adventure. It features a macguffin quest that immediately pushes the players into a dungeon crawl through the five-and-a-half-page "Dungeon of the Mad Warlock". The idol of old, The Jade Hare, as been taken from the Dar el-Tamyya, stolen by Goblins, who strangely enough killed no one. Abdullah, the old man who cared for the statuette remembered that about a month ago a stranger has asked if he might purchase the Jade Hare. Though he offered much gold, Abdullah of course refused the offer. Whom Abdullah describes the other villagers recognize as Abu-Ghabar, the mad warlock who lives in the hills. He is rumored to have built a dungeon there. Who knows what strange purposes the mad warlock has for the Jade Hare? In any case, the precious statuette's theft is an intolerable strain on the honor of the village and all the tribe therein. A party must be assembled to confront the warlock. This party may consist of none other than yourselves. Won't you save Dar el-Tamyya's ancient honor, and thwart whatever sinister plans the warlock has? TSR 9259
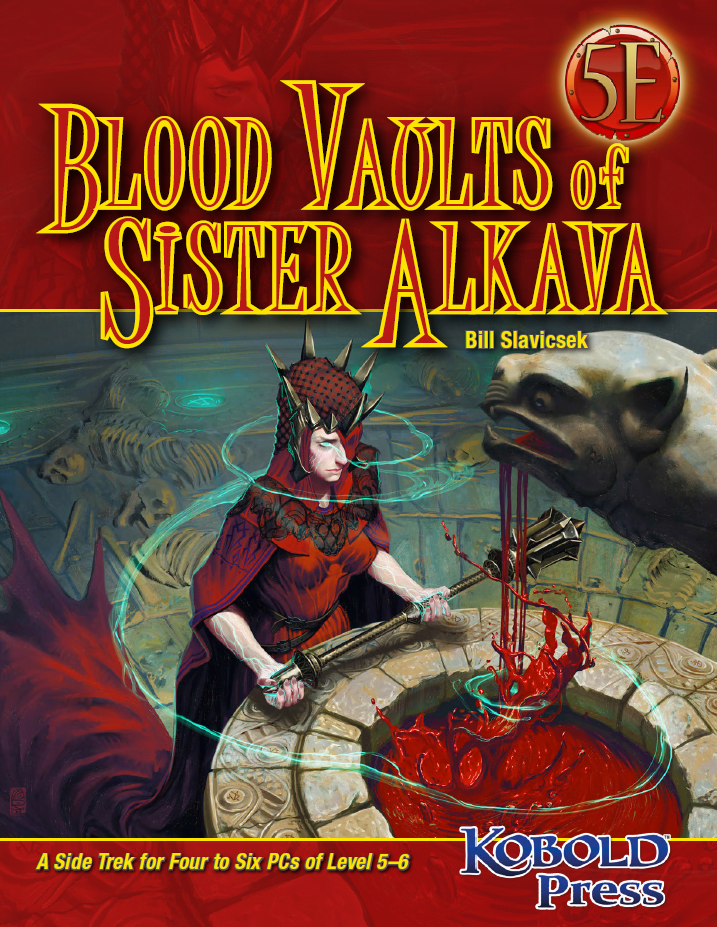
Nightmare of Blood! The village of Karvolia has paid its annual tribute of blood to the Red Goddess—but this year, none of the donors returned. Now the priestess commands the village elders to send another dozen young men and women to the edifice of stone that looms on the cliffs overlooking the village: the dreaded Blood Vaults. The terrified elders are willing to pay adventurers handsomely to find a way to make this second tribute pass them by. Unfortunately, the latest set of donors has already entered the Blood Vaults, and are being prepared for the donation process…

A small band of centaurs have seen their water source fouled by unknown magic. When word of their plight reaches the party, they embark on a day's travel to the centaur camp. Along the way, they encounter injured wildlife and panicked bugbears. Terrifying storms beset the region, raining down acid and oozes. Agreeing to investigate the small corrupted lake, the adventurers discover a long buried evil has awakened—bringing with it oozing undead. The party must navigate the wilds, face the ooze storms, and confront a reanimated warrior who betrayed her god.
A new D&D adventure for first-level characters. Scourge of the Howling Horde is a D&D adventure for first-level characters that pits heroes against a menacing tribe of goblins and their monstrous allies. It showcases a new encounter format designed to help Dungeon Masters run memorable encounters more easily. It also includes sidebars that contain useful advice such as differences when running the adventure for new players or for seasoned players.

A quest to aid the Knights of the North, who have been overrun by a tribe of orcs, results in a group of 1st level characters learning everything there is to know about the basics of Dungeons and Dragons. This low-level adventure will use EVERY saving throw, ability score check and skill check, and goes over conditions, environments and different actions a player can make in combat.

Beneath the frozen waves, an ancient power stirs. In the icy north, ships vanish without a trace, drawn toward a massive drifting iceberg. Legends speak of a powerful artifact buried within—one that calls to the sea and those who sail upon it. But the glacier is no ordinary formation; its tunnels are filled with lurking predators, yeti clans, and an ancient Icebound Hydra whose severed heads regrow as living ice. Can your party brave the treacherous depths, uncover the iceberg’s secrets, and escape with their lives? Or will they too be claimed by the frozen tide? Inside This Adventure: ✅ A perilous arctic dungeon crawl with chilling environmental hazards. ✅ A tense nautical encounter with eerie Will-o'-Wisps and a Sea Hag ambush. ✅ A monstrous final battle against the Icebound Hydra, a regenerating beast of frost and fury. ✅ A cursed artifact—the Shard of Dominion, which grants power but demands a terrible price. ✅ Multiple adventure hooks for easy integration into your campaign. This adventure is part of Thirsty Tiger Tales, an upcoming collection of exciting one-shots for D&D 5e! Perfect for a one-shot or a side quest in any high-seas or arctic-themed campaign. Pay What You Want for the first month! Suggested price: $1.00 Will your party conquer the frozen depths, or will they become yet another legend swallowed by the ice?