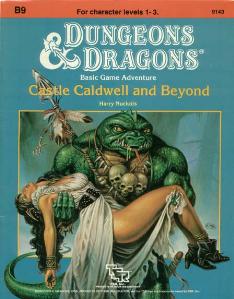
Five exciting short adventures to make your Basic campaign come alive! The Clearing of Castle Caldwell - A local merchant has recently purchased a small castle... but when he tried to move in, he discovered that the castle was already inhabited! Dungeons of Terror - A strange trapdoor in the floor of Castle Caldwell leads to a terrifying challenge! The Abduction of Princess Sylvia - On the eve of her wedding, the beautiful princess has been kidnapped! Can you save her in time? The Great Escape - Imprisoned in an enemy fortress, without armor or weapons, your situation seems hopeless. Yet there may be a way to freedom... The Sanctuary of Elwyn the Ardent - A mystical chime of great power has been stolen - but by whom? In the wrong hands, the chime can cause untold harm! But can you find and defeat this mysterious and powerful creature? TSR 9143

Deep below the surface lies an ancient beholder city called Ilth K'hinax. In times past, hundreds of beholders called it home - until simmering rivalries within their society exploded into warfare. The few survivors fled, leaving the city deserted for hundreds of years. However, the story of Ilth K'hinax's glory was passed down from one generation of beholders to the next. Now, after countless years of self-imposed exile, the beholders are back! After securing the city, the hive mother of Ilth K'hinax implemented a plan to wipe out all the beings living above it. Unfortunately for the beholders, several facets of the hive mother's plan have been revealed through the exploits of a party of adventurers. Now, this group of heroes must meet eye to eye with Ilth K'hinax's newest occupants in an effort to stop the hive mother's pernicious plan! "Eye to Eye" is the last of three adventures featuring the nightmarish beholder. It can be played as an individual mission or as part of the series that began with "Eye of Pain" and continued in "Eye of Doom." TSR 9536

“The Temple Between” is an adventure for 9th level characters, and it is challenging enough to take them to 11th level by the time all is said and done. Although intended as the final chapter of the heroic tier portion of the Scales of War Adventure Path, it can be run as a standalone adventure, or as an adventure in a campaign of your own making, with a small degree of modification. It contains elements of urban investigation, dungeon delving, and even wartime conflict, making it a suitable adventure to players of many tastes and preferences. The western end of Elsir Vale has been greatly troubled in recent days. The threat of the orc hordes from beyond the Stonehome Mountains, though turned back at Bordrin’s Watch, still lingers in the people’s minds. Peculiar and hostile creatures of shadow lurk in the caverns and caves below. Political squabbling grows among the city’s powerful dwarf clans. All this makes the city particularly vulnerable to an enemy nobody saw coming - that nobody even imagined. This enemy has goals and objectives far beyond the ultimately unimportant Elsir Vale, but the first step is the utter subjugation of Overlook. An enemy who, at least in part, is already here. In this adventure the player characters start by investigating the strange behavior of the city's clergy. They swiftly discover hints of a conspiracy worming its way through the city hierarchy - some members are possessed while others have been replaced by dopplegangers. After trailing this conspiracy to its source they discover a portal that leads to an ancient temple in the mountains. Using the portal, the PCs go to the abandoned ancient temple where they must confront both a cadre of fey and a band of mercenaries, from whom they learn there is a plot for a full-scale invasion of the region! The PCs must them rush back to Overlook and cement their place as heroes as they face off against the invading forces. Pgs. 4-71

It is time to put a stop to the marauders! For years the coastal towns have been burned and looted by the forces of evil. You and your fellow adventurers have been recruited to root out and destroy the source of these raids. But beware, hundreds of good men and women have been taken by the slavers and have never been seen or heard from again! First part of Scourge of the Slave Lords (A1–4) TSR 9039

Abandoned and forgotten ruins never are. He left the Abyss to visit his human mother, not realizing he was a century too late. Still, there was a lot he had left to do... An ancient castle, Nol-Daer, has of late become the site of frequent strange occurrences. Gargoyles and Blood Hawks roost in the keep's ruined towers, Dwarves have been disappearing from the nearby area, and a Cambion controls it all from the shadows. Pgs. 3-17 & 64

The Free City: a shining gem in the crown of cultured civilization. Beneath the surface of this bustling metropolis is a rot, festering in the darkness, manipulating the lives of those unaware of its presence. Now a small adventuring band from out of town may be in over their heads. Their actions in Diamond Lake have attracted the wrath of one of the city’s hidden masters. A gang of infiltrators and an enigmatic mastermind plot their destruction, and only tracing the rot to the root can stop the onslaught. "The Hall of Harsh Reflections" is the fourth installment of the Age of Worms Adventure Path, a complete campaign consisting of 12 adventures, several "Backdrop" articles to help Dungeon masters run the series, and a handful of poster maps of key locations. For additional aid in running this campaign, check out Dragon's monthly "Worm Food" articles, a series that provides additional materials to help players survive this campaign. Check out issue #336 of Dragon for five attractions to tempt your PCs to spend some of their hard-earned loot. This issue of Dragon also features an Ecology of the Spawn of Kyuss, one of the central creatures featured in this campaign. Pgs. 34-60
The abandoned Tower of Ulvarum Orvernus stands atop an asteroid nearly a quarter mile in diameter, located roughly 5 million miles from the planet’s surface. The asteroid maintains Earth-like gravity and a breathable atmosphere, with habitable temperatures. This is all sustained through the harnessed power of a bound Air Elemental and Earth Elemental. If either of these Elementals are freed, the asteroid’s environment will quickly become inhospitable. The PCs may find themselves drawn to the asteroid through a forgotten portal, seeking a way to return home. Alternatively, they might be lured there by rumors of a powerful item or hidden knowledge within the tower’s extensive libraries. A multi-level tower filled with traps and strange encounters including animated armor, alien plant life, giant spiders, and a doppelganger.

Continue the adventure inside the Dwarven Forge world of Mythras with the second part of this new gaming trilogy, The Hidden Valoria Campaign. Now entrenched in the tapestry of The Patina Court, the players must begin unraveling an even greater mystery that lies beneath the streets. Taking the adventure to the sewers, get ready to explore some of the locations that have made Valoria so famous among its players over the years This adventure is formatted to both 1E & 5E gaming rules. Also available in PDF.

The players are invited to a Winter Gala in Waterdeep. After a guest is killed, investigations ensue to the fiendish nature of the home that the gala took place in. There are shopping opportunities on the way in.

With the most powerful ruling house of Taux now an enemy, heroes of the Emerald Serpent must take shelter inside the revelry of the Festival of a Thousand Blossoms. This massive carnival sweeps over the city in the spring of each year for seven full days, and with it as a shield to their activities, a secret mission into the heart of The Grand Playhouse awaits. Can the heroes infiltrate the Thunderstone Crew? Will iconic characters from the Taux fiction come to their aid? What sinister plots still take form in the city by the insidious House Vash? Become part of the Tales of the Emerald Serpent in this 2nd part of the Taux Trilogy This adventure is formatted to both 1E & 5E gaming rules. Also available in PDF.

The valley of Haven was a peaceful land. Its crops were abundant, its citizens prosperous. Elves, Dwarves, Halflings, and Humans lived together in harmony. Hidden away in the heart of the Thunder Mountains, Haven was a safe place to live. The rivers were sweet and pure; the weather was pleasant and warm. Something terrible has come to pass in Haven - terrified refugees speak of a fabulous ruby uncovered in the mountains and a catastrophe that befell the palace. Whatever the cause, Haven now lies in chaos. Raiding bands of orcs, goblins, and hobgoblins terrorize the countryside. The disaster happened so suddenly that the citizens are confused and helpless. Without their leaders, who are trapped in the palace, they have no courage to fight back. The situation has become desperate. TSR 9044

The Pyramid of Amra is a challenging adventure designed for characters of at least 12th level. Due to the nature and numbers of undead enemies (vampires), having a cleric on hand with the ability to cast raise dead and greater restoration is advisable. The PCs should be rounded out with a wizard or sorcerer and a pair of front-line fighters. In this adventure, the PCs travel to the Pyramid of Amra and the ancient Monastery of Night, where they face one of the most dangerous of opponents they are likely to meet, C’nosretep the Champion of Set.

"Blood Money" is a caper adventure in which the adventurers work outside the law to pull off a major robbery. Good planning is essential, and the characters need to stay cool under pressure.
The best of intentions. Pay your taxes or go to jail - and don't even thing about using magic. Pgs. 8-23

The Lost Tombs, Volume 3 The Doomgrinder, a mysterious stone windmill many leagues east of the City of Greyhawk, has for centuries been a source of rumors, frustration and fear. The rumors say that vast treasures are stored inside-all cursed. The frustration belongs to hundreds of adventurers who over the years have attempted to enter the windmill and failed. The fear is felt by those who believe the world will end when the stone sails of the Doomgrinder turn again. In the City of Greyhawk, powerful spellcasters read bad omens for the future, and the Doomgrinder is part of them. Some see no future at all, good or bad. TSR 9581
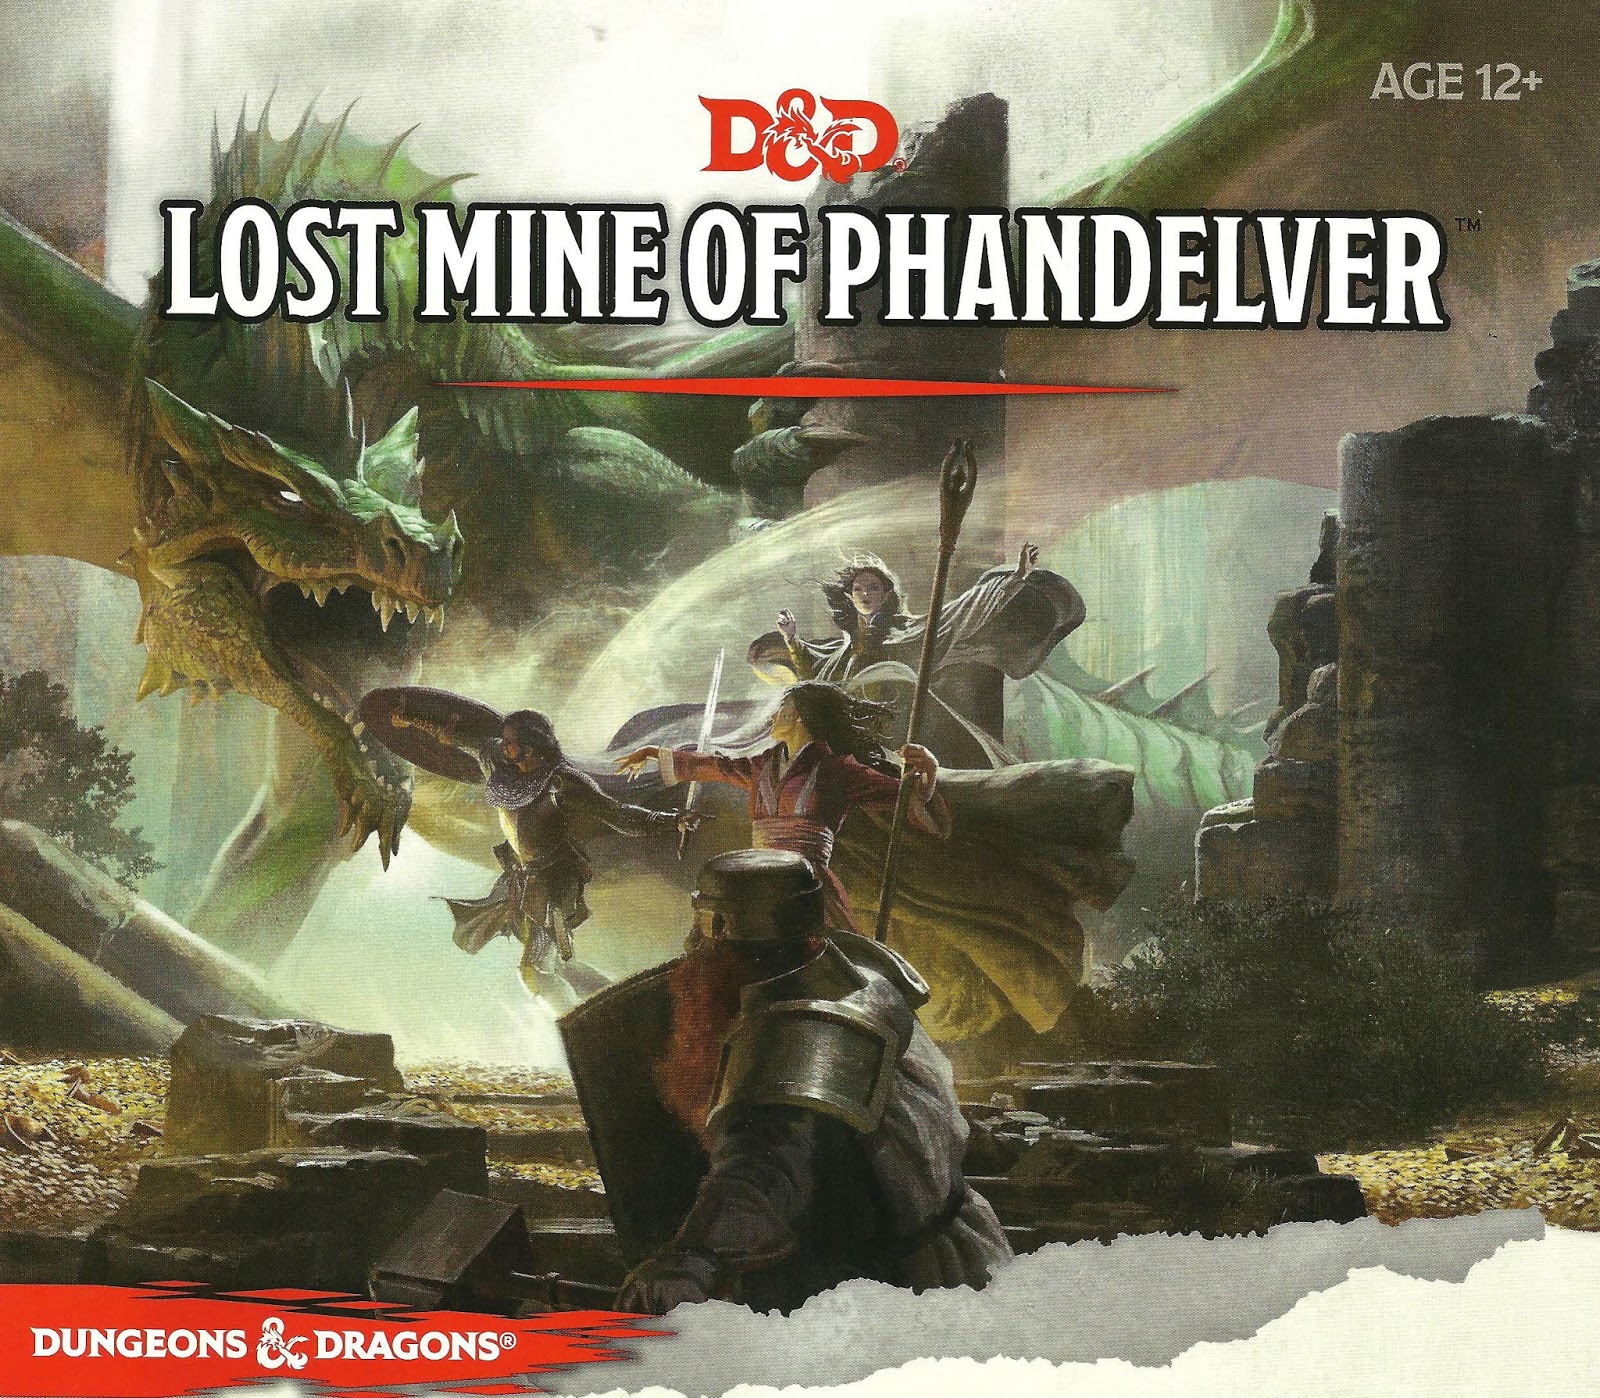
"More than five hundred years ago, clans of dwarves and gnomes made an agreement known as the Phandelver’s Pact, by which they would share a rich mine in a wondrous cavern known as Wave Echo Cave. In addition to its mineral wealth, the mine contained great magical power. Human spellcasters allied themselves with the dwarves and gnomes to channel and bind that energy into a great forge (called the Forge of Spells), where magic items could be crafted. Times were good, and the nearby human town of Phandalin (pronounced fan-duh-lin) prospered as well. But then disaster struck when orcs swept through the North and laid waste to all in their path. A powerful force of orcs reinforced by evil mercenary wizards attacked wave echo cave to seize its riches and magic treasures. Human wizards fought alongside their dwarf and gnome allies to defend the Forge of Spells, and the ensuing spell battle destroyed much of the cavern. Few survived the cave-ins and tremors, and the location of Wave Echo Cave was lost. For centuries, rumours of buried riches have attracted treasure seekers and opportunists to the area around Phandalin, but no one has ever succeeded in locating the lost mine. In recent years, people have resettled the area. Phandalin is now a rough-and-tumble frontier town. More important, the Rockseeker brothers - a trio of dwarves - have discovered the entrance to Wave Echo Cave, and they intend to reopen the mines. Unfortunately for the Rockseekers, they are not the only ones interested in Wave Echo Cave. A mysterious villain known as the Black Spider controls a network of bandit gangs and goblin tribes in the area, and his agents have followed the Rockseekers to their prize. Now the Black Spider wants Wave Echo Cave for himself, and he is taking steps to make sure no one else knows where it is." Extra Info from AL.com users: by @marcellarius. "There are a variety of locations in this adventure: the town of Phandalin, a gang hideout, a ruined keep in the forest, a destroyed village, and Wave Echo Cave (a dungeon crawl). The adventure is written in a sandbox style and relies on the players to choose their path. Phandalin offers several side-quests which could serve as hooks for continuing adventures. The premade characters have ties in their backgrounds to NPCs and locations. If you're not using these you'll need to consider other ways to introduce key NPCs."

Part 1 of an Expert-level quest into a hostile wilderness. This adventure takes place in the Known World of the D&D game, as outlined throughout the D&D game rule books and modules. The DM may find it useful to consult the Companion and Masters Sets, as well as most of the X-series of Expert Set modules. D&D Expert Set module X9, The Savage Coast, would be especially helpful, as Tortles of the Purple Sage could easily serve and continue that module's direction and plot like, adding a previously undescribed area (the Great Northway) to the Known World. The DM may also place the areas and events of this adventure within an existing campaign setting, as long as the geographical areas of the campaign match those set forth here. Pgs. 40-62

The Lost Tombs, Volume 1 Derro swarm in the Abbor-Alz. The Doomgrinder windmill's blades approach their zenith. Strange sightings in Hardby and rumors of a bandit empire in the mountains have commoners and nobles concerned. The Circle of Eight hopes that the key to averting this disaster can be found in the mysteries of a group of five ancient crypts, the Star Cairns. But first someone has to find the fifth cairn.... Five separate adventure sites playable individually or linked together, The Star Cairns can provide a diversion for treasure-hungry adventurers - or can be used as the seeds for an extensive campaign. Although the adventures are designed for four to eight characters of levels 5-8, each section can be adjusted for weaker or stronger groups. TSR 9579

Far in the future, bards sing tales of kings and conquerors from ages past - but from your present. The Hero-Kings of legend are your player characters from your campaign, who even now shape the course of Cerilian history. More than simply an adventure collection, this 160-page book enables you, the Dungeon Master, to turn ordinary domain actions into oppurtunites for heroic exploits. Each of the eleven "legends" set forth here is based on a different random event from the BIRTHRIGHT Rulebook. Don't allow a mere die roll to decide the outcome of a blood challenge, rebellion, intrigue, or magical event - make the PCs forge their own destinies by confronting a madman who is "Blood Hungry," wresting the "Fang of Kriesha" from its evil wielder's grasp, thwarting a rival regent's "Double Dealing," and saving all of Cerilia from "The Gift of Azrai." These adventures are suitable for PCs of all levels and classes - wheter regents, scions, or commoners - and can take place wherever you campaign is set. This book also includes an appendix that offers advice for running different types of BIRTHRIGHT campaigns and creating your own adventures fit for a king. TSR 3125

A fallen clock tower holds components from an ancient artifact. Upon discovery of the components, competing agents look to launch expeditions to uncover additional components scattered across distant places—and times. The now-lost Temple of Moloch and the construction site of the legendary Tomb of Horrors are two of those locations. However great the risks, finding the components demands the effort, for whoever does so can reassemble the fabled Infernal Machine of Lum the Mad!