
A great evil force descended on the town of Phlan years ago. The townspeople were all either killed or driven away, and Phlan became (literally) a ghost town. Fifty years later, the survivors are ready to reclaim their town. But they need a band of strong and brave adventurers to lead the fight-they need you. Ruins of Adventure is a set of connected short adventures written by James Ward, David "Zeb" Cook, Steve Winter and Mike Breault-four names familiar to all AD&D game fans. It uses the same setting, locations and characters as the classic computer game Pool of Radiance by Strategic Simulations, Inc. In fact, many of the scenarios here in Ruins of Adventure will provide important clues to the successful completion of Pool of Radiance. TSR 9238
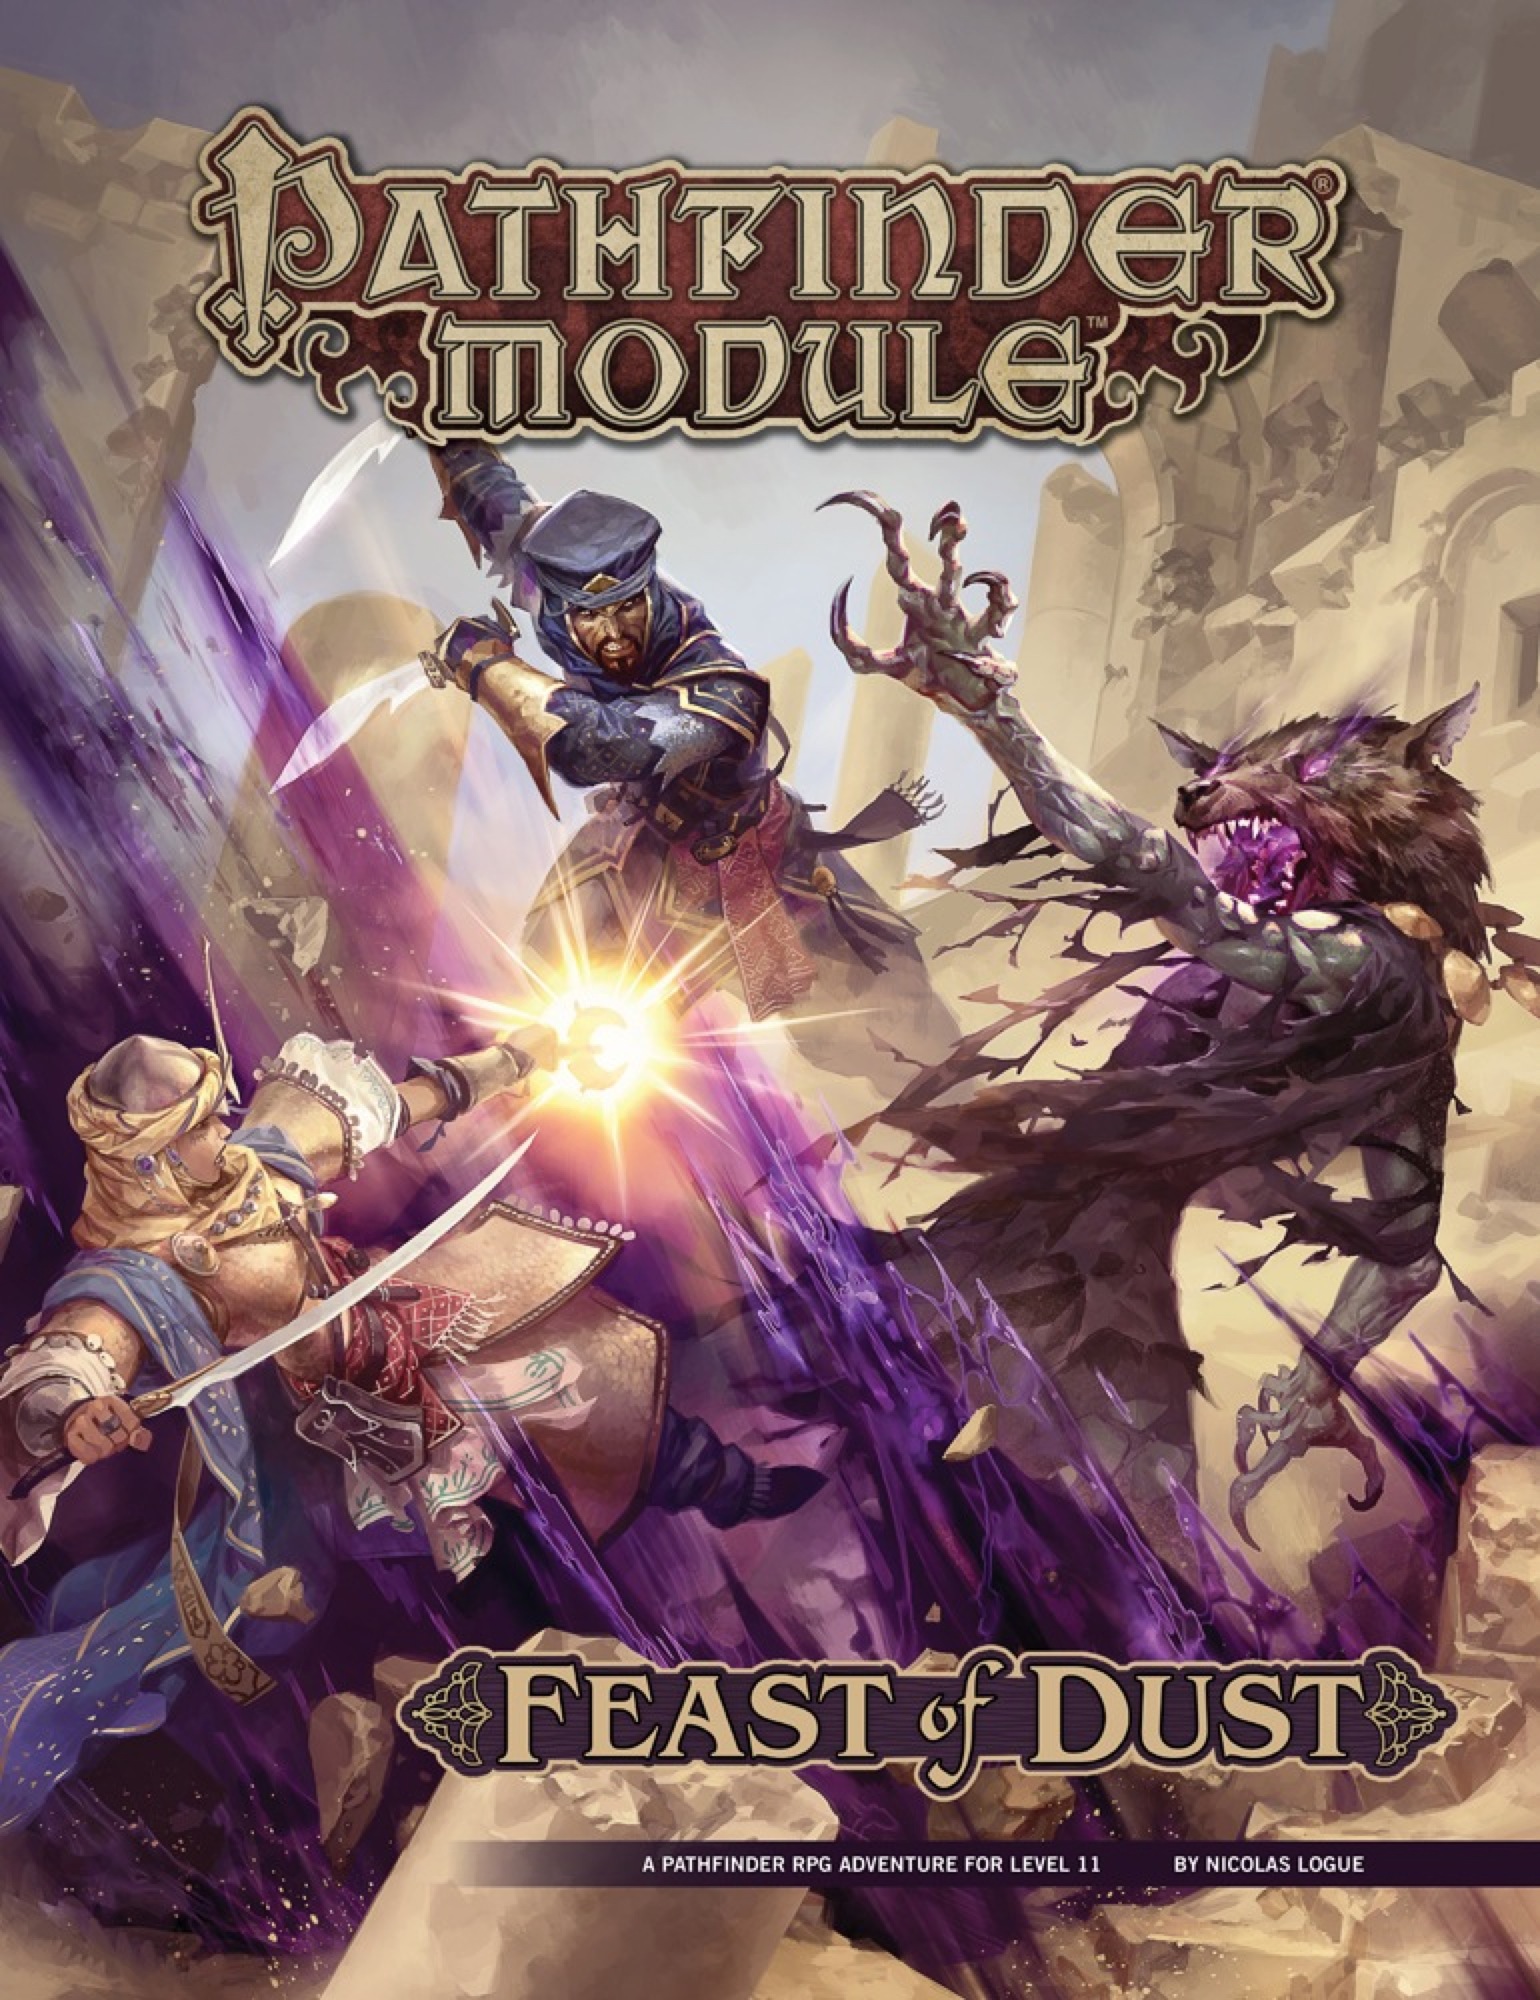
A deadly curse known as the Feast of Dust spreads rapidly through the Meraz Desert, driving its victims mad with hunger and a burning desire to flee into the sands. To find the source of this strange affliction, the heroes must investigate the plagued city of Dimayen, challenging fearsome gnoll tribes, nihilistic daemons, and the walking dead to discover the secret of a long-forgotten evil—a powerful daemon harbinger called the Jackal Prince of Famine. Despite the efforts of an ancient secret society, this twisted, unholy monstrosity walks the world again, threatening to spread his apocalyptic curse across all of Golarion! To stop the demigod's return, the heroes must uncover his three vile siblings, now bound within malevolent artifacts, and use their combined powers to stop the Jackal Prince before the entire world feels his corrupting touch.
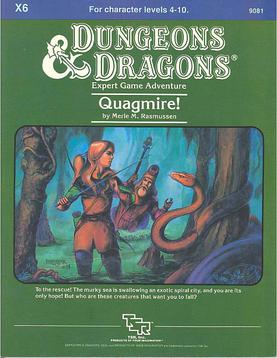
Swamp creatures! They surround you now as you move slowly through the gurgling muck. How will you reach Quagmire now? Each day, the hungry sea swallows more of the ancient port city. A fierce fever ravages its people, and now - these foul monsters! Their beady eyes glimmer from deep within the tangled vines. Are these the creatures that have blockaded the city, turning away the ships that are the city's lifeline? Are these the scum that are starving the people of Quagmire, threatening an entire race with extinction? These creeps? Let's clean this jungle out! Quagmire includes a large-scale map that expands the D&D world and introduces new areas to explore. The adventure also includes new magic items and a special, expanded monsters section. Hurry! Hoist your colors, saddle your horse - go, before the city by the sea becomes the city beneath the sea! TSR 9081

Years ago, brave heroes put the denizens of the Temple of Elemental Evil to the sword. Now, dark forces whisper again in the shadows of the once-deserted temple - forces far more insidious and dangerous than any sane person could dream. Evil has risen again to threaten the village of Hommlet. A continuation of the original AD&D Temple of Elemental Evil, made for a party of 4th-level adventurers, taking them up to 14th level.

The Shrine of the Axes has been restored and Raggnar Redtooth, who previously conspired with dragon cultists, is trying to restore his reputation in Parnast by sponsoring a feast. There is just one thing he needs, meat for his feast. Game is supposed to be plentiful in the Weathercote Wood, but the townsfolk are all busy with their own work, and the minions of Bad Fruul are still out there causing trouble. What can go wrong on a simple hunt?

When an ill-favored orb drops from the sky and devastates the countryside, only the PCs stand between an ambitious wizard, a cult of dragons, and a dark ambition that could bring an army of fiendish wyrms into your campaign world! "The screams became overpowered by the sound of the terrible falling star--a black orb of malign energy hurled from the firmament in the dead of night. In that instant, the village of Rhale was utterly destroyed, reduced to a hollow crater of flaming decay. Now, frightened talk of a dark presence descended from above has taken root, though none can put name to the faceless fear that might reside within this terrible orb." While traveling the countryside, the player characters witness an explosive event - the falling of a meteor into a distant hillside. Soon thereafter, they encounter several mercenaries menacing some refugees. From them, the PCs can learn, that a group of dragon worshippers called the Black Covenant are in the area and intend to use the fallen star for their own nefarious purposes. Upon arriving at the crater, the PCs find that the falling star is in fact a massive sphere of iron with an opening in its side. They enter the sphere to find a small complex of rooms protected by numerous traps and guardians. They also battle several members of the Black Covenant, until they make their way to the heart of the complex, where they discover the source of the Covenant's interest in the Black Egg, they try to use it to create a half-fiend red dragon. The PCs must succeed if they wish to prevent the creation of an army of fiendish dragons. Lot's of monstrous NPCs with class levels and templates for enemies (half-black dragon orc warriors level 7, for example) are used in this adventure. Pgs. 57-78

Special Basic/Expert Transition Module Barely one day's march from Kelven, the uncharted tracts of the Dymrak forest conceal horrors enough to freeze the blood of civilized folk. Those who have ventured there tell how death comes quick to the unwary - for the woods at night are far worse than any dungeon. But you are adventurers, veterans of many battles, and the call of the wild is strong. Will you answer the call, or are you afraid of the dark terrors of the night? The campaign adventure is for characters just beginning Expert play (levels 2-4) and hurls them into the exciting outdoor world which awaits in the Expert rulebook. With a 64 page booklet, 2 double-panel covers, a double-sided, fold-out mapsheet and 120 die-cut counters, this super module provides all you need for epic wilderness and dungeon adventuring. Journey across the Grand Duchy of Karameikos in a desperate race against time and the forces of evil. This adventure is for use with the Dungeons & Dragons Expert Set, which continues and expands the D&D Basic Rules. This adventure cannot be played without the D&D Basic and Expert rules produced by TSR inc. TSR 9149

Restore an Abandoned Temple Enter the catacombs near the desecrated Temple of Muir, Goddess of Paladins, and search for the lost tomb of Abysthor. Will your party be able to cleanse the evil that now inhabits these once-sacred halls, and recover the Stone of Tircople? Can your characters survive the traps of an undead sorcerer? Will your players discover the chamber of Living Rock and the secret power it holds? Adventure awaits! Gold and Glory! A fantasy adventure published for the D20 system, The Tomb of Abysthor is the first module in Necromancer Games Dungeon series and can be played as a stand-alone story or in conjunction with The Crucible of Freya and the forthcoming city supplement Bards Gate. What secrets lie hidden in the tomb of Abysthor?

This deluxe adventure takes heroes into the ruins of Gardmore Abbey, a monastery that was once the base of a militant order of paladins devoted to Bahamut. According to legend, the paladins brought a dark artifact back from a far crusade and stored it in their abbey for safekeeping, and evil forces gathered to assault the abbey and take it back. What the legends don’t tell is that this artifact was actually the Deck of Many Things, a force of pure Chaos. This adventure brings characters into the extensive dungeons beneath the ruins - dungeons that are warped and twisted with the raw forces of Chaos surrounding the cards of the deck.
/pic2762974.jpg)
As an aspiring hero of Highfolk and the Flanaess, you are asked to come to a feast of small proportions to celebrate your deeds. A home-cooked meal, a warm cozy fire, a hearty tale from an old gnome, a journey deep in the Vesve again, where n one can hear you scream. This is an RPGA competition scenario. Four hours is allocated for its completion.

Indomitable it stood for centuries, a symbol of order in a world of chaos. Bastion of the pass through the Kamph Mountains, the very stones of the Keep of Adlerweg were the stuff of legends. What evil power had strength enough to take it? How were its defenses swept aside? Fell creatures now attend the battlements that overlook the only pass between Berghof and the sea. This is not a pretty problem to be solved by the militia of the local villages. These and more may be needed to withstand the mayhem stirred up by the fall of the keep. Indeed, if the Keep is not retaken, and retaken soon, the Hold of the Sea Princes itself may not be secure. Now is the time for heroic action. Aided by the Sentinel, former protector of the legendary Guardians of Adlerweg, have you the courage and the determination to rid the keep of its sinister occupants? UK3: "The Gauntlet" (1984), by Graeme Morris, is the third UK-series adventure and the second half of the two-part Adlerweg series. It was run as the final round of the GamesFair 1983 AD&D Open (and won by a RuneQuest fan!). It was then published in 1984. TSR 9111

The Legend of the Black Monastery Two centuries have passed since the terrible events associated with the hideous cult known as the Black Brotherhood. Only scholars and story-tellers remember now how the kingdom was nearly laid to waste and the Black Monastery rose to grandeur and fell into haunted ruins. The Brothers first appeared as an order of benevolent priests and humble monks in black robes who followed a creed of kindness to the poor and service to the kingdom. Their rules called for humility and self denial. Other religious orders had no quarrel with their theology or their behavior. Their ranks grew as many commoners and nobles were drawn to the order by its good reputation. The first headquarters for the order was a campsite, located in a forest near the edge of the realm. The Brothers said that their poverty and dedication to service allowed them no resources for more grand accommodations. Members of the Black Brotherhood built chapels in caves or constructed small temples on common land near villages. They said that these rustic shrines allowed them to be near the people they served. Services held by the Brothers at these locations attracted large numbers of common people, who supported the Black Brotherhood with alms. Within 50 years of their first appearance, the Black Brotherhood had a number of larger temples and abbeys around the kingdom. Wealthy patrons endowed them with lands and buildings in order to buy favor and further the work of the Brothers. The lands they gained were slowly expanded as the order’s influence grew. Many merchants willed part of their fortunes to the Black Brotherhood, allowing the order to expand their work even further. The Brothers became bankers, loaning money and becoming partners in trade throughout the kingdom. Within 200 years of their founding, the order was wealthy and influential, with chapters throughout the kingdom and spreading into nearby realms. With their order well-established, the Black Brotherhood received royal permission to build a grand monastery in the hill country north of the kingdom’s center. Their abbot, a cousin of the king, asked for the royal grant of a specific hilltop called the Hill of Mornay. This hill was already crowned by ancient ruins that the monks proposed to clear away. Because it was land not wanted for agriculture, the king was happy to grant the request. He even donated money to build the monastery and encouraged others to contribute. With funds from around the realm, the Brothers completed their new monastery within a decade. It was a grand, sprawling edifice built of black stone and called the Black Monastery. From the very beginning, there were some who said that the Black Brotherhood was not what it seemed. There were always hints of corruption and moral lapses among the Brothers, but no more than any other religious order. There were some who told stories of greed, gluttony and depravity among the monks, but these tales did not weaken the order’s reputation during their early years. All of that changed with the construction of the Black Monastery. Within two decades of the Black Monastery’s completion, locals began to speak of troubling events there. Sometimes, Brothers made strange demands. They began to cheat farmers of their crops. They loaned money at ruinous rates, taking the property of anyone who could not pay. They pressured or even threatened wealthy patrons, extorting money in larger and larger amounts. Everywhere, the Black Brotherhood grew stronger, prouder and more aggressive. And there was more… People began to disappear. The farmers who worked the monastery lands reported that some people who went out at night, or who went off by themselves, did not return. It started with individuals…people without influential families…but soon the terror and loss spread to even to noble households. Some said that the people who disappeared had been taken into the Black Monastery, and the place slowly gained an evil reputation. Tenant farmers began moving away from the region, seeking safety at the loss of their fields. Slowly, even the king began to sense that the night was full of new terrors. Across the kingdom, reports began to come in telling of hauntings and the depredations of monsters. Flocks of dead birds fell from clear skies, onto villages and city streets. Fish died by thousands in their streams. Citizens reported stillborn babies and monstrous births. Crops failed. Fields were full of stunted plants. Crimes of all types grew common as incidents of madness spread everywhere. Word spread that the center of these dark portents was the Black Monastery, where many said the brothers practiced necromancy and human sacrifice. It was feared that the Black Brotherhood no longer worshipped gods of light and had turned to the service of the Dark God. These terrors came to a head when the Black Brotherhood dared to threaten the king himself. Realizing his peril, the king moved to dispossess and disband the Black Brother hood. He ordered their shrines, abbeys and lands seized. He had Brothers arrested for real and imagined crimes. He also ordered investigations into the Black Monastery and the order’s highest ranking members. The Black Brotherhood did not go quietly. Conflict between the order and the crown broke into violence when the Brothers incited their followers to riot across the kingdom. There were disturbances everywhere, including several attempts to assassinate the king by blades and by dark sorcery. It became clear to everyone that the Black Brotherhood was far more than just another religious order. Once knives were drawn, the conflict grew into open war between the crown and the Brothers. The Black Brotherhood had exceeded their grasp. Their followers were crushed in the streets by mounted knights. Brothers were rounded up and arrested. Many of them were executed. Armed supporters of the Black Brotherhood, backed by arcane and divine magic, were defeated and slaughtered. The Brothers were driven back to their final hilltop fortress – the Black Monastery. They were besieged by the king’s army, trapped and waiting for the king’s forces to break in and end the war. The final assault on the Black Monastery ended in victory and disaster. The king’s army took the hilltop, driving the last of the black-robed monks into the monastery itself. The soldiers were met by more than just men. There were monsters and fiends defending the monastery. There was a terrible slaughter on both sides. In many places the dead rose up to fight again. The battle continued from afternoon into night, lit by flames and magical energy. The Black Monastery was never actually taken. The king’s forces drove the last of their foul enemies back inside the monastery gates. Battering rams and war machines were hauled up the hill to crush their way inside. But before the king’s men could take the final stronghold, the Black Brotherhood immolated themselves in magical fire. Green flames roared up from the monastery, engulfing many of the king’s men as well. As survivors watched, the Black Monastery burned away, stones, gates, towers and all. There was a lurid green flare that lit the countryside. There was a scream of torment from a thousand human voices. There was a roar of falling masonry and splitting wood. Smoke and dust obscured the hilltop. The Black Monastery collapsed in upon itself and disappeared. Only ashes drifted down where the great structure had stood. All that was left of the Black Monastery was its foundations and debris-choked dungeons cut into the stones beneath. The war was over. The Black Brotherhood was destroyed. But the Black Monastery was not gone forever. Over nearly two centuries since its destruction, the Black Monastery has returned from time to time to haunt the Hill of Mornay. Impossible as it seems, there have been at least five incidents in which witnesses have reported finding the Hill of Mornay once again crowned with black walls and slate-roofed towers. In every case, the manifestation of this revenant of the Black Monastery has been accompanied by widespread reports of madness, crime and social unrest in the kingdom. Sometimes, the monastery has appeared only for a night. The last two times, the monastery reappeared atop the hill for as long as three months…each appearance longer than the first. There are tales of adventurers daring to enter the Black Monastery. Some went to look for treasure. Others went to battle whatever evil still lived inside. There are stories of lucky and brave explorers who have survived the horrors, returning with riches from the fabled hordes of the Black Brotherhood. It is enough to drive men mad with greed – enough to lure more each time to dare to enter the Black Monastery.
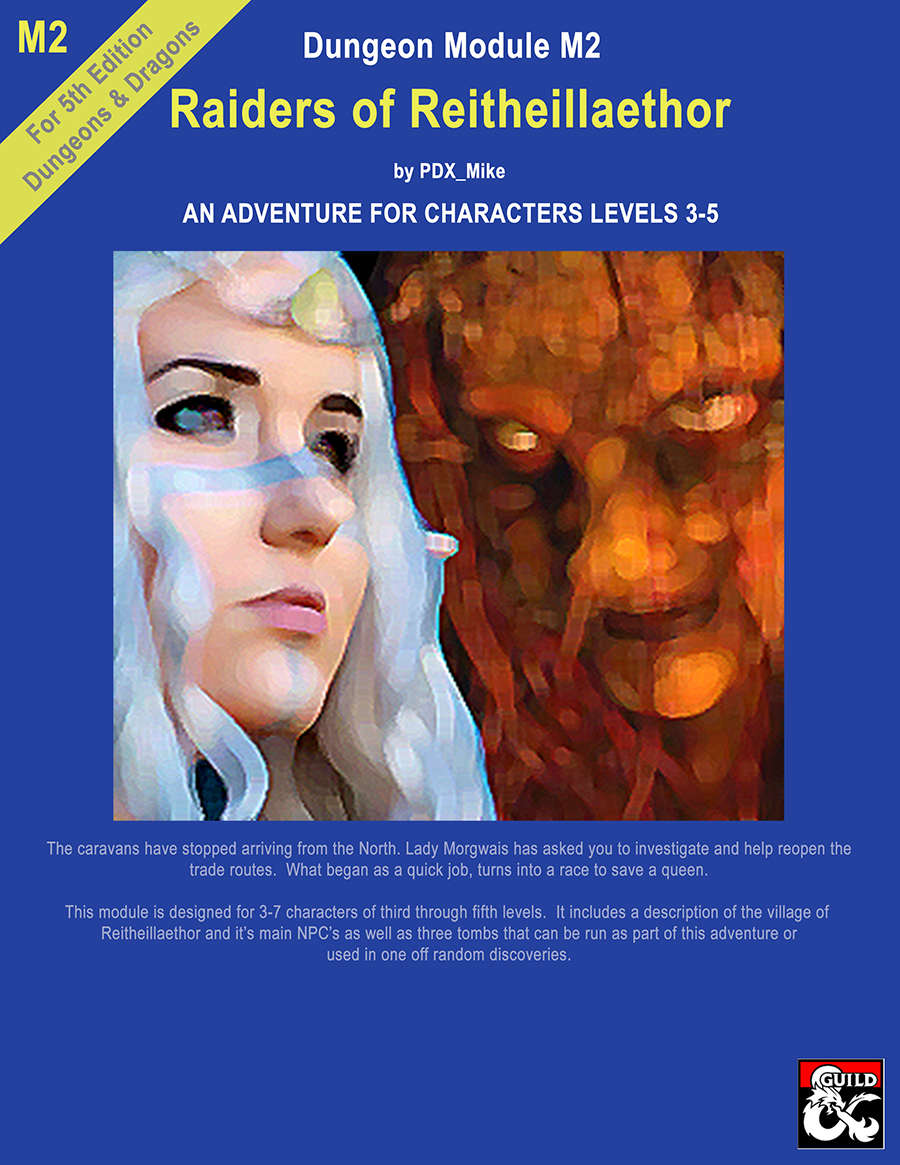
This is the second of the "High Forest Factbook" adventures series. The caravans have stopped arriving from the North. Lady Morgwais has asked you to investigate and help reopen the trade routes. What begins as a quick job turns into a race to save a queen. This module includes a detailed description of the Elven village of Reitheillaethor including it's NPCs. It can be run either as a continuation of the adventure started in "Menace of Merric", as an extended stand alone adventure or the three individual tombs included in it can be run as short one-off adventures.

Just as the trail led from the STEADING OF THE HILL GIANT CHIEF to the frozen wastes where was found the GLACIAL RIFT OF THE FROST GIANT JARL, so the adventure in the latter place has let (or transported) the intrepid party to what they hope will be their last challenge. They are about to venture into the hot and smoking barrens which are in effect Muspelheim, the home of fire giants. This module contains background information, referee's notes, three level maps, and exploration matrix keys. It provides a complete module for play of ADVANCED DUNGEONS & DRAGONS, and it can be used alone or as the last of a three-part expedition adventure which also employs DUNGEON MODULE G1 (STEADING OF THE HILL GIANT CHIEF and DUNGEON MODULE G2 (GLACIAL RIFT OF THE FROST GIANT JARL). TSR 9018

A desperate ghost, a plea for help, and a forgotten crypt filled with peril and plunder. This is a tale of past conflicts, where blood magic has left a foul and dire aftermath, and time is of the essence. Maps and illustrations help guide you through rugged wilderness to re-discover a tomb lost to all but its denizens - creatures enslaved by an unholy item or awakened by its looming threat. Published by Roan Studio

The wizard Kavorquian is dead. But certain items belonging to his adopted son were in the wizard's keeping at the time of his demise. Now someone must venture into the silent vaults of Kavorquian's stronghold and recover the missing property. Queen's Harvest picks up its story where B11, King's Festival, left off. It can be played as a sequel to that adventure or as a complete adventure in itself. It is tailored for beginning Dungeon Masters and players and contains helpful hints on adventuring and the land of Karameikos. The story develops simply, but ultimately leads the player characters into the nether reaches of Penhaligon's politics to confront Ilyana Penhaligon, mad pretender to the throne! TSR 9261
For hundreds of years, Aknar Ratalla's tomb remained undisturbed, the Black Blade safely hidden within its vaults. Can a band of adventurers use the tomb's guardians and traps to keep it that way? Long ago, Aknar Ratella brought pain and desolation down upon the land. His reign of ruin was finally ended by an unlikely alliance of the forces of law: a band of devils and devas slew the warlord but were unable to destroy his dangerous weapons and relics. They chose instead to hide these potent artifacts of evil in a remote tomb, selecting a devil and a deva to stand guard over the tomb for the rest of time. For many centuries, the tomb stood unspoiled... but now, a new player has entered the scene. After infiltrating the tomb themselves, a band of adventurers must become its guardians and use its denizens and traps to prevent a monstrous gnoll chieftain from claiming the deadly artifacts hidden within for his own nefarious glory. Pgs. 58-80

After a riot erupts in the streets of Cauldron, the PCs must track down a missing paladin before the mob tears the city apart. The PCs try to stop an assassin during the riot and get invited to a meeting, where they are tasked to search for the missing paladin. After some investigating they will travel to Vaprak's Voice, an ancient Spell Weaver laboratory, at the edge of the Demonskar. In the dungeon they will find the "Starry Mirror", a puzzle/travel device through which they have to travel, to find the missing paladin. Part 4 of The Shackled City Adventure Path Pgs. 44-82
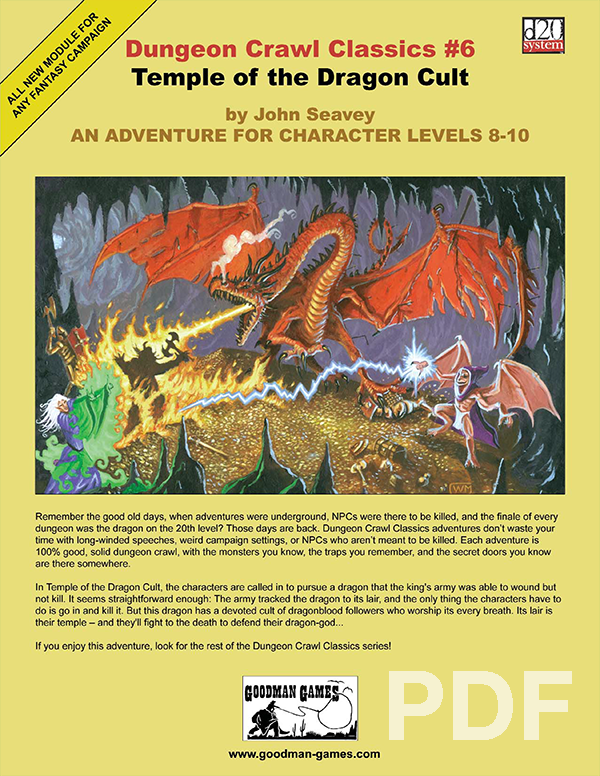
In Temple of the Dragon Cult, the characters are called in to pursue a dragon that the king’s army was able to wound but not kill. It seems straightforward enough: the army tracked the dragon to its lair, and all the characters have to do is go in and kill it. But this dragon has a devoted cult of dragonblood followers who worship its every breath. Its lair is their temple — and they’ll fight to the death to defend their dragon-god…

A slaver gang known as the Bloodreavers are terrorizing the countryside from their base deep in the labyrinth under Thunderspire Mountain. But these slavers are only the symptom of a larger threat in the bowels of Thunderspire.