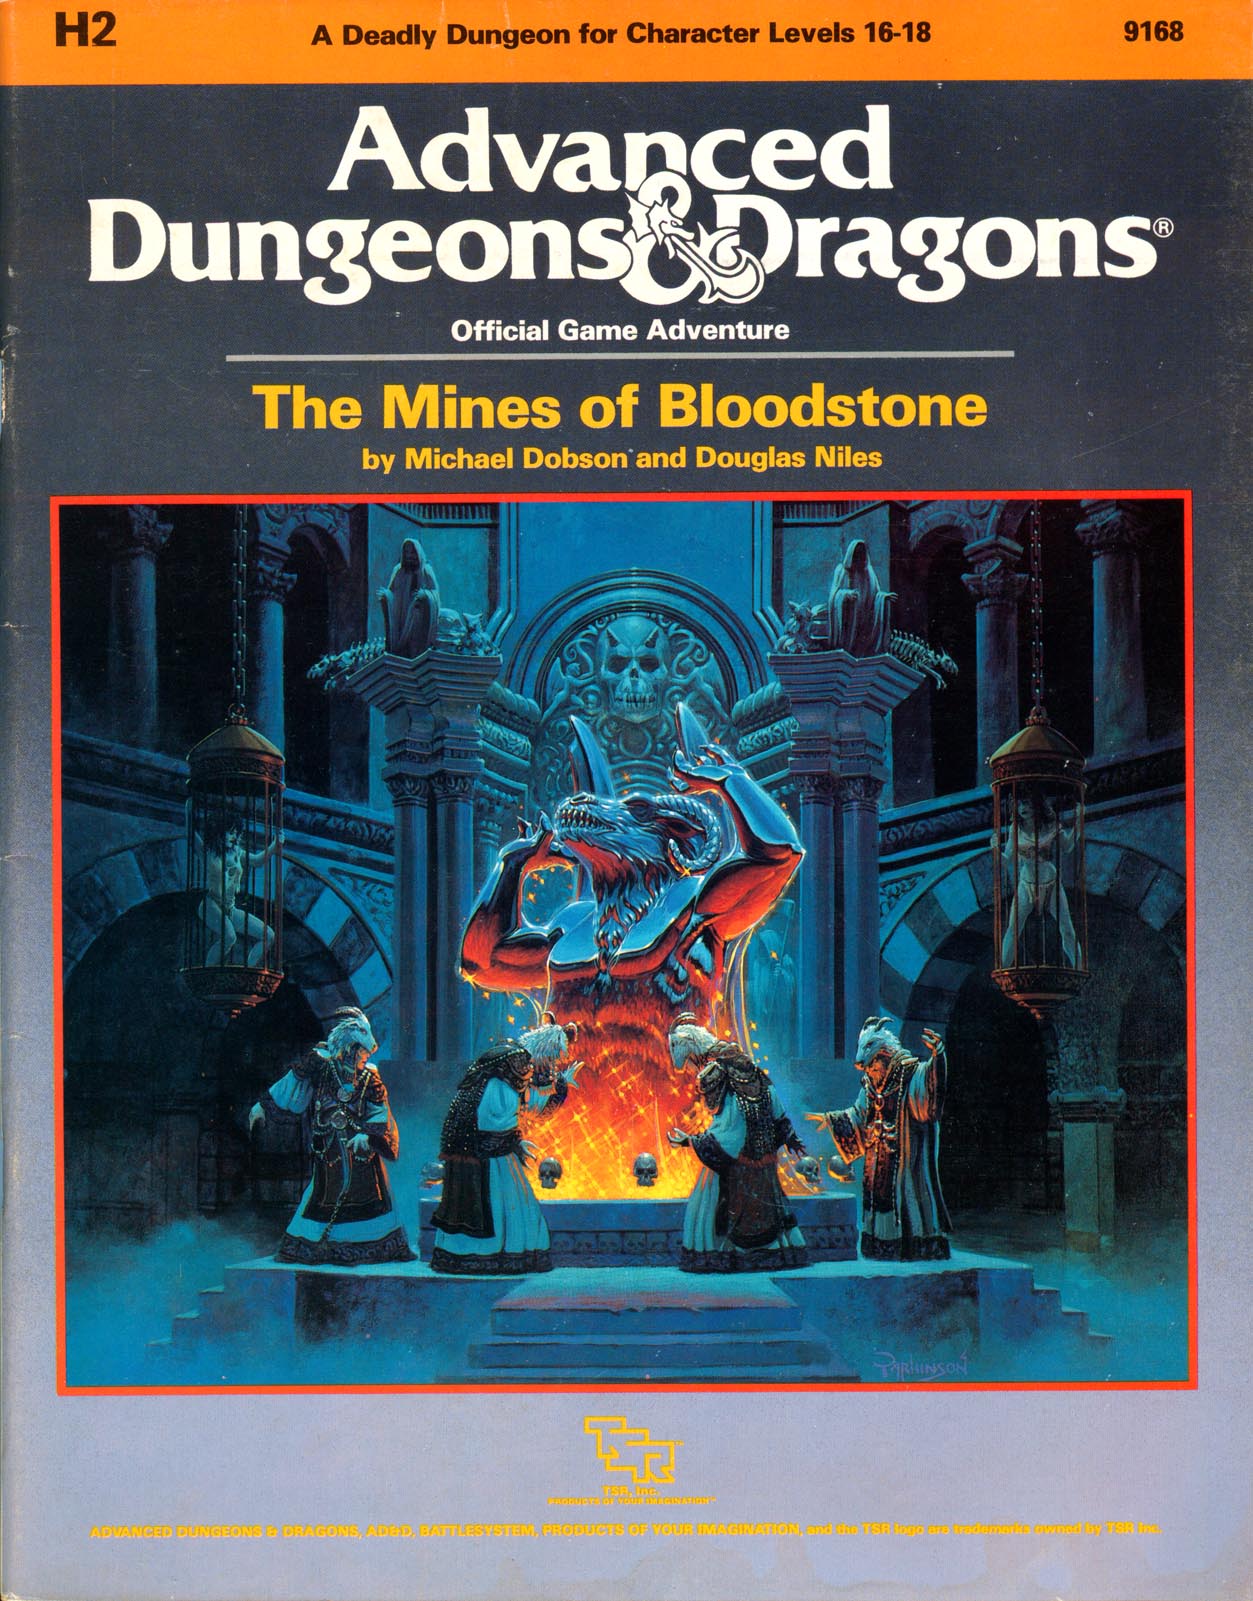
The most deadly dungeon ever devised! High-level characters brave the unexplored corridors of Deepearth to confront perhaps the most feared adversary in the AD&D game. The second chapter of the Bloodstone Pass saga follows the conclusion of the desperate war against the bandit army. A cold and bitter winter drives the villagers to the edge of starvation, and numerous horrors strike the town of Bloodstone Pass. Join the adventure as the heroes explore the depths of the ancient bloostone mines, now inhabited by fearsome demons. There they hope to uncover the fantastic treasures rumored to exist in the unknown darkness. But deep within the mines, all is not what it seems.... This module uses the new rules from the Dungeoneer's Survival Guide and Wilderness Survival Guide. The adventure also includes optional BATTLESYSTEM scenarios fought entirely underground. These supplementary products are not required to play the adventure, however. TSR 9168
"Orcs have returned to the once quiet border province of Blackmarch. The Bleak Tower and its meager garrison are all that stand against the tide. Their only hope lies in a ragtag band of adventurers willing to venture into the perilous maw of Ironwood Gorge..." "Ironwood Gorge is a fantasy role-playing adventure for 4-8 characters of levels 2-5, designed for older editions of the world's most popular fantasy role-playing game and its clones such as Labyrinth Lord and OSRIC. The material is also easily adaptable to any other class and level based fantasy role-playing game. Ironwood Gorge serves as part two in the Blackmarch sequence of adventures, but is built to function just as well as a one-off adventure, a drop-in-a-hex location for sandbox games, or as a kick start to a new campaign. The module includes keyed maps detailing both the Bleak Tower: a living, breathing refuge for adventurers; and Ironwood Gorge: a cave complex with over 100 keyed areas of traps, monsters and mayhem. The module is illustrated throughout with original artwork and includes appendices detailing new monsters, magic items, and spells. Whether you are looking for an out-sized adventure to usher the hardiest characters to the intermediate levels, or a fully-realized location to plunder for maps and ideas, Ironwood Gorge is a treasure from the old-school of gaming..." An alternative to B2 - Keep on the Borderlands

Summoned by the ruler of the Moonshae Isles, the adventurers are asked to seek out the five lost Temples of the Earthmother. A 12 hour adventure for 5 players of 1st-3rd level characters.

The heroes arrive at the eponymous Keep on the Borderlands, a fortress on the edge of civilization built to stave off the chaos and evil of the wilderness. Using it as a home base, a party can make forays into the surrounding wilderness, encountering monster and marauder alike. The centerpiece of the adventure is certainly the CAVES OF CHAOS, a network of tunnels and caverns found in the walls of a nearby but isolated ravine. It is here that hordes of evil humanoids have made their home. Through combat and negotiation, the players can try to explore and map out these caves, perhaps with the aim of accumulating valuable treasure or even cleansing the land of evil creatures. However, even the Caves are not all they seem. Beyond the goblins and kobolds lurk dark horrors: cults dedicated to fiendish chaos and a Minotaur's enchanted labyrinth await the unprepared adventurer. But for the hero who is brave, clever, and fortunate in equal and sufficient measure, great treasures and glory await in the Caves of Chaos that lie beyond the Keep on the Borderlands! TSR 9034
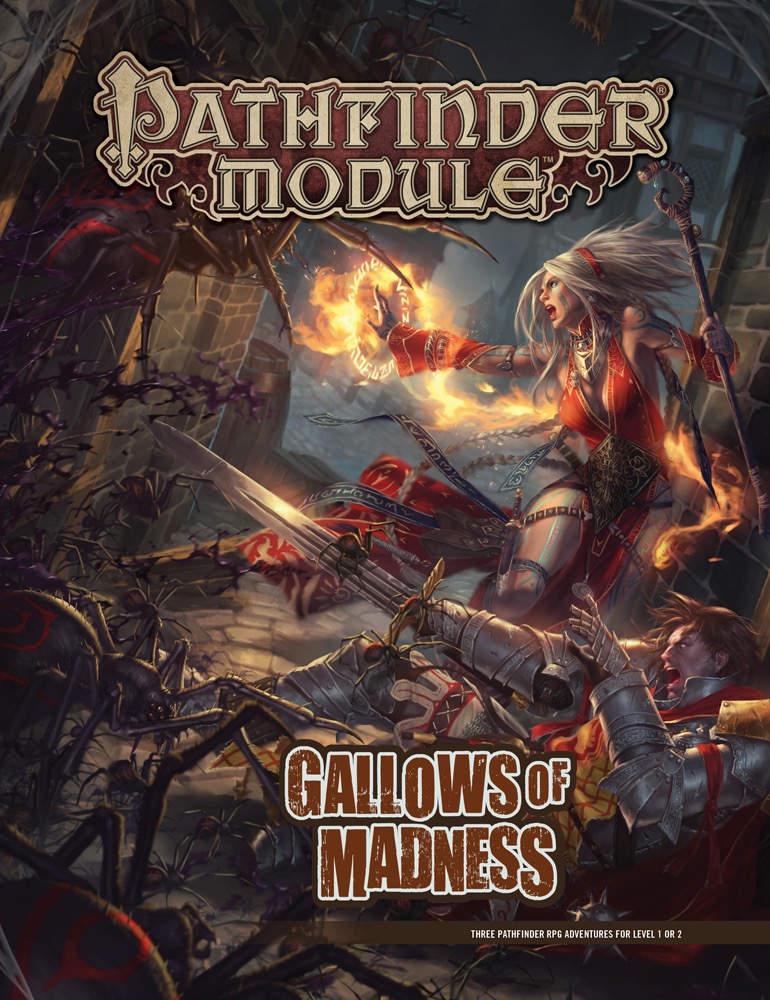
The Abyss Approaches! Something wicked—and monstrous—stirs around the rugged Isgeri town of Saringallow, where the hated legacy of noble Chelish diabolists runs deep. With the recent disappearance of several apprentices, the nearby menace of particularly grotesque goblins, and the unsettling rumors about the old Sarini Estate, Mayor Sandra Trinelli knows that she needs help, and she needs it fast! The heroes must confront one of these crises, or all three, if they hope to stem the tide of darkness that looms. Before too long, the heroes discover that villains with ties to the Abyss have set their sights on Saringallow, and won't rest until the settlement and all its innocent inhabitants fall victim to their madness-inducing predations! Gallows of Madness is a 64-page, highly versatile collection of three adventures for 1st-level characters. Each adventure also includes scaling information for parties of 2nd-level characters. Written with beginning Game Masters and players in mind while also providing challenging content for veterans, these adventures can be prepared quickly and run separately or in any order. For GMs who wish to run a deeper, more narrative game, this volume also offers an overarching timeline of events and detailed tips for running these adventures as a cohesive whole. Bonus content includes new monstrous foes and a gallery of NPCs to help easily connect the adventures, plus a gorgeous double-sided poster featuring an overview of Saringallow and a miniatures-scale battlemap!

The young heroes are invited to Massie Littlefoot’s birthday party before she departs for wizarding school in Waterdeep. At the height of the party, Clonker, an ogre known to live nearby, steals Massie’s cake! The heroes must brave the forest and get Massie’s cake back before everyone goes home. This introductory adventure is designed for level 1-2 characters. What Is This Project? An Ogre and His Cake is an introductory 5th edition Dungeons & Dragons adventure built for and tested by kids. It is every parent or guardian's dream to share their passions with the young ones they love. We hope Clonker, the lovable ogre, opens these doors for you. We also want to support children and families who are unable embark on every adventure. All of our creator royalties (50% of what you pay, with the other 50% supporting the upkeep of the Dungeon Masters Guild and Wizards of the Coast) will be donated directly to Extra Life, a non-profit organization focused on supporting children's hospitals through communal gaming events.

Step into the pixie village of Pleppil, a strange and enchanting place filled with a group of fey creatures whose society revolves around the accumulation of shiny objects. Every home in Pleppil is adorned with dozens, if not hundreds, of various objects that glimmer in the sunlight or glow by the light of the moon. The pixies frequently roam to nearby towns and roads to steal new shinies from unsuspecting townsfolk and travelers. While most pixies make their homes high up in the trees, similar in size and design to birdhouses used by some of the wealthier city folks, one pixie by the name of Quillen is left on the forest floor. When Quillen (or Quill as his friends call him) was young, he was attacked by a wizard when trying to scavenge a copper coin. He survived, but his wings were mangled and he lost the ability to fly. The damage was so great that no pixie healing magic could repair his poor wings. Quill is not one to give up hope on regaining his flight, however. On one of his recent travels with his trusty porcupine steed, Spike, he found a group of tall folk meandering through the forest. Always a curious pixie, Quill crept up close and did some eavesdropping. He heard them discussing a wonder called the Well of Wishes. This place is said to contain waters that can cure any ailment – hopefully even destroyed pixie wings! Now Quill seeks a group of adventurers who will join him on this exciting and potentially dangerous journey into the heart of the forest to find this Well of Wishes and finally regain his flight!

The village of Saxham has been struck by a terrible curse! Or perhaps it’s being terrorized by demons, ghosts, and the undead? Or… was there a terrible storm? Maybe? No one seems to know exactly what happened here. But the villagers are terrified, bizarre monsters roam the forest, and strange lights strike the woods every night at midnight… ADVENTURE TYPE: Small Sandbox Mystery DESIGN NOTES: This adventure includes a small village, several wilderness areas, and a simple network of tunnels to explore. Each area contains various encounters and unique magical items. There are many opportunities for combat, but it is possible for players to explore every area and complete every interaction without any combat at all, depending on their choices. INCLUDES: Story hooks, dialogue prompts, original creature stat blocks, original treasure/items, area overview map, and illustrations. Produced by Dungeon Age Adventures

A fiend lurks among the Black Blade goblins. A shapeshifting barghest fashioned by the General of Gehenna to exact revenge on all goblin-kind. It’s aim: to kill as many goblin leaders as possible… A masked goblin approaches the party asking for help. Two tribe leaders are dead. But a rival for chief has control of the crime scene. Will the party discover the barghest among the goblin ranks? Can they stop this imposter before it strikes again? Adventure Overview The adventure’s story is spread over 4 parts and takes approximately 4 hours to play. The adventure begins with a Call to Action scene. Part 1: Goblin Politics. Krill sends his emissaries to implore help from any strong intermediary. The party is asked to investigate the murder of Thrawn in Dringly’s lair. This is Story Objective A. Part 2: The Opposition. Gain entry into Dringly’s lair and investigate the murder of Thrawn. Gather enough evidence to find the killer. This is Story Objective B. Part 3: To The Lair! Now that the players have determined the barghest (Yeep) is to blame, they need to get to Krill’s lair quickly as he is in imminent danger. This is Story Objective C. Part 4: The Barghest.When the players arrive at the lair, they need to get to Krill and expose and defeat the barghest. This is Story Objective D. Adventure Background A barghest named Yeep has begun its onslaught of attacks against the Black Blade goblins. Starting with Chief Gnar, then his second in command Thrawn, the barghest is moving methodically down the line of command. Krill is now chief. But he has some problems: Two leaders of the Black Blades are dead. Who killed them and why? Is he next? Dringly, the next in command, has decided to take his lair for himself, declaring himself Chief of the Black Blades. Who are the Black Blades? The Black Blades are a tribe of goblins in the local area. They are known for dipping their blades in a dark black substance. It is rumored these blades are poisonous. The Black Blades regularly attack passersby on the road to rob them. The Black Blades have two lairs, one run by a chief who leads the whole tribe, and another overseen by a boss lieutenant. The Black Blades have a well-established pecking order which is how Krill stands to become chief. The next in line is Dringly, who has also declared himself chief and wants Krill dead. Krill suspects that there is something suspicious about two leaders being killed within a day of each other, but he has already burned Gnar’s body without any investigation. He needs to investigate the body of Thrawn, but it is in Dringly’s lair. Krill wishes to avoid direct confrontation with Dringly at the present for three reasons: 1) Any violence would only kill his own tribe members and further divide the lairs. 2) He believes there is still hope for negotiation to reunite the Black Blades. 3) He believes that if he were to attempt negotiations himself, Dringly would kill him. This adventure features: Two maps. Ready for your favorite Virtual Tabletop. A full color pdf. A black and white pdf. One custom monster, a reprint of barghest, all others available in the Monster Manual. Four hours of entertainment involving: roll playing a goblin bard, investigating a murder scene, tracking down a barghest before it strikes again. Applicable to any setting.

The beginning adventure to the Dragonlance, War of the Lance series of adventures, upon which the Dragonlance novels are based. The companions meet in the Inn of the Last Home to discover a barbarian couple with a mysterious staff. The PCs journey to discover the staff's history which leads them to a ruined temple to the Forgotten Gods. Includes a full map of Xak Tsaroth and overland maps, some color. Art by Jeff Easley. TSR 9130

It's a frigid New Year's Eve, and the heroes gather near midnight in a small condemned tavern wihtin the Free City-State of Gate Pass. Located in the mountain pass which separates two hostile nations. Gate Pass has been neutral since the end of their last war. That neutrality is about to be put to the test, as a scourge comes for the city from the nearby empire of Ragesia. By now, every magic-user in Gate Pass knows of the Scourge. The Emperor of Ragesia died barely a month ago, and a witch named Leska has moved to cementer herself as the next empress. Leska leads the Ragesian Inquisitors, clerics specialized in countermagic and has decreed ass disloyal mages to be tracked down and killed to prevent future threats to the empire. Their first target is Gate Pass, whose neutrality has long been viewed as an insult to the nation's honor. This is the first of twelve adventures in the War of the Burning Sky adventure path from E.N. Publishing.

Fight off an ambitious young green dragon in this expansion for Storm King's Thunder! This adventure is designed for the Storm King's Thunder campaign and is intended to give your players extra content during Chapter 3. It will bring your party to Wealdham, a small town located in the Westwood. There, they will face off with Veratrem, a young green dragon that has taken control of a local kobold tribe. If the adventurers think they can easily take the weak creatures, they have a surprise coming to them... Veratrem's Tribal Siege is a 5-8 hour adventure for Tier 2 Characters (optimized for APL 6). It has enough material for 1-2 full sessions, depending on how thorough your party is. Alternatively, Veratrem's Tribal Siege works very well as a standalone adventure for players who are not familiar with Storm King's Thunder at all.

The battle against the slavers continues! You end your fellow adventurers have defeated the slavers of Highport, but you have learned of the existence of another slaver stronghold, and you have decided to continue the attack. But beware! Only the most fearless of adventurers could challenge the slavers on their own ground, and live to tell of It! Second part of Scourge of the Slavelords (A1-4) TSR 9040

"A great cat sits upon the northern grasslands, my friend, waiting to pounce on adventurers just like you." As you part the tall grass with your sword, the words of the tavernkeeper echo in your head. "He was the mightiest wizard we'd ever known, and that Lion Castle was his home." Your friends' voices mingle with the tavernkeeper's. "He's but a ghost now, haunting those halls, and waiting for an heir." The ground rises slightly. A strong wind rushes through the field. Suddenly, the grasses part, and Lion Castle rises majestically before you! "Magical riches await those who enter!" "Beware of man-beasts!" Voices flood your head again. Will you brave the haunted castle? Can you afford not to? It's all up to you in this D&D Solo Adventure. Ghost of Lion Castle is for one player only, but that one player makes all of the choices and enjoys all of the rewards. An entire castle and courtyard await your exploration. The adventure also includes a complete solo combat system. TSR 9097

Hunt for a Legendary Treasure! Deep beneath a peaceful valley lies the vault of the legendary drow adventurer Larin Karr. Rumor has it Larin Karr has gone, but his vast treasure acquired from years of plundering hordes in the Underdark still remains. Can you find and loot the impenetrable vault? The Vault of Larin Karr details Quail Valley, its residents and monsters, and the twisting tunnels of the Underdark that stretch beneath it. The Vault of Larin Karr takes PCs from 4th to 9th level, during which time they fight dragons, find a missing statue for a band of renegade elves, save the village of Pembrose from scheming hobgoblins, and explore the Underdark and its many dungeons - including the legendary Vault itself! Contains new monsters and magic items! 2003 ENnie Award Silver Winner: Best Adventure

The PCs answer a call for heroes by the Church of Traladara, asking for help in finding an ancient relic- the Shield of Halav. This is located in a lost temple, and the PCs must locate this temple, and brave its dangers to recover the shield before two competing teams from other churches find it first. Part one involves setting up the adventure, doing research, following clues, and discovering the site of the lost temple. Part two; once the site is known (ruins under a modern town) the heroes must travel there and find the entrance. Part three is braving the lost temple, filled with traps, puzzles, and other dangers, to find the missing shield, and then culminating in a climatic showdown with the completing teams.

The dragonmen have taken Solace. Its beautiful tree houses lie black and battered amid the stumps of great vallenwood trees. Kapak Draconians, armed with poisoned weapons, enforce a brutal martial law on the survivors. And Solace is only one outpost: the dragon armies control the plains. Only the elven kingdom of Qualinesti stands unconquered. The rest of the plainsmen suffer the most: a long slave caravan hauls hundreds of them to the fortress prison of Pax Tharkas. "Dragons of Flame" is the second in TSR's series of Dragonlance adventures for use with the AD&D game system. Your players will adventure in the world of Krynn and visit strange places such as Qualinost or the Sla-Mori, encountering bizarre draconians and disgusting Aghar. They can play the modules as a set of separate adventures or as a great quest that spans the entire Dragonlance story. Art by Jeff Easley. TSR 9132

The first part of the Dreams of Red Wizards adventure path originally published for the D&D NEXT Playtest. Following the events Ghosts of Dragonspear Castle, a new set of adventurer's will see some of the repercussions of that adventure. This adventure is intended to be continued in the Dead in Thay adventure (Note that they Dead in Thay 5e adventure featured in Tales from the Yawning Portal is missing a significant portion of interlude that links Scourge of the Sword Coast to the events within the Doomvault). The adventurers arrive when Daggerford is crowded with refugees from outlying lands. Goblins, gnolls, and orcs have been raiding the countryside. Now, food is scarce and tension is high. Blame for a theft has fallen on the refugees, and the Duke of Daggerford has forbidden more of the displaced from coming into town. After overcoming difficulties to enter Daggerford, the characters learn more about the raids. As they fight against the humanoids and delve deeper in the darkness that encircles Daggerford, the characters learn of Bloodgate Keep. After a final fiendish ambush, they’re ready to confront the real threat to the area. DM Note: This adventure points the adventurers strongly towards Bloodgate Keep but that location does not appear until the Dead in Thay adventure; at several points the party may feel drawn to explore that location rather than continue their investigations around Daggerford. However, since Bloodgate Keep is only eluded to as a source of great evil power, it can serve to easily segue to an entirely different adventure path. As a NEXT Playtest adventure, Scourge of the Sword Coast uses milestone leveling and the included stat blocks for creatures do not necessarily match or even appear in the 5e Monster Manual, nor do they have XP values or challenge ratings. In some places it will reference rules used in the Playtest but dropped or changed in the 5e release, these are unlikely to substantially impact gampley with 5e rules.

Greatwall is in peril - not from military forces of Iuz, but from lack of goods and supplies. Caravans from Willip have ceased thanks to increased dangers on the Willip Critwall Grabford Trail. As the key fort positioned to contain the Iuzian flood, Greatwall is a strategic necessity. Its failure would mean a major incursion along the border. Your characters are hired to escort a caravan from Greatwall to Willip; if its merchants are afraid to come to the fort, the fort will go to them. This should be simple, cut and dried guard job. Right? Of course not. There are many surprises in store for your little caravan, and your characters will need to keep their wits about them day and night in order to make it to the other end. Secret plans are afoot, conspiracies are brewing, and nothing is as it seems while on the Border Watch. This module uses information presented in the From the Ashes boxed set and the Iuz the Evil accessories. However, ownership of these two products is not necessary to play this module. TSR 9406

The tomb of an ancient hero, lost in the tangled depths of the woods. A ring of standing stones, warded by the sinister Drune cult. A fairy princess who watches with timeless patience from beyond the veil of the mortal. A forgotten treasure that holds the key to her heart. Winter's Daughter is a romantic fairy-tale dungeon adventure set in the creepy old forest of Dolmenwood. Published by Necrotic Gnome