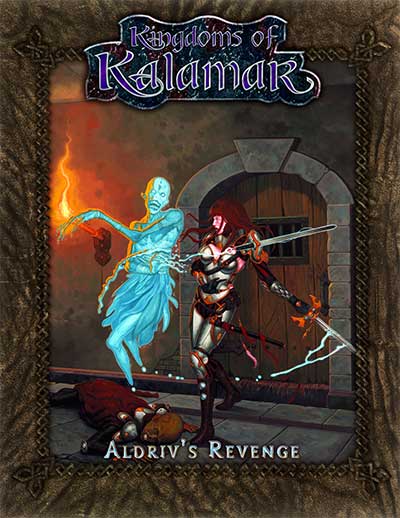
Duke Aldriv III has been brutally murdered. His brother, Prince Cardor, disappeared under mysterious circumstances. Mordeln, the bastard son of the Prince, is under suspicion. But Mordeln claims to be innocent, and fears he will be the assassins' next target. Let your plater characters' personalities come alive as they join forces with Mordeln in his desperate race to find his missing father. Will the players find the Prince before the assassins do? Or will they too fall victim to the mysterious figure manipulating the events from behind the scenes?

A mysterious tower beckons. Recently a strange tower hidden in the forest was rediscovered, but only one scout returned to tell the tale, but a strange tale of cults, bandits and ghosts it was. Dare our heroes explore this forgotten place? Originally from the Danish convention Fastaval as part of the living campaign, Hinterlandet. Now presented here for the first time in English. It is an adventure with emphasis on exploration and meeting the unknown.

A generic tomb usable for one off adventures or unexpected exploration discovery. An abandoned dwarven tomb has been taken over by goblins.
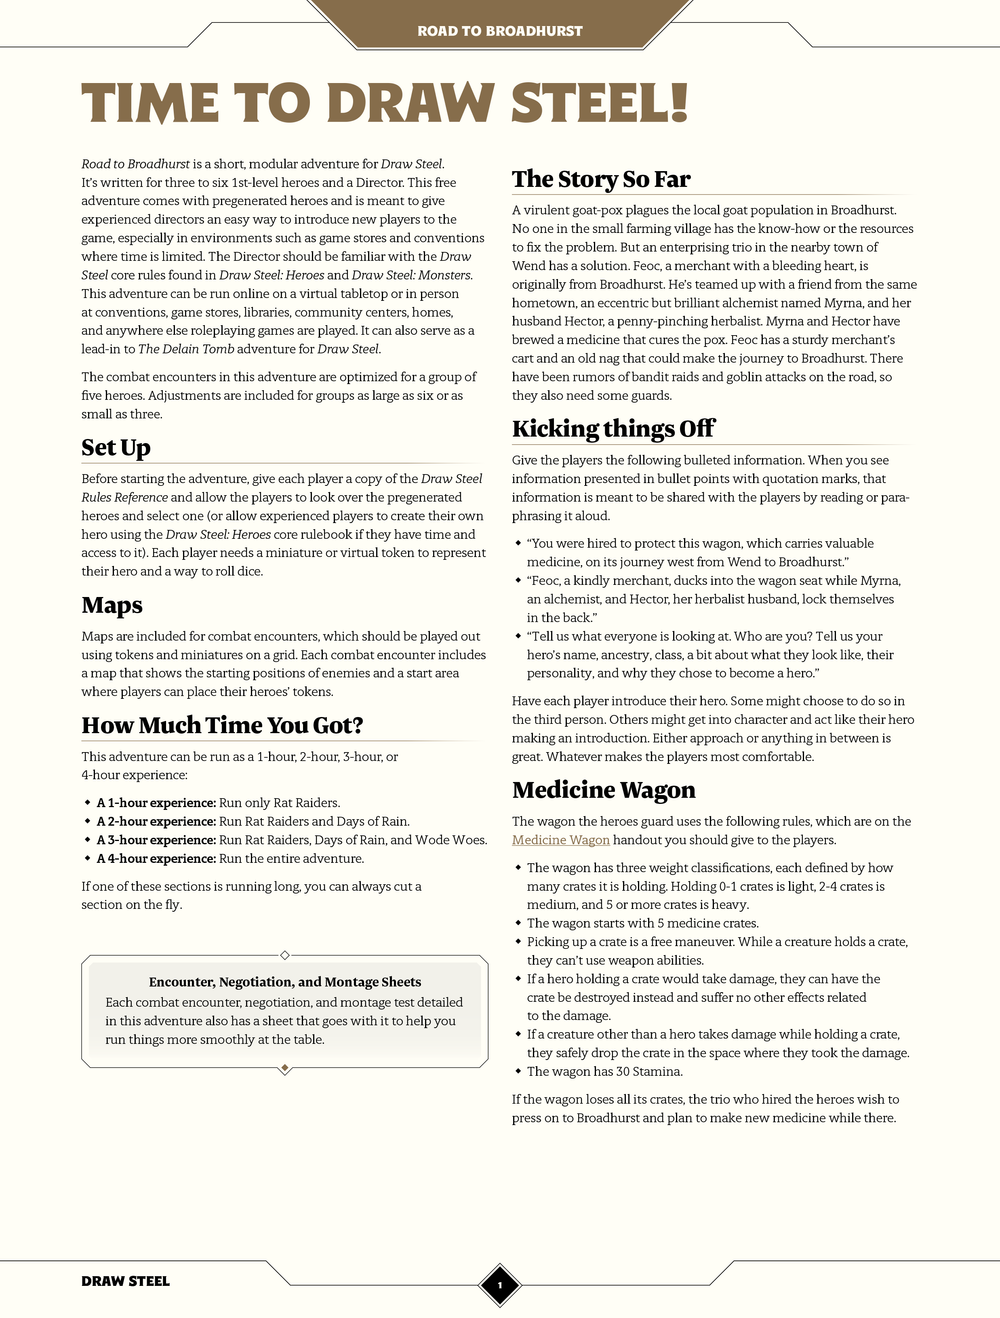
The Road to Broadhurst written by Carlos Cisco is available for free. Internally, MCDM called this “the Conventure.” It’s designed for experienced Directors who already know the rules, and want to run Draw Steel for new players at their local convention or game store. It doesn’t explain how to play, that’s what the director is for! Because RPG events at a convention can last anywhere from 45 minutes to 4 hours, The Road to Broadhurst has advice on how to skip sections you don’t have time for without affecting the flow of play. Road to Broadhurst is a short, modular adventure for Draw Steel. It’s written for three to six 1st-level heroes and a Director. This free adventure comes with pregenerated heroes and is meant to give experienced directors an easy way to introduce new players to the game, especially in environments such as game stores and conventions where time is limited. The Director should be familiar with the Draw Steel core rules found in Draw Steel: Heroes and Draw Steel: Monsters. This adventure can be run online on a virtual tabletop or in person at conventions, game stores, libraries, community centers, homes, and anywhere else roleplaying games are played. It can also serve as a lead-in to The Delain Tomb adventure for Draw Steel. The combat encounters in this adventure are optimized for a group of five heroes. Adjustments are included for groups as large as six or as small as three.

You are Erystelle of Dorneryll, famed elfin champion and magic-user. After years of adventuring, you have come home to the Emerlas - the hauntingly beautiful elfin woodland at the tip of Canolbarth forest. A place of legends and of peace. The journey has been long, but soon the winding forest track will bring you to Dorneryll, the majestic oak tree home of your childhood. Ahead, you glimpse a plume of smoke curling lazily into the sky. Dorneyll is close, and your mind floods with thoughts of home. Suddenly, your reverie is shattered! The thin plume of smoke is gone, an in its place a column of red flame leaps high among the trees. Dorneryll is under attack! Gripping your lance, you urge your mount into a gallop. Starbow surges forward; your war dogs close on her heels... Blade of Vengeance is an adventure for one player and one dungeon master, featuring a lone elf against the forces of evil. Can you save the Emerlas from destruction? The answer waits inside. TSR 9108

The beginning adventure to the Dragonlance, War of the Lance series of adventures, upon which the Dragonlance novels are based. The companions meet in the Inn of the Last Home to discover a barbarian couple with a mysterious staff. The PCs journey to discover the staff's history which leads them to a ruined temple to the Forgotten Gods. Includes a full map of Xak Tsaroth and overland maps, some color. Art by Jeff Easley. TSR 9130

The town of Whitehaven is beset with undead. The townsfolk are quick to blame the Witch of Whitehaven, who lives nearby with her partner in the Surbrin Hills. Yet a more insidious evil lurks in the midst of town, cloaked in a holy man’s robes. And far underground, an ancient evil artifact stirs. The town is in need of heroes. Will you answer the call?

Shall you claim the glory of heroes, or accept your doom? You have raised the ire of the goblin warlord, and now you flee his kingdom with war parties hot on your trail. You must reach the borderland town of Felsentheim, for if you do not, no alarm will sound to hearken the coming of the Dogs of War and your bodies will lie in the forest grass, forgotten by all but the worms! Shall you claim the glory of heroes and warn the people or accept your doom and suffer death in the Treklant? Enter again the World of Inzae, where all things slip into the Maelstrom, and from hence true heroes are born.

A fiend lurks among the Black Blade goblins. A shapeshifting barghest fashioned by the General of Gehenna to exact revenge on all goblin-kind. It’s aim: to kill as many goblin leaders as possible… A masked goblin approaches the party asking for help. Two tribe leaders are dead. But a rival for chief has control of the crime scene. Will the party discover the barghest among the goblin ranks? Can they stop this imposter before it strikes again? Adventure Overview The adventure’s story is spread over 4 parts and takes approximately 4 hours to play. The adventure begins with a Call to Action scene. Part 1: Goblin Politics. Krill sends his emissaries to implore help from any strong intermediary. The party is asked to investigate the murder of Thrawn in Dringly’s lair. This is Story Objective A. Part 2: The Opposition. Gain entry into Dringly’s lair and investigate the murder of Thrawn. Gather enough evidence to find the killer. This is Story Objective B. Part 3: To The Lair! Now that the players have determined the barghest (Yeep) is to blame, they need to get to Krill’s lair quickly as he is in imminent danger. This is Story Objective C. Part 4: The Barghest.When the players arrive at the lair, they need to get to Krill and expose and defeat the barghest. This is Story Objective D. Adventure Background A barghest named Yeep has begun its onslaught of attacks against the Black Blade goblins. Starting with Chief Gnar, then his second in command Thrawn, the barghest is moving methodically down the line of command. Krill is now chief. But he has some problems: Two leaders of the Black Blades are dead. Who killed them and why? Is he next? Dringly, the next in command, has decided to take his lair for himself, declaring himself Chief of the Black Blades. Who are the Black Blades? The Black Blades are a tribe of goblins in the local area. They are known for dipping their blades in a dark black substance. It is rumored these blades are poisonous. The Black Blades regularly attack passersby on the road to rob them. The Black Blades have two lairs, one run by a chief who leads the whole tribe, and another overseen by a boss lieutenant. The Black Blades have a well-established pecking order which is how Krill stands to become chief. The next in line is Dringly, who has also declared himself chief and wants Krill dead. Krill suspects that there is something suspicious about two leaders being killed within a day of each other, but he has already burned Gnar’s body without any investigation. He needs to investigate the body of Thrawn, but it is in Dringly’s lair. Krill wishes to avoid direct confrontation with Dringly at the present for three reasons: 1) Any violence would only kill his own tribe members and further divide the lairs. 2) He believes there is still hope for negotiation to reunite the Black Blades. 3) He believes that if he were to attempt negotiations himself, Dringly would kill him. This adventure features: Two maps. Ready for your favorite Virtual Tabletop. A full color pdf. A black and white pdf. One custom monster, a reprint of barghest, all others available in the Monster Manual. Four hours of entertainment involving: roll playing a goblin bard, investigating a murder scene, tracking down a barghest before it strikes again. Applicable to any setting.

A loyal band of adventurers must find the Horn of Kiri-Jolith, a powerful artifact that could help turn the tide of the War of the Lance before the forces of the Blue Dragonarmy claim it. They must delve into the ruins of Castle di Garinoc - the home of Lord Kiril Garinoc, a Knight of Solamnia who perished 300 years ago in the Cataclysm - and recover the horn before the Blue Dragonarmy arrives and claims it for their own! Dragonlance: Quest for the Horn of Kiri-Jolith is a 5-7 hour adventure for 5th level characters. Inside Quest for the Horn of Kiri-Jolith you'll find: A multi-chapter adventure heavily-researched to fit neatly with previous canon and into the larger story of the War of the Lance. Exploration through a ruined castle from before the Cataclysm. Encounters with draconians, goblins, the ghostly lady that haunts the castle, and a final siege battle with the Blue Dragon, Swiftbolt! Unique versions of classic enemies and magic items to use in your own campaign. A foundational adventure designed to start a larger Dragonlance campaign.

The goblin, King Tatter-roo, and his tribe are plagued by an unseen hunter. They have placed an unusual plea to anyone who will listen. The promises of goblin wealth and peace amongst the free people is attainable for a limited time only. All King Tatter-roo requires is an inquisitive mind and a sharpened blade.
An evil cult with a trick up its sleeve. A missing tome, a trail of clues and an unusual cult. Lawful-good characters, especially paladins are recommended for this adventure. Clerics of Aphrodite, Hanali Celanil, Hera, and lshtar have a special interest in despoiling the cult of Shami-Amourae. [Note: Adventure contains statistics for the Demigod Succubus, Shami-Amourae] Pgs. 19-27

This adventure is scaled for level 1 characters. The ruins of a flying castle teeming with goblins is heading to the peaceful village of Barrowmist. It is up to the heroes to get up there and stop it before the castle lands in the village and chaos ensues. The group will enter into the ancient struggle between elves and orcs. Not only can they claim the ruins as their home, but the heroes will be asked to go on a quest to repair the castle and use it to find the Misty Isle, a legendary elven realm stolen by Gruumsh, god of the orcs. This adventure is the beginning of the Litany of Arrows adventure path. It can be run on its own or as a linked part to the larger story.
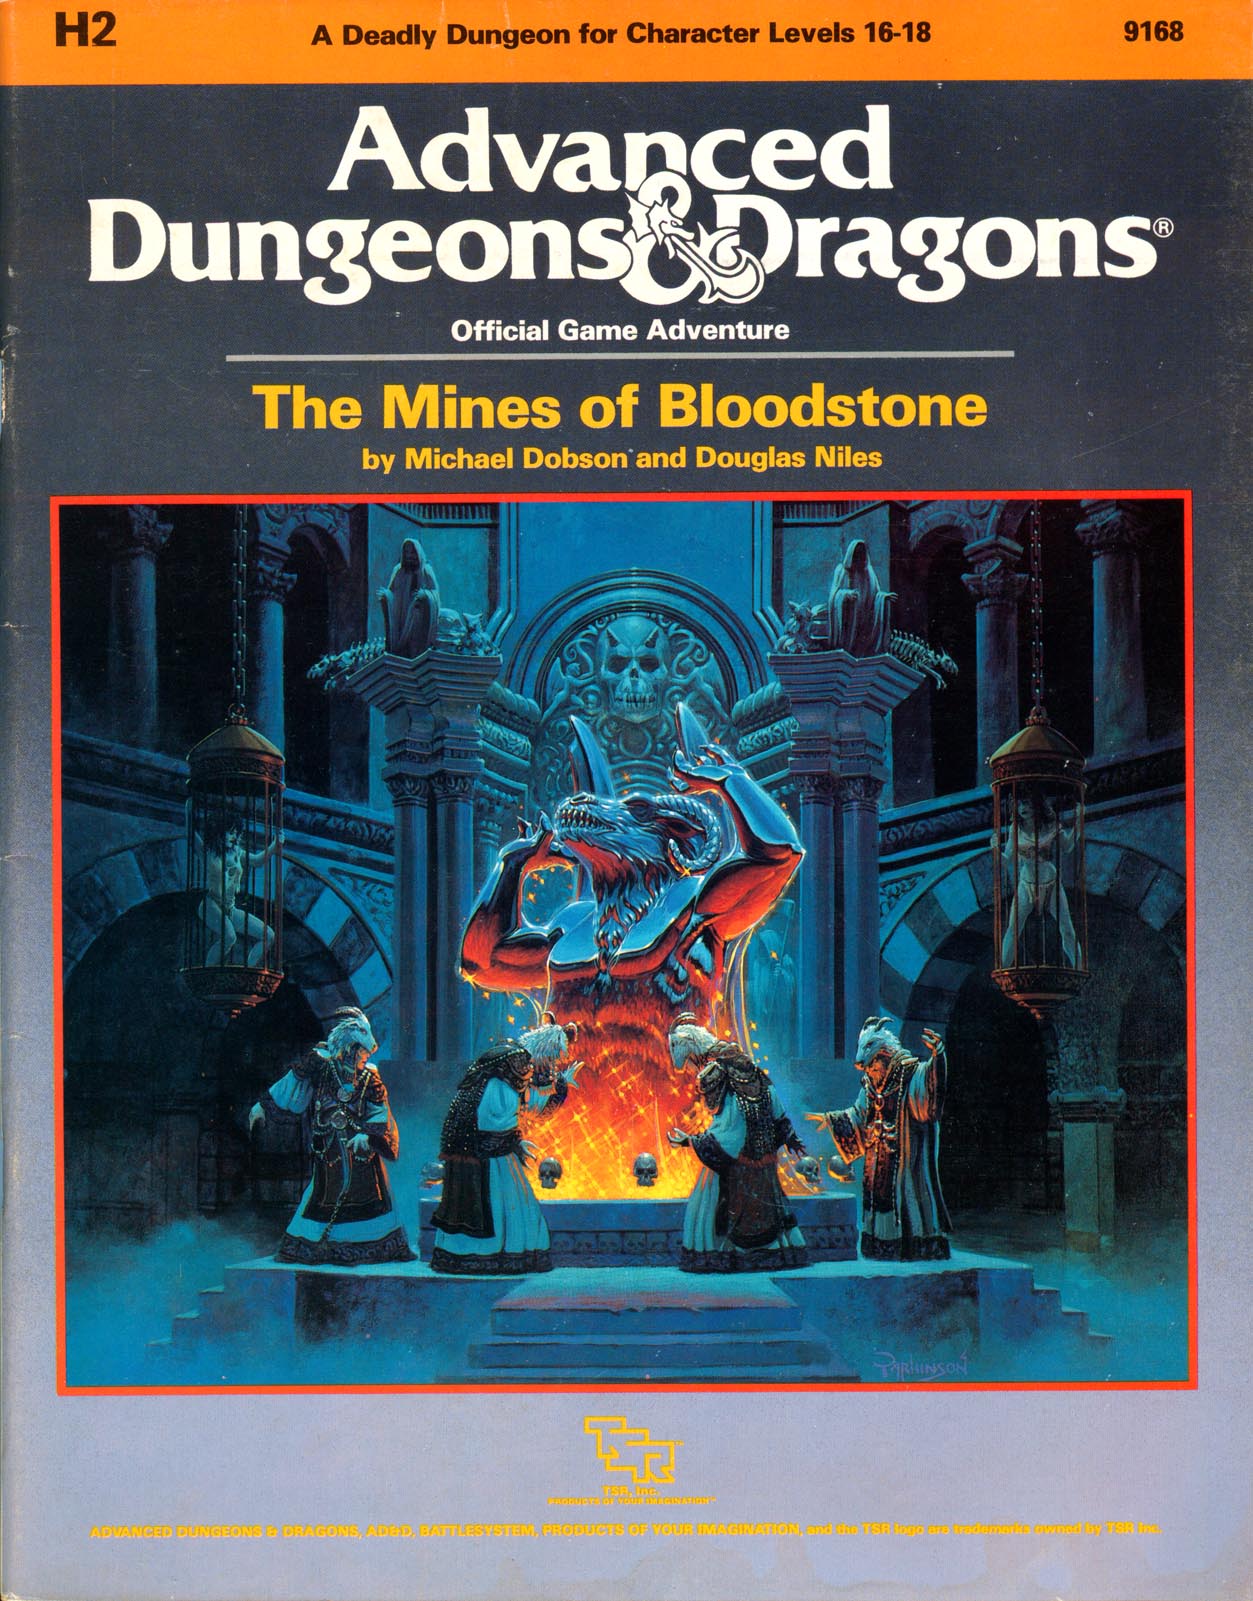
The most deadly dungeon ever devised! High-level characters brave the unexplored corridors of Deepearth to confront perhaps the most feared adversary in the AD&D game. The second chapter of the Bloodstone Pass saga follows the conclusion of the desperate war against the bandit army. A cold and bitter winter drives the villagers to the edge of starvation, and numerous horrors strike the town of Bloodstone Pass. Join the adventure as the heroes explore the depths of the ancient bloostone mines, now inhabited by fearsome demons. There they hope to uncover the fantastic treasures rumored to exist in the unknown darkness. But deep within the mines, all is not what it seems.... This module uses the new rules from the Dungeoneer's Survival Guide and Wilderness Survival Guide. The adventure also includes optional BATTLESYSTEM scenarios fought entirely underground. These supplementary products are not required to play the adventure, however. TSR 9168
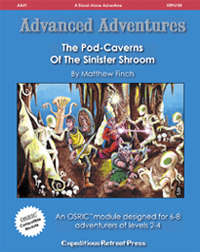
Strange doings are underfoot in the wild hills bordering the realm of decent and civilized folks. Villagers and cattle have gone missing; woodcutters have disappeared; misshapen beings have been seen shuffling through the forests. Some brave villagers have tracked a group of stolen oxen as far as the rocky banks of a small river in the hills. The trail disappeared down into a fissure in the limestone rock, where a fast-running stream plunges down to the dark caverns below. Gird your loins, stand behind the dwarf, and get ready to face The Pod-Caverns of the Sinister Shroom!

There's trouble in Allesley! An Eastbrook farm has been attacked and people slain. But by what? The people are frightened, the Reeve is concerned, and the Constable wants you to figure out what’s going on. The last time this happened, goblins attacked the town. Does this mean war? This is the first adventure in a series to come in 2017 which builds on the introductory mini-adventure in the Eastbrook starting area.

The first part of the Dreams of Red Wizards adventure path originally published for the D&D NEXT Playtest. Following the events Ghosts of Dragonspear Castle, a new set of adventurer's will see some of the repercussions of that adventure. This adventure is intended to be continued in the Dead in Thay adventure (Note that they Dead in Thay 5e adventure featured in Tales from the Yawning Portal is missing a significant portion of interlude that links Scourge of the Sword Coast to the events within the Doomvault). The adventurers arrive when Daggerford is crowded with refugees from outlying lands. Goblins, gnolls, and orcs have been raiding the countryside. Now, food is scarce and tension is high. Blame for a theft has fallen on the refugees, and the Duke of Daggerford has forbidden more of the displaced from coming into town. After overcoming difficulties to enter Daggerford, the characters learn more about the raids. As they fight against the humanoids and delve deeper in the darkness that encircles Daggerford, the characters learn of Bloodgate Keep. After a final fiendish ambush, they’re ready to confront the real threat to the area. DM Note: This adventure points the adventurers strongly towards Bloodgate Keep but that location does not appear until the Dead in Thay adventure; at several points the party may feel drawn to explore that location rather than continue their investigations around Daggerford. However, since Bloodgate Keep is only eluded to as a source of great evil power, it can serve to easily segue to an entirely different adventure path. As a NEXT Playtest adventure, Scourge of the Sword Coast uses milestone leveling and the included stat blocks for creatures do not necessarily match or even appear in the 5e Monster Manual, nor do they have XP values or challenge ratings. In some places it will reference rules used in the Playtest but dropped or changed in the 5e release, these are unlikely to substantially impact gampley with 5e rules.
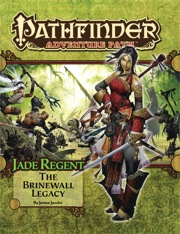
The town of Sandpoint, Varisia, Inner Sea Region has put out a bounty on the nearby tribe of Licktoad Goblins in retribution for the goblins raiding traders and travelers near the quiet town. The party takes up the bounty and ventures into the swamp; eventually finding the goblin village in ruins and it's inhabitants scared in it's burned huts. The party finds out; either through investigation of the ruins or the goblins themselves; that a group of skeletons with eastern arms and armor had ransacked the village and took a stash of fireworks that the goblins stole from an old shipwreck. The party then makes it to this cave and finds it empty except for a half dozen skeletons. Further in past the skeletons is their leader, a skeletal samurai who fights the party in an attempt to defend his treasure. The treasure turns out to be a letter that reveals that secrets of the Kaijitsu family; the same family their good friend Ameiko who runs the Rusty Dragon inn belongs to; that lies in wait in the abandoned town of Brinewall to the northern boarder of Varisia. Ameiko along with several other important NPCs with a caravan north. It's recommended that GMs create encounters for the caravan trip north as it's essentially 3 weeks of travel with nothing in it. It's also recommended that GMs completely ignore caravan rules; they're not flushed out and they're not fun to run. The party and the caravan reaches the abandoned town of Brinewall where their friend Ameiko becomes possessed and is thrown into a coma; where the other NPCs agree to take care of her while the party explores the town and castle. The castle is a three floor behemoth of a dungeon populated by Dire Corbies, Troglodytes, and various other monsters all under the leadership of Kikonu, an Yamabushi Tengu Oni. The goal of exploring Brinewall Castle is to find the two keys to the vault; one of which is on the Yamabushi Tengu while the other is on a Half-Fiend Decapus that lives in the basement of Brinewall. Once the PCs enter the vault they find the Amatatsu Seal; one of the seals that cement authority to one of the ruling houses in Minkai of Tian Xia; as well as several visions that show that Ameiko Kaijitsu is the rightful heir to be ruler of Minkai and that they'll need to travel north to do so. Such ends the first book of six.
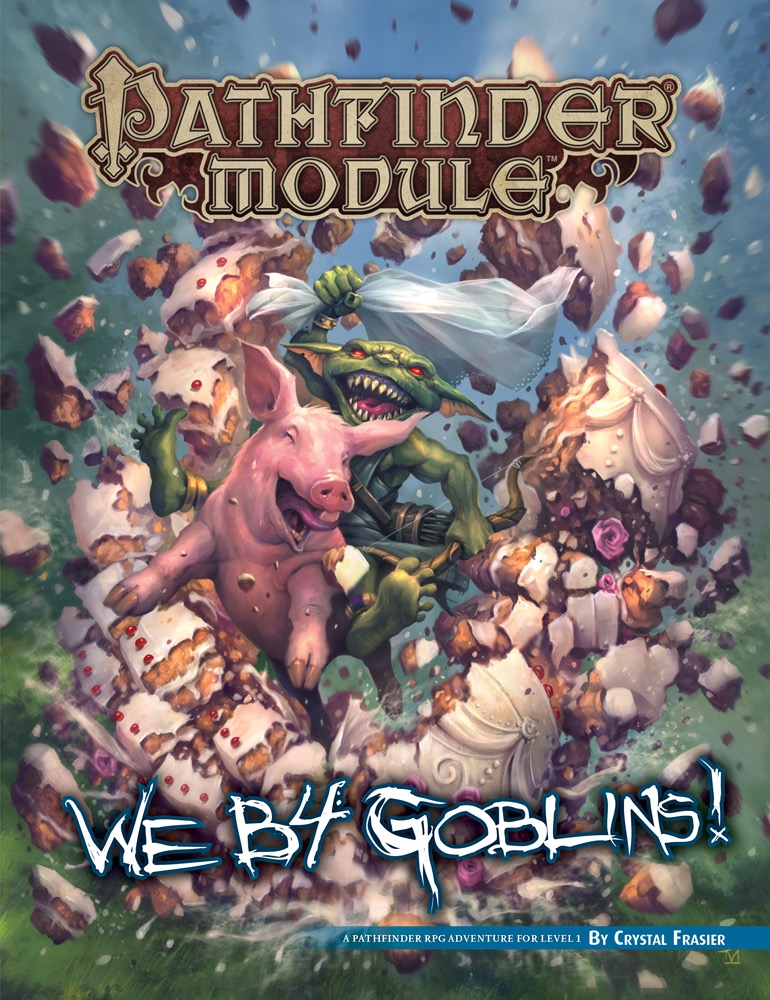
As whelps of the Licktoad tribe just out of their swaddling cages, the goblins Chuffy, Mogmurch, Poog, and Reta must prove themselves by undergoing a series of challenges, from tying a string to a large spider and shouting insults with hot rocks in their mouths to facing off against a goblin bully and his dimwitted minions. As a final test of their mettle, they must make a dangerous (and smelly) trek to claim a toad from the nearby swamp and present it to the terrifying presence that lurks within the Cave of Darkfear, only after which can they truly call themselves goblins! Part 4 of We be Goblins series
A short adventure for the Midnight campaign setting from Fantasy Flight Games. Harried by pursuing Shadow forces, the adventurers take refuge in the fissures of a vast glacier. In these icy caverns they battle the risen remains of an orc tribe and make contact with a powerful potential ally.