This module is designed for characters who have made their way through the Freeport Trilogy. Characters new to Freeport are at disadvantadge, however. Hell in Freeport sends the characters to the depths of the Hell as pawns of an undead duke. When they discover the truth of their mission, they must race against a sinister clock to save two cities. Act 1 kicks off with a battle against a cornugon on the Freeport docks. The characters are hailed as heroes for defeating the fiend, and are summoned to the Church of Retribution to help in the battle against Hell. Tee old inquisitor who greets them is actually Jalie Squarefoot, an infernal lich who took this form to search for the perfect cat's-paw. Squarefoot wants to take the souls of Freetown, a city in Hell, but must first get around a contract poin: he can't take the city until the Tyre tower clock-now stopped- strikes midnight. He sends the party to Devil's Cry, an inslan off the coast of Freeport, with instructions to close the gate to Hell hidden inside. In truth, he knows the party will be transported straight to the Third Circle when they try. Inside Devil's Cry the party finds the remnants of a great battle fought between an invading devil's army and the Church of Retribution, and battle their way past undead defenders until they reach the gate itself and unwittingly trigger it. Act 2 begins with the party in a twin of the complex they explored in Devil's Cry, but now they are deep in Hell. They fight their way back to the cavern entrance, only to find that they are not on the Prime anymore. When they voyage back their homeport, they instead find themselves in Freetown, a city of scaped slaves in a dark mirror image of Freeport. Once in Freetown, they make the acquaintance of the city's mayor Wycleffe-a servant of Jalie Squarefoot-who persuades them to go on a quest to Tyre to restart the tower clock. They travel the Styx to the Eight Circle and fight their way into a long-buried vity, and then into the tower clock itself. They restart the clock and begin the trip home, but are waylaid by devils and taken prisioner. Act 3 opens with the party naked and in chains in the infernal prison called the Forge. They learn that Jalie Squarefoot and Wycleffe have duped them, and that the supposed rebels of Freetown are actually its protectors. The characters must escape or win their freedom in the gladiator pits before the tower clock they restarted destroys both Freetown and their home city of Freeport. They battle back to Freetown, taking revenge on their captors in the process, and capture the city from Wycleffe with the help of the rebels. Finally it falls to the PCs to enter the tower clock and stop it and Jalie Squarefoot before the fiend's plan can come to fruition. After being tricked and manipulated throughout the adventure, the party finally has their revenge on the duke and his minions.

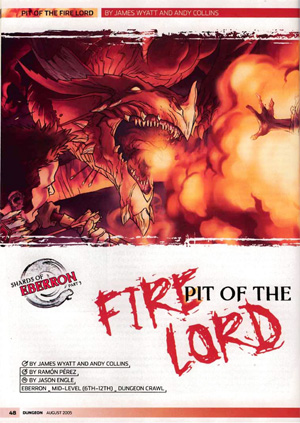
A madman hidden deep below Sharn plans to tear open a portal to the Sea of Fire. Can a band of heroes reach him in time to save the city from conflagration? The city of Sharn bakes in the grip of an intense heat wave. For most citizens, the temperature is nothing more than an annoyance. The scholars of the city know the heat is a sign of something more -- Fernia, the plane of fire, has drawn near. For one insane sorcerer, the heat is a sign that his revenge is at hand as he prepares to drown the city in a lake of fire. "Pit of the Fire Lord" is part three of the three-part Shards of Eberron Campaign Arc. Pgs. 48-59

In which the Many seek the One, and the Heroes must retrieve a Sword lost amid myriad Threats to the Flesh. Chapter II of the "Well of Worlds" adventure anthology.

A rare breed of wolf has apparently been staging daring attacks on citizens of Rendrick. A group of hunters seek to claim bounty on the beast, but as the PCs quickly learn, the wolf isn't all it appears. Something sinister lurks in the woods near town, and the PCs must act quickly to save innocent lives. Pgs. 16-26

A strangely delivered advertisement has led you to a sage named Demetrios. He needs a rare component to complete a desperately needed potion. The journey to retrieve it will take you through a large, unexplored swamp to a ruined keep, the former headquarters of a vile cult that once claimed the lives of many innocent youths. You cautiously accept the mission... To solve the mysteries of "Baltron's Beacon," the characters must excel in handling wilderness, building ruins, traps, puzzles, and new monsters. This adventure, originally designed for tournament use, is now available for your own campaign. TSR 9152

In part one of the Randal Morn Trilogy, "The Sword of the Dales," the legendary leader of Daggerdale, Randal Morn, was captured by unknown assailants as he sought to regain the great weapon for which that adventure was named. A stalwart band of enthusiastic heroes was recruited to ride to his aid, yet all they recovered was the Sword itself and a message: "Seek me in Spiderhaunt Wood." In the second part of the trilogy, "The Secret of Spiderhaunt," those same adventurers found Randal and freed him briefly, yet he was almost as quickly torn from their grasp by an agent of the evil Zhentarim, seeking to end the threat of Randal Morn's return to power. In this final episode, the heroes must follow the kidnapper's trail and rescue Randal Morn again before the Zhentarim finish interrogating him and the axe falls upon his neck. Armed with the Sword of the Dales and aided by a powerful spirit that lives within the weapon, the heroes must march into the heart of Zhent-occupied Dagger Falls, free Randal Morn, and save the city from utter destruction. The job is dangerous - perhaps more than the heroes can handle - yet those who would live in songs and legends cannot concern themselves with living to a ripe old age! This is the final part of a trilogy of modules that began with "The Sword of the Dales" and "The Secret of Spiderhaunt." TSR 9488

The Archpriest, leader of the Church, has defied a summons to the Immortal Capital. You have been chosen to retrieve the recalcitrant pontiff. Kidnap the Archpriest is designed to be an implicit tutorial for diplomacy, stealth, theft, bluffing, and cunning. It is a system-less, setting-less heist module featuring: a city (with a map) a fortress (with interior and exterior maps) two hectic days and nights a guide to designing your own heists. glorious black and white art by Luka Rejec scheming cardinals, frantic servants, and secret plots By the author of the CoinsandScrolls blog and Tomb of the Serpent Kings.

Captured! While trekking across a trackless wasteland, your stalwart band has fallen into the clutches of a nefarious gang of desert raiders. Imprisoned in a subterranean chamber, you are bereft of all of your equipment and magic items, save for a few tattered loincloths. But as chance would have it, an opportunity to escape the cell presents itself. To escape, you must head deeper into an ancient sealed tomb, armed with nothing but your wits and anything you can find along the way. Getting to the surface is just one of many challenges, as you still need to recover your precious equipment, and flee the Lost Oasis, which is surrounded by an inhospitable sea of solid glass!

The plague-stricken Copper District of Waterdeep's Southern Ward needs your help. What is causing the plague? Can it be stopped? Are you the right person for the job? Published by Arcana Games.

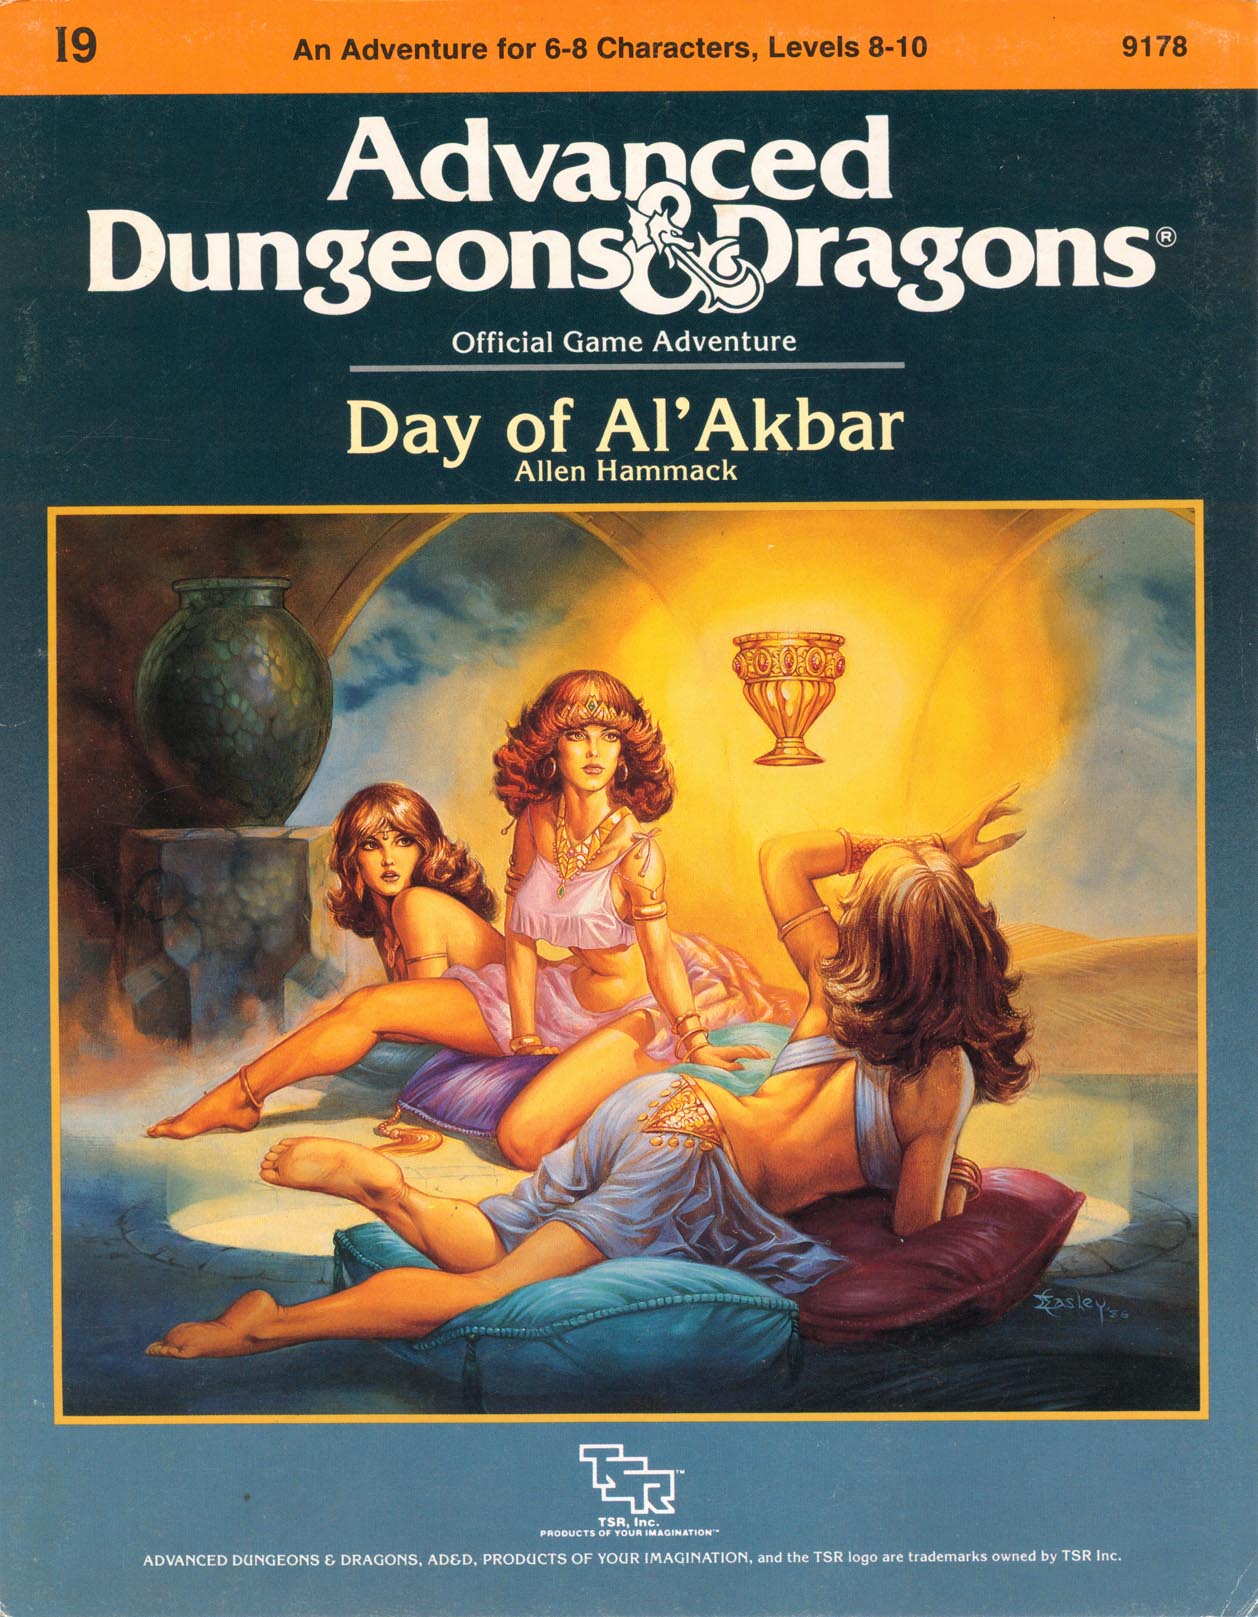
The land of Arir - a once peaceful desert country, dotted with oases, teeming with caravans - fell into the hand of infidels. The ruler, the dearly loved Sultan Amhara, was killed in the battle for the capital city of Khaibar. He left behind one of the greatest treasure stores ever amassed - jewels and coins, more than anyone had ever seen before or since - and in addition, the Cup and Talisman of Al'Akbar. A deadly plague sweeps your land. The holy men say that if only they had the Talisman, they could create cures for this dread disease. Many adventurers have tries and failed to find the Cup and Talisman. Now it is your turn. Find these treasures, and save your people! The journey is exciting, but treacherous. Do not be distracted by exotic sights and sounds, the strange foods. You must avoid being discovered by Al'Farzikh and his brigands, as you infiltrate the palace. Be wary - what is most beautiful may be most deadly, and what seems useless may be priceless. TSR 9178

Weave of the Dread Mythal is a 1st-6th level Dungeons and Dragons 5e campaign that takes players on a journey of peril and intrigue across the Evermoor. Part story driven campaign, part sandbox, this adventure will give you tools to make the Evermoors come to life and a brutal and unique campaign to run within it. Your players will face the ire of hostile factions and their conflicting desires, the excitement and danger of ancient Netherese ruins and artifacts, and inevitably, the undead army of the Weaver, a wicked necromancer obsessed with becoming the new demi-god of undeath. This campaign also includes separate, full-size battlemaps that are made for use with Roll20 and other VTTs.

Waves of supernatural darkness sweep over the subterranean city of Stoneholme, quenching lights and bringing with it foul creatures of shadow. After heroically defending a group of dwarven children being ravaged by a group of these shadow beings, the PCs are approached by Shtawn Deppenkhut -one of the king's own advisers- and are offered the task of finding the source of the darkness that threatens the city. The PCs investigation takes them through the Underworld to hidden caverns, where demon worshiping priests offer living sacrifices in an attempt to plunge Stoneholme into everlasting darkness, a first step in destroying the hated city once and for all, but as it turns out the priests aren't the only ones behind this unfolding plan to destroy Stoneholme. Dark Days in Stoneholme is ideally suited for a group of dwarven adventurers. It is recommended that you have access to the Stoneholme section of the Rise of the Drow revised & expanded edition (2014) but it is not necessary to run the adventure. Also available for Pathfinder. Published by AAW Games.

The characters arrive in Fallcrest just as a blizzard starts from the gloomy black clouds. the villagers gather to discuss how to survive the untimely and unusual blizzard. Suddenly between the roar of the wind and thunder, a ship descends filled with undead with one message: Return the ice scepter!. Afterwards, the characters must decide, find and return this relic to the Winter King, or bluff and plan to dethrone him. As they reach the tops of the mountains, possibly injured, the whole of the Winter King's inner domain stands before them. If they fail, winter will claim the Nentir Vale forever. Group of 4-6 players.

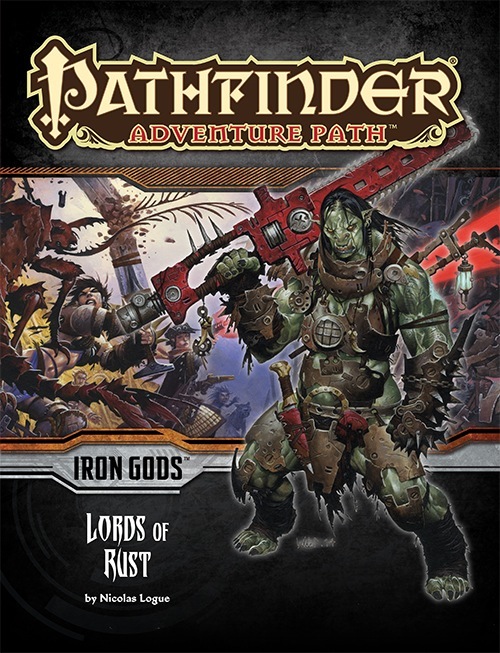
The heroes of the town of Torch follow a trail of clues to the sprawling junkyard known as Scrapwall, where bands of desperate and violent brigands vie for control of the technological remnants found within. The Lords of Rust dominate Scrapwall, and their swiftly rising power threatens more than just the town of Torch, for this gang has the support of one of the terrifying Gods of Numeria. What slumbers fitfully beneath the wreckage of Scrapwall could catapult the Lords of Rust into a new level of power if they're not stopped!

“Siege of Bordrin’s Watch” is the sequel to “Rescue at Rivenroar,” continuing the unfolding story of the Scales of War campaign. This adventure features exploration, roleplaying opportunities, and combats in dynamic environments. In this adventure, a new threat looms to the west: A vast horde of orcs and their despicable kin emerge from the barren lands bent on plunder and conquest. While the Elsir Vale and other lands mobilize their meager forces to respond to the danger, a call has gone out to those heroes of the Vale to join forces and help to push back this new evil before it’s too late. Pgs. 4-55

Desolate and abandoned, the evil alchemist's mansion stands alone on the cliff, looking out towards the sea. Mysterious lights and ghostly hauntings have kept away the people of Saltmarsh, despite rumors of a fabulous, forgotten treasure. What is its sinister secret. Made for 5-10 character of levels 1-3, contains maps, handouts and encounter descriptions. The Sinister Secret of Saltmarsh is the first installment in a series of three modules designed and developed in the United Kingdom for beginning adventures with the AD&D rules. TSR 9062

A short adventure of human greed meeting weird horror with a quite messy outcome. An encounter set in a church, with a Shoggoth like eldritch horror as the Boss.

Hubrimort is a small, respectable town whose only claim to fame is a local governmental position bestowed by five of the king’s chosen officials, known as the Cavaliers. The position is given to the head of one of four noble families once each decade. While competition for the mysterious position is always fierce, this year there are rumors of underhanded deals with criminals, rigged tournaments, and a nasty case of blackmail. Which of the ancient families deserves ten years of power and privilege? Only the Sixth Cavalier can help the five officials make the right choice!

The mine has been known as Tessount’s Folly for years, due to it producing nothing of value. Now Valmour, the youngest son of the mine’s late owner, has inherited the mine...and found something he should have left buried. Pgs. 56-81

Lord Dragle was set to auction off his most recent discovery, the Shroud of Olindor. The elven relic was certain to make Dragle a wealthy man. Such a pity he had to die. But the plot surrounding Dragle’s death is far more layered than it appears. It is up to the player character to discover the hidden motives and ultimately recover the Shroud of Olindor. Part 2 of the Olindor Trilogy.