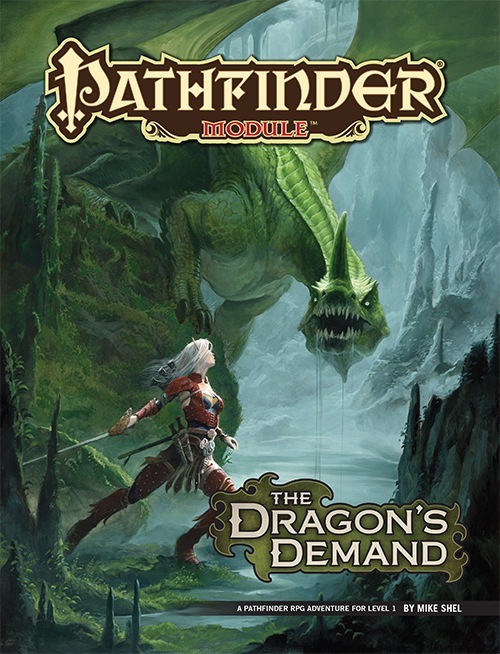
Founded by a famous dragonslayer, the small town of Belhaim has become a sleepy rural community just off the beaten path, a settlement where everyone knows everyone and strangers are the talk of the town. But when Belhaim’s peace and quiet is shattered by the sudden collapse of the last standing tower of its founder’s castle, things quickly bloom out of control. Why were there bodies of kobolds amid the rubble? What’s the sinister secret behind the strange sounds of flapping wings in the night? And what’s happened to local wizard Balthus Hunclay, who’s not answering knocks on his door? The collapsed tower had long been an eyesore to the cantankerous old man—could he have had something to do with its destruction? And what of the rumors of strange stirrings in nearby Dragonfen? Has Belhaim’s ancient draconic nemesis returned?

"Can you solve the Labyrinth within 13 hours and get back what was stolen from you?" A 4-Hour Adventure for Tier 1 characters optimized for APL 3 taking place in the Feywild Domain of Delight, Labyrinth, where everything seems possible and nothing is what it seems. This adventure takes place when the characters have been abruptly teleported into the Feywild Domain of Delight, Labyrinth. The Kobold King has given the characters thirteen hours to solve the labyrinth, or they will lose what he stole from them forever. "It's only forever, not long at all..." Pillars of Play: Skill challenges and exploration. Minimal/optional combat. Content warning: Non-consensual theft Adventure Inspiration: Jim Henson's Labyrinth (1986)

Kalzok the Minotaur pirate discovered an old smuggler's hold on a tiny island in the Nelanther Isles, not far from Nemessor. The island sits amid a dangerous archipelago encircled with scores of hidden shoals that is avoided by all but the most daring or foolish navigators. The area's waters are notorious for claiming the ships of unwary sea captains who tried to steer through the gauntlet of hidden reefs. This offering includes an overview of Kalzok's island along with the details of Kalzok's hidden lair.

Kavalar Coppernight, a dwarf prospector, led a couple of dozen volunteers in a quest for rich veins of ore. Several months ago, they began underground mining operations, as well as a surface excavation for a small keep. Hearing of this development, the mayor of the nearest town sent two veteran militia members to investigate. They should have returned two days ago, and the mayor is growing anxious. The PCs are asked by the mayor to find out what happened to the two militia members. Pgs. 12-17
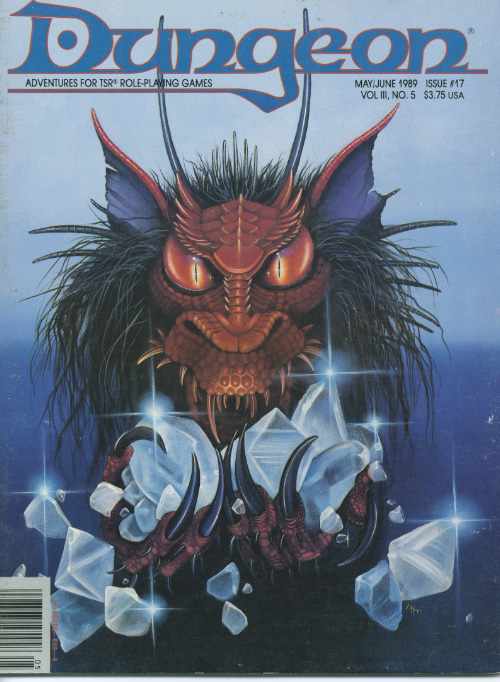
Slain in disgrace, reborn in fury, armed to the teeth: Flame returns! Flame is back - and is he mad! The sequel to "Into the Fire" from Dungeon 1. Pgs. 42-63
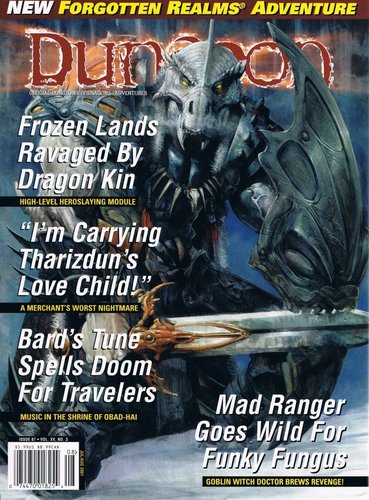
This adventure focuses on a Zhentarim attempt to spread terror in Mistledale, although it is suitable for almost any lightly settled area northwest of the Sea of Fallen Stars. "The Raiders of Galath's Roost" is suitable for four 1st-level characters, but PCs should be at least 2nd level before tackling the adventure's second half, the Zhentarim Citadel. Even in the first half of the adventure, many of the encounters are quite formidable for 1st-level characters, and the PCs might find it necessary to withdraw and recover one or more times before completely exploring the ruins.

This alternate starter campaign takes you to all the familiar locations of the Lost Mine of Phandelver adventure from the other side of the veil. Some places look the same, some very different. The entire plane is trying to strip you of your mind, your memory, and your motivation. Discover how the Forge of Spells was fueled. Learn the location of lost adventurers from the original Phandelver expedition. See what Cragmaw Castle looked like in its prime. All of this and more, as this takes you from level 1 to level 5 with well over 20 hours of play time. If you are looking to start a new campaign or just experience familiar locations in a new setting, this supplement accommodates. Inside you'll find: Maps: Nine encounter maps Cragmaw Castle rebuilt, including the upper floor, and underground level. Wave Echo Cave before it was tunneled. A very different looking Redbrant Hideout Ruins of a town similar to Phandalin A swamp and muck version of Cragmaw Hideout Plus new magic items, and more Monsters: 37 new creatures Lore Information on a shadowy Yuan-ti empire A new offshoot of the abyssal demonhive A cult using the stoic ways of stone to evade the Raven Queen's watchful eye and pilfering ways. New players vying for control of the Shadowfell Shadowfell Guide: Information on the plane, its inhabitants, and included with this supplement is the best selling Shadowfell Random Encounters appendix. Easter Eggs Hidden throughout the story are references to Lost Mine of Phandelver. Including references to other hard cover books as well.

The party is caught between warring goblin and kobold gangs, occupying an abandoned dwarven mine. Will the heroes ally with one of the sides in this quarrel, try to make peace between old enemies, attempt to eliminate both sides, or achieve their goal stealthily and unnoticed? The choice is completely theirs! Small Party Adventure: Though the party size of 3–5 characters is considered optimal in D&D, there are times when you can only gather one or two players at most. This adventure is designed exactly for such occasions.
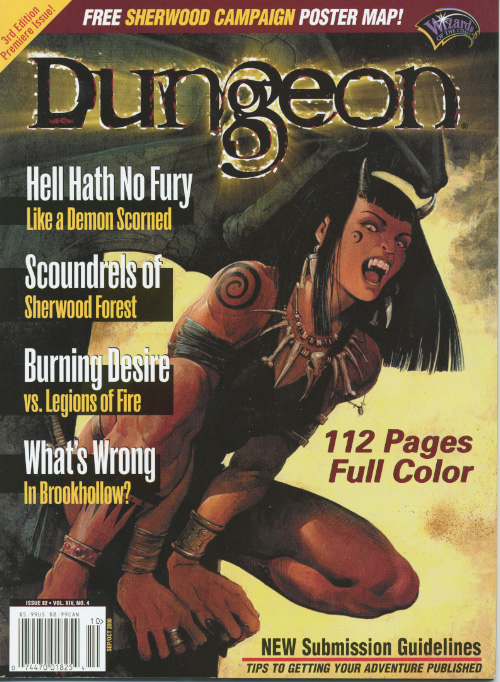
Digging in the Dark People are vanishing from the village of Brookhollow. Can you solve the mystery in time to save your friends? Pgs. 12-29

A vast, sprawling mega-dungeon beneath the ruins of a nearby castle. Reports have surfaced of stockpiles of wealth within the passages. Regions previously devoid of monsters are reported to teem with renewed activity. Magical and mundane traps have brought foolhardy explorers to their doom. Changes within the passages and chambers have rendered old maps and knowledge dangerously unreliable if not outright useless. To the bold and daring, only one message needs to be heard: the castle and its dungeons are once more ripe for exploration, and new legends are ready to be made. Note: This adventure requires three books for it to be complete (sold as a package): Adventure Book, Map Book, and Illustration Book. Published by BRW Games
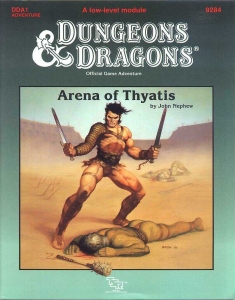
It's party time in Thyatis... And simply everyone is going to the magnificent Villa Osteropolus, home of the wealthy old senator, Helenites. Raucous fun, exotic food, and even advanced betting on the upcoming Arena games are expected. Even adventurers just in from the outlands may meet the powerful here. So don your festive togas, for in Thyatis City there are important connections to be made and deeds to be done, duels to be fought and fame to be won. (But beware, oh Adventurer! The politics of Thyatis can be as labyrinthine as mazes beneath the Coliseum...) This module is designed especially for the DM who wants to sharpen his interactive skills. Presenting the detailed layout of a Thyatian noble's mansion and maps of the multi-level Coliseum of Thyatis. Four four to six characters, levels 2-3 Brief guide to Thyatis legal system New optional class, the Rake Fast unarmed combat system, including disarming attacks Special appendix on creating Thyatian names Featuring the DM's Guide to Winging It TSR 9284

The final fate of Roslof Keep and the Company of the Ivory Scimitar hangs in the balance. With five levels conquered, the party must finally face the ultimate challenge of the sixth and final floor. Can the stalward adventures overcome the last defense of the Infernal Machine? Will Roslof Keep be freed from the violet corruption? What unforeseen plot twists still await those willing to brave the challenges presented in The Realms of Madness and Despair? This adventure is formatted to both 1E & 5E gaming rules. Also available in PDF.

Fight off an ambitious young green dragon in this expansion for Storm King's Thunder! This adventure is designed for the Storm King's Thunder campaign and is intended to give your players extra content during Chapter 3. It will bring your party to Wealdham, a small town located in the Westwood. There, they will face off with Veratrem, a young green dragon that has taken control of a local kobold tribe. If the adventurers think they can easily take the weak creatures, they have a surprise coming to them... Veratrem's Tribal Siege is a 5-8 hour adventure for Tier 2 Characters (optimized for APL 6). It has enough material for 1-2 full sessions, depending on how thorough your party is. Alternatively, Veratrem's Tribal Siege works very well as a standalone adventure for players who are not familiar with Storm King's Thunder at all.

In an age obscured by mist and memory, Sir Galen the Brave and his knights struck down the Drake of Crestmoor with steel and flame. But as the years turned, and the heroes returned to dust, their deeds faded into myth. Doubt lurked where awe once dwelled, and in time, the bards sang of lesser deeds. In the hollows of the wilderness, the stones of their forgotten tomb crumbled beneath ivy and shadow. The Cursed Knights of Crestmoor is a short dungeon crawl for four characters of levels 1-2 using Shadowdark RPG ©. The adventure is designed to be easy to run for new game masters. Players should not be cavalier in their approach to this dungeon. There are threats in the tomb which could easily kill foolhardy player characters. Long ago a band of knights led by Sir Galen slew the black dragon known as the Drake of Crestmoor - a malevolent creature whose true name was Morghast the Black. With his dying breath, the dragon cursed Galen and his friends that they would never find rest in death. Today, the once well-kept tomb has fallen into ruin. Some time ago a band of kobolds moved into the subterranean mausoleum and began using it as a base of operations. More recently, a lizardfolk shaman named Kall’eth and his warband arrived and took over, pressing the kobolds into their service. Kall’eth came to Galen’s tomb to recover the knight’s Fireblade - a sword of dwarvish make used to slay Morghast long ago. The tomb is crawling with kobolds, lizardfolk, and the restless husks of Galen and his compatriots. A magic sword, a missing wedding ring, and plenty of adventure await you in…The Cursed Knights of Crestmoor!

Omens speak of an old and forgotten power located within a played-out diamond mine in the foothills of Thar, and some believe that might be a solution to the current problems facing Melvaunt—or possibly the cause of them. With danger closing in, someone has to investigate. The adventures converse with a drunken gnome, from a previous installment, and decent the gnome's diamond to rescue his kidnapped family and confront the cultists of Cyric. Part Two of the Misaligned Trilogy
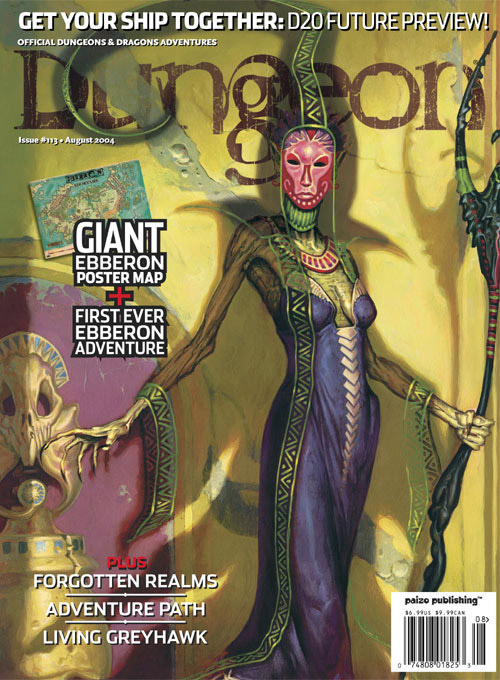
Take your first exciting foray into D&D's newest campaign setting with a deadly exploit in Sharn, City of Towers. Descend into the ruined undercity to face the legacy of the daelkyr, aberrations from the evil plane of Xoriat, and come face to face with the Queen with Burning Eyes! Pgs. 16-32

The fabled mines of Dhol Kuldhir once showered the Dalelands, Cormyr, and points beyond with precious gems and expertly crafted jewels. Operating from a hidden complex in the Thunder Peaks, their exquisite craftsmanship was said to rival that of even Thunderholme. Almost as quickly as it rose to prominence it vanished, along with all of the dwarven miners, crafters, and untold riches. Some speculate that the mine ran dry, and the inhabitants abandoned it for a more plentiful location. Others believe that they probably fell victim to one of the many goblin tribes plaguing the area. The truth, however, is much more grave. Centuries later, the nearby town of Keen is beset upon by unlikely thieves, the local innkeeper charges a small band of unlikely allies to investigate the string of burglaries. What they uncover leads them to the long-lost dwarven mine. In the darkness, they will have to brave insidious traps, cunning monsters, and the dreaded new lord of Dhol Kuldhir.
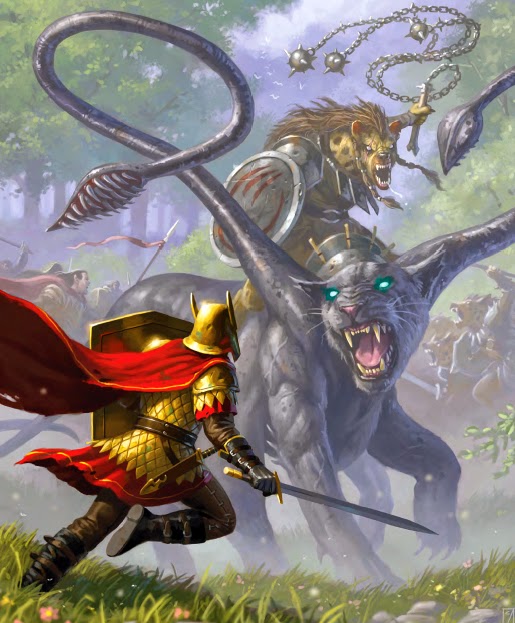
Important: The adventure is 1e but it has monster conversion notes for D&D 4th edition The town of Highport, once a human community overlooking Wooly Bay from its perch on the northern coast of the Pomarj, fell prey to hordes of humanoids swarming out of the jungle-covered hills surrounding the settlement. Though the orcs, goblins, kobolds, ogres, and gnolls razed much of the place in their ferocious rampages, the smoldering ruins they left behind soon became a new kind of community, a place of trade between the humanoid “locals” and the unsavory human traders who have no compunction about doing business with them. Slaves are a commodity in ready supply in Highport’s market, since many pirates raid up and down the coast of the bay, putting fishing villages to the torch and filling their holds with captured refugees. Slavery has become a thriving business in the town, and rumors abound of a cartel of Slave Lords who run things from behind the scenes, filling their coffers in secret from the buying and selling of human chattel. The trade has become so prolific that the good folk to the north have grown tired of these depredations and decided to fight back. Forces of righteousness and honor have recently descended upon Highport, some openly and others in secret, in various attempts to destroy the machinations of the Slave Lords and abolish the abominable enterprise that has taken far too many loved ones from home and hearth. One such doughty servant of goodness is Mikaro Valasteen, a cleric of Trithereon. Mikaro slipped unnoticed past the crumbling walls of Highport with a single mission: to rescue and transport as many slaves to their freedom as possible. Mikaro and a handful of faithful assistants located a number of escaped slaves—as well as rescued a few more not sufficiently restrained and guarded—and shepherded them through the gates and beyond the reach of their humanoid tormentors, returning them to their lands and homes. This covert freedom brigade enjoyed remarkable success early on, since the servants of the Slave Lords were often lax in their vigilance and sloppy in their efforts to prevent loss of the “merchandise.” After one too many shipments never made its destination, the humanoids stepped up their security and the normal channels of escape from Highport closed to Mikaro and his team. He cannot risk exposure by smuggling the freed slaves through the gates as merchandise any longer, since shipments of goods are now regularly stopped and checked. No longer able to free the slaves in that manner, Mikaro began hiding his charges in an abandoned villa in a particularly rundown part of the town. Although they are safe for the moment, their numbers have grown unmanageable, and the priest fears it is only a matter of time before someone slips up and brings slavers to their doorstep. Ever more desperate to find a new means of escape from Highport, Mikaro has started work on a plan that is both daring and dangerous. He intends to use a series of old sewers coupled with natural caverns running beneath the town as an escape route to the sea beyond the walls. But he needs someone to clear out the creatures and pitfalls he knows lie within. Pgs. 2-27
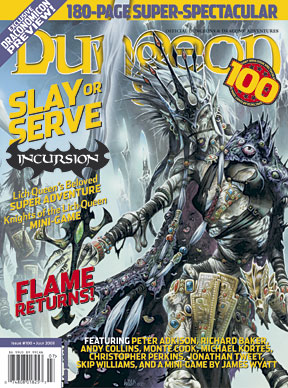
The PCs follow the trail of some particularly competent kobold thieves to the lair of a dragon cult deep in the swamp. There they discover efforts underway to grant sentience to the skeleton of a powerful red dragon once named Flame. Eventually the PCs determine that trouble has returned to the Western Mountains in the form of a band of fire giants ruled by a clone of the original red dragon named Flame.
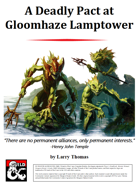
The shipping lanes south of Candlekeep have been disrupted. Unknown to anyone, an incredible alliance between a terran and a waterfolk tribe has caused the lamp at Gloomhaze Point lamptower to be extinguished. Merchant ships are being wrecked and plundered. The story unfolds in the nation of Amn. Adventurers will face a formidable kobold tribe that knows how to maximize its tactics, its smaller-than-human size tunnels, and an abundance of unique traps. The bloodthirsty sahaugin won’t be defeated without the adventurers taking a dive.