
All's fair in love and rivalry. Some matches are made in heaven, but not this one. Pgs. 26-36

The mists have led you deep into Glumpen Swamp to a den of great evil. Within, the unliving son of an unliving god awaits the peace of death that eternally eludes him. Will you grant him his rest, or realize the part he is to play in things to come? Part Seven of Misty Fortunes and Absent Hearts.

Deep below the surface lies an ancient beholder city called Ilth K'hinax. In times past, hundreds of beholders called it home - until simmering rivalries within their society exploded into warfare. The few survivors fled, leaving the city deserted for hundreds of years. However, the story of Ilth K'hinax's glory was passed down from one generation of beholders to the next. Now, after countless years of self-imposed exile, the beholders are back! After securing the city, the hive mother of Ilth K'hinax implemented a plan to wipe out all the beings living above it. Unfortunately for the beholders, several facets of the hive mother's plan have been revealed through the exploits of a party of adventurers. Now, this group of heroes must meet eye to eye with Ilth K'hinax's newest occupants in an effort to stop the hive mother's pernicious plan! "Eye to Eye" is the last of three adventures featuring the nightmarish beholder. It can be played as an individual mission or as part of the series that began with "Eye of Pain" and continued in "Eye of Doom." TSR 9536

Buried in fire, but hardly dead. Only the Keep survived the destruction of Koralgesh, but few adventurers will survive the terrors that now stalk the lost Keep's halls. Players hear rumours of the Keep at Koralgesh and then traverse it to acquire the treasure within. Pgs. 45-64

Having put down a rising of giants, it was discovered that the motivating force behind their depredations was that of long-forgotten evil - the Dark Elves. Determined to seek out these creatures, a body of doughty adventurers mounted an expedition to learn the strength of the Drow and bring retribution to them (DUNGEON MODULE D1, DESCENT INTO THE DEPTHS OF THE EARTH). This module contains background information, a large-scale referee's map with a matching partial map for players, referee's notes, special exploration and encounter pieces, a large map detailing a temple complex area, encounter and map matrix keys, and an additional section pertaining to a pair of unique new creatures for use with this module and the game as a whole. A complete setting for play of ADVANCED DUNGEONS & DRAGONS is contained herein. This module can be played alone, as the second part of a series of three modules (with DESCENT INTO THE DEPTHS OF THE EARTH, D1, and VAULT OF THE DROW, D3), or as the fourth part of a continuing scenario (DUNGEON MODULES G1, G2, G3, D1, D2, D3, and Q1, QUEEN OF THE DEMONWEB PITS). TSR 9020, From 1978
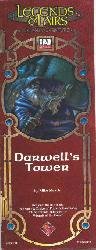
Darwell Umbruskor has long been known around town as an eccentric but ultimately harmless old sage. From what you've heard, he keeps odd hours, rarely speaks a word to anyone, and lets no one enter his tower save for a few servants. Though quiet and mysterious, Darwell has done nothing to around undue suspicion. Sir Jeffers, a crusading warrior who just made your acquaintance, claims otherwise. According to evidence he recently came across, Darwell Umbruskor is both a necromancer and a dedicated priest of an evil power. Published by Fantasy Flight Games
Kingdom of the Blind is a short adventure for four 8th-level characters. The adventure is set in a minor duchy that is fairly removed from the ruler of the land. As a result, trouble can brew in the land and the king would not know immediately. The PCs had just entered the citadel in the last episode. Are they now dealing with hauling statues or fighting angry staircases in their efforts to get to the second floor?
The astronomer monks of Farsky failed for decades to tell the future by the stars. Desperate, they found a promising seer, and passed off her predictions as their own… until deadly illness struck. Unable to give up their lucrative scam, they trapped her spirit, which became a thing of evil: a banshee, whose howls foretold their doom. The party have heard rumors of a ruin, where once sages could answer any question… Notes by @Demian: Winner of One Page Dungeon Contest (OPDC) 2015. The adventure consists of a single small dungeon with 13 rooms and an exploration/time-based random Silence spell mechanic. It is themed around music and sound. Designed as a one-shot to be played in one 4–7 hour session.

Inside the woods near Burke's Crossing lurks a very real danger. It began as a sense of unease, a feeling of being watched, but now people are disappearing. The lumberjacks who have stayed in the little village talk of ghosts and other superstitions. Or at least they did - until a mysterious statue appeared in a clearing near the logging camp. As if matters weren't strange enough, two mages have arrived and begun hiring armed guards to escort them into these very same woods. Is there a connection, or is it just coincidence? Either way, be prepared! You never know what's out there waiting... and watching. "Eye of Pain" is the first of three Monstrous Arcana adventures featuring the cunning and deadly beholder. If can be played as an individual adventure or as part of the series which continue in "Eye of Doom" and concludes in "Eye to Eye." For four to six characters of levels 4-8.

Important: The adventure is 1e but it has monster conversion notes for D&D 4th edition The town of Highport, once a human community overlooking Wooly Bay from its perch on the northern coast of the Pomarj, fell prey to hordes of humanoids swarming out of the jungle-covered hills surrounding the settlement. Though the orcs, goblins, kobolds, ogres, and gnolls razed much of the place in their ferocious rampages, the smoldering ruins they left behind soon became a new kind of community, a place of trade between the humanoid “locals” and the unsavory human traders who have no compunction about doing business with them. Slaves are a commodity in ready supply in Highport’s market, since many pirates raid up and down the coast of the bay, putting fishing villages to the torch and filling their holds with captured refugees. Slavery has become a thriving business in the town, and rumors abound of a cartel of Slave Lords who run things from behind the scenes, filling their coffers in secret from the buying and selling of human chattel. The trade has become so prolific that the good folk to the north have grown tired of these depredations and decided to fight back. Forces of righteousness and honor have recently descended upon Highport, some openly and others in secret, in various attempts to destroy the machinations of the Slave Lords and abolish the abominable enterprise that has taken far too many loved ones from home and hearth. One such doughty servant of goodness is Mikaro Valasteen, a cleric of Trithereon. Mikaro slipped unnoticed past the crumbling walls of Highport with a single mission: to rescue and transport as many slaves to their freedom as possible. Mikaro and a handful of faithful assistants located a number of escaped slaves—as well as rescued a few more not sufficiently restrained and guarded—and shepherded them through the gates and beyond the reach of their humanoid tormentors, returning them to their lands and homes. This covert freedom brigade enjoyed remarkable success early on, since the servants of the Slave Lords were often lax in their vigilance and sloppy in their efforts to prevent loss of the “merchandise.” After one too many shipments never made its destination, the humanoids stepped up their security and the normal channels of escape from Highport closed to Mikaro and his team. He cannot risk exposure by smuggling the freed slaves through the gates as merchandise any longer, since shipments of goods are now regularly stopped and checked. No longer able to free the slaves in that manner, Mikaro began hiding his charges in an abandoned villa in a particularly rundown part of the town. Although they are safe for the moment, their numbers have grown unmanageable, and the priest fears it is only a matter of time before someone slips up and brings slavers to their doorstep. Ever more desperate to find a new means of escape from Highport, Mikaro has started work on a plan that is both daring and dangerous. He intends to use a series of old sewers coupled with natural caverns running beneath the town as an escape route to the sea beyond the walls. But he needs someone to clear out the creatures and pitfalls he knows lie within. Pgs. 2-27
The fate of a city lies within a dungeon whose doors are sealed with - cards It's up to you to bring it tumbling down. “House of Cards” combined dungeon exploration with the Deck of Many Things to create an adventure experience unlike anything seen before. The deck is both a treasure and a trap, guarding a tomb complex that’s being used by the Night Masks thieves’ guild as a lair. If the PCs want the deck for themselves, they must first gather all the cards, which is easier said than done. - Christopher Perkins Pgs. 38-64

Restore an Abandoned Temple Enter the catacombs near the desecrated Temple of Muir, Goddess of Paladins, and search for the lost tomb of Abysthor. Will your party be able to cleanse the evil that now inhabits these once-sacred halls, and recover the Stone of Tircople? Can your characters survive the traps of an undead sorcerer? Will your players discover the chamber of Living Rock and the secret power it holds? Adventure awaits! Gold and Glory! A fantasy adventure published for the D20 system, The Tomb of Abysthor is the first module in Necromancer Games Dungeon series and can be played as a stand-alone story or in conjunction with The Crucible of Freya and the forthcoming city supplement Bards Gate. What secrets lie hidden in the tomb of Abysthor?

An introductory adventure for AD&D. Discover the secret fortress! See if your character can survive the Trail by Fire! Use your own characters, or use the fully equipped characters that are provided. Also contains maps of the fortress and a detailed wandering monster table. Exploration into an underground military base, now occupied by monsters.
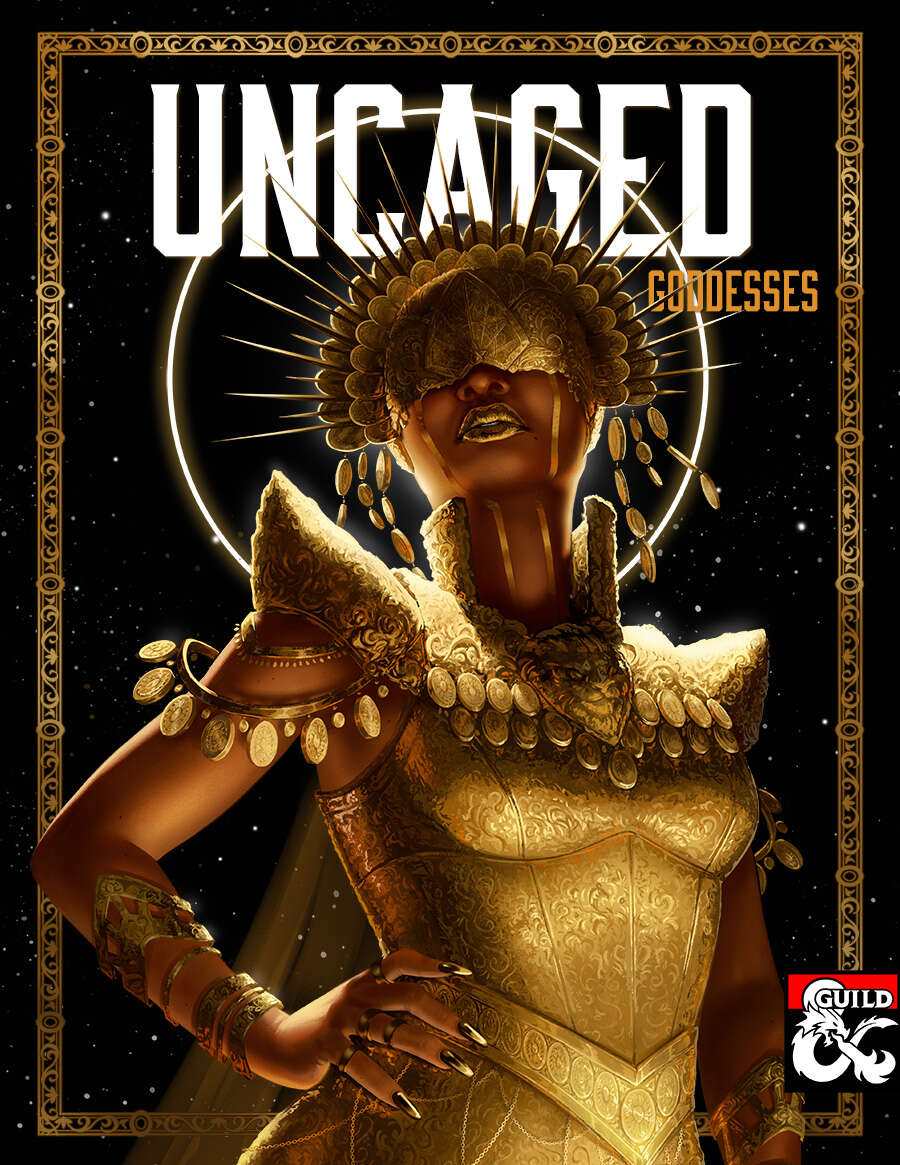
The kuo-toa are a piscine race with a psychic affliction that makes them behave erratically and invent gods when feeling threatened. That same affliction gives them the power to bring those gods to life. Blibdoolpoolp is the most widely worshipped, and thus most powerful, of their gods. Blibdoolpoolp views the kuo-toa as her children despite having been born after them. Like all good mothers, she nurtures and protects. One of her chief concerns is understanding the kuo-toa’s psychic affliction, which causes them to undermine themselves whenever they strive for greatness. She discovers that a corrupted elder brain deep in the Underdark has a connection to the race; though the connection gives them psychic powers, it also turns them into powerless thralls, explaining their self destructive behaviors. Constrained by the same leash on her children, Blibdoolpoolp seeks adventurers to destroy the elder brain. Its death would free the kuo-toa, but potentially at great cost: if the kuo-toa lose their powers, will Blibdoolpoolp die?

The Thorn Hag, an ancient evil thought vanquished by the Elf Queen and her heroic companions many years ago, has arisen from the dead. A fey harp, created from the heart of the treant that perished in the battle, has gone missing from Satyrs' Glen and the Thorn Hag seems to be behind it. The PCs must track the missing harp through a warped and eerie wood and into an unseelie area of the Feywild to stop the Thorn Hag wreaking revenge upon the Elf Queen before it's too late - the clock is ticking. The Sylvan Harp is a D&D 5e adventure for 4-5 PCs of the 1st tier (Levels 1-4). The adventure has been designed with suitable alternatives to run the adventure for 1st, 2nd, 3rd or 4th-level characters, including advice for adapting creature numbers and/or powers to suit the level of your party. The adventure is estimated to take 8-12 hours to run. A timeline of events, and guidelines on how the actions of the PCs can affect those events, is included. The adventure includes nine new creatures: gwerthin, satyr bard, ash guardian, light guardian, treant spirit, pixie rot zombie, green dragon skeleton, thorn hag and thorn hag's hut. It also includes two new magical items: a powerful magical harp with a dark hidden secret and a crystal ball of clairvoyance. Also includes a player handout of the rhyming riddle of the fey, and maps of the area and a darkling tomb. Requires Volo's Guide to Monsters.

Sleepyhead. The only man who can stop the amphibian horde needs a wake-up call. The party must find a missing druid an bring his captures to justice. Pgs. 8-21

Someone in the misty, wooded Moonshae isles needs hundreds of brand new swords taken under guard from Sword Coast smiths to a certain place on the Isles. The swords are needed so badly, and their safe arrival is considered so unlikely, that someone is willing to pay adventurers a lot of gold - someone fairly important. Adventures foolish enough to take assignments too good to be true (or merely desperate for coins) will soon find themselves embroiled in a dark and mysterious struggle against evil that will take them into sacred groves, crumbling castles, and through ancient magical gates to the halls of the High King - and beyond -- An adventure that takes place on the Moonshae Isles, in which a mid-to-high level party fights against the encroaching darkness of The Cult of Bane. Although helped by the Harpers, players will have to uncover the plans of the cult, and thwart them where possible. Preventing the summoning of the "Godson", a manifestation of Bane's evil. Part of the "Forgotten Realms Adventure" series, this is FA1 - Halls of the High King. FA2 is "Nightmare Keep" TSR 9301

The Doom Desert in the Decanter of Delirium is an exotic OSR romp through a mysterious world of riddles, puzzles, inscrutable denizens. 5e compatible, this love letter to psychedelia is as vivid and beautiful as exciting and surreal. Get wrapped up in conversation with the dead drunks at the last saloon on earth, solve the sphinx riddle and discover the secrets of the Ziggurat, or break bread and wine with whispering harpies or the sun itself. This compelling narrative is written by Austin Holm and captures the exploration, social, and challenge pillars of a great game with the deft prose of a poet. With art by Maya Bee that captures the essence of the adventures many stunning scenes and characters. Your players will thank you for this one.

The final confrontation with the giant, King Snurre, and the entry of mighty adventurers into the caverns under his stronghold (DUNGEON MODULE G3, HALL OF THE FIRE GIANT KING) discovered the Dark Elves, the Drow, had instigated the giant alliance and its warfare upon mankind and its allied races. This module contains background information, a large-scale referee's map with a matching partial map for players, referee's notes, special exploration and encounter pieces, a large map detailing a cavern area, encounter and map matrix keys, and an additional section pertaining to a unique new creature for use with this module and the game as a whole. A complete setting for play of ADVANCED DUNGEONS & DRAGONS is contained herein. This module can be played alone, as the first part of a series of three modules (with SHRINE OF THE KUO-TOA, D2, and VAULT OF THE DROW, D3), or as the fourth part of a continuing series of modules which form a special progressive campaign scenario (DUNGEON MODULES G1, G2, G3, D1, D2, D3, and Q1, (QUEEN OF THE DEMONWEB PITS). TSR 9019

The Forge of Fangs has been located in Vanrakdoom. While many innocents have been saved from an undying fate, the forge remains. Artor Morlin would like to see it torn to the ground and the threat ended forever. Part Three of the Undying Threat trilogy. Optimized For: APL 13