Rising from the surface of a massive lake, an ancient ziggurat travels through time for purposes unknown. It’s up to the characters to enter this strange relic and discover what dark threat the structure poses. The Ziggurat Beyond Time contains advice for customizing the adventure for your own campaign. It also contains an artifact, the Deluvian Hourglass, that has time-related properties and wishes to witness the end of the world. Pgs. 23-55

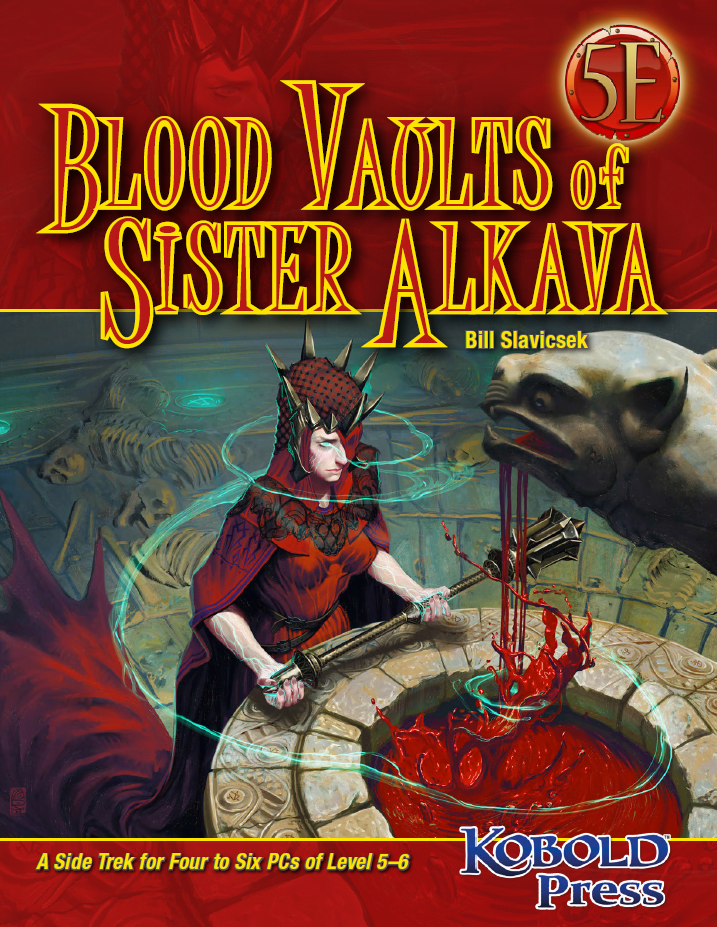
Nightmare of Blood! The village of Karvolia has paid its annual tribute of blood to the Red Goddess—but this year, none of the donors returned. Now the priestess commands the village elders to send another dozen young men and women to the edifice of stone that looms on the cliffs overlooking the village: the dreaded Blood Vaults. The terrified elders are willing to pay adventurers handsomely to find a way to make this second tribute pass them by. Unfortunately, the latest set of donors has already entered the Blood Vaults, and are being prepared for the donation process…

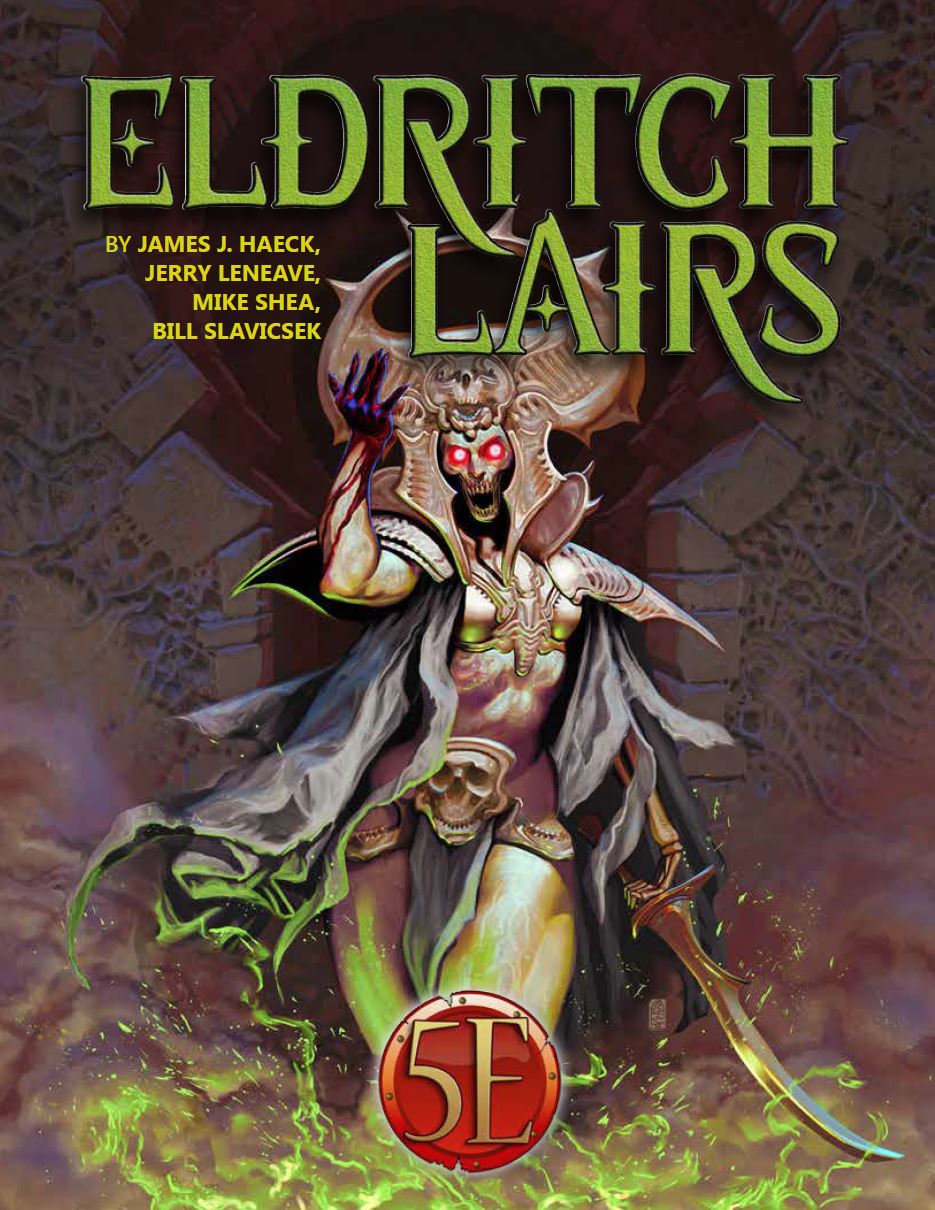
"And they bade their slaves, 'Build unto us tombs to rival the palaces of the gods, for there shall we live or lives and sleep our deaths in splendor.' And the people of Maru-Qet wore their fingers down, broke their backs, burst their hearts to obey. Indeed they raised up great tombs to rival the palaces of the gods. And their masters were well pleased, for it was as gods they saw themselves." The brown dragon Urum-Shar lurks in a strange tomb, plotting schemes only a wyrm of incredible power could understand. Expanding on content from Draconomicon: Chromatic Dragons, this adventure takes the heroes into Urum-Shar’s dark and trap-filled lair, where they will eventually face the powerful dragon herself. The dungeon heavily employs the use of traps, with fewer monsters. The upper tomb consists of a great puzzle of twelve rooms, and the lower tomb contains the dreaded Urum-Shar, an ancient brown dragon and heir to the lost draconic empire of Maru-Qet. The dungeon has special protections against scrying and other divinations, as well as teleportation. Pgs. 55-90

Ships have disappeared amongst the Norheim Islands, almost all of them carrying refugees from Norland. An expedition, sent to find the cause, has similarly vanished without a trace. Most blame lack of experience with the treacherous local waters, but a few whisper of a more sinister cause, something that lures the desperate to their doom. Initiates of the Flame are looking for powerful adventurers to help since the authorities have more pressing trouble.

Rennie and Linde are in search of their father, Petring, who they saw disappear into the crypts beneath town. The crypt is thick with supernatural shadow. Torches can be lit from a brazier of green faerie fire in the entrance that cuts through magical darkness. The torches burn rapidly, and the PCs must travel quickly to preserve their light until they reach the funeral pyre in the heart of the crypt. There they can learn the way to the Carrion Shrine of Qorgeth.

Delve into the depths of the tomb of the long forgotten elven king to bring the eternal peace onto its disturbed dwellers. A 4-hour adventure for two 4th level characters. Small Party Adventure: Though the party size of 3–5 characters is considered optimal in D&D, there are times when you can only gather one or two players at most. This adventure is designed exactly for such occasions.

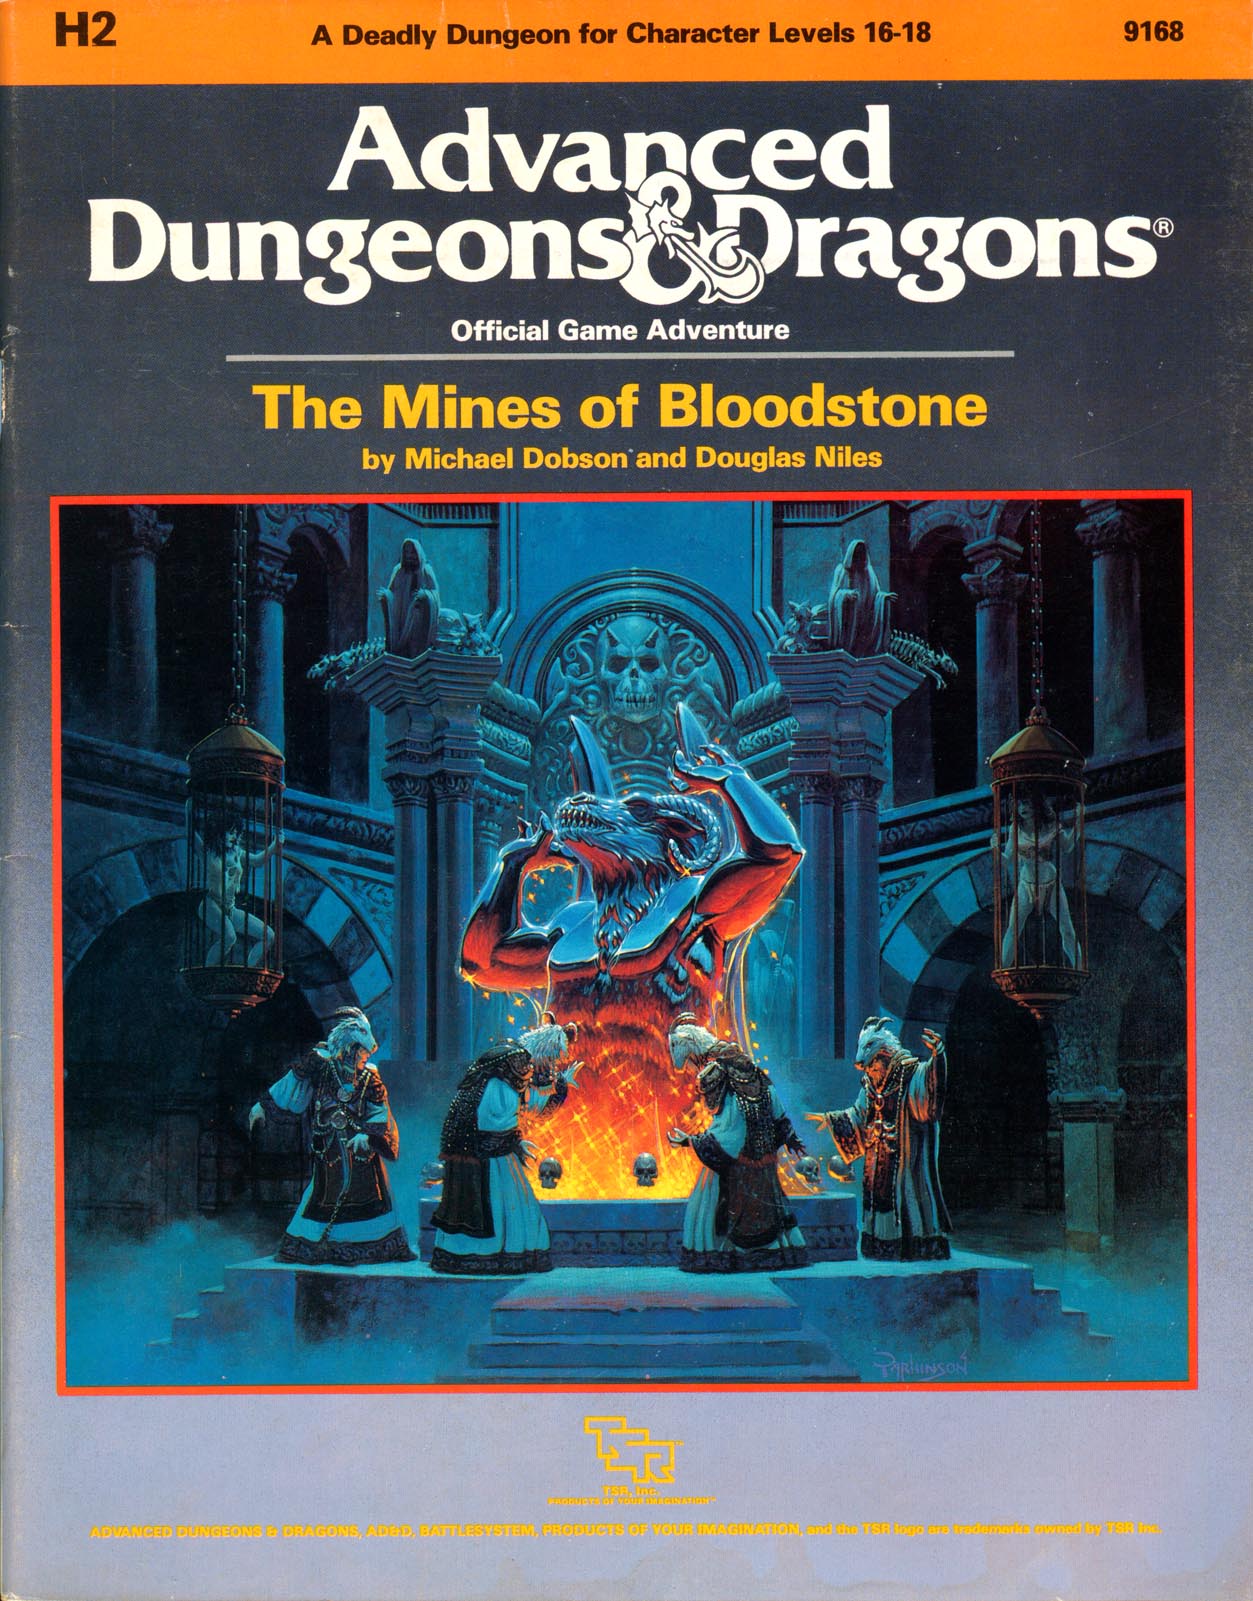
The most deadly dungeon ever devised! High-level characters brave the unexplored corridors of Deepearth to confront perhaps the most feared adversary in the AD&D game. The second chapter of the Bloodstone Pass saga follows the conclusion of the desperate war against the bandit army. A cold and bitter winter drives the villagers to the edge of starvation, and numerous horrors strike the town of Bloodstone Pass. Join the adventure as the heroes explore the depths of the ancient bloostone mines, now inhabited by fearsome demons. There they hope to uncover the fantastic treasures rumored to exist in the unknown darkness. But deep within the mines, all is not what it seems.... This module uses the new rules from the Dungeoneer's Survival Guide and Wilderness Survival Guide. The adventure also includes optional BATTLESYSTEM scenarios fought entirely underground. These supplementary products are not required to play the adventure, however. TSR 9168

Just when you thought it was safe to take a long rest. She's Back! The terrifying SEQUEL to the PLATINUM bestselling, and Dragon+ Magazine featured horror adventure: The Haunt. The Haunt 2 is both a one-shot, and a sequel that can be run as either. Long, long ago St. Greycastle’s Hospital served the city through the years, mainly treating the wounded and sick among the militia. Over time, the lower basement was converted into a sanatorium, housing those who became maddened from enduring the violent, brutal orcs raids which plagued the region during that time. This was the place where Gertrude, the night hag, tormented patients, and created her masterpiece, the Evil Doll. Now, after all of these years, Montarthas Manor has finally fallen, and the Evil Doll has been wounded. She has returned to the only familiar and safe place she remembers, to lick her wounds and plot her next move. Her presence in the hospital awakens the evil inside, creating a nightmarish charnel house of terror. In addition, the hospital itself feeds on fear. Do your players have what it takes to enter the haunted and evil hospital, to finally end the haunt and terror of the Evil Doll?! Published by P.B. Publishing.

*THIS IS A D&D NEXT/5E PLAYTEST ADVENTURE* Imani, a Turmishan wizard and former adventurer, seeks the aid of heroes to infiltrate Dretchroyaster’s lair and recover the Diamond Staff of Chomylla—the key to powerful magic and wisdom locked away for thousands of years. In addition to his own sagely interest in the lore of lost Uvaeren, Imani recognizes the dangers of such powerful magic falling into evil hands. The dracolich has secured the staff in his lair’s cen- tral chamber, using ancient wards of protection that can be bypassed only by four artifact-idols once belong- ing to a cult of Bhaal. Each group of adventurers enters the dungeon through a different section of the dun- geon—a forgotten temple of Bhaal, a vast underground lake, a troglodyte village, or Dretchroyaster’s vaults. Dretchroyaster’s lair is no simple set of caverns and ancient ruins. It sits atop a source of great power and energy, which the dracolich and his Cult of the Dragon allies hope to use to unlock the secrets of the staff. Only by undertaking a unified assault against Dretchroyas- ter’s lair can the adventurers hope to recover the Diamond Staff and survive the dracolich’s fury. The adventurers must make their way through the lair and recover the Bhaalite idols that will help unlock the Diamond Staff, all the while dealing with the lair’s creatures and avoiding the dracolich as he pur- sues intruders. Entering the Chamber of the Diamond Staff, the heroes must overcome its magical wards and claim the staff before being slain by the dracolich and his servants.

"Few brave souls dare to visit the City of the Dead at night. Some might say that tales of nighttime horrors are for children, but the wise folk know better" Three members of the Jackals gang, a famous grave robbers, are found murdered in the City of the Dead cemetery in Waterdeep. Their wounds are horrible, and their jaws are completely destroyed. City Watch is looking for heroes who are willing to stand up for their city and investigate this murder which has a clear supernatural influence. This adventure can be used as a faction mission for Waterdeep: Dragon Heist as well as a standalone one-shot. Sins of the Past features: - Investigation of a mysterious murder, which leads to uncovering one of Waterdeep’s families dark secret - Old family mausoleum full of dangers and secrets - Famous Mirror of Life Trapping with enemies trapped inside, which adventurers should face - Encounters with various undead creatures like will-o-wisps, zombies, specters, and ghosts - Moral dilemma characters should solve and two possible outcomes

The door slams open so hard that the wall shakes and the hinges groan. To everyone’s astonishment, a goblin staggers in. He is badly wounded, with dried blood covering about half of his body. Only a moment before the air was full of the rattle of dice, the slap of cards, and cries of victory and defeat. Now the Gambling Golem is dead silent. The goblin lurches toward your table then collapses right in front of you. “Help me,” he croaks, looking up at you with bloodshot eyes. “I’ll make you rich!”

When elf noble Caracticus Swordstar approaches the party with a fetch quest, it seems simple enough. But the item he seeks was brought deep within the forest, stashed in a long-forgotten mansion, and guarded by a sentimental banshee. The party must navigate the mansion and the entangled pasts of the Swordstar and Shandorel families to finish the job, or find themselves the next undead guests of Giltred. Pgs. 61-67

The heroes hurry to reclaim a treasured item that an evil hag has hidden away. The item they seek is well guarded by dangerous foes bent on destroying any that dare enter their domain. Estimated play time - 1 hour. This product contains two combat encounters designed for 4th level PCs, an extensive backstory, new monsters and new magic items. The encounters are easily adapted to almost any campaign setting. The text also includes optional changes that DMs may consider when running the adventure for their own campaigns. This side trek encounter is the second of a three-part "Fey's Bargain" encounter series.

Great Danger Wrought in Secrecy Legendary forgemasters now serve an evil warlord and his dark purpose. Their hammers ring upon anvils dedicated to remaking a terrible weapon that was destroyed in ages long past. As the very fate of the world is being shaped, only the strongest heroes can shatter the diabolical plan. "Lord of the Iron Fortress" is a stand-alone adventure for the Dungeons & Dragons game, the seventh adventure in a series of eight designed to take players from the beginner to advanced levels of play (although no other adventures need be played to play this one). This adventure contains an additional 16 pages of content for the same price as earlier adventures. Designed to challenge 15th-level D&D heroes, it opens the perilous gateway to planar travel.

The Lamenting Lighthouse is a four-hour adventure for 5th-10th level characters, designed for Dungeons & Dragons 5th Edition, with a nautical theme, heavy undead and horror elements, and mysteries to solve! One lonely lighthouse shines the way through the rocks and shoals that deny entry to the northern Moonshae Isles. But when the party’s transport approaches, a horrific gale at their backs - no light is in sight... The party must venture ahead of their vessel in a race against the storm to the restore the beacon before their ship is lost. What has befallen the keepers, and what dark secret does the lighthouse hold? Will the heroes prevail, or will they join the lighthouse's lament? This adventure can easily be inserted into a run-through of Ghosts of Saltmarsh. This one-shot can also serve as a nautical interlude in any on-going campaign where the characters have to take to the sea. Included with this adventure are: + 6 original custom creatures, the dread wraith, the dread wight, the swarm of seagulls, the captain, the rating, and the sailor + 12 player hand-outs with notes that shed light on the mystery of the lamenting lighthouse, with a randomization mechanic that ensures a degree of replayability + 9 original fleshed out NPCs, including personality traits and roleplaying tips + 2 original magical artifacts + 7 hand-drawn maps of important locations + a story reward and 2 story hooks for continuing the adventure (depending on how the adventure resolves)

Scholars Square is a relatively quiet corner of Phlan, but a series of odd thefts have the headmasters of verious schools in the area concerned. The headmasters' pleas for help have gone unanswered by the Black Fist, and the Lord Sage of Phlan decided to reach out to you and your kind to bring those responsible to justice.

There are many legends of the Vengeful Tempest and its supernatural crew. Few have seen that pirate ship and lived to tell the tale, and fewer still dare to seek it out. To hunt down that fabled vessel, you must lead a group of makeshift mariners and set sail upon the Kraken's Wake.

So you want to be a Mage of High Sorcery? To join the esteemed organization, you must travel to the Tower of Wayreth and undertake the most important event in your life—the harrowing Test of High Sorcery! If you can survive where so many aspiring mages have failed, you will forever bind your soul to the Gods of Magic and gain access to untold arcane secrets. The Test of High Sorcery is the perfect adventure for new and veteran players looking to experience Dungeons & Dragons in a new way! It is a solo adventure, where your choices have meaningful consequences, but it also provides balanced rules to play with a group or a Dungeon Master. This 154-page tome features: - A sprawling adventure that fits perfectly as an expansion to any Dragonlance campaign, Dragonlance: Shadow of the Dragon Queen, or as a stand-alone replayable experience - A tale full of sorcerous intrigue, featuring many new characters alongside iconic favorites like Fistandantilus, Takhisis, Fizban the Fabulous, and the Gods of Magic - Innovative Destiny and Trait mechanics make your choices really matter—and ensure every mage’s Test of High Sorcery is a unique experience - Over 60 possible outcomes to determine which Order of High Sorcery you join and provide compelling new plot hooks for your character during future adventures - Dozens of unique locations with rich stories and sorcerous challenges that Dungeon Masters can use to create their own version of the Test of High Sorcery - New magic items and stat blocks, with mechanics that support clever use of enemies’ weaknesses and the environment against them - Four gorgeous sample characters, with interactive character sheets designed to be new-player friendly so that you can jump right into the story - A detailed primer on the history of Krynn and how it relates to the Mages of High Sorcery - A community survey when you finish to let you see how you compare to other mages taking their Tests of High Sorcery
Under raging storm clouds, the vampire Count Strahd von Zarovich stands silhouetted against the ancient walls of Castle Ravenloft. Rumbling thunder pounds the castle spires. The wind’s howling increases as he turns his gaze down toward the village of Barovia. A lightning flash rips through the darkness, but Strahd is gone. Only the howling of the wind fills the midnight air. The master of Castle Ravenloft is having guests for dinner—and you are invited. Spans levels 1-10.

An Introductory Adventure for Storm King's Thunder. As evening approaches, you spot a wooden signpost next to a trail that heads north into the hills. Nailed to the post are three arrow-shaped signs. The two marked “Waterdeep” and “Daggerford” follow the High Road but point in opposite directions. The third, marked “Nightstone,” beckons you to follow the trail. If memory serves, Nightstone is roughly ten miles up the trail. This is Chapter 1 of the greater story available for free on the Dungeon Master's Guild.