
The final confrontation with the giant, King Snurre, and the entry of mighty adventurers into the caverns under his stronghold (DUNGEON MODULE G3, HALL OF THE FIRE GIANT KING) discovered the Dark Elves, the Drow, had instigated the giant alliance and its warfare upon mankind and its allied races. This module contains background information, a large-scale referee's map with a matching partial map for players, referee's notes, special exploration and encounter pieces, a large map detailing a cavern area, encounter and map matrix keys, and an additional section pertaining to a unique new creature for use with this module and the game as a whole. A complete setting for play of ADVANCED DUNGEONS & DRAGONS is contained herein. This module can be played alone, as the first part of a series of three modules (with SHRINE OF THE KUO-TOA, D2, and VAULT OF THE DROW, D3), or as the fourth part of a continuing series of modules which form a special progressive campaign scenario (DUNGEON MODULES G1, G2, G3, D1, D2, D3, and Q1, (QUEEN OF THE DEMONWEB PITS). TSR 9019

Smoke still rises from the shattered buildings and ruined streets of the troubled town of Cauldron, yet if not for the actions of a band of heroes, it would not exist at all. A sinister cabal of cultists bent on plunging Cauldron into the prison plane of Carceri had awakened the volcano below the town, and amidst the attacks of dragons and fiends from the outer planes, these heroes were able to evacuate the city and then strike at the cultists in their lair near the volcano's heart. Now, this cult, the Cagewrights, lies shattered, their members put on the defensive for the first time. All that remains is to finish the job, but the surviving Cagewrights still have some surprises left in their mysterious stronghold under the snake-haunted ruins of Shatterhorn. "Strike on Shatterhorn" is a Dungeons & Dragons adventure designed for four 18tth-level characters. This adventure is part of the Shackled City Adventure Path that began with "Life Bazaar" (Dungeon #97) and continued with "Flood Season" (Dungeon #98), "Zenith Trajectory" (Dungeon #102), "The Demonskar Legacy" (Dungeon #104), "Test of the Smoking Eye" (Dungeon #107), "Secrets of the Soul Pillars" (Dungeon #109), "Lords of Oblivion" (Dungeon #111), "Foundation of Flame" (Dungeon #113), and "Thirteen Cages" (Dungeon #114). The Adventure Path concludes in Dungeon #116 with "Asylum." Pgs. 56-82

Having put down a rising of giants, it was discovered that the motivating force behind their depredations was that of long-forgotten evil - the Dark Elves. Determined to seek out these creatures, a body of doughty adventurers mounted an expedition to learn the strength of the Drow and bring retribution to them (DUNGEON MODULE D1, DESCENT INTO THE DEPTHS OF THE EARTH). This module contains background information, a large-scale referee's map with a matching partial map for players, referee's notes, special exploration and encounter pieces, a large map detailing a temple complex area, encounter and map matrix keys, and an additional section pertaining to a pair of unique new creatures for use with this module and the game as a whole. A complete setting for play of ADVANCED DUNGEONS & DRAGONS is contained herein. This module can be played alone, as the second part of a series of three modules (with DESCENT INTO THE DEPTHS OF THE EARTH, D1, and VAULT OF THE DROW, D3), or as the fourth part of a continuing scenario (DUNGEON MODULES G1, G2, G3, D1, D2, D3, and Q1, QUEEN OF THE DEMONWEB PITS). TSR 9020, From 1978

The PCs are singled out by happenstance as prophesied heroes who will find and return a great wizard to his family. Once brought back to the the family chateau, they are brought on as paid companions and free to explore the location as they wish. This is a large sandbox style adventure with several plots going on, including assassination, a wedding, false accusations of murder, and many machinations of the nobles to solidify or gain power. Whole this is going on the PCs are dropped into dream sequences where they learn more about the missing wizard and learn how and where to find and free him

In this adventure, the Lord Commander of the Sharn Watch hires the heroes to investigate the murder of an actress. The investigation quickly spirals into a bloody dispute involving a dead wizard’s spell-book, political rivalries, and secrets that might foment war among the Five Nations. Pgs. 1-37

"What could happen if Santa became a vampire?" There’s Something Wrong with Santa is a 2- to 4-hour adventure for four to five characters of 5th level. Scaling Suggestions are included, allowing you to run the adventure for lower or higher-level characters. This adventure is designed to be neatly dropped into any campaign. It features a small village named Hollypocket, which is hosting a Christmas celebration, with Santa as the special guest. However, a nearby vampire learned of Santa’s plans to attend the festival, and intercepted the jolly, white-bearded man while he traveled to Hollypocket. Now, Santa is cursed with vampirism and is on a mission for the vampire: gather the tasty villagers and bring them to the devil’s lair. "Santa's a vampire?" Yes! While the characters may not know this at the start, there are several descriptive clues that should lead them to believe Santa is now a vampire. This fact becomes more evident the closer they get to vampire Santa. "What will they do?" Will your heroes kill vampire Santa, or will they find a way to cure him? Product Overview — ♦ 2 to 4 hour adventure for four to five characters. ♦ Designed for 5th level characters. ♦ Scalable for lower or higher level characters. ♦ Downloadable maps. ♦ VTT Tokens.
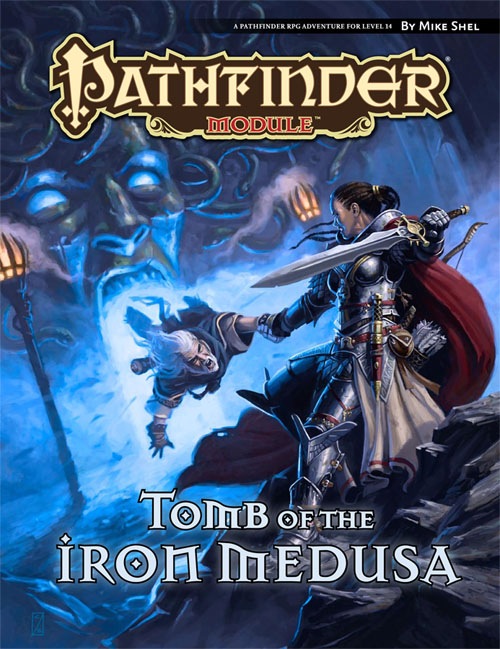
Hidden in the remote southern range of the World’s Edge Mountains lies a mysterious necropolis known in legend as the Tomb of the Iron Medusa. When the last heir of the dungeon’s long-dead noble builders hires the PCs to explore the forlorn and deadly site in search of evidence that may clear his family name, the intrepid heroes soon find themselves in over their heads. For the Tomb of the Iron Medusa does not give up its secrets lightly, and the dangerous truths that lie within its ancient, trap-laden crypts may have been hidden for very good reasons indeed.

The rubble-strewn passageway twists and turns, winding ever deeper into the mountain, lower and lower into the bowels of the ancient, forbidding halls of long-dead dwarves. The torchlight flickers, threatening to succumb to the oppressive darkness. Creeping along one striated granite wall, Arikus the warrior moves cautiously toward the great cavern ahead, its sides and walls disappearing into the gloomy distance. Cocking his head to one side to listen, he holds his hand up for a moment, demanding unconditional quiet from from his companions. Then , his arm relaxing in relief, he waves everyone forward and moves into the open. Before him, scattered to the far walls of the enormous cavern, are piles upon piles of glittering treasure - coins from countless kingdoms, sparkling gems, exquisite jewelry, and items of wondrous power - enough for twenty kings' ransoms. Arikus laughs gleefully, thrusting both hands into the nearest cache of coins to let them runs through his fingers. At that moment, a monstrous shadow looms threateningly over him. Looking up, Arikus blanches and stumbles back in horror before the terrible visage of a Great Red Wyrm. The fearsome dragon opens its razor-filled maw and spews forth a gout of white-hot flame, engulfing the hapless warrior.... The ultimate Dungeon Master Fantasy! This is the most deluxe dungeon. Designed to appeal to discriminating and demanding role-players. Adventurers, beware. This is more than just a dragon hunt. Within the lair of the beast lie cruel and deadly traps, befuddling conundrums and puzzles, and cunning minions that will be the end of overconfident or careless adventurers. Comprised of three 64-page books, for two adventures that link to one super-campaign 12 full-color reference cards 16 special player handouts Eight Monstrous Compendium sheets A Sheet of cardstock standups with 24 plastic bases. Six full-color poster maps, two of which link together to make a giant tactical playing surface for use with miniatures or the included cardstock figures. TSR 1089

As the cream of your crop, your party has been selected to act as diplomats on the Isle of Dawn at a historic meeting between Thyatis and Alphatia, timeless rivals. This could herald the dawning of an age of peace, unknown in the area for years past. However, things are not progressing s smoothly as planned. The powers of Entropy, headed by Alphaks, are out to ensure that this peace treaty is not finalized. Two of the diplomats are kidnaped - and you are framed! It's up to you to prove your innocence. This involves traveling to other dimensions, meeting vampiric spirits, and playing deadly games with the Night Spider. Ultimately, you must find and restore the Peaceful Periapt of Pax to its rightful place. Let the games begin. The events of Talons of Night may be played as a sequel to module M3, The Vengeance of Alphaks, or separately. The D&D Master Set Rules are necessary to run this game. TSR 9214

A series of small earthquakes have brought a sense of disquiet to the town of Daern Kelton and Roslof Keep. Against these strange earthly portents, the members of the Ivory Scimitar have claimed their place as a true Mithel Company, but even greater danger now awaits them in the second level of the Dungeon of the Black Fey Mithelvarn. What lost secrets will be revealed as they journey below? What new threats and adventures can be had in Daern Kelton? The town opens its doors to the brave new heroes of the Company of the Ivory Scimitar. Here continues the Roslof Keep Campaign in the pages of ROS2, The Tremors in the Machine. This adventure is formatted to both 1E & 5E gaming rules. Also available in PDF.

For months, the dreams of the people of Emystrell have become dark and terrible. It seems their nightmares have come to life as in recent weeks, people have mysteriously gone missing, vanishing in the night without a trace! Everyone is too paralyzed by their own despair to do anything or venture far from the safety of their homes. Emystrell is on the brink of collapse. The baron is offering a handsome reward to anyone who can show proof of the end of whatever evil curse that has taken hold of their town. This adventure is designed for a party of 3-5 heroic characters from the 2nd to 3rd level. It has elements of mystery and investigation in the first section which can be detailed and highly involved for groups that enjoy the process of searching for clues and solving mysteries or just as easily glossed over for groups that are more tactics focused. The second section of the adventure features the dungeon: a labyrinthine complex of an ancient elven crypt which the thieves guild has used as a base of operations for a decade...until the serpent worshipping cult arrived. The third section of this book is the detailed map and notes on the town and surrounding area of Emystrell. Roleplaying notes are kept light to allow for room for your own interpretations and details to NPCs remain as free to do with as you choose unless I felt inspired and hoped to give you a cool idea. This adventure has hooks for Dungeon Masters interested in a larger campaign involving the sinister plots of the Yuan-Ti (snake people) as well as other interesting adventure hooks (such as the giants in the nearby mountains or the stolen gem: The Eye of the Dragon). These plot points are intentionally left vague for you to fill in the gaps based on what your players seem interested in. You are invited to use this as a launch point adventure to lead your heroes on a larger adventure that might someday set them against an Anathema Serpent demigod, or it may simply be the adventure that begins their journeys and the evil of Yargoth stops here at Emystrell. If your campaign is set in a pre-published setting, this town of Emystrell can be replaced or fit into any campaign with a few tweaks to local gods and names. If you are playing in Dragonlance, you could replace Yargoth the Dread Serpent with Tiamat, or Dendar in Fearun. The local goddess, Tyr, could be the Tyr from the Forgotten Realms or even Norse myth if that is your campaign setting.
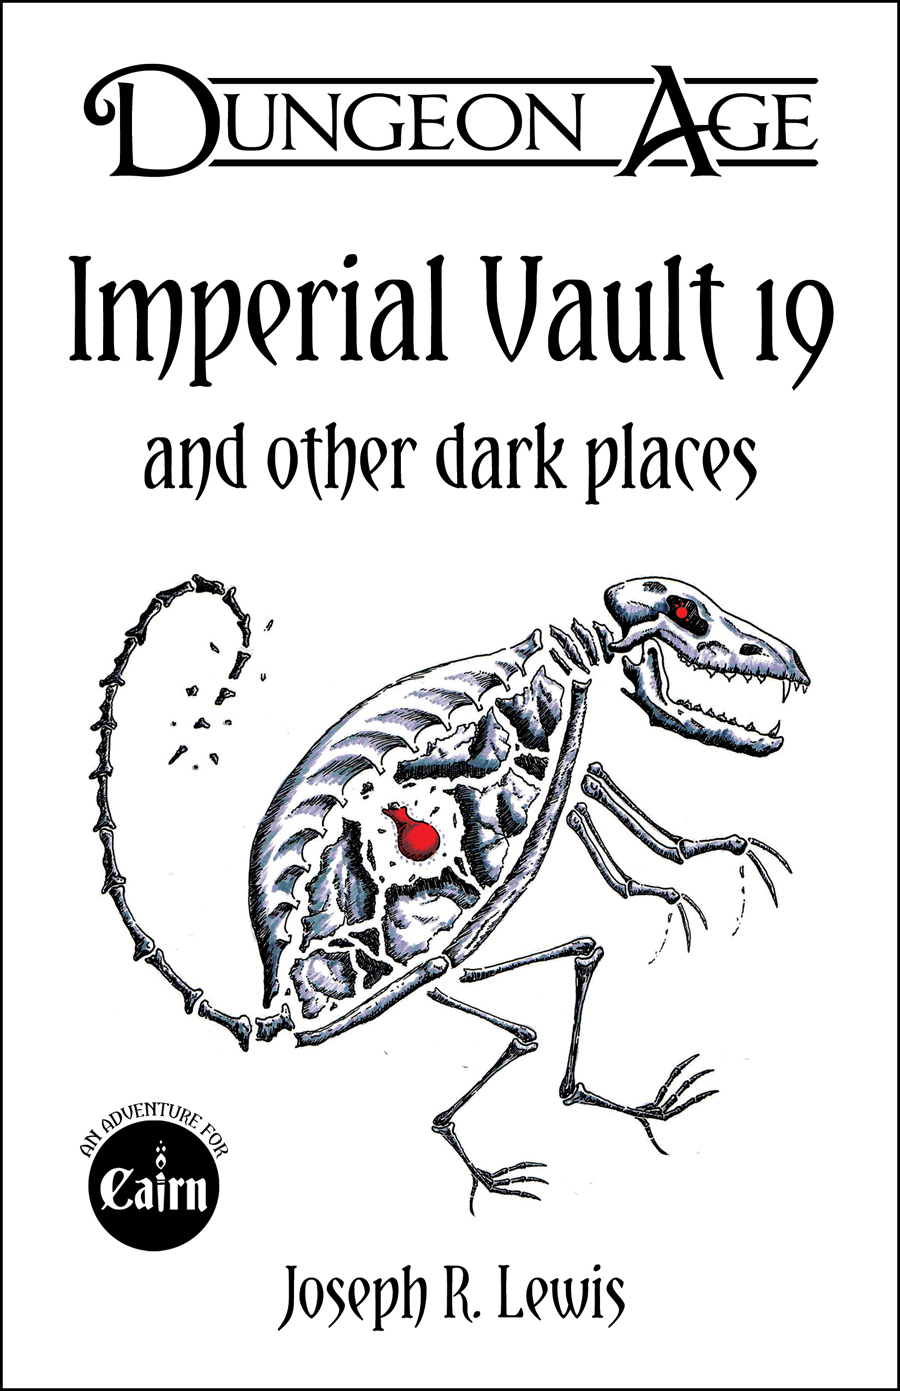
A collection of five one-shot adventures for Cairn! Imperial Vault 19 A grieving widow in the forest begs you to save her baby. A hedge witch has taken the infant down into an old imperial vault where she uses the child’s Chaos tears in alchemical potions. And who knows what old treasures might still be hidden in the vault? Unless it’s not that kind of vault… Barrow of the Blood Baron Face off against vampire bats, vampire thralls, and a vampire noble, as well as a few other creatures that have clawed their way into this once-armored vault. Discover works of art, exotic wines, enchanted clothing, and filthy weapons. Negotiate with the guards and intruders alike, using clever words or whatever stake-like objects are close at hand! Tomb of the Tin Templar Encounter electric jellyfish, tinker gnomes, and the rusted corpse of the noble Sir Tristan, as well as a few other creatures that have drifted into this marvelous mechanical vault. Discover windup toys, clockwork companions, and baffling devices. Negotiate with the guards and intruders alike, using clever words or whatever rusty objects are close at hand! Priory of the Primate Priest Defy root trolls, monkey monks, and a beguiling dryad, as well as a few other creatures that have found their way into this marvelous living vault. Discover magical armor, haunted skulls, and the bonest of the apes' victims. Negotiate with the guards and intruders alike, using clever words or whatever living objects are close at hand! Fane of the Fey Fellmonger Match wits with guild goblins, pixies, and a living skin suit, as well as a few other creatures that have spirited their way into this disturbing leathery vault. Discover arcane clothing, deadly sewing tools, and a fey lord who isn't entire dead yet. Negotiate with the guards and intruders alike, using clever words or whatever sewing objects are close at hand! New PC Background: The Dungeoneer! In addition to some unusual delving gear, select one of 10 unfortunate results of a recent delve-gone-wrong, as well as one of 13 helpful boons or tools from a recent delve-gone-right.

"The creatures are just too intelligent, too crafty, and too strategy-minded to "rampage." Rampaging brings the wrath of oath-bound knights, powerful mages, and divinely-protected priests. Why would a dragon want such attention, unless it had some special secret, or unless it was insane? Or both. The northern reaches of the Derideth Swamp were once plagued by a rampaging dragon. This black dragon, named Storamere, took a mad glee in attacking human villages, wiping out orc camps, driving off the lizardfolk, and decimating farmland. He met his untimely end, though, in an ambush devised by the monks of the Order of St. Chausle. Storamere died with a curse upon his draconic tongue: "you could not have defeated me in my lair," he told his slayers. "I am forever invincible in my lair." Now Storamere is back, with a horde of his misshapen half-dragon offspring, to have his vengeance. All that remains of the once-heroic monks are two old men driven mad by their last encounter with the black dragon, so it falls to a band of adventurers to again defeat the mighty dragon -- this time in his palace, where the boastful Storamere claims he is at his strongest." Includes maps and damage rules for navigating Storamere's lair, a semi-solid palace made of a dangerous, corrosive liquid five feet thick and located on the ethereal plane. Most of the monsters in the lair have the Half-Dragon template applied. Published by Atlas Games

Dracula, the Lord of Shadow and Darkness, has covered the land in shadow and dispatched armies of monsters and undead from his magical castle. His armies threaten to overrun major cities and plunge the world into a literal Dark Age. The last of the vampire-hunting clan that traditionally opposed him has disappeared, and still the armies advance. He must be stopped. If that's not enough motivation, it is well-known that his castle is full of magical items and great riches... but also great danger. If you've ever wanted D&D and Castlevania to meet, look no further. This adventure is exactly what you wanted. Every area of the castle poses different and unique challenges to keep the party engaged and on their toes. Written for the DM as a ready-to-run adventure, it is designed for four to six characters. The adventure starts at level 3 at the outer defenses of the castle, and ends with the party advancing to level 13 after defeating Dracula in an epic battle. The adventure includes documentation to help even a new DM succed, including suggestions for how to run each of the area "boss" monsters in combat. There are approximately 50 new enemies and over 3 dozen new magical items. It also comes with a list of suggested music for many areas of the castle, and a 25-page campaign log recounting an actual tabletop play-through of this adventure from the DM's perspective.
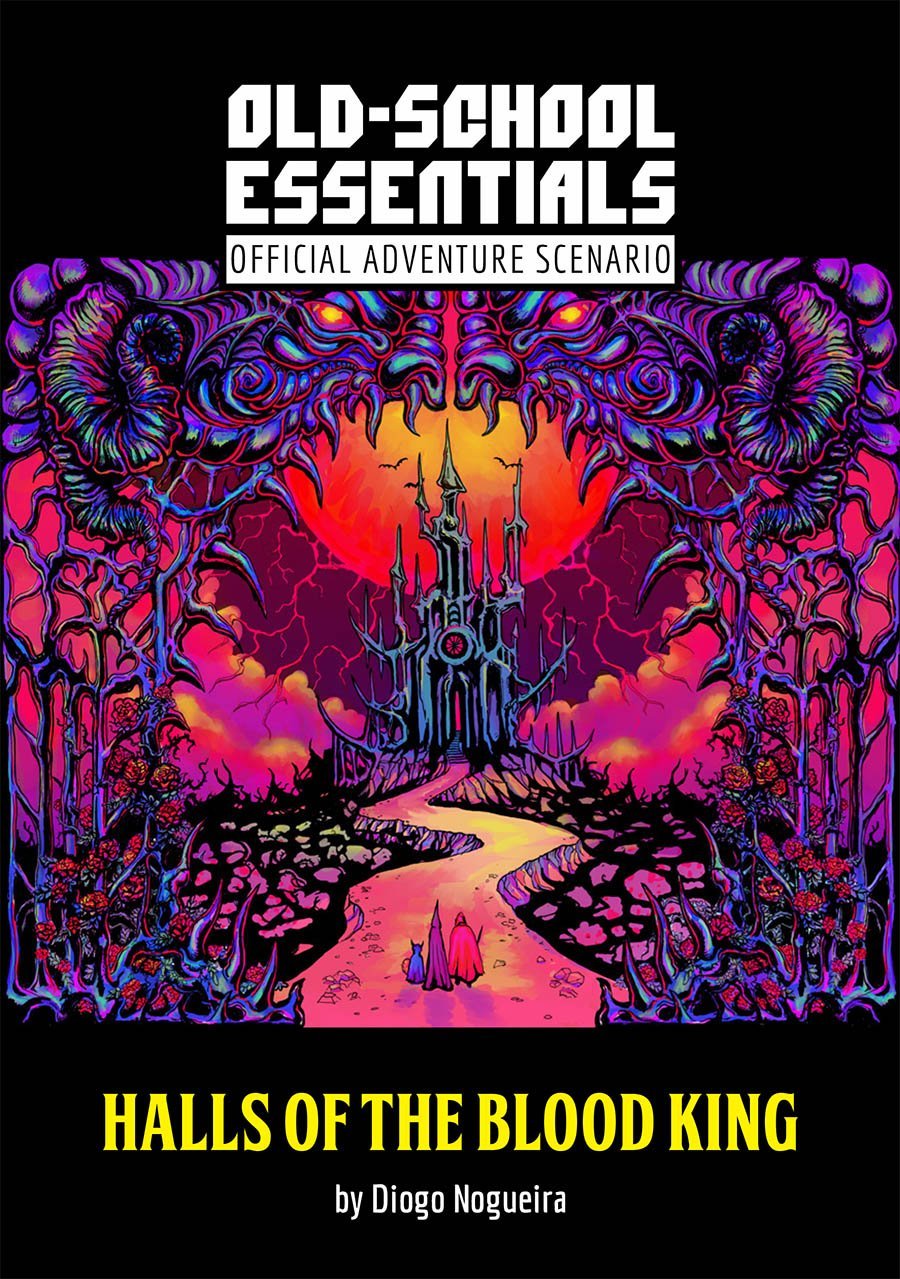
With the rising of the Blood Moon, the accursed abode of the Blood King returns to this world. The lord of all vampires comes to claim the blood that is owed to him. His halls contain treasures and secrets that would make any ambitious adventurer abandon reason and caution to seek them out. Will you risk your soul for gold and glory in the Halls of the Blood King?

Slain in disgrace, reborn in fury, armed to the teeth: Flame returns! Flame is back - and is he mad! The sequel to "Into the Fire" from Dungeon 1. Pgs. 42-63
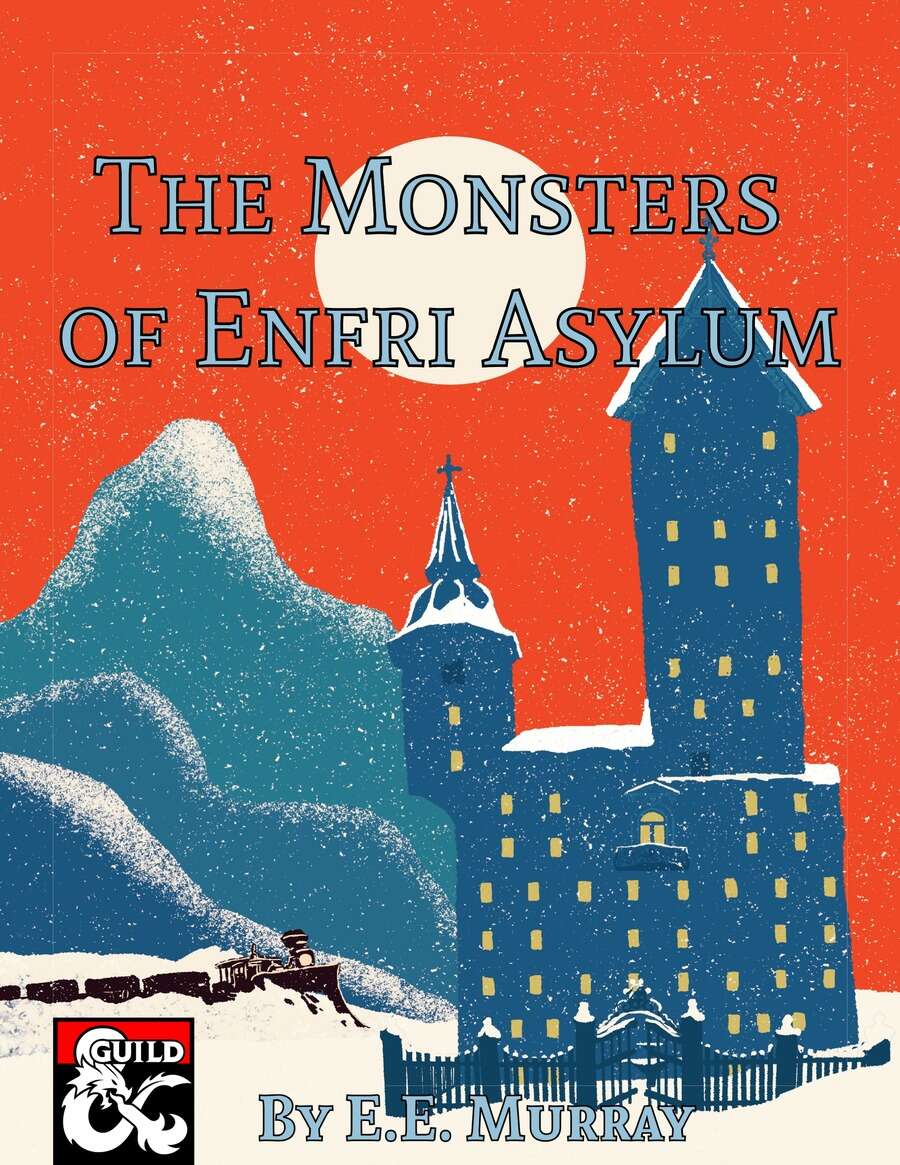
Where have the staff gone? Why do the doors not lead where they should? What dark experiments were performed here? And what has become of the asylum’s enigmatic owner? During a routine train ride, the characters are halted by a powerful force within Enfri Asylum. Haunted by murderous doctors, revolutionary patients, and creatures beyond description, the characters must venture into the old hospital and put an end to the madness to reach their destination. The Monsters of Enfri Asylum is a 8 to 12 hour horror adventure for 1st to 5th-level characters.

60 years ago, a wizard's tower was encased in a magical glacier. Now a crack has appeared, exposing the tower for adventures. Inside, a magic artifact turns any who did in the tower to undead, including the PCs.

Sewers of the Underguild is an adventure designed for characters of at least 11th level, and characters up to 15th level will find plenty of challenges. Hidden within these narrow passages and filth-filled channels is a guild of vampiric rogues, led by their master Sangre and his aide, a nycaloth called Ankoz. Deadly traps abound, so a skillful rogue will be a lifesaver. Because of the high likelihood of desperate combat with numerous vampiric and monstrous opponents, it is suggested that a cleric and at least two fighters be prepared to beat back the many watchdog monsters the guild employs. You can hide the locales in Sewers of the Underguild in any ruin or location that fits your campaign purposes. A thriving metropolis that just happens to have a large crime and vampire problem would fit the bill nicely. In the Lost Lands campaign setting of Frog God Games, the Underguild is located in the sewers beneath the ruins of Curgantium, the ancient imperial capital of lost Hyperboria. Located at the edge of the modern Kingdom of Foere, the Underguild still finds itself located centrally enough to pull the strings of its weblike network running throughout the former lands of the Hyperborian Empire.

A series of short encounters and story hooks that may cause your party to question the safety of their local tavern… Designed for characters of all levels