
A handful of would-be adventurers gathers to explore an ancient tomb, eager to trade their discoveries for a ticket to a better life. What they find within presages the advent of the Age of Worms, an era of darkness, decay, and writhing doom. "The Whispering Cairn" is the first installment of the Age of Worms Adventure Path, a complete campaign consisting of 12 adventures, several "Backdrop" articles to help Dungeon masters run the series, and a handful of poster maps of key locations. For additional aid in running this campaign, check out Dragon's monthly "Worm Food" articles, a series that provides additional materials to help players survive this campaign. Pgs. 14-47
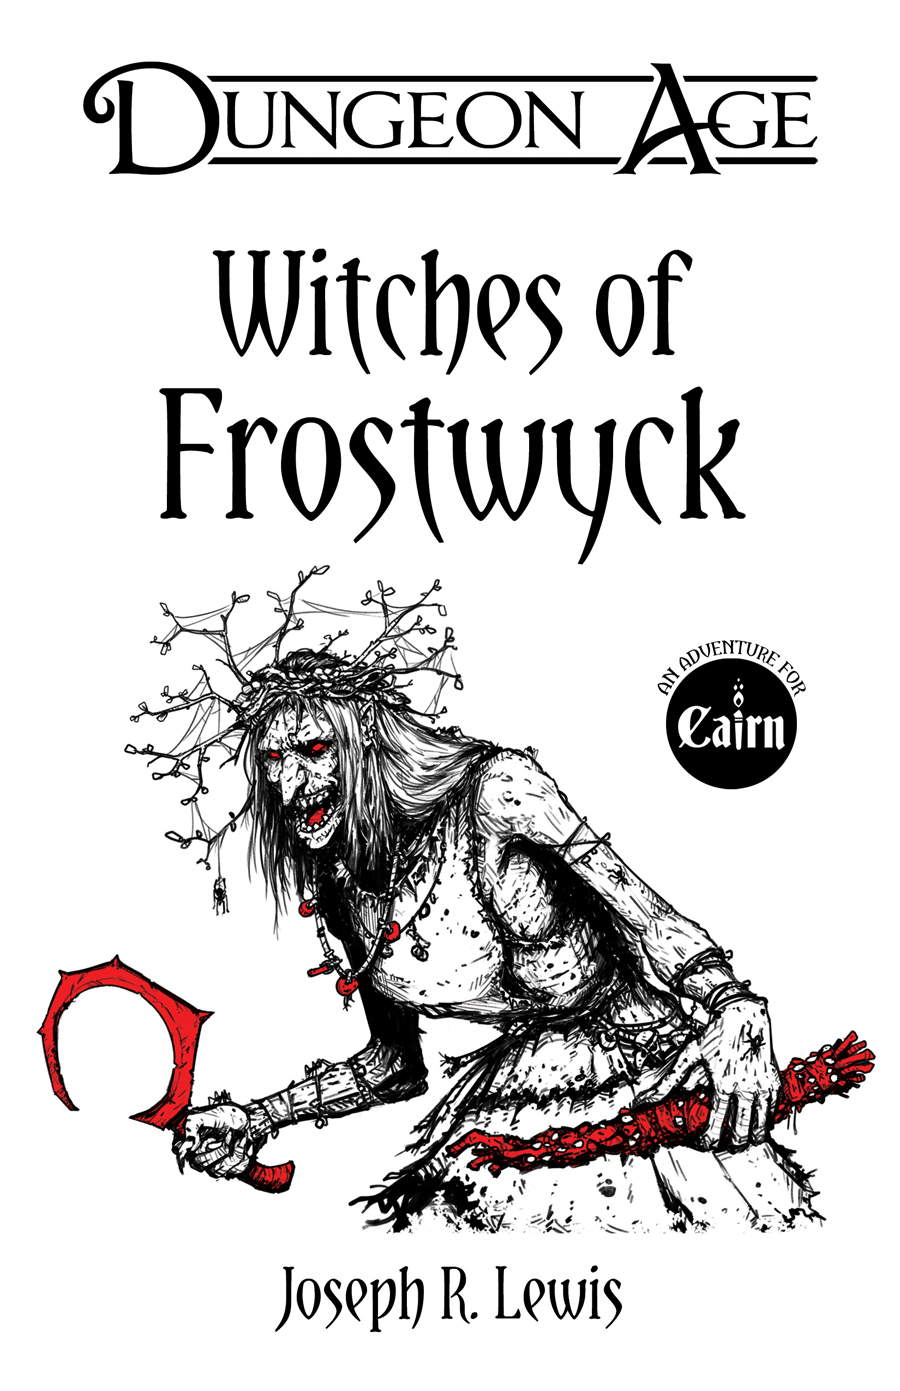
The ancient world of Harth is dying, but you’re going to die even sooner if you can’t escape from Frostwyck. You’re lost in a frozen forest of deadly predators and mysterious recluses. Your only refuge is the tiny village of Frostwyck, where metal is rare and kindness is rarer. And there are worse things in the shadows than mere bloodthirsty beasts. Witches haunt the groves of the north. Most keep to themselves, content to guard their secrets and powers. But one torments them all. Dama Zhadna has cursed the village so that none can escape. And now you’re trapped here. You’re going to die here... ...unless you can escape from the Witches of Frostwyck. Just a few things players can do: - Escape from a prison barge - Free demon souls from a giant spider-house - Find a charming witch-lord hiding with his pet dragon - Evade a merciless warrior zealot who is hunting them - Discover the ancient secrets of the Elder Fey - Collect the "cunning tools" created by the hedge witches - Collect the eldritch weapons crafted by the ancient elves - Save a little girl made of snow Intense Factions! Will you help the Temple of Virune to eradicate the last of the witches? Will you help the witch-lords retake power over the north? Will you help the Gray Sisters protect the village from the dangers of the forest? Or will you venture underground and help the Elder Fey to escape their prison and take their revenge? Four New Mentors! While in Frostwyck, players can meet many skilled NPCs who might be willing to train a worthy adventurer. If you can complete 3 days of training, you can learn one of 16 skills from either a Hunter, a Fighter, a Priest, or a Witch. New PC Background: The Vulgoth Hedge Witch! In addition to some unusual medicinal gear, select one of 6 creatures of the northern forest as your familiars, as well as one of 6 "cunning" items that you enchanted (and might explode in your face!).

A rare breed of wolf has apparently been staging daring attacks on citizens of Rendrick. A group of hunters seek to claim bounty on the beast, but as the PCs quickly learn, the wolf isn't all it appears. Something sinister lurks in the woods near town, and the PCs must act quickly to save innocent lives. Pgs. 16-26

Protect the Future! At the height of Netheril's power, the fortress of Spellgard held many great secrets of the Empire of Magic. Now, only ruins remain... and one last guardian, the near-mythical Lady Saharel, whose prophetic visions draw the desperate and the doomed from across Faerun. But a dark presence in one of Spellgard's intact towers wants to control the power of prophecy for itself and remake the future in its own image.

To a wizard, knowledge is power, and the wizard Lirdrium Arkayz wants to know the mysterious secret of The Rock. Many have tried to discover it - but The Rock keeps its secret well. The wizard offers a rich reward to anyone bold enough to solve this dark mystery. But the road to The Rock leads to danger and hidden peril - dangers that have claimed the lives of many brave adventurers. Rashness and folly will lead to quick death, but riches await the clever and brave. Have you the wits, courage and skill to survive the Journey to The rock? TSR 9106

A Villain with a Vison A stolen jewel leads to the heart of the swamp, where one man’s thirst for vengeance threatens to destroy an entire town. Pgs. 68-92
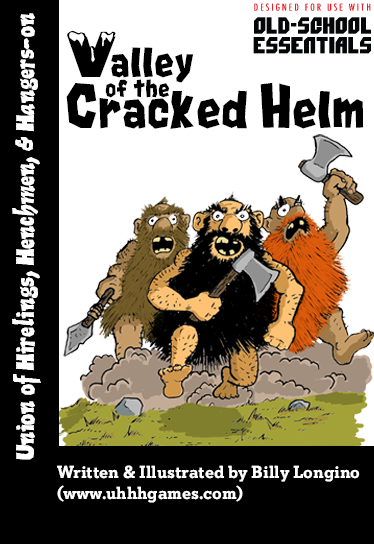
Once a paradise at the heart of dwarfdom, the Valley of the Cracked Helm has lain forgotten for ages, lost to the vagaries of natural disasters, goblin invasions, and generational benders. Over the years since, its name has invoked only shame—furtive, deep-seated dwarven shame—for the valley is where the wild dwarves dwell. . . Valley of the Cracked Helm is an off-beat scenario for old-school style games involving a hidden valley filled with tribal dwarven nudists and exploitative prospectors. It is formatted as a double-sided tri-fold brochure that contains everything needed to run the module. It includes: A ready-to-run module suitable for ongoing campaigns and one-shots. A detailed pointcrawl of the Valley of the Cracked Helm. Dwarves Gone Wild! (This pointcrawl scenario can be dropped into any classic fantasy campaign allowing gratuitous dwarven nudity. More setting than adventure, it encourages/requires referees to improvise or develop content further to fit their own needs. Low-level PCs may need to be lucky or clever to survive.)

A storm of unparalleled fury has been ravaging the peaks of the Earthspur Mountains for a tenday, and the Monastery of the Yellow Rose sits in its eye for now. Some monks have fled the monastery to the safety of Mulmaster and beseech you to convince their more obstinate brothers to retreat to the city before the eye of the storm shifts, and the monastery is in terrible danger. Can you brave the elements and convince the monks to escape? An eight-hour adventure for 5th-10th level characters.

Devastated in a war with a nearby wizards' school, the Fighters' Academy has since been surrounded by a foul and dank swamp - the Gloomfens. Since the climatctic battle between the wizards and fighters, the tower has decayed. The spirit of the head of the academy haunts the building, eternally plotting his revenge on the wizards who killed him. his loyal sutdents remain faithful to him even in death. Other foul undead have made their home in the rotting, spacious academy. From their lair, they make forays into farmsteads near the swamp in search of victims to feed their unspeakable appetites. The Problem of these terrible attacks by the savage undead will not stop until the evil that has found a home at the tower is burned from the face of the land forever. Will your party heed the call and help the town of Melinir? Will they be able to clear the former Academy of its undead? Lair of the Vampire Lord is the third in a three part adventure, The Haunted Tower. Or, it can be ran as a stand alone adventure. The choice is up to you. Part of TSR 1081 The Haunted Tower

The Thieves Guild Ebonclad has assigned to party a mission to find the missing Ebonclad Seeker, Osme Sunshadow, as well as investigate the prospective thief Korina Ren. The mission’s conclusion takes the party on a “traditional” dungeon dive in search of a missing guild member, however, how they get there will depend on the work they do in the city. Finally, the mission gives you, the GM, multiple scenarios to choose from that will affect its outcome.

The battle against the slavers continues! You end your fellow adventurers have defeated the slavers of Highport, but you have learned of the existence of another slaver stronghold, and you have decided to continue the attack. But beware! Only the most fearless of adventurers could challenge the slavers on their own ground, and live to tell of It! Second part of Scourge of the Slavelords (A1-4) TSR 9040
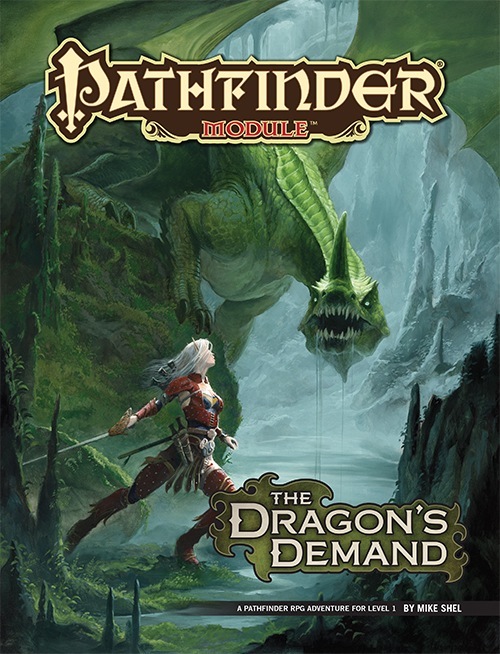
Founded by a famous dragonslayer, the small town of Belhaim has become a sleepy rural community just off the beaten path, a settlement where everyone knows everyone and strangers are the talk of the town. But when Belhaim’s peace and quiet is shattered by the sudden collapse of the last standing tower of its founder’s castle, things quickly bloom out of control. Why were there bodies of kobolds amid the rubble? What’s the sinister secret behind the strange sounds of flapping wings in the night? And what’s happened to local wizard Balthus Hunclay, who’s not answering knocks on his door? The collapsed tower had long been an eyesore to the cantankerous old man—could he have had something to do with its destruction? And what of the rumors of strange stirrings in nearby Dragonfen? Has Belhaim’s ancient draconic nemesis returned?
From the magazine: "'That's right," said the druid. "You must steal the giant's cauldron - without harming him in the slightest.'" The adventurers are sent on a mission to reclaim the legendary Cauldron of Plenty for a celtic inspired kingdom. This magic item is kept by an intelligent Verbeeg called the Bolg Mor. A secondary goal is to discover the command words for the cauldron in the cave system. There is a curse on the cauldron, stating that violence breeds violence; he who slays the owner of the cauldron and steals the device will also fall prey to acts of violence. Players are encouraged to attempt to roleplay and negotiate with the villain to gain the cauldron.

Gifts for Him is a short, challenging, open-ended, gothic-horror, 5E-compatible Christmas adventure for tier 1 characters to be run in about three sessions, but it can be easily adapted as a one-shot. It contains over 25 pages with original artwork, three original battle maps, three unique monsters, stat blocks for five NPCs, three magic items, and a partridge in a pear tree. ----- The village of Bargrave has a secret. Every year, on Christmas Eve, the villagers cower in their homes while a savage beast prowls the streets, wreaking bloody doom on whomever has not left it a suitable gift on their doorstep. But Elias Buhl has had enough. This year, the old farmer won’t be buying the beast a gift, hoping instead to bait it into attacking him at his homestead, where he will trap and kill it once and for all. But he can’t do it alone. Buhl has hired a band of adventures to help him fortify his home, set traps, and slay the creature. They have three days to prepare, gather allies and equipment, and plan their defense. Or… They can dig a little deeper and uncover what Bargrave has been hiding all these years. Will they slay the beast, as agreed? Might they capture it to use it for their own ends? Can it be redeemed? Or will they die — their blood melting the snow — just the latest victims of the creature’s reign of terror? --- Gifts for Him is a complete, playtested, illustrated adventure that is currently pay what you want.

The rubble-strewn passageway twists and turns, winding ever deeper into the mountain, lower and lower into the bowels of the ancient, forbidding halls of long-dead dwarves. The torchlight flickers, threatening to succumb to the oppressive darkness. Creeping along one striated granite wall, Arikus the warrior moves cautiously toward the great cavern ahead, its sides and walls disappearing into the gloomy distance. Cocking his head to one side to listen, he holds his hand up for a moment, demanding unconditional quiet from from his companions. Then , his arm relaxing in relief, he waves everyone forward and moves into the open. Before him, scattered to the far walls of the enormous cavern, are piles upon piles of glittering treasure - coins from countless kingdoms, sparkling gems, exquisite jewelry, and items of wondrous power - enough for twenty kings' ransoms. Arikus laughs gleefully, thrusting both hands into the nearest cache of coins to let them runs through his fingers. At that moment, a monstrous shadow looms threateningly over him. Looking up, Arikus blanches and stumbles back in horror before the terrible visage of a Great Red Wyrm. The fearsome dragon opens its razor-filled maw and spews forth a gout of white-hot flame, engulfing the hapless warrior.... The ultimate Dungeon Master Fantasy! This is the most deluxe dungeon. Designed to appeal to discriminating and demanding role-players. Adventurers, beware. This is more than just a dragon hunt. Within the lair of the beast lie cruel and deadly traps, befuddling conundrums and puzzles, and cunning minions that will be the end of overconfident or careless adventurers. Comprised of three 64-page books, for two adventures that link to one super-campaign 12 full-color reference cards 16 special player handouts Eight Monstrous Compendium sheets A Sheet of cardstock standups with 24 plastic bases. Six full-color poster maps, two of which link together to make a giant tactical playing surface for use with miniatures or the included cardstock figures. TSR 1089
Lured by a scroll where the long dead sorcerer Urgaan boasts about treasures hidden in his tower, the PCs arrive at the outpost near the Awaroth Woods. A 1 page adventure for OSR style games.
Under raging storm clouds, the vampire Count Strahd von Zarovich stands silhouetted against the ancient walls of Castle Ravenloft. Rumbling thunder pounds the castle spires. The wind’s howling increases as he turns his gaze down toward the village of Barovia. A lightning flash rips through the darkness, but Strahd is gone. Only the howling of the wind fills the midnight air. The master of Castle Ravenloft is having guests for dinner—and you are invited. Spans levels 1-10.

*THIS IS A D&D NEXT/5E PLAYTEST ADVENTURE* Imani, a Turmishan wizard and former adventurer, seeks the aid of heroes to infiltrate Dretchroyaster’s lair and recover the Diamond Staff of Chomylla—the key to powerful magic and wisdom locked away for thousands of years. In addition to his own sagely interest in the lore of lost Uvaeren, Imani recognizes the dangers of such powerful magic falling into evil hands. The dracolich has secured the staff in his lair’s cen- tral chamber, using ancient wards of protection that can be bypassed only by four artifact-idols once belong- ing to a cult of Bhaal. Each group of adventurers enters the dungeon through a different section of the dun- geon—a forgotten temple of Bhaal, a vast underground lake, a troglodyte village, or Dretchroyaster’s vaults. Dretchroyaster’s lair is no simple set of caverns and ancient ruins. It sits atop a source of great power and energy, which the dracolich and his Cult of the Dragon allies hope to use to unlock the secrets of the staff. Only by undertaking a unified assault against Dretchroyas- ter’s lair can the adventurers hope to recover the Diamond Staff and survive the dracolich’s fury. The adventurers must make their way through the lair and recover the Bhaalite idols that will help unlock the Diamond Staff, all the while dealing with the lair’s creatures and avoiding the dracolich as he pur- sues intruders. Entering the Chamber of the Diamond Staff, the heroes must overcome its magical wards and claim the staff before being slain by the dracolich and his servants.

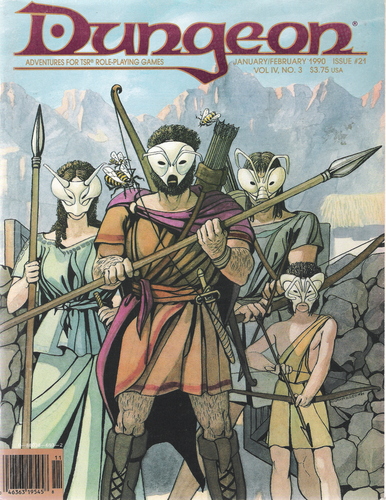
This AD&D scenario is designed to be a humorous departure from regular adventuring. The "heroes" are a fellowship of monsters on a quest to recover a magical item for an orc chieftain whom they have displeased. Having lost the map given to them, they must gain entry to a frontier outpost - probably by sneaking through sewers - and recover the map from a locked safe in the commanders quarters. Once they again have the map, the monsters must travel overland to an abandoned elven witches' temple on the shore of a mountain lake, where they will find the object of their quest. Pgs. 23-32

Part Two of the Umbral Aristocracy Trilogy. The treasure hunt has led to the City of the Dead. Beneath that well-manicured park is an ancient crypt where the treasure awaits you!