
Buried in the desert sands of Mulhorand, near the city of Mishtan, lies an ancient stone statue of a sphinx queen. After a fierce sandstorm reveals a huge tablet etched with hieroglyphs between the statue’s paws, the PCs must translate the strange writing to find the secret entrance into the Temple of the Sphinx Queen. The conclusion offers three optional endings for DMs to choose from to suit their players, including a wicked trap, a twist that leads to further adventures, or a tough climactic combat suitable for a one-shot. Included are: Five new Egyptian-themed monsters: The Sphinx Queen, Black Lion Guardian, Zombie Scarabs, Snake of Set and Desert Spirit. A new weapon, the khopesh Four new magic items: Statue of Set, Guardian Khopesh of Set, Warded Puzzle Box and Minor Concoction of Healing Two hieroglyphic puzzle player handouts and a DMs translator sheet

Beneath the blood moon, a dark monastery appears for one night atop a high plateau. Inside its walls, the mighty black lotus flower reaches its full bloom. Can the characters steal inside the monastery, defeat its sorcerous guardians, and claim the blossom before the sun rises? Monastery of the Shadow Sorcerers is a fiendish sword-and-sorcery adventure and includes: -An extra-planar monastery brooding beneath the blood moon -Sorcerer-monks who move like smoke and strike with fire and blade -Combat cards for each monster, PC, and special treasure -High-quality digital maps for use with virtual table tops
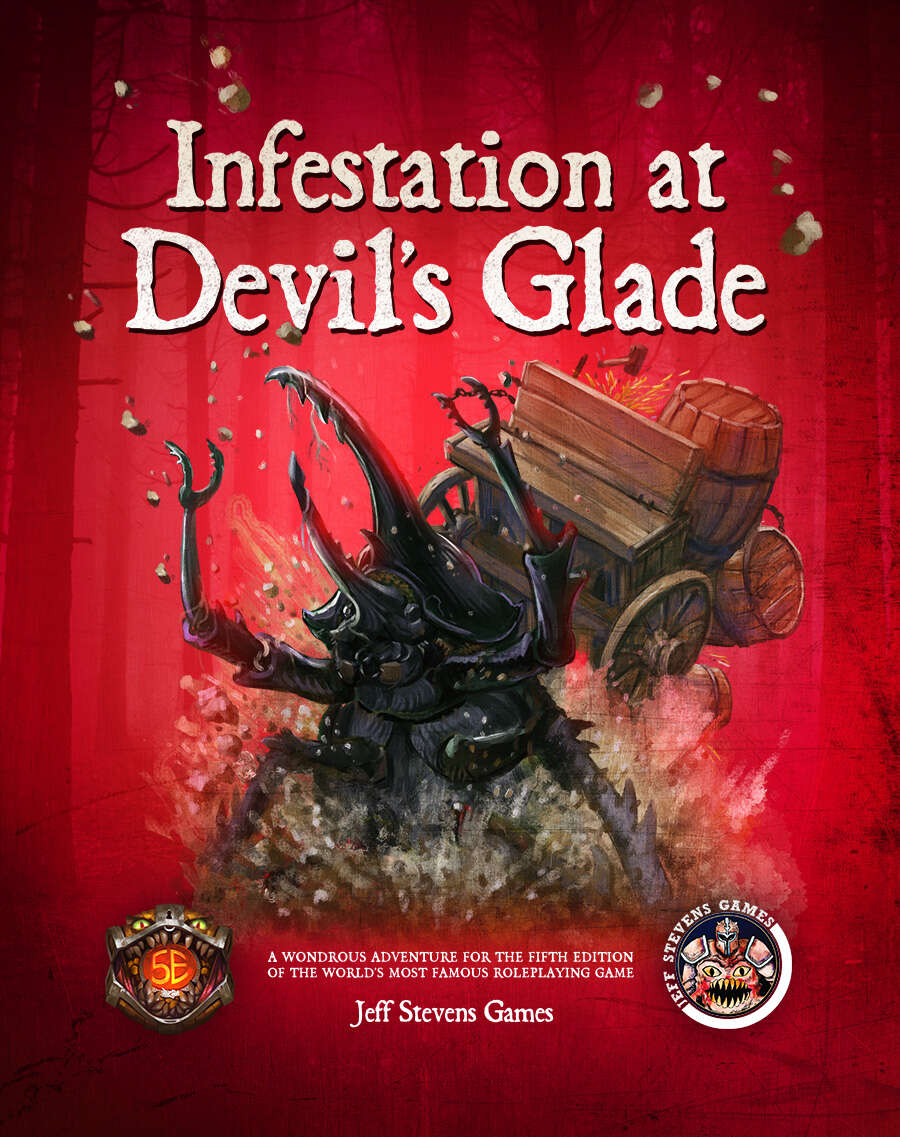
The town of Devil's Glade is under attack! Swarming insects have driven the residents out of their homes and businesses, and giant insects patrol the town square. Who or what has brought these creepy-crawlies to Devil's Glade? What's their motive? Are your heroes brave enough to put an end to the infestation? Infestation at Devil's Glade is a 2- to 4-hour adventure designed for four to five characters of 1st to 4th level, and is optimized for 2nd level characters. Scaling Suggestions are included, allowing you to play this adventure with characters of 5th to 6th level. Infestation at Devil's Glade isn't just a short adventure. We provide you with a location to which your heroes can return, or even use as a home base. The Supplement Includes: Adventure. The main adventure focuses on the heroes cleaning the town of the infesting insects and the villains who brought them. Beginning at The Fork (a tavern where many of the residents have made camp), the characters learn about the infestation of Devil's Glade, and are hired to look into the matter. NPCs. The adventure is filled with fun and engaging NPCs. During the characters' time at The Fork, they have the opportunity to talk with NPCs, help them, and learn more about the infestation. After the heroes return Devil's Glade to normal, the merchants and residents return, giving your characters unique shops to explore and quests to complete. Cursed Mask. The crux of the problem - a cursed mask that slowly transforms the attuned creature into a giant, insect monstrosity, and gives them power over insects. To end the infestation, the adventurers must confront the partially transformed person wearing the mask. Shops & Services. Devil's Glade contains shops and services the characters can explore, including therapeutic mud baths, a diner specializing in eggs, a trinket shop, a candle maker, and a dentist. Side Quests. We provide several side quests for before and after the main adventure, allowing you to increase the main adventure's run-time, and provide you with material for after the main adventure. Maps. The adventure contains maps for the main locations and major side quests. Each map is hand-drawn by Jean Lorber. Art. NO AI! The book is filled with fantastic, original artwork by Matt Morrow Art. Also Included: Map Files. Both grid and non-grid maps are included and available to download. Special VTT Tokens and Assets. Several custom tokens and art assets are included for VTT play.
Rennie and Linde are in search of their father, Petring, who they saw disappear into the crypts beneath town. The crypt is thick with supernatural shadow. Torches can be lit from a brazier of green faerie fire in the entrance that cuts through magical darkness. The torches burn rapidly, and the PCs must travel quickly to preserve their light until they reach the funeral pyre in the heart of the crypt. There they can learn the way to the Carrion Shrine of Qorgeth.

A gang of ogres is raiding a farming community, stealing crops and livestock, and advancing closer and closer to the town, and the townsfolk need your help!

Deenus was a necromancer that was put out of business a quarter century ago by a group of adventurers. Despite their success, the delvers were never able to discover the dungeon entrance. Your new benefactor may have information on that…

Nightmares that kill, a mysterious thief that only steals knick-knacks, tales of a huge beast terrorising fisherfolk, an inn with disappearing guests, discoveries of hidden magic portals and rumours of an assassin at large: None of these things are enough to stop the ever-flowing tide of traders and travellers crossing the Bridge of Fallen Men, but its protectors - Cormyr's Purple Dragons - are short on time, and courage... ...will adventurers answer the call?

It’s been a long, arduous trip, but you’re finally here—Baldur’s Gate. You’re not out of peril yet, however, even if you’re leaving the lawless wilds behind you, the streets of the Gate still run red with blood. But you quickly find that arriving at the city wasn’t the biggest challenge at all, now you must convince the city’s rulers to grant asylum to you and those in your charge. Part One of the Betrayal is in the Blood series of adventures. A Two-to-Four-Hour Adventure for 1st through 4th Level Characters (APL 3).

Everyone starts out their career with big dreams ready to take on the world. As you head out towards your fame you discover an abandoned manor house. With hope your in your heart you wonder if anything of value is left in the ruined building. Cautiously you enter...

A fiend lurks among the Black Blade goblins. A shapeshifting barghest fashioned by the General of Gehenna to exact revenge on all goblin-kind. It’s aim: to kill as many goblin leaders as possible… A masked goblin approaches the party asking for help. Two tribe leaders are dead. But a rival for chief has control of the crime scene. Will the party discover the barghest among the goblin ranks? Can they stop this imposter before it strikes again? Adventure Overview The adventure’s story is spread over 4 parts and takes approximately 4 hours to play. The adventure begins with a Call to Action scene. Part 1: Goblin Politics. Krill sends his emissaries to implore help from any strong intermediary. The party is asked to investigate the murder of Thrawn in Dringly’s lair. This is Story Objective A. Part 2: The Opposition. Gain entry into Dringly’s lair and investigate the murder of Thrawn. Gather enough evidence to find the killer. This is Story Objective B. Part 3: To The Lair! Now that the players have determined the barghest (Yeep) is to blame, they need to get to Krill’s lair quickly as he is in imminent danger. This is Story Objective C. Part 4: The Barghest.When the players arrive at the lair, they need to get to Krill and expose and defeat the barghest. This is Story Objective D. Adventure Background A barghest named Yeep has begun its onslaught of attacks against the Black Blade goblins. Starting with Chief Gnar, then his second in command Thrawn, the barghest is moving methodically down the line of command. Krill is now chief. But he has some problems: Two leaders of the Black Blades are dead. Who killed them and why? Is he next? Dringly, the next in command, has decided to take his lair for himself, declaring himself Chief of the Black Blades. Who are the Black Blades? The Black Blades are a tribe of goblins in the local area. They are known for dipping their blades in a dark black substance. It is rumored these blades are poisonous. The Black Blades regularly attack passersby on the road to rob them. The Black Blades have two lairs, one run by a chief who leads the whole tribe, and another overseen by a boss lieutenant. The Black Blades have a well-established pecking order which is how Krill stands to become chief. The next in line is Dringly, who has also declared himself chief and wants Krill dead. Krill suspects that there is something suspicious about two leaders being killed within a day of each other, but he has already burned Gnar’s body without any investigation. He needs to investigate the body of Thrawn, but it is in Dringly’s lair. Krill wishes to avoid direct confrontation with Dringly at the present for three reasons: 1) Any violence would only kill his own tribe members and further divide the lairs. 2) He believes there is still hope for negotiation to reunite the Black Blades. 3) He believes that if he were to attempt negotiations himself, Dringly would kill him. This adventure features: Two maps. Ready for your favorite Virtual Tabletop. A full color pdf. A black and white pdf. One custom monster, a reprint of barghest, all others available in the Monster Manual. Four hours of entertainment involving: roll playing a goblin bard, investigating a murder scene, tracking down a barghest before it strikes again. Applicable to any setting.

Who can the heroes trust in the verdant depths of the Feywild? While resting in the wilds on the night of a full moon, the party are accidentally drawn into the Feywild, and must find their way back. With a choice of routes to follow, the heroes may encounter either the naive but vengeful undine Dapple, or the urbane and callous fey lord Verian. Each holds the ability to send the party home, if they agree to retrieve something from the other. Venturing past carnivorous vines and a troll-guarded bridge, can the adventurers be persuasive or sneaky enough to avoid an outright battle? Full Moon, Fey Tales is a 3-4 hour adventure for characters of 5th to 7th level. It aims to give the players genuine choice on how to deal with their plight, and can be completed without a single combat, or by battling the whole way through - whatever your group prefers!

Welcome to How Not to Host a Murder, a short D&D experience that captures the details of Mike Krahulik (Penny Arcade)'s adventure run at the Acquisitions Incorporated live game at PAX East 2016. The wizard Elminster is hosting a murder mystery party, and you are invited. When you arrive at his demiplane home with the other guests, however, the night quickly turns sour as it is discovered that Elminster has truly been killed! It falls to the party to investigate the death and identify the culprit before they can escape the premises. When they've been identified, it's a race to apprehend the murderer before they can escape amidst the kooky chaos of Elminster's sanctum in this comedic adventure for sub-optimal 7th-level adventurers.

Will You Venture Into the Low Crater? When the party stumbles across a ragged, battle-scarred band of knights they are amazed to hear that the hardy veterans were soundly beaten by mere kobolds. The crafty little fiends have set up in the rubble of a fallen Earthmote thought to be home to a long-dead dragon and - more importantly - its horde. When the Sable Spears charged in to drive them out, however, they were confronted with ambushes, traps and a whole lot of pain. Dare you venture where the Sable Spears failed, and explore the Low Crater in search of treasure, glory and adventure? Or will you join the sheepish ranks of adventurers turned aside by the prospect of tangling with Kobolds? Take your party through an adventure that will teach them that CR isn't everything, and that even the weakest foe can prove dangerous when they're cornered (though having the power to animate long-dead dragon bones helps too, of course).

A storm of unparalleled fury has been ravaging the peaks of the Earthspur Mountains for a tenday, and the Monastery of the Yellow Rose sits in its eye for now. Some monks have fled the monastery to the safety of Mulmaster and beseech you to convince their more obstinate brothers to retreat to the city before the eye of the storm shifts, and the monestary is in terrible danger. Can you brave the elements and convince the monks to escape?

Intrepid explorer Reslin Kine garnered a modest reputation and fortune for himself throughout his years adventuring. When he learned he'd die of an incurable illness before his first child would be born, Reslin hired the best workers and wizards he could find to create a vault to protect his son's inheritance. Reslin kept a journal of his efforts, logging the information necessary for his heir to find the vault and claim its treasures. Whatever came of Reslin Kine, his family, or his treasure is now the stuff of stories. Through whatever circumstance, the party has managed to get their hands on a few tattered pages of Reslin’s journal. The cryptic entries noted there contain clues to finding his vault, and the treasure which awaits inside!

The characters, members of the Clifftop Adventurers’ Guild, have been tasked with acquiring the Chains of Mur’taal, an artifact tied to Thelanis, by their guild handler, Lhara. This artifact is the latest in a series that Provost Nigel Faurious has commissioned the Clifftop guild to retrieve for him. The adventure starts when the characters arrive in Rhukaan Draal via Orien caravan. They’re given a chance to explore a small portion of the city before they head to a local bar to meet their contact provided by Lhara. Accompanied by a local guide, they make their way to the Seawall Mountains, where they’ll have to follow clues and their intuition to find the Valley of the Hero, which conceals the artifact that they’ve been hired to obtain. In order to earn the artifact, characters must first pass three tests laid before them by the Story: The Test of Courage, the Challenge of Wisdom, and the Trial of Honor. Once they finish the tests and collect the artifact, the party heads back toward Rhukaan Draal. But there are Marguul forces in the area, and they don’t intend to let the heroes escape with a priceless piece of their folklore…

The Tranquil foothills of the Sword Mountains are quickly plunged into chaos, as a series of earthquakes spread their way through the region. Adding to this danger, bands of vicious, flesh-eating monstrosities have clawed out of the shattered earth, attacking travellers and local residents. Rumours of wealth and riches have drawn the adventurers to the area; little do they know that it is not gold and jewels these monsters protect, but a volatile portal into the Underdark with a disturbing secret.

Your investigations into weird occurrences in Waterdeep's Field Ward leads you to the source of a disease that suddenly breaks out. You are the only ones who know of the cure, but you won't be able to procure it if you remained quarantined like the rest of the ward. The clock is ticking for you and your allies.

Far1 – Underbelly of Phoenix is an adventure based in the city of Phoenix in Fartook. The offering takes a group of would-be adventurers and has them start their adventuring career in the sewers below the city. Dangerous monsters and wanted men all inhabit the urban tunnels. Is your group ready to start their road to legend?

Candlekeep is under siege, and it needs adventurers to help protect it! Heed the call to defend the legendary monastery and stand against the tide of evil. Confrontation at Candlekeep was used as a D&D Next playtest for D&D 5E. It was released to organized play Dungeon Masters in August 2013, and ran at Gen Con, PAX, and other major conventions. The adventure includes rules for running multiple tables, but can also be run for just one table. The attack on Candlekeep by forces of Asmodeus is tied to the events in Ed Greenwood's novel about the Sundering, "The Herald."