The Final Installment of the Tiddy Mun Trilogy Warning: This adventure is not for the most hardcore of grimdark enjoyers. Do NOT play this adventure if you do not like: Happiness, Joy, Fun, Dancing, Mischief, Maybe a little bit of mayhem, general naughtiness In the third and final installment of the Fennebog trilogy of adventures, the characters will have to brave the land of Fennebog once again. They must defeat violent darklings, negotiate with manipulative pixies and most importantly, meet the demands of a melodramatic archfey. The village of Berribury is in trouble. The characters must deliver an object called the Stranger Stone to the village so they archfey Tiddy Mun can perform a ritual to reverse the flood. A Two-Hour Adventure for Tier 1 Characters. Optimized for APL 3. CONTENT WARNING: Flooding, Manipulation, Deceit, Denial, Entrapment, Alcohol

When a Thayan research expedition returns from the Glacier of the White Wyrm with only two survivors that are reduced to whispering about an ancient pyramid under the ice, perhaps it is time to discover just what scares the life out of a nation of necromancers. The events of DDEP2 Mulmaster Undone resulted in terrible geographic upheaval all around the southeastern region of the Moonsea. Massive landslides, earthquakes, tidal waves, and gnashing tornados devastated the land and the city of Mulmaster was nearly scrubbed from the face of Faerun. Fortunately, these events also revealed previously hidden artifacts—trinkets, mostly—from the ancient Netherese all around the city. The Thayans have long held an interest in the port city and wasted no time in assisting in the rebuilding efforts. They simply asked that a blind eye be turned to their archaeological interests, and in return they would continue to spend their own resources (at no expense to the Mulmasterites or even the High Blade) to rebuild the city, bigger and better than before. It wasn’t long before their interests paid off with the discovery of a research laboratory beneath the Glacier of the White Worm, far to the east of Mulmaster and nestled in the mountains. The Thayans sent a sizable expeditionary force but only two acolytes returned. The visiting Zulkir has found this particularly troublesome, and with the assistance of Rastol Shan, the head of the Cloaks, has arranged for a mercenary force to perform a more pointed investigation of the area. In return the Thayan noble has promised significant compensation. Upon arrival at the dig site, the characters are quick to discover that the laboratory hides ancient and palpable evil. The purpose of the facility can be discerned with careful investigation, and the effect of the still-active fragment of the Dark Obelisk has empowered (some may say attracted) servants of the Worm that Walks. Danger and death await, certainly, though the characters always have the option of running away and living to fight another day…

The Triad Series continues with Lion’s Breath Prison. After success against the Order of the Goat troops your next challenge awaits. The spiritual arm of The Triad is known as the Lion’s Breath. With some unfinished business in the form of Marquis Forten, the PCs continue to seek out their quarry. Can they locate the elusive traitor and bring him to justice? This adventure continues to send the party across the fields of Neville!

Your party has finally made it to Queen’s Point only to discover that the military was already aware of the approaching humanoid army and dealt with them. After a rest and training period in the large city you now have to decide what to do next. The large seaport has plenty of options but a curious problem has been brought to your attention. A large giant north and west of the city is harassing the shipping lanes with random boulder tossing. Word has it that a nice reward is available to anyone able to solve this problem. Did I mention a Medusa also has a proposition for the party?

With land trade threatened, the city of Melvaunt is relying on sea trade to get goods into and out of the city. An island rises out of the Moonsea just outside of Melvaunt Harbor, and initial exploration indicates the island is a threat. The origins and nature of the island must be ascertained before trade is shut down completely. The characters explore a mysterious island and help 'living souls' disrupt a ritual being performed by cultists of Cyric. Part Three of the Misaligned Trilogy

Infiltration of a ruined archive; the players--beseeched by a mysterious psionic calling--work to uncover the machinations of the Nalar and hopefully free their captive held far below...

This adventure is light and comedic and is indeed a heist adventure! It is designed as a one-off side quest for an established party but can be tweaked to work as an introductory adventure for characters meeting one another for the first time. This is ideal for a well-rounded party in which each player can show off and play a vital role in the mission’s success as they rob an evil potion master blind! Players can obtain potions of Heroism, Invisibility, Flying and Mind Reading. This adventure is perfect for DMs looking to fill a shorter session or injecting some light humor after an intense end-of-the-world campaign.

While traveling through a jungle expanse, the party meet a trader named Smera with a strange tale. Turned away from a nearby outpost, the trader is now heading back to civilization. Curiosity leads the party to the outpost, which has been destroyed. A strange disease has taken the outpost’s inhabitants, who built the place in support of a scholarly excavation of a nearby temple ruin. Following the path carved through the jungle by the excavation team, the PCs find the temple and its secrets. In this moss-covered and dark adventure, the party explores an old temple, faces its verdant guardians, and finds the source of the strange disease.

Everyone in Moonfern Ford knows to avoid the Tainted Grove, a place of darkness and evil amidst the sylvan beauty of Cormanthor. When a young hunter goes missing in the forest, things in the village take a dark turn. Part 3 of the Elvenflow Saga.
Launching the Unlock the Vault-series, this first installment sees the party search the royal crypt in the ruins of Wellsing for the fabled Shield of Ralfour - An artifact that, initially unknown to the party, also acts as one of the eight keys to break the seal on Aizendore's Vault of Tragic Treasure.

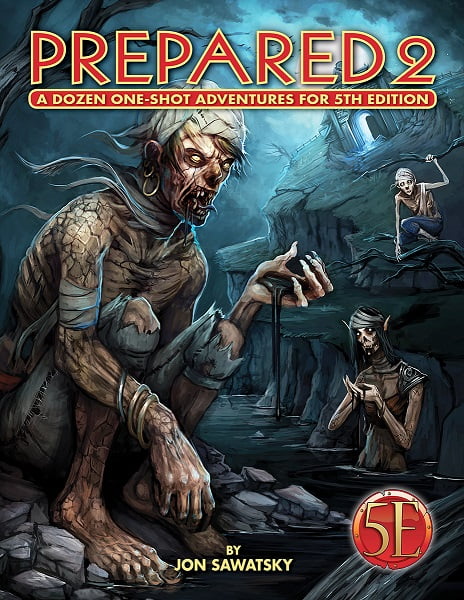
Step into the nightmarish bog where there are only two options: fight for your freedom... or be doomed to wander endlessly in through these dreadful wastes until your death. Do you have what it takes to defeat the vengeful hag and break free from this prison?

This side trek encounter challenges the heroes to recover a precious item from the lair of an evil hag. Estimated play time - 2 hours. This product contains a pair of encounters designed to challenge 4th level PCs. It also includes an extensive backstory, new monsters and new magic items to add to your campaign. The encounters are easily adapted to almost any campaign setting. The text includes optional changes that DMs may consider when running the adventure for their own campaigns. This side trek encounter is the final chapter of a three-part "Fey's Bargain" encounter series.

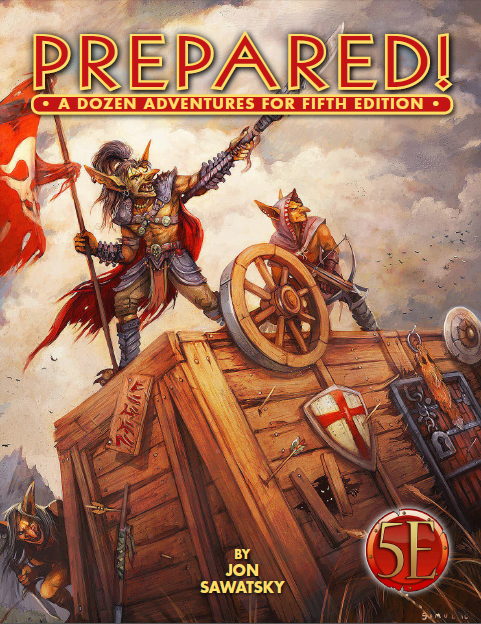
“...when the floor trembled and the whole town shook, the people knew Mario had been found a couple of minutes later the dust settled again on the buildings and streets. Silence. The people’s wait to see who came out of the sewers, who would emerge victoriously was agonizing. The fate of the town swung on the outcome of the battle…” Extracts from The Witch Doomsday in Master Bard Blue Barry’s Tales of Silver. This adventure is designed for four to six 2nd- to 3rd level characters and is optimized for five characters. Designed to be a one-shot to play between four and six hours. A band of deep goblins settled in the sewers of Red Witch Cove and took the towns as hostages. They take what they want when they want it without regard for the people around them and their acts are bringing the doom of the town that the merchants were holding back. The package contains: -Color version. -Black and White version. -Maps and battle maps.

This adventure is designed for the D&D Adventures League Season 5 - Storm King’s Thunder campaign, and is meant to enhance your party’s connection to important events and NPCs. It is intended for use during Chapter 3 and 4, where your party is roaming the Savage Frontier, and has material enough for 1-2 full sessions. It brings your party in contact with the mysterious Kraken Society, and introduce them to the Golden Goose coin, which will make your players more invested in the events of Chapter 11: Caught in the Tentacles.

A streaking comet heralds a wild storm. An ancient temple roars to life with strange and otherworldly chants. Doom is coming to Starspell Mountain. Navigate traps, meet a mad elf, and stop otherworldly threats as you explore the temple on Starspell Mountain. Doom on Starspell Mountain is a one-shot adventure for 3rd-4th level characters made for the world's greatest roleplaying game. The adventure features traps, simple puzzles, and secret passages.

Bountiful harvest abound! Come to the wonderful town of Kukurbi and enjoy the festivities, as Highharvestide is upon us! But all seems too gourd to be true! We guarantee you there’s nothing odd or sinister in this mischievous mini adventure! You butternut wait and hubbard right in! This Dungeons & Dragons mini adventure for 1st level characters comes with: • nine pages of content written by Alex Clippinger & Florian Emmerich • stunning art by Raluca Marinescu • a wonderful map of the town Kukurbi drawn by Erin Harvey, with a DM and Player version • two new monsters to squash (your party)

An original Valentine's Day-themed one-shot adventure designed for level 4-5 characters. SUMMARY The city of St. Valentine is home to Dante's Casa di Dolci, a world-renowned bakery — and tucked within the bakery is the entrance to a secret labyrinth, created by a mischievous, merciless god. Every February, an unsuspecting resident from St. Valentine is pulled into the maze. Some return after years spent in the labyrinth, but most do not. When Dante's beloved wife, Simonetta, is pulled into the labyrinth, he must enlist the help of adventurers to get her back. The journey that follows is one of strange doors, riddles, and dangerous creatures that lurk among the hedges... DETAILS 2-4 hour session for 3-6 players Play-tested material Original NPCs and locations Diagrams and NPC stats 19-page campaign guide Enjoy the adventure? Share your experiences with me! Hashtag: #LabyrinthOfThorns

Ships have disappeared amongst the Norheim Islands, almost all of them carrying refugees from Norland. An expedition, sent to find the cause, has similarly vanished without a trace. Most blame lack of experience with the treacherous local waters, but a few whisper of a more sinister cause, something that lures the desperate to their doom. Initiates of the Flame are looking for powerful adventurers to help since the authorities have more pressing trouble.

The Triad Series comes to a head with the party be called upon to again save the land. While successes against both the Goat and Lion branches of the triad have been successful, the toughest group, the Dragons, has formed the army and is moving against the forces of good. Can your party meet the force that General Barsoon has assembled?

We saw it—don’t turn your heads. Up near Hilltop Crossroad and the temple. It walked south; the trees fell in its path. Even the moon hid. Gods help Father Dren . . .