
Introductory adventure for Dark Sun, included in the original box set. PCs start on a slave caravan but are freed when it is attacked. With limited equipment and water, they must cross the desert to an oasis then save a druid. As with many Dark Sun adventures, uses a flip book providing 24 maps and illustrations for players. Combines combat encounters with survival encounters, where the treasure may just be food or enough water for another day.
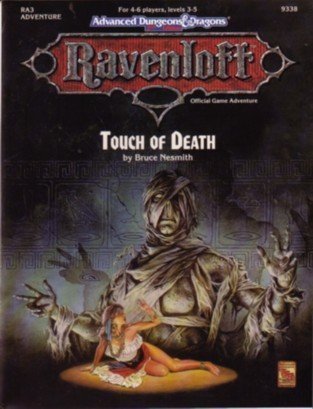
You find yourself in the burning wastelands of Har'Akir - where nothing is as it seems. The desert is a powerful foe, but in Har'Akir an ancient evil is awakening and the desert will be the least of your worries. As withered hands cast off ancient shrouds, little can save you from their touch of death. TSR 9338
Two thieves' guilds fight to the death - with you in the middle. Run silently; the Midnight Stalkers are after you. Escape from the Tower of Midnight is an AD&D* game module for 2-6 thieves of 2nd-4th level. The Dungeon Master may change the names of the thieves’ guilds, countries, deities, and so forth to fit the individual campaign. Note that all player characters are assumed to have been imprisoned at the start of the adventure; little or no equipment will be available at first. This module is well suited for tournament use. Adventure Background It must be assumed, for the sake of the adventure to follow, that the PCs have no way of avoiding capture by the Midnight Stalkers. However, the DM may find a way to play out this adventure and have some or all of the PCs captured, allowing any who escape to attempt to rescue their comrades. Pgs. 16-27

A chilling 32-page adventure in which PCs must face one of mankind's oldest enemies while exploring the gloomy waterfront of San Francisco. TSR 1103

A Place and Time for Death is a companion adventure made to go along with the events unfolding in Folio Digital Quarterly #1, (GK1 The Adventure Begins). Far out in the uncharted territories, the Enlightened still cling to life, but the ever encroaching presence of the xenophobic Samaya threatens the last of their hidden enclaves. Now, a bounty hunter has been dispatched to deal with the supposed Enlightened sympathizers in the border town of Hogan's Hooch, but there is more to the story than meets the eye. Unbeknownst to the citizens of the town and old relic of the Final War is the price the bounty hunter seeks. Can the party find a way to thwart the bounty hunter and deal with the relic before it falls into the hands of Samaya willing to use it to sway the balance of power in the world? This adventure is formatted to both 1E & 5E gaming rules.
A good deed never goes unpunished in Ravenloft. Evil feeds upon itself - but it also feeds upon the good. Pgs. 54-74
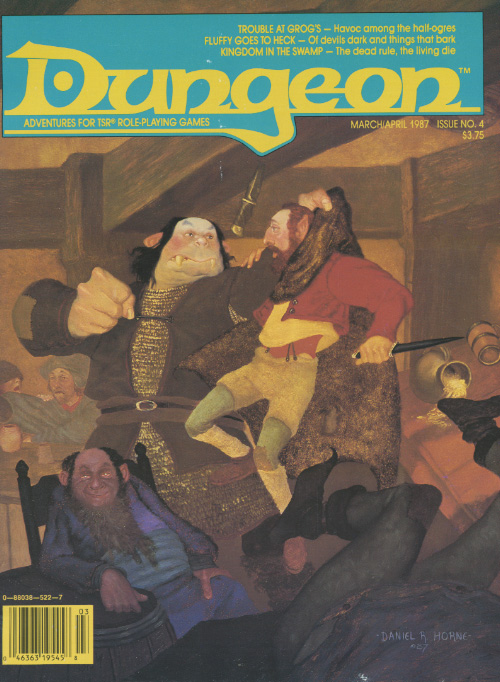
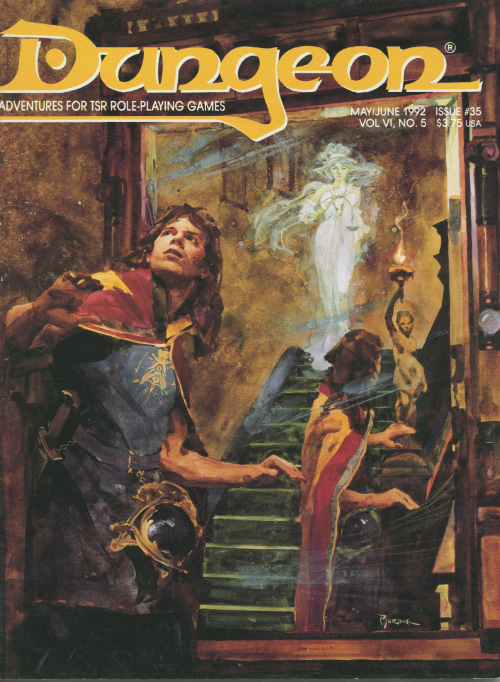
Can you stop the haunting before tea? The ghosts of two warring wizards are trapped in the basement of the house. It is up to the party to end this old feud. Pgs. 68-70

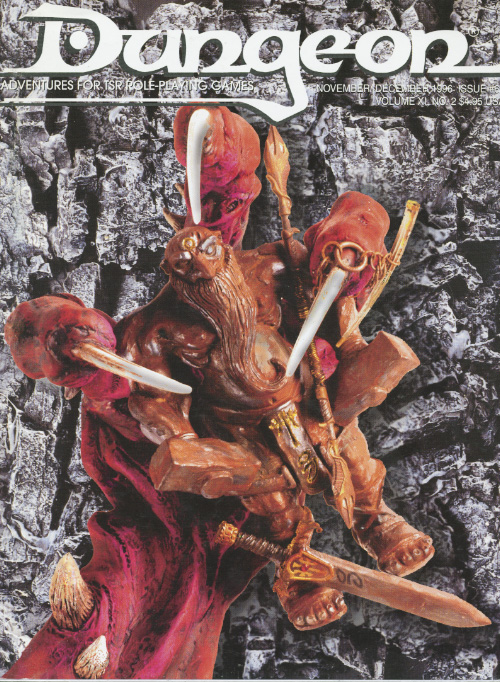
Conquest, not beauty, is in the eyes of this beholder. A promise of adventure and riches, with a hint of total annihilation. The party should also have several powerful magical items, since the challenge that it faces is great. The geographical background and the local population are left vague so that the adventure can fit any campaign setting. Pgs. 39-44

Tired and sore, you struggle over the burning sands toward the long-forgotten city. Will you reach the place in time to save yourselves from the evil efreeti? The sun beats down, making your wounds stiff and worsening the constant thirst that plagues anyone who travels these waterless wastes. But there is hope - are those the ruins over there? In the midst of broken columns and bits of rubble stands a huge statue. This is the place! You've found it at last. Gratefully, you sink onto the sand. But there is no time to lose. You must hurry. So with a quavering voice you say the magic words. And then you wait... A hush falls over the ruins, making the back of your neck prickle. Then, out of the east, a wind rises, gentle at first but quickly growing stronger and wilder, until it tears at your clothes and nearly lifts you off your feet. The once clear sky is choked with white and grey clouds that clash and boil. As the clouds blacken day turns to night. Lightning flashes followed by a menacing growl of thunder. You are beginning to wonder if you should seek shelter, when all of a sudden there is a blinding crash and a bolt of lightning reduces the statue to dust. For a moment, silence. The, out of the statue's remains, soars a blue flame. Its roar deafens you as higher and higher it climbs, until it seems about to reach the clouds. Just when you think it can grow no larger, its shape begins to change. The edges billow and soften, their roar lessens, and before your eyes materializes a gigantic blue man. This adventure can be played alone or as the second part of the Desert of Desolation series. For characters level 6-8. TSR 9053

The dreadful jails below the appalling City of Skulls, Iuz's nightmare capital, contain many wretched and desperate captives. Among them is Earl Holmer, Knight Commander of the Shield Lands. A brave spy in Dorakaa has shown the ay to find and free Holmer—is your party up to the job of freeing him? King Belvor IV of Furyondy believes so. In the way stand fearsome priests and mages of the Lord of Pain; ogres, giants, fiends, and worse hinder the struggle to defeat the traps and guardians of Iuz. Plucking Holmer from his grasp will bring great renown, knighthood, and treasure—for those who survive. None has ever escaped Iuz's jails. Who will you be the first to use stealth or storm to breach them? TSR 9405

Lost Among the Crystals is a companion adventure made to go along with the vents unfolding in Folio #15 (WS2 The Forgotten Plateau). It contains the information needed to run a side adventure that will help the characters in their exploration of the Sacred Plateau. The mighty crystal fields of the Sacred Plateau have become a confusing maze amid the now rising vapors of necrotic energy that masks the midlands. Even the keen senses of 'Numphy', the party Triceratops beast of burden, have become dulled. Can the players navigate the crystal maze and find their true goal on the far side? This adventure is formatted to both 1E & 5E gaming rules.
Trouble always comes in threes. For years the mansion has hidden its secrets and its sorrows, but now it has returned to dreadful life. The Ghost of Mistmoor is an investigative adventure where the PCs are tasked with finding the entrance to a secret vault in a haunted mansion. There are ghosts to be had, but unbeknownst to the characters also a cunning thief and her sidekick took residence here. It does not contain many combat encounters but has a rich list of spooky events, some from the ghosts, some staged by the thief. Pgs. 52-70
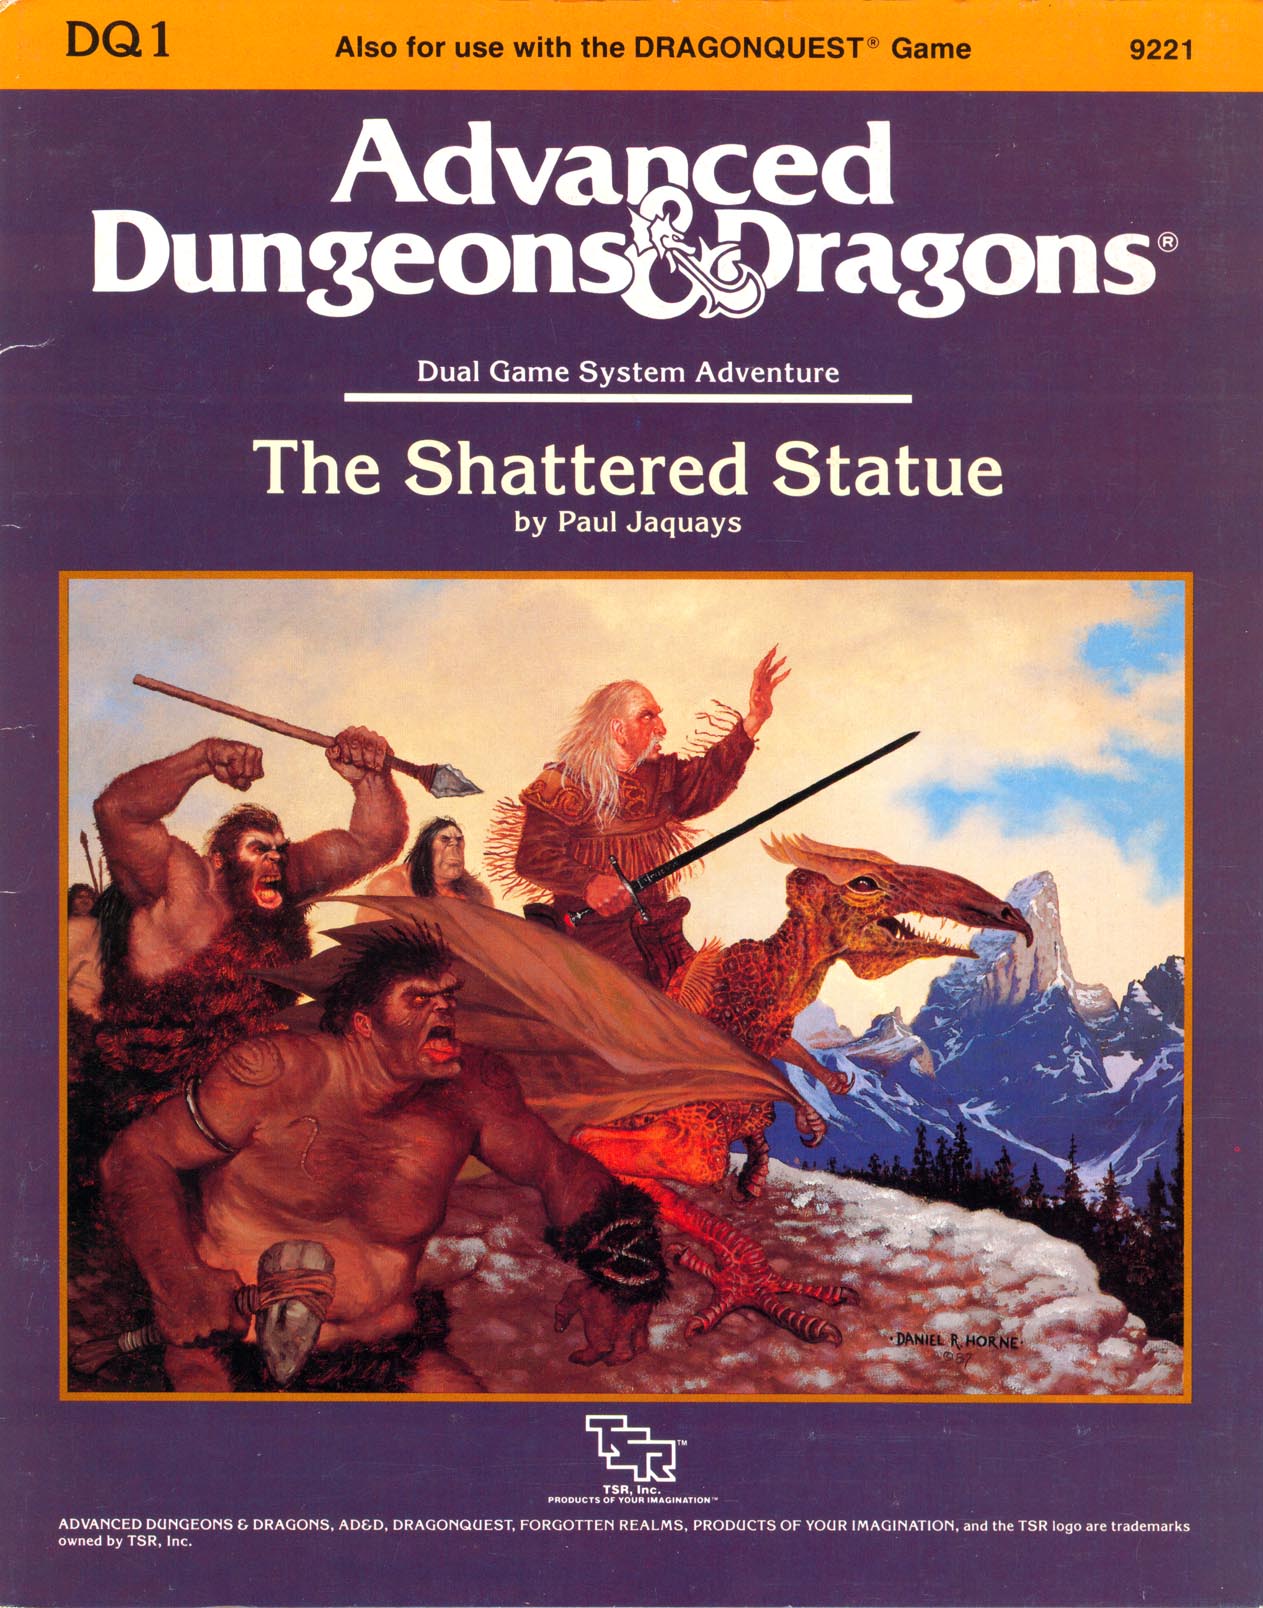
"A mutual friend has praised your skills highly. If you seek rich reward and the opportunity to delve into mysteries ancient and lost, bring this bottle forthwith to my demesne in the village of Volkumburgh. Together we may seek to bring mankind the lost wonder of the awtawmatawn." A mysterious note, a disappearing 5-foot-long religious relic, and the ruins of two magical schools. What do these things have in common? How deeply are your party members involved in all this? "The Shattered Statue" is the first dual-game-system module of its kind. Players of both the AD&D game system and DRAGONQUEST game system can use this adventure. It is suitable for use with FORGOTTEN REALMS campaign setting. TSR 9221

This adventure takes the heroes to the Nightmare Lands in search of an item that can destroy night terror, Mandalain. This item, called the rose of midnight, is the night terror's one true weakness and the means for ending the curse hanging over the Clinic for the Mentally Distressed. Adventure IV: The Rose of Midnight From Book Three: Nightmare Lands: https://www.adventurelookup.com/adventures/the-nightmare-lands TSR 1124
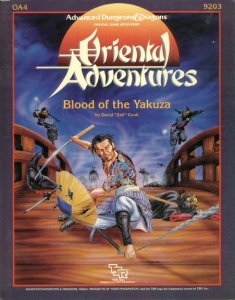
In the port city of Nakamaru, the masks of deceit and treachery embroil the entire city. Plots and counterplots, loyalties, revenge...all can be found in this city of Wa. You have been thrust amidst this cauldron of intrigue. You must pick your loyalties with care. Will you side with one of the yakuza gangs in their secret battle for control of the streets? Will you throw your fate into the political whirlwind that surrounds the powerful families of Nakamaru? Will you sohei battle his rivals for the hearts of the people? Blood of the Yakuza is an adventure for use in your Oriental Adventures campaign. It includes a colorful map of Nakamaru and descriptions of the major NPCs, districts, and factions of the city. All of these make Nakamaru an exciting and dangerous place for adventure! TSR 9203
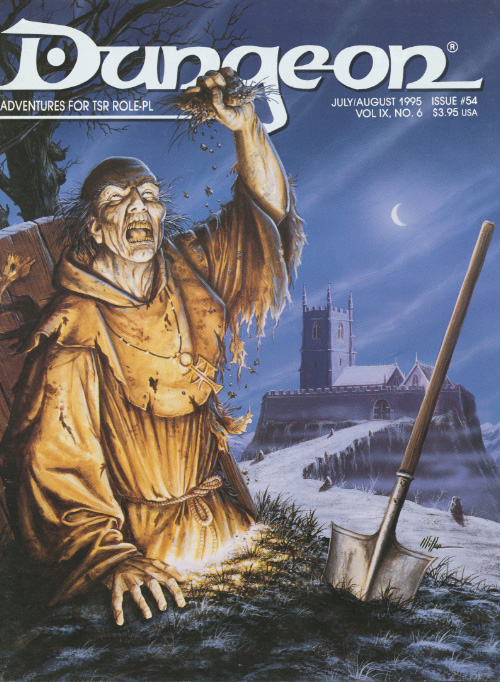
A monster amonkst us... The monastery of Montelegro was once a major center of academia, but it fell out of favor when its library burned to the ground some 20 years ago. (The fire is rumored to have been started by the candle of a monk who fell asleep while reading.) Without books to attract scholars and patrons, the order of monks that run the monastery has dwindled. Now the monastery is a mere shell, its once-thriving halls empty. Only 21 monks remain. The order that runs Montelegro supports a number of scribes dedicated to copying and illuminating books of all kinds. The most talented of these illuminators was Brother Abel of Corbone, a young monk fresh out of the university. A few days prior to the adventure, Brother Abel witnessed a miraculous sight. While walking about on the outskirts of the monastery, he beheld a vision of his god. The vision instructed him to build a well upon the spot where he stood. If Abel did this, the god promised prosperity would return to Montelegro. Unfortunately Brother Abel was unable to fulfill his god's vision and appears to have taken his own life.... Or was there Murder in the Monastery? Pgs. 8-17 & 55

The End of the World Is at Hand! A hideous death cult has seized control of an ancient artifact-monument known as Tovag Baragu. The power behind the cult is the Old One himself, Iuz the Evil, demonic master of an empire. He's on an all-or-nothing quest for supremacy over the world—and the heavens beyond. To stop him, heroes must face horrors never dreamed of, journeying to a shadowed city where Death rules and the living cower. Here, Iuz will achieve his mad dream by destroying the imprisoned master of that alien citadel: Vecna, the mightiest lich, an immortal demigod. Two items exist with the power to stop Iuz—the Eye and the Hand of Vecna—but using them carries fantastic risks. Not even the gods know what will be unleashed when these items are fully activated. Die Vecna Die! takes the heroes from the Greyhawk campaign to the demiplane of Ravenloft and then to the Planescape city of Sigil. However, none of the material from those settings is required for play. TSR 11662

"...the Ultimate Campaign Adventure..." A sinister force, long thought destroyed, stirs from the black hole that spawned it. Like an ebony darkness it prowls the land and safety is but an illusion, for it watches from every shadow and ponders possibilities. What began years ago with the introduction of the players to the quiet village of Hommlet and the amazing lands of Greyhawk, at last is complete. Here is the long awaited campaign adventure featuring the ruins of the Temple of Elemental Evil! Evil broods and grows beneath those blasted stones. This is your chance to drive it back and scatter its forces again. This product includes the village of Hommlet, the filthy shire of Nulb, and reveals the ruins of the Temple of Elemental Evil and the labyrinths that lie beneath, a warren of darkness. And beyond these ruins, even more is revealed. For the first time this product provides a complete campaign adventure which will take beginning characters from 1st all the way to 8th level and possibly beyond! Hours of adventure await you! TSR 9147

A light in the Belfry is the first RAVENLOFT adventure to feature an Interactive Audio CD. As player explore Morgorth's dreadfilled manor, they will actually hear the lamentations of tortured spirits, the clash of swords and thunderous roar of magic. With almost 100 tracks of dialogue, sound effects and mood music, TSR's Interactive Audio CD Adventures add a new dimension to the horror of Ravenloft. TSR 9494

An expansion on the original Tomb of Horrors with plot and explanation. Contains a facsimile of the original adventure. The Dark Intrusion is causing the dead to rise from their graves. This is linked to a being known as the Devourer. Following the trail of Desatysso, a wizard who followed a similar quest, the players must enter the Tomb, and beyond that, the cursed City that Waits and the Fortress of Conclusion.