
Civil War Unrest. Turmoil. Rebellion. As above, so below - the cataclysmic events of the Wrath of the Immortals echo throughout the Hollow World setting. The Milenian Empire, with its classical Greek culture, has not escaped. Already the streets are un-safe, and the omens are getting worse... The emperor is dead... long live the emperor! But is the new emperor a man of the people, or a tool in the hands of malevolent powers? Walk carefully, for no stranger is safe upon the streets these days, and adventurers least of all! The mood of the capital city is turning ugly. Minions of the new emperor look on uncaring, while citizens disappear and philosophers fall to heedless mobs. The old emperor's elite guards are disbanded and scattered. Disorder reigns, and restless citizens threaten open revolt. And yet... a whisper is heard. Civil war can be averted. An ancient artifact, the Milenian Scepter, can rally those who would serve the Empire best. But the Scepter has been lost for generations, and who can say where it might be? The trail leads into the depths of the city, and across a dangerous wilderness to a forgotten oracle. For the lucky and the bold, perhaps it will lead to... THE MILENIAN SCEPTER This stand-alone adventure is compatible with the Wrath of the Immortals boxed set and the accessory HWR3, The Milenian Empire. You will need the D&D Hollow World boxed set to play this adventure. Easily adaptable to the AD&D game. TSR 9378

Agents for the Mayor of Kleine have discovered the stronghold of the Red Hand goblins deep within the Burning Hills. They have also discovered that the goblins are forming an alliance with local hobgoblin and bugbear tribes to sweep the humans out of Thunder Rift forever. The PCs must reach the lair before the hobgoblin and bugbear agents return to their own tribes. if the envoys do not return, the tribes will assume that the goblins murdered them and attack the goblins instead of the human settlements. In this way, the humans of Thunder Rift gain some unexpected allies against the Red Hand goblins. This is the most dangerous and demanding of the three adventures in this set. It is recommended that you play it after Red Hand Trail and Trouble Below. However, it can stand alone as an adventure in its own right if you wish. Part of TSR 1076 The Goblin's Lair
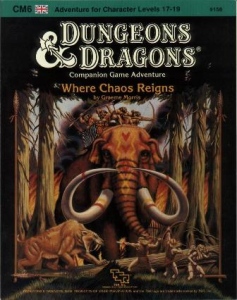
You have been chosen. Throughout the land, the omens of some cataclysmic change are clear for all to see. The flowers are blooming out of season, fish fall like rain, and a blue moon hangs in the night sky. Yet the danger is not of this land, nor even this world. Far away in the infinite planes lies Aelos, a world of peril. A world where time itself has been corrupted and where chaos reigns. Even the mighty Immortals who watch over the planes are powerless to help Aelos. Hope rests in you alone. Come then, journey through the swirling Nexus, to a world beyond the stars. You have been chosen, and Eternity beckons! TSR 9158
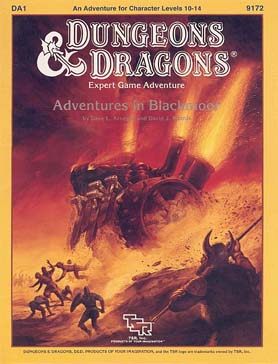
On every side the storm clouds gather. To south and east, the Great Empire of Thonia plots to end Blackmoor's independence and reclaim its lost province. To the west, the implacable Afridhi are on the move. To the north, the evil Egg of Coot prepares to cross the thundering sea and once again bring fire and sword into the heart of the small kingdom. Beyond the realm of the Egg, the hated Skandaharian Raiders are building longships and preparing to fall upon Blackmoor's unprotected coast while its tiny army turns to meet these other threats. Into this time of black despair, there steps a band of adventurers who clutch strange swords and wear the most curious armor?and who claim that Blackmoor sank beneath the ice 3,000 years ago! TSR 9172

The heroes arrive at the eponymous Keep on the Borderlands, a fortress on the edge of civilization built to stave off the chaos and evil of the wilderness. Using it as a home base, a party can make forays into the surrounding wilderness, encountering monster and marauder alike. The centerpiece of the adventure is certainly the CAVES OF CHAOS, a network of tunnels and caverns found in the walls of a nearby but isolated ravine. It is here that hordes of evil humanoids have made their home. Through combat and negotiation, the players can try to explore and map out these caves, perhaps with the aim of accumulating valuable treasure or even cleansing the land of evil creatures. However, even the Caves are not all they seem. Beyond the goblins and kobolds lurk dark horrors: cults dedicated to fiendish chaos and a Minotaur's enchanted labyrinth await the unprepared adventurer. But for the hero who is brave, clever, and fortunate in equal and sufficient measure, great treasures and glory await in the Caves of Chaos that lie beyond the Keep on the Borderlands! TSR 9034
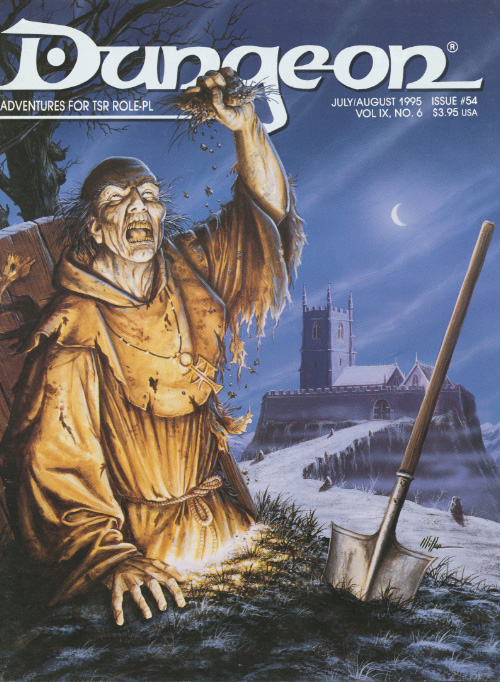
The invisible enemy. Rats, cats, and double-drats. Six months ago, the residents of Luskwald heard rumors from passing merchants of a possible goblin incursion into the region. News from the nearest city confirmed speculations that goblin tribes were massing in the distant hills. Worried about the future of his small community, the Laird of Luskwald commissioned a stonemason and several carpenters to rebuild a damaged keep two miles north of the village. The repair crew worked for weeks restoring the keep's fallen walls, while waiting nervously for the first goblin to show its ugly head. For the first several days the restoration proceeded according to schedule, but in the weeks that followed several 'accidents' led many to believe the keep was cursed or haunted. In the past week three of Luskwald's villagers have died, each the victim of a grisly assassin whose identity remains a mystery. Several citizens have heard or seen peculiar things over the last several days, leading them to believe that Luskwald has been cursed, or worse, ravaged by angry spirits--perhaps sent by a greater evil that dwells within the ruined keep! Pgs. 34-52

Immortals lie chained atop a mountain in the Broken Lands. Their bonds relentlessly drain their power while demons cavort with glee around the wispy barrier, as strong as any prison. Have you the courage to embark on a dangerous mission for the materials necessary to craft an artifact? If you survive that task, you must then assume the Identities of legendary heroes of Darokin and face deadly Immortal foes without revealing your Immortality! The demons of Entropy stand between you and your final Goal. Have you the power to rescue the imprisoned Immortals and preserve the Prime Plane? The future of the Prime Plane is in your Hands! TSR 9189

The lizard men are just pining for the fjords. A plague of locusts is bad enough, but when the locusts are each a yard long, the farmers need professional help! A swarm of giant locusts has been eating all the grapes and leaves from the vineyards of Vineyard Vale! In addition, lizard folk have attacked and destroyed several steads in the vale. The farmers are desperate, but what they don't know is that these events are linked! A mage known as Rhungold the Trickster has been orchestrating the attacks and locusts to try to scare the farmers off the land so he can claim it as his own. The players slowly piece the story together by investigating a fairly linear story through a cave, a marsh, and finally to a compound owned by the wizard Rhungold. Pgs. 6-16
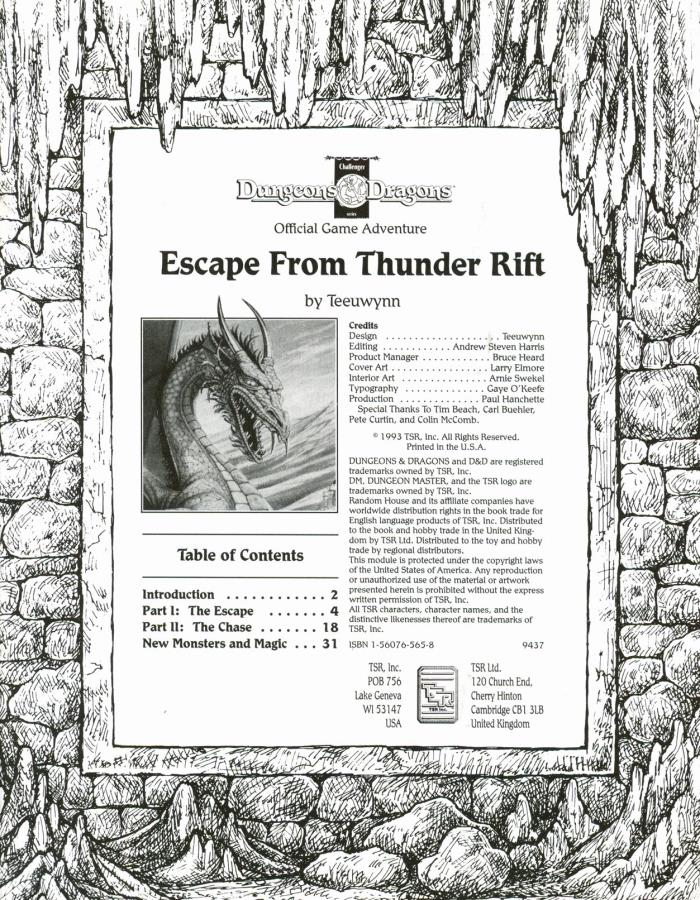
An emissary from the dwarven community of Hearth-Home approaches the player characters, beseeching them to aid the dwarves in finding a powerful mage who might bring disaster upon not only their mountain fortress, but all of the Thunder Rift! Escape from Thunder Rift adventure leads the heroes into a dark dungeon where they may discover a gate between the valley of Thunder Rift and the World of Mystara. Packaged with a DM screen. TSR 9437

A One-on-One Competition Module for Thieves Level 8 Your peaceful evening has been interrupted by an unusual request. As a thief, your skills are unmatched, but can you rise to the challenge of thieving for a powerful and frightening wizard? Do you have a choice? The Gem and the Staff is a special One-on-One competition module designed for one player and on Dungeon Master. The Module contains two separate scenarios, so you can switch roles with the other player after the first adventure. Scoring sheets and encounter summaries are provided for each adventure to make running competitions quick and simple. Character figures and a map book are also provided to help visualize the adventures. The player's maps are designed so you can see the rooms as they would appear. Complete DM's Maps are included. TSR 9050
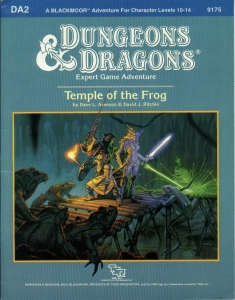
Green Death... That's what old hands call the Great Dismal Swamp. For centuries, this tangled maze of sluggish watercourses, stagnant ponds, and festering marshes has defended Blackmoor's southwestern frontier. Large armies and smaller parties have disappeared altogether inside its vast, dripping, claustrophobic corridors. Among those who have dropped from sigh in this arboral hell is young Rissa Aleford, one of Blackmoor's most important leaders. Carried off to the sinister City of the Fron, she is now being held by the eccentric Monks of the Swamp. By making the baroness captive, the deranged monks have serioulsy weakened Blackmoor at a time when enemies already threaten it from all sides. Yet, even as the Froggies gloat, the king of Blackmoor dispatches a small band of bold adventures to the rescue. Deep into the Great Dismal Swamp they must go - far from sunlight and sanity - there to seek and save the swamp, there to find the Temple of the Frog. TSR 9175

Adventure in a wizard's highly magical tomb. While still in college, Jennell Jaquays, writing as Paul, started The Dungeoneer fanzine. For the first issue, Jaquays wrote F’Chelrak’s Tomb. The pioneering adventure and its successors proved memorable. Looking back at The Dungeoneer, Jaquays said, “It’s the adventures that stand out, and not simply because no one else was doing mini-adventures in 1976. When I read comments about the magazine or talk to fans (old and new), no one talks about the monsters, or the art, or the magic items and rules variants. It’s always the adventures.”

New Magic? That's what the flying egg has. New magic unlike any ever encountered in Blackmoor. New magic of a type that could give the fledgling kingdom an important edge in the wars that are brewing on its borders. There are only a few minor problems. Like the fact that the magician who piloted the metal egg to one of Blackmoor's sworn enemies, the monks of evil and eccentric Order of the Frog, are also interested in the magic represented by the egg. And, most important, the fact that the egg came from the distant and dangerous City of the Gods. Set amist the blistered salt flats of the Valley or the Ancients, the City of the Gods is a strange and deadly metal metropolis whose powerful guardians do not welcome intruders. Yet it is to this place of deadly menace that Blackmoor's leaders now send a daring expedition? to bargain for aid in the coming wars? or to steal the magic of the gods. TSR 9191

Kidnapped! The cursed Baron von Hendriks has kidnapped your betrothed. Now the madman wants as a ransom your Alandah's weight in unrefined gold! How are you going to pay? The baron himself has been kind enough to provide you with that answer: streams of raw gold gush from a burning mountain somewhere in the Sea of Dread. All you have to do is find this mysterious mountain. Unfurl the sails! The open sea awaits you and your crew as you sail from the city harbor. But beware! The Sea of Dread has more than earned its title over the centuries. Can you survive the perils of the sea? Will your crew mutiny before you reach the Burning Mountain? Or will you have to throw crew-members overboard just to make room for the gold? Solo adventure. "Lathan's Gold" is a real innovation in solo adventure design, considerably more complex than any of the gamebooks then being produced. Though the adventures uses the typical trope of numbered paragraphs, its paragraphs are divided into six types: "S"pecularum, "U"rban", Island "E"xploration", "C"oastal", "T"rade Routes, and "V"oyages. Players can jump between the sections, then return, in slightly freeform ways. Players are also required to keep track of hit points, money, and treasure (which were typical for the more advanced gamebooks), and rations, days remaining, and hull points (which were not). Another freeform element, quite unusual for gamebooks, is the "wandering monsters" table, which introduces semi-random encounters. TSR 9082

At just 8 pages, with lots of illustrations, this adventure is much shorter than most TSR-published modules of the era (mid-90s). It is a very simple D&D adventure. It features a macguffin quest that immediately pushes the players into a dungeon crawl through the five-and-a-half-page "Dungeon of the Mad Warlock". The idol of old, The Jade Hare, as been taken from the Dar el-Tamyya, stolen by Goblins, who strangely enough killed no one. Abdullah, the old man who cared for the statuette remembered that about a month ago a stranger has asked if he might purchase the Jade Hare. Though he offered much gold, Abdullah of course refused the offer. Whom Abdullah describes the other villagers recognize as Abu-Ghabar, the mad warlock who lives in the hills. He is rumored to have built a dungeon there. Who knows what strange purposes the mad warlock has for the Jade Hare? In any case, the precious statuette's theft is an intolerable strain on the honor of the village and all the tribe therein. A party must be assembled to confront the warlock. This party may consist of none other than yourselves. Won't you save Dar el-Tamyya's ancient honor, and thwart whatever sinister plans the warlock has? TSR 9259

What sends you adventuring deep into unknown lands, across dark waters, around The Savage Coast? Adventure? The sincere desire to help others? Or greed? Cartographers Guild members tell of lost cities and hidden treasures. Sailors tell of menacing beasts and cannibals to the west. They tell of savages along the shores who use gold nuggets for fishing weights. They also tell of great mounds of gold that collect at river mouths. You must decide the grater lure; the safety of Slagovich or the glimmer of gold along The Savage Coast. This adventure includes a map which expands the D&D game world, and a special expanded monsters section. TSR 9129

Sent on a desperate mission into an unknown land, you must seek out the one called "the Master" and his Temple of Death. There is little time to waste, as you must act before the Master's armies destroy your homelands. But to complete your task, you must battle fearsome guardians, travel through a hostile kingdom, and discover the secret of the master. Can you survive his defenses and win? This module contains referee's notes, background, maps and detailed keys. It is the second adventure in the two-part Desert Nomads series begun in X4, Master of the Desert Nomads, but it can stand on its own as a seperate adventure. Wheter you play Temple of Death by itself or as part of a series, the adventure will offer you hours of excitement and fun! TSR 9069

A cloud of dust forms over the horizon as a titanic army of evil threatens the entire civilized world! The Master of the Desert Nomads and his legions are back, and they form the greatest threat that you have ever faced. You must persuade powerful rulers to join you cause, stave off threats to the alliance, and lead your armies to victory! This adventure contains a full-color map of the D&D Expert Set game world, 200 counters, and a special expansion of the War Machine mass combat rules that allows you to fight the entire war as a strategic wargame! Major battles and engagements can be fought using the BATTLESYSTEM Fantasy Combat Supplement for incredible tabletop action. Never-before-published information on all the nations of the Expert Set game world provides background and detail that will enrich your campaign. This adventure includes large-scale battles and uses an expansion of Douglas Niles and Gary Spiegel's warfare system, "The War Machine", developed as part of the D&D Companion Set (BECMI Ed.) from 1984. "Red Arrow, Black Shield" is more than just a follow-up to X4/X5; it's a lynchpin for the entire B/X/CM adventure sequence. The players travel through many lands that were home to past adventures, and their past interactions with those places could affect diplomacy in this new adventure. TSR 9160

Something is rotten in Rhoona... When the grotesque god, Cretia, casts his ugly shadow over the town, strange things start happening. First, Duke Stephen vanishes. Then bizarre proclamations begin coming out of the Ducal Palace... Dwarves are outlawed... taxes must be paid in beer... horses must be ridden backwards. Soon the entire town is in an uproar and a Dwarven army is marching on Rhoona. This is the situation when you and your part of valiant adventurers arrive in the suffering town. There you find... A ragged beggar who prowls the streets offering cryptic advice. A mysterious black-garbed cleric planning treachery. A trusted soldier plotting his master's overthrow. A sinister jewel casting its evil emanations over the town. You and your party are Rhoona's only hope. Only YOU can unravel the dark mystery that plagues the town and save Rhoona from...the Curse of Xanathon. TSR 9056
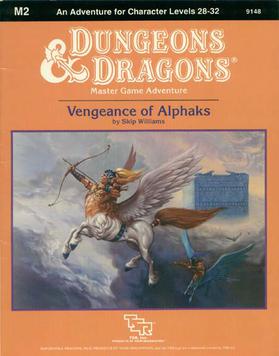
Centuries ago, the despotic Alphaks, ruler of Alphatia, was banished to another world. From his own sphere of entropy he learned to manipulate men, and now seeks revenge against the human race. The volatile region of Norworld, a perennial battleground between Thyatis and Alphaita, draws Alphaks's attention. The already existing frictions, small-time political players, and petty vengeances are the sparks Alphaks will use to ignite a huge war that will destroy man-kind. This is an adventure of politics and diplomacy, of treachery and treason. Only courageous and bold actions can save Norworld from the horrors of war and liberate its people from oppression. The Vengeance of Alphaks may be played as a sequel to module M1, Into the Maelstrom, or separately. The D&D Master Set Rules are necessary for running this game. TSR 9148