
The heroes arrive at the eponymous Keep on the Borderlands, a fortress on the edge of civilization built to stave off the chaos and evil of the wilderness. Using it as a home base, a party can make forays into the surrounding wilderness, encountering monster and marauder alike. The centerpiece of the adventure is certainly the CAVES OF CHAOS, a network of tunnels and caverns found in the walls of a nearby but isolated ravine. It is here that hordes of evil humanoids have made their home. Through combat and negotiation, the players can try to explore and map out these caves, perhaps with the aim of accumulating valuable treasure or even cleansing the land of evil creatures. However, even the Caves are not all they seem. Beyond the goblins and kobolds lurk dark horrors: cults dedicated to fiendish chaos and a Minotaur's enchanted labyrinth await the unprepared adventurer. But for the hero who is brave, clever, and fortunate in equal and sufficient measure, great treasures and glory await in the Caves of Chaos that lie beyond the Keep on the Borderlands! TSR 9034

The Shady Dragon Inn is a set of pre-generated characters for use with the Dungeons & Dragons game. This player's aid comes in two parts: each character appears first in a section devoted to his or her character class. They appear again in the second section as members of a party. As a DM or as a player, you may use either or both sections; over a hundred characters await you! Each character has a brief biography that will help you to create backgrounds for PCs or NPCs as needed. Also included is a rough physical description, and a list of items owned by each character. The Shady Dragon Inn also contains the D&D statistics for those special characters who are presented by figures in the D&D and AD&D toy line, and provides a tavern setting from which players may start adventures or gather party members. TSR 9100
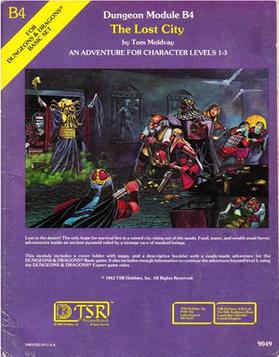
The Lost City is a low-level adventure, in which the only hope of the PCs' survival can be found in a ruined city slowly rising out of the sands. The adventure is set inside a huge step pyramid, with the lower pyramid only sketched out and the city itself described with a list of the major areas and a map. The adventure’s main villain is Zargon, a giant one-eyed monster and his minions. The entire double pyramid, not including the city, contains over 100 rooms. The module is designed to give novice Dungeon Masters experience fleshing out adventures and is only partially complete. Later TSR material hints that this adventure possibly takes place in Mystara, but the material is largely setting-neutral. TSR #9049

Constant attacks have been carried out in the forest region near Holyrock. The small town of Taveiro Village was raided by a group of Goblins that are plundering the agricultural region near the city. There is suspicion that there is a lair of these beings near the village, but so far, no one has been able to find the place. The mayor of the city is hiring adventurers to discover and eliminate this band of Goblins. It offers a big reward, in addition to allowing the booty found with these beings to own the heroes. Are you ready for the challenge? ” Goblins Lair is a “One Shot” style adventure, one that you can play in an afternoon or fit into your larger campaign. This adventure is designed for up to 4 players from level 1 to 3. We recommend using the basic BX books or the old D&D books. Have Fun! Published by Voxelhouse
Introductory adventure included with the 1991 "Black Box" edition of D&D

Buried in fire, but hardly dead. Only the Keep survived the destruction of Koralgesh, but few adventurers will survive the terrors that now stalk the lost Keep's halls. Players hear rumours of the Keep at Koralgesh and then traverse it to acquire the treasure within. Pgs. 45-64
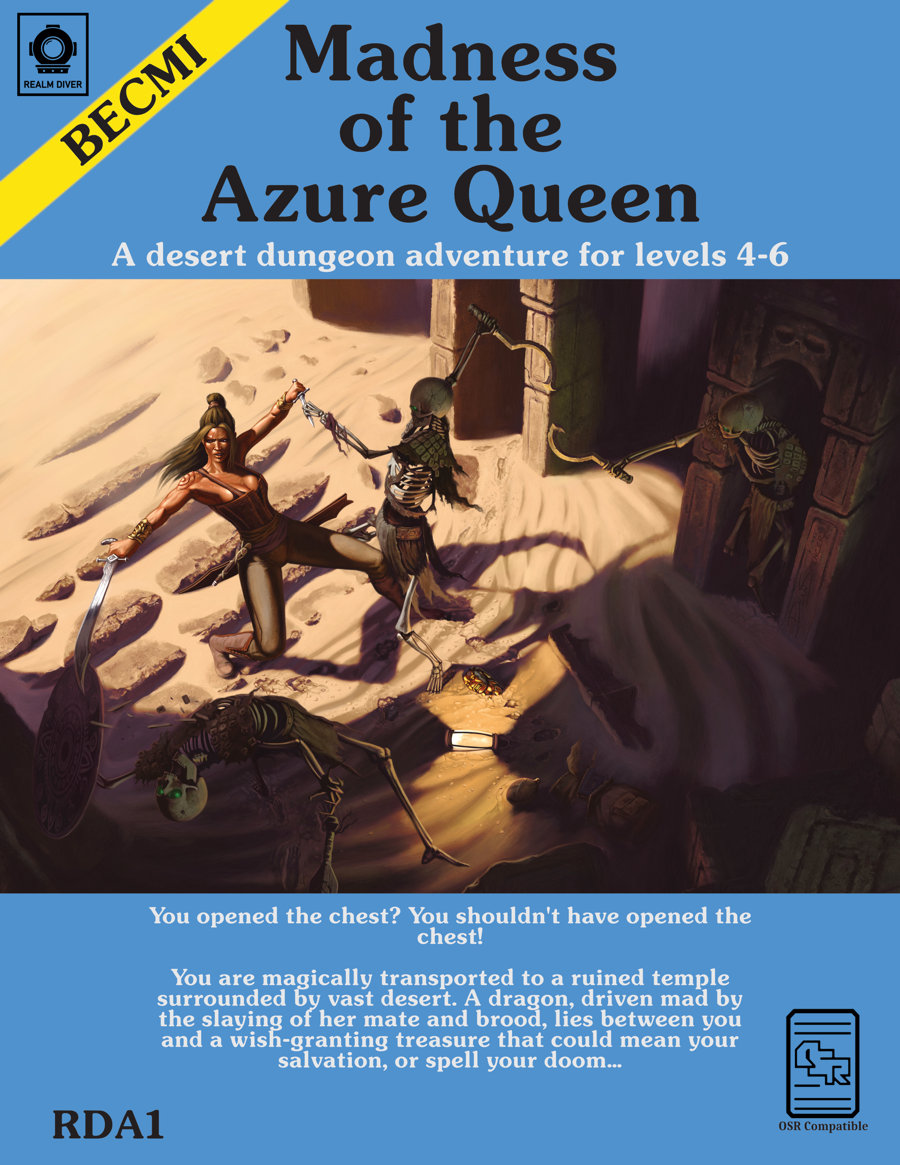
"You opened the chest? You shouldn't have opened the chest! You are magically transported to a ruined temple surrounded by vast desert. A dragon, driven mad by the slaying of her mate and brood, lies between you and a wish-granting treasure that could mean your salvation, or spell your doom…"
You have been chosen. Throughout the land, the omens of some cataclysmic change are clear for all to see. The flowers are blooming out of season, fish fall like rain, and a blue moon hangs in the night sky. Yet the danger is not of this land, nor even this world. Far away in the infinite planes lies Aelos, a world of peril. A world where time itself has been corrupted and where chaos reigns. Even the mighty Immortals who watch over the planes are powerless to help Aelos. Hope rests in you alone. Come then, journey through the swirling Nexus, to a world beyond the stars. You have been chosen, and Eternity beckons! TSR 9158

One of the original D&D classics, "The Isle of Dread" is a hex crawl wilderness adventure. It focuses on surviving primitive beasts, dinosaurs, and pirates while uncovering the mystery of the island's inland city, where a great treasure awaits. From the cover: "This module contains maps and background material for the Isle, fifteen new monsters, and suggestions for further adventures. In addition, The Isle of Dread contains a map and background information for a large continent, and eleven smaller maps for encounters on the island itself. In this module, players will push their way through dark jungles and treacherous swamps to discover the lost plateau, and the final secrets of - the Isle of Dread!" TSR 9043

To Find the Immortals! The all-powerful Immortals have vanished! The quest to locate them has led across the Atlass Ocean and the land of Shahjapur, where moguls hunt tigers, un-touchables respectfully avoid higher castes, and holy fakirs perch immobile for years on end. In this land of shrines and elephants and shapeshifting assassins, resolution may lie at the end of the mysterious "Emerald River." But no one knows the location of this river and no map shows its bed. Does the answer lie within the Temple of Eight Sweet Winds? Hopefully so, for time grows short. The Immortals themselves must be found and enlisted - to stave off the approaching cataclysm called: NIGHTSTORM! Nightstorm is the third adventure for the D&D Hollow World Campaign Set. The Hollow World boxed set is required to play. This 65-page adventure fits easily into your existing campaign, either as a stand-alone adventure or part of the history-spanning Blood Brethren trilogy. These three lined modules can be played in any order - but the adventure ends here! This adventure is designed for four to six characters of levels 8 to 10. Easily Adaptable to the AD&D Game! TSR 9311

Adventure in a wizard's highly magical tomb. While still in college, Jennell Jaquays, writing as Paul, started The Dungeoneer fanzine. For the first issue, Jaquays wrote F’Chelrak’s Tomb. The pioneering adventure and its successors proved memorable. Looking back at The Dungeoneer, Jaquays said, “It’s the adventures that stand out, and not simply because no one else was doing mini-adventures in 1976. When I read comments about the magazine or talk to fans (old and new), no one talks about the monsters, or the art, or the magic items and rules variants. It’s always the adventures.”
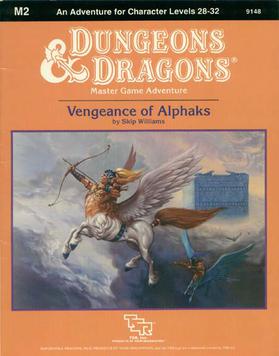
Centuries ago, the despotic Alphaks, ruler of Alphatia, was banished to another world. From his own sphere of entropy he learned to manipulate men, and now seeks revenge against the human race. The volatile region of Norworld, a perennial battleground between Thyatis and Alphaita, draws Alphaks's attention. The already existing frictions, small-time political players, and petty vengeances are the sparks Alphaks will use to ignite a huge war that will destroy man-kind. This is an adventure of politics and diplomacy, of treachery and treason. Only courageous and bold actions can save Norworld from the horrors of war and liberate its people from oppression. The Vengeance of Alphaks may be played as a sequel to module M1, Into the Maelstrom, or separately. The D&D Master Set Rules are necessary for running this game. TSR 9148

Things are darkest before they go totally black. He wears black, hires orcs, and looks depraved - but don't be fooled. He's far more dangerous than he seems. Thaddigren Dentiata recently arrived in the village of Sisak, and within 3 months had constructed a great tower on the outskirts. The villagers have become more wary of him, since he employs the help of orc henchment (albeit polite ones), and also is suspected of using dark magic. Since then, livestock has begun disappearing from the surrounding pastures, and two drunk men fell upon a terrible fate when they went to investigate the tower secretly. One was killed and the other remains missing. The villagers have confronted Dentiata, but he and his henchmen politely turned aside their questioning. The players arrive just after one of the town elders was taken by orcs from the village after trying in vain to rally the rest of the townspeople. The players will spend some time in the village gathering information and then attack the tower itself, ending in a final battle with the evil wizard. The module provides details on all buildings in the town as well as all NPCs and stores. Pgs. 6-24
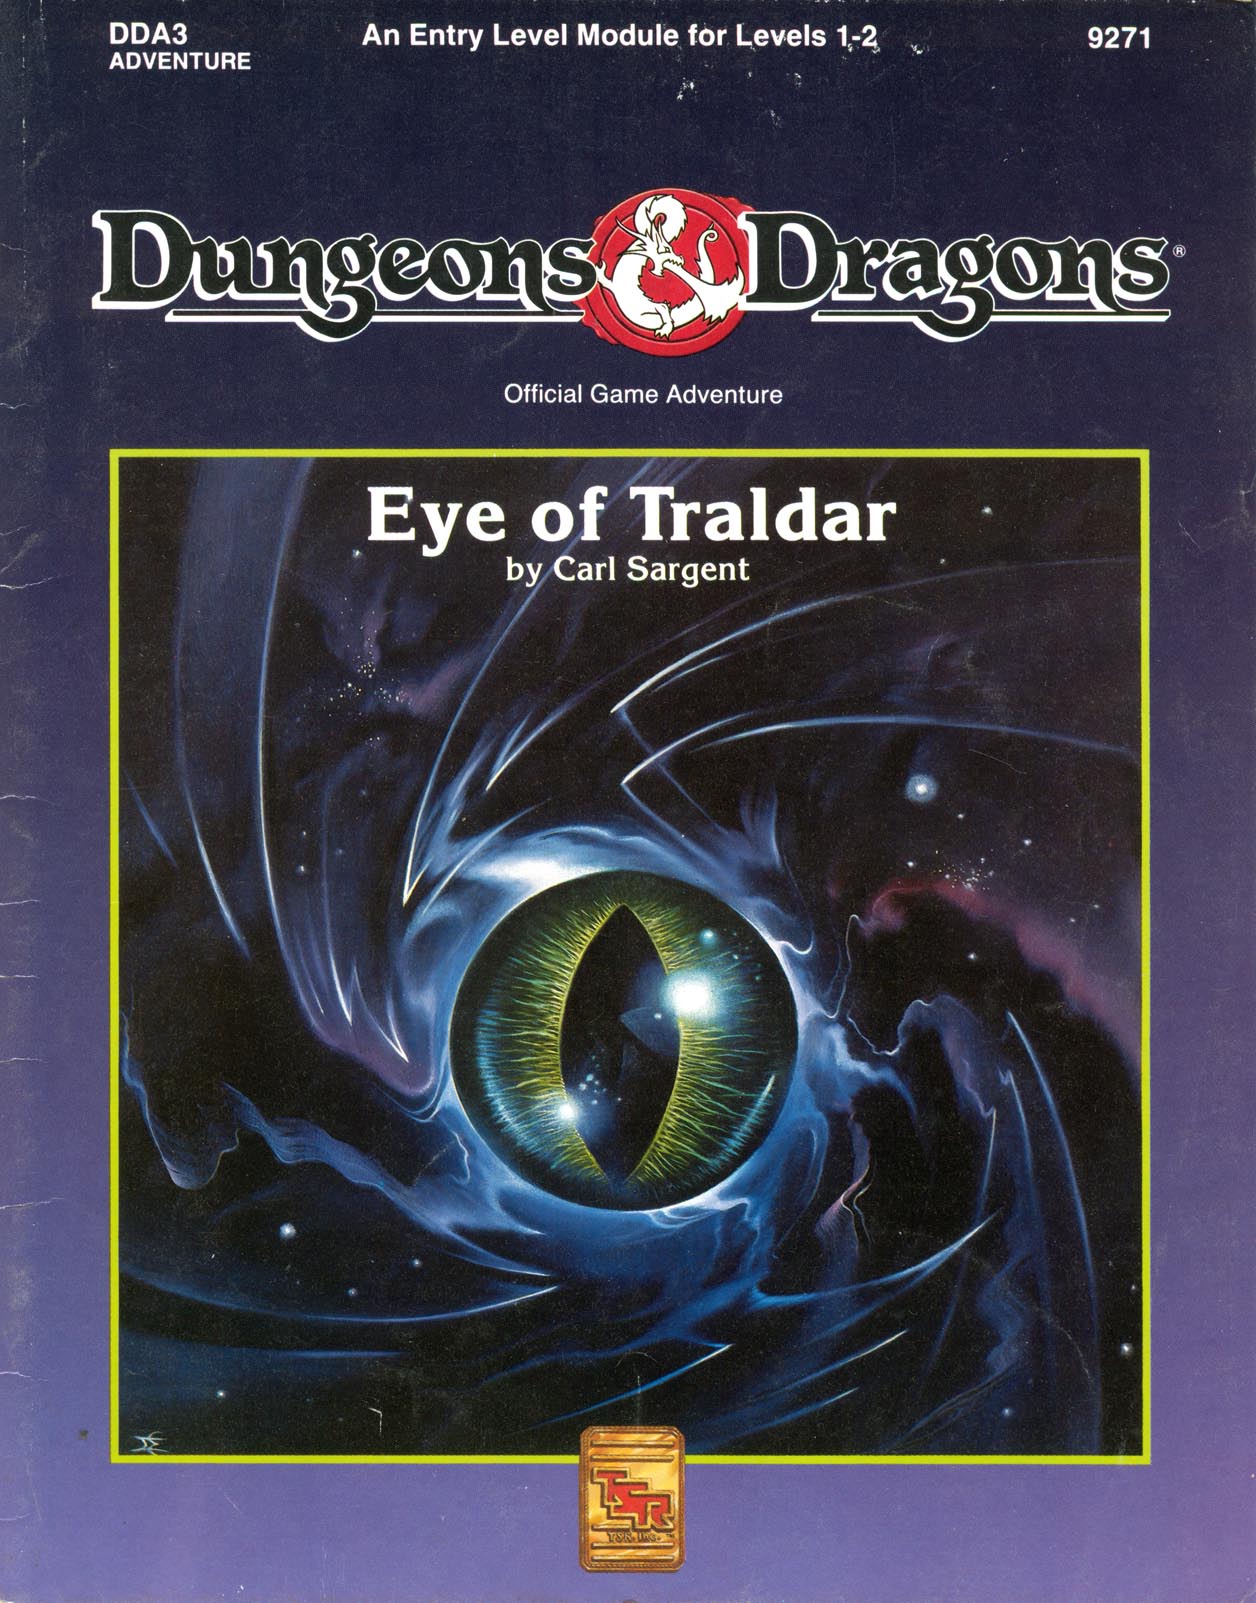
Powerful Magics are Loose in Karameikos! You and your companions are starting on your first adventure and you've been swept into the intrigues surrounding the infamous Black Eagle Barony. To prevent the evil Baron von Hendricks from gaining more power, you and your cmpanions must retrieve the magical Eye of Traldar from the wizard's tower at Fort Doom. Can you escapes the clutches of the armed garrison? Will the Baron gain the powerful artifact and use it for evil? You and your friends make the choices and affect the entire Grand Duchy of Karameikos. This module is particularly recommended for novice Dungon Masters and players who want to try their hand at overland adventuring. Recommended for four to six characters, levels 1-2 Handouts and pregenerated characters provided Suitable for use with the Dungeons & Dragons Game box and conventional D&D Game rules Features simple rules on outdoors travelling for exclusive players of the D&D Game box Adventure in the monster-filled caverns and dungeons beneath Fort Doom. TSR 9271

Years ago the valley was green, and animals ran free through golden fields of grain. The princess Argenta ruled over this peaceful land and the people were secure and happy. Then one day a warrior riding a red dragon appeared in the skies over the princess’ castle and almost overnight the tiny kingdom fell into ruin. Now only ruins and rumors remain, and what legends there are tell of a fabulous ruby still buried somewhere within the Palace of the Silver Princess TSR 9044

Tortles of the Purple Sage - Part 2 completes a D&D Expert Set wilderness adventure which began in DUNGEON issue #6. Through the gate stones, into the unknown. This adventure takes place in the Known World of the D&D game, as outlined throughout the D&D game rule books and modules. The DM may find it useful to consult the Companion and Masters Sets, as well as most of the X-series of Expert Set modules. The DM may find it useful to consult the Companion and Masters sets, as well as most of the X-series of Expert Set modules. Expert Set module X9, The Savage Coast, would be especially helpful, as Tortles of the Purple Sage should easily serve to continue that module's direction and plot line, adding previously undescribed areas to the Known World. The DM may also place the areas and events of this adventure within an existing campaign setting, as long as the geographical areas of the campaign match those set forth here. Pgs. 8-25

A One-on-One Competition Module for Thieves Level 8 Your peaceful evening has been interrupted by an unusual request. As a thief, your skills are unmatched, but can you rise to the challenge of thieving for a powerful and frightening wizard? Do you have a choice? The Gem and the Staff is a special One-on-One competition module designed for one player and on Dungeon Master. The Module contains two separate scenarios, so you can switch roles with the other player after the first adventure. Scoring sheets and encounter summaries are provided for each adventure to make running competitions quick and simple. Character figures and a map book are also provided to help visualize the adventures. The player's maps are designed so you can see the rooms as they would appear. Complete DM's Maps are included. TSR 9050
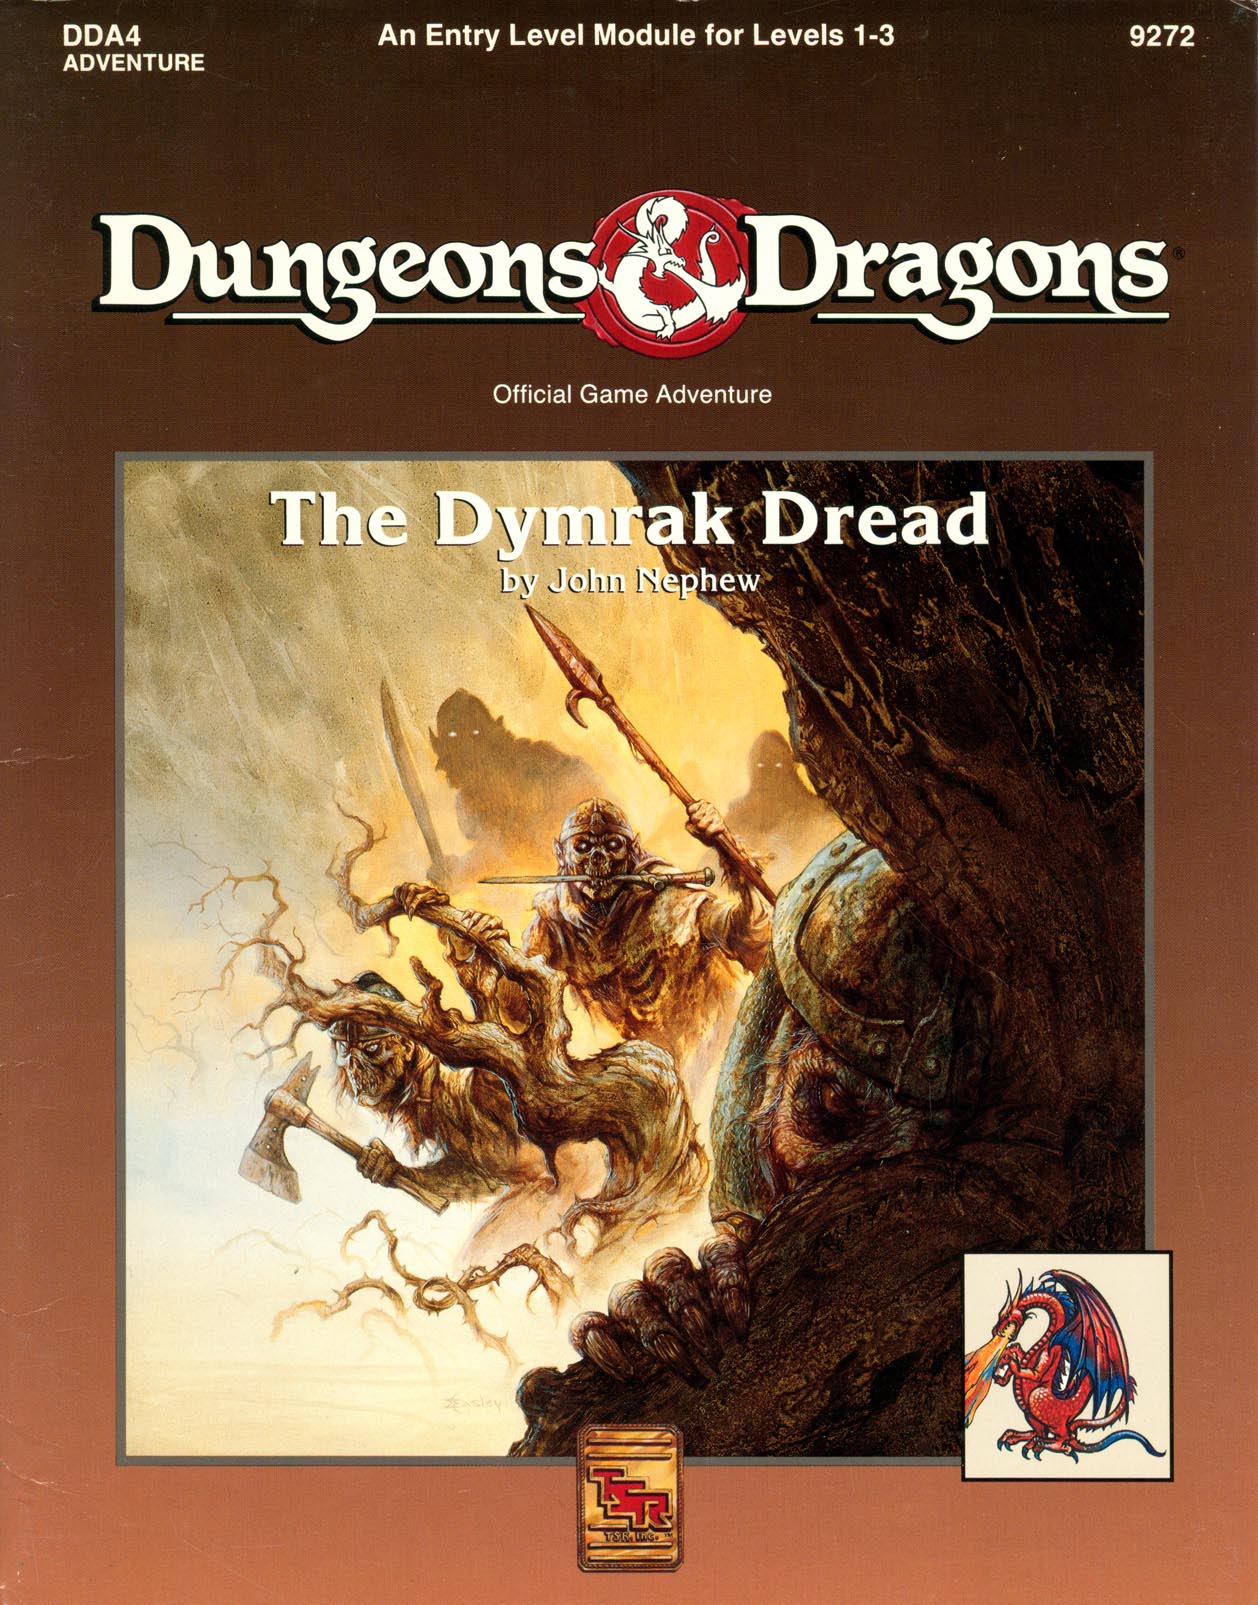
Adventure Lies Ahead, Deep in the Heart of the Dymrak Forest Are you ready to meet the Lord Forester's challenge: to put an end to needless death and destruction by doing away with the goblin war chieftain, Kosivikh, and his evil band of raiders? Eager to prove yourselves as new adventurers and to collect a sizable bounty, you travel to the goblins' dungeon in the Dymrak Forest - a place that has captivated your interest for years, a place where few have dared to venture. Only you and your fellow adventurers can put an end to the rampant bloodshed and return peace to the territory. This module is recommended especially for beginner Dungeon Masters and players who are interested in dungeon exploration. Can be used as a follow-up to the DDA3, Eye of Traldar module or it can stand alone Features easy-to-follow rules on dungeon adventuring in the heart of the Dymrak Forest. TSR 9272
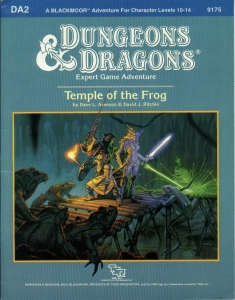
Green Death... That's what old hands call the Great Dismal Swamp. For centuries, this tangled maze of sluggish watercourses, stagnant ponds, and festering marshes has defended Blackmoor's southwestern frontier. Large armies and smaller parties have disappeared altogether inside its vast, dripping, claustrophobic corridors. Among those who have dropped from sigh in this arboral hell is young Rissa Aleford, one of Blackmoor's most important leaders. Carried off to the sinister City of the Fron, she is now being held by the eccentric Monks of the Swamp. By making the baroness captive, the deranged monks have serioulsy weakened Blackmoor at a time when enemies already threaten it from all sides. Yet, even as the Froggies gloat, the king of Blackmoor dispatches a small band of bold adventures to the rescue. Deep into the Great Dismal Swamp they must go - far from sunlight and sanity - there to seek and save the swamp, there to find the Temple of the Frog. TSR 9175

Civil War Unrest. Turmoil. Rebellion. As above, so below - the cataclysmic events of the Wrath of the Immortals echo throughout the Hollow World setting. The Milenian Empire, with its classical Greek culture, has not escaped. Already the streets are un-safe, and the omens are getting worse... The emperor is dead... long live the emperor! But is the new emperor a man of the people, or a tool in the hands of malevolent powers? Walk carefully, for no stranger is safe upon the streets these days, and adventurers least of all! The mood of the capital city is turning ugly. Minions of the new emperor look on uncaring, while citizens disappear and philosophers fall to heedless mobs. The old emperor's elite guards are disbanded and scattered. Disorder reigns, and restless citizens threaten open revolt. And yet... a whisper is heard. Civil war can be averted. An ancient artifact, the Milenian Scepter, can rally those who would serve the Empire best. But the Scepter has been lost for generations, and who can say where it might be? The trail leads into the depths of the city, and across a dangerous wilderness to a forgotten oracle. For the lucky and the bold, perhaps it will lead to... THE MILENIAN SCEPTER This stand-alone adventure is compatible with the Wrath of the Immortals boxed set and the accessory HWR3, The Milenian Empire. You will need the D&D Hollow World boxed set to play this adventure. Easily adaptable to the AD&D game. TSR 9378