Important: The adventure is 1e but it has monster conversion notes for D&D 4th edition The town of Highport, once a human community overlooking Wooly Bay from its perch on the northern coast of the Pomarj, fell prey to hordes of humanoids swarming out of the jungle-covered hills surrounding the settlement. Though the orcs, goblins, kobolds, ogres, and gnolls razed much of the place in their ferocious rampages, the smoldering ruins they left behind soon became a new kind of community, a place of trade between the humanoid “locals” and the unsavory human traders who have no compunction about doing business with them. Slaves are a commodity in ready supply in Highport’s market, since many pirates raid up and down the coast of the bay, putting fishing villages to the torch and filling their holds with captured refugees. Slavery has become a thriving business in the town, and rumors abound of a cartel of Slave Lords who run things from behind the scenes, filling their coffers in secret from the buying and selling of human chattel. The trade has become so prolific that the good folk to the north have grown tired of these depredations and decided to fight back. Forces of righteousness and honor have recently descended upon Highport, some openly and others in secret, in various attempts to destroy the machinations of the Slave Lords and abolish the abominable enterprise that has taken far too many loved ones from home and hearth. One such doughty servant of goodness is Mikaro Valasteen, a cleric of Trithereon. Mikaro slipped unnoticed past the crumbling walls of Highport with a single mission: to rescue and transport as many slaves to their freedom as possible. Mikaro and a handful of faithful assistants located a number of escaped slaves—as well as rescued a few more not sufficiently restrained and guarded—and shepherded them through the gates and beyond the reach of their humanoid tormentors, returning them to their lands and homes. This covert freedom brigade enjoyed remarkable success early on, since the servants of the Slave Lords were often lax in their vigilance and sloppy in their efforts to prevent loss of the “merchandise.” After one too many shipments never made its destination, the humanoids stepped up their security and the normal channels of escape from Highport closed to Mikaro and his team. He cannot risk exposure by smuggling the freed slaves through the gates as merchandise any longer, since shipments of goods are now regularly stopped and checked. No longer able to free the slaves in that manner, Mikaro began hiding his charges in an abandoned villa in a particularly rundown part of the town. Although they are safe for the moment, their numbers have grown unmanageable, and the priest fears it is only a matter of time before someone slips up and brings slavers to their doorstep. Ever more desperate to find a new means of escape from Highport, Mikaro has started work on a plan that is both daring and dangerous. He intends to use a series of old sewers coupled with natural caverns running beneath the town as an escape route to the sea beyond the walls. But he needs someone to clear out the creatures and pitfalls he knows lie within. Pgs. 2-27

5e Solo Gamebooks presents Drums at Daggerford, the fifth in our continual series of solo adventures set in the Forgotten Realms. This quest enables you to experience D&D without a dungeon master! Simply roll up a level 5 PC and get playing. Drums at Daggerford is the way you must experience solo adventuring. Players and DMs beware, a new standard has been set. This solo adventure continues the story arc first begun in Death Knight’s Squire, developed further in Tyrant of Zhentil Keep & Citadel of the Raven, and left in The Tortured Land. Drums at Daggerford’s ability to echo a Tolkien spirit reverberates throughout the narrative no matter which path you may choose. But choose wisely because a razor’s edge separates peril from glory. Over a year in the writing, this latest instalment in our solo adventure series is a mini sandbox campaign that will give you anywhere up to 8 hours of solo adventuring enjoyment. Completionists and those who like to replay these adventures will get even more gametime. There are mysteries to be uncovered, items and sidekicks to be gained, codewords to unlock and villains to conquer! With lots of exploration, meaningful decisions, hard fights, and a variety of rewards and stories, Drums at Daggerford will continue to resonate with you long after solving the big mystery behind Krond Vikkurk’s malevolent plans.

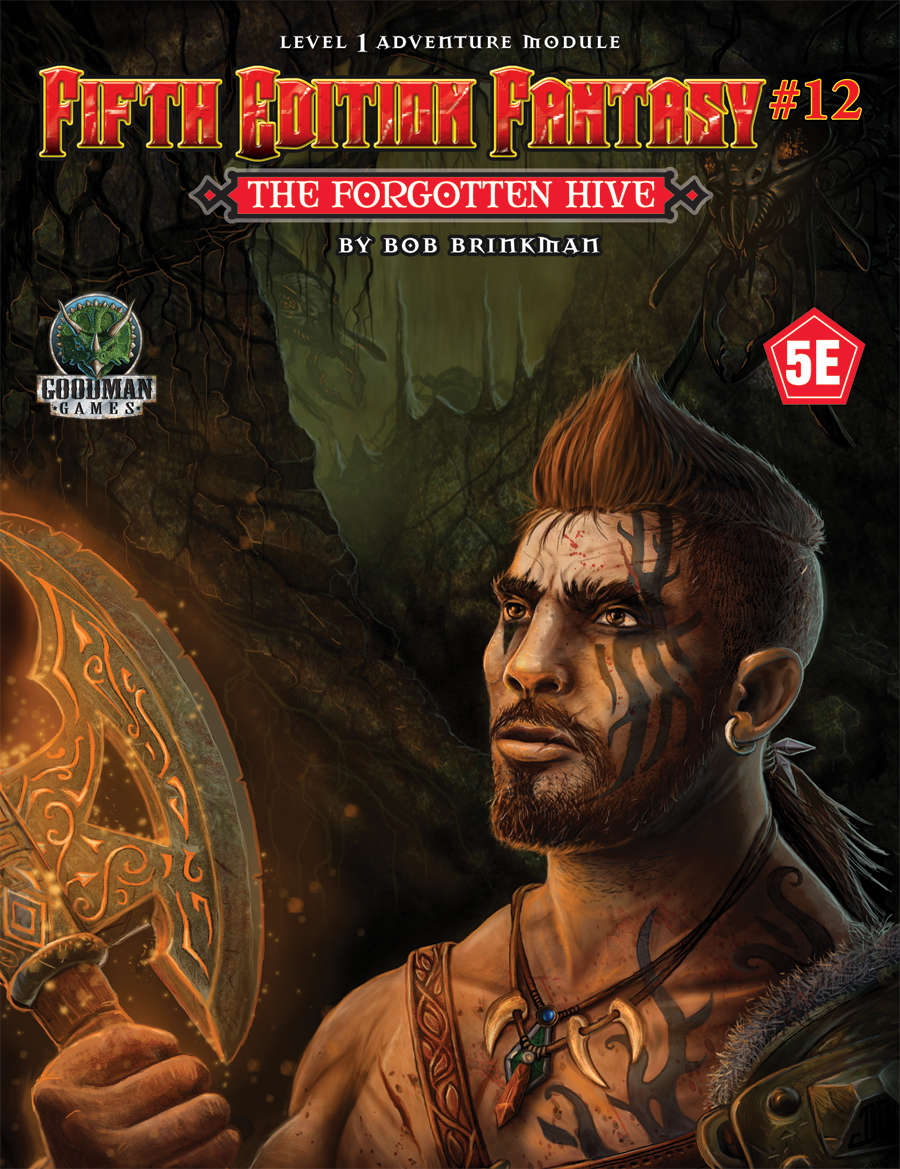
Beneath the crumbling walls of a keep lies an unexplored warren of caverns stretching into unknown darkness. Within the depths, an ancient evil stirs and grows hungry. Forgotten horrors, once relegated to legend, are on the move – with only your band of heroes between them and their goal. What begins as simple exploration rapidly becomes a struggle against denizens of the underworld, and the very environs of underworld itself. Through crumbling caverns and against long-trapped foes, the party is confronted with a threat that places the future of the surface world in jeopardy. Your heroes must act quickly to secure the world, or face the consequences of their failure to halt the advance of the denizens of The Forgotten Hive.

When you wander the wilderness you run into the strangest things. Nestled in the middle of a few mountains in a volcanic basin is a strange temple structure. This is the final resting place of the legendary warlord Khan Sing. A hero among the plainsmen, this ruler was believed to have grabbed power with the assistance of a magic weapon known as the “Blood Mace”. Will the party’s investigation find this mysterious artifact?

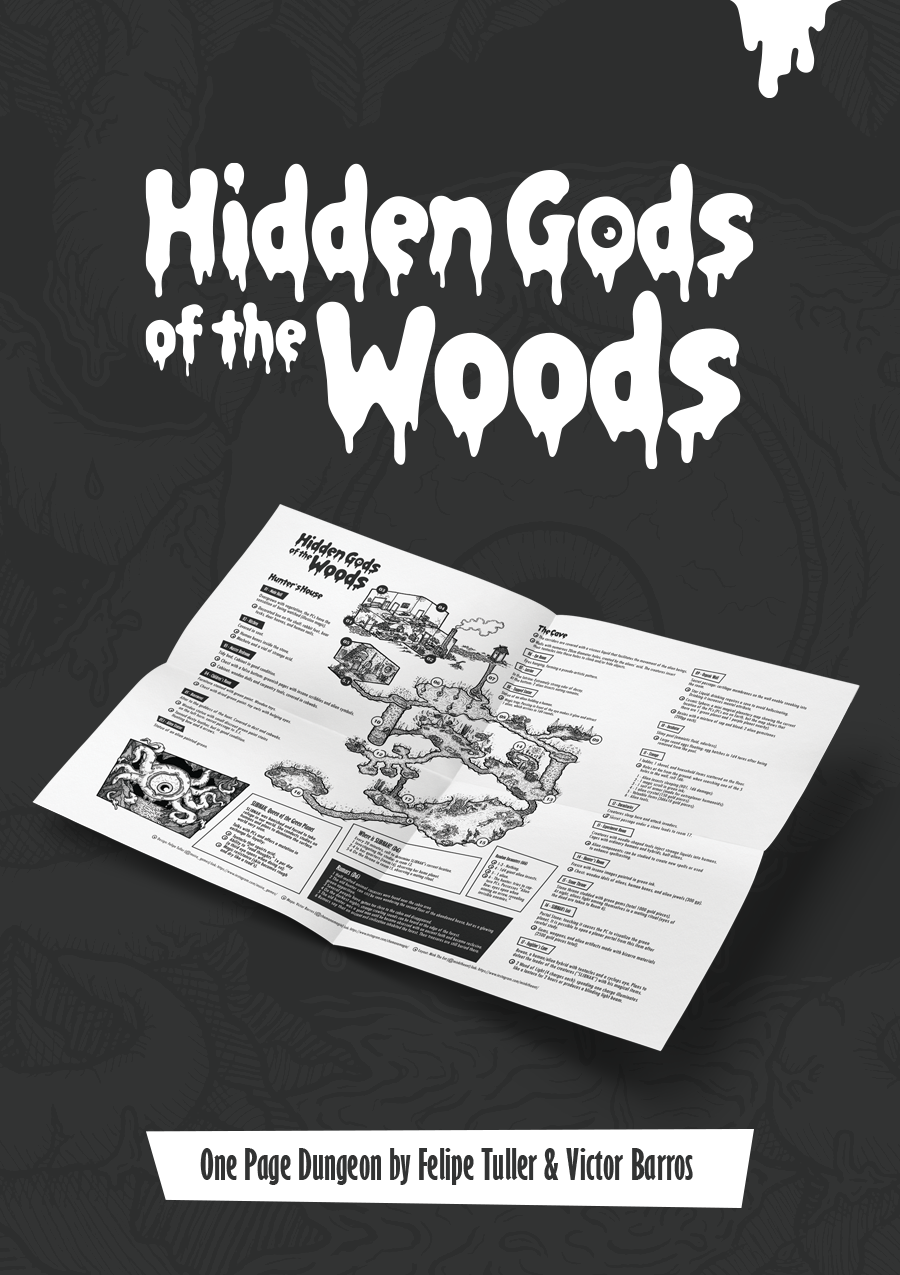
Under the gods' vigilant gaze, shadows stir in the depths. A hermit hunter found an alien jewel in the woods. Since then, he began to have dreams about strange "gods" and became obsessed with them. Little did he know, these “old gods” of his are an ancient evil buried deep in the underground that now reign in the forest! 'Hidden Gods of the Woods' is a system-agnostic one-page dungeon about the exploration of a secret cave dominated by bizarre aliens. Hidden beneath an abandoned cottage, players will unveil the story of a human hunter insanely in love with creatures from another world. Play to discover what the hell is going on there!

Twilight at Eventide is a 32-page collection of three short adventures designed for characters of level 1-3. In the village of Eventide, the walls separating the settlement from the Feywild are weak. And strange creatures stalk the surrounding forests. Dark forms worship their demigod in hidden caves. A darkling elder has returned to take what was promised to him. And people enter the woods never to return. The village is in need of heroes. Will you answer the call? In this product, you will find: a description and map of the village of Eventide a vivid cast of characters in the village a variety of detailed location maps, including an old mine, an abandoned farmhouse, a decrepit tower, and a ruin adventures that feature xvarts, darklings, dryads, and hags a combination of roleplay, exploration, and combat encounters

A wealthy sea-trader hires the PCs to solve a pirate problem and recover stolen supplies. Almost 100 pirates have made base in a treacherous cove. When the PCs arrive, most of the pirates are at sea on a mission. A large host of pirates remain in the base and force PCs to be creative with their approach, as a direct attack would be met with an overwhelming swarm of pirates. Unknown to the player's as they scheme is that the ship will soon return with its massive crew. The treasure cave is guarded by the dead sailors foolish enough to try and steal from the captain, who is the only one who can enter the cave safely. Players must be creative to deal with the pirates in the base and the approaching ship while still securing the plundered supplies in the treasure cave.

This new version of the classic adventure is completely updated to 3.5 edition. In The Lost Vault of Tsathzar Rho, a defenseless village asks the characters to slay an out-of-control ogre. Sounds easy enough. But the ogre, who used to be nothing more than a nuisance, has become crazed and psychotic. When the characters arrive at its cave, they find a subterranean portal has connected the cave to a much larger underground complex. Something in that complex has transformed the ogre and many other local creatures into fiendish marauders. In fact, it’s the lost vault of Tsathzar Rho, an ancient wizard and prophet of the Outer Gods, who are gathering their foul minions for battle.

After hunting for the Pirates of Ebor along the coastline, you witness a strange event. A great colossus is seen as you travel along the coastline and you are informed that it is the “Artifact at Gegios”. As you put into port, you make inquiries and decide to investigate further, after all, an artifact is usually useful! Is your party strong enough to uncover the truth of this legend?
Called by the Elder Elemental Eye to serve, four corrupt prophets have risen from the depths of anonymity to claim mighty weapons with direct links to the power of the elemental princes. Each of these prophets has assembled a cadre of cultists and creatures to serve them in the construction of four elemental temples of lethal design. It is up to adventurers from heroic factions such as the Emerald Enclave and the Order of the Gauntlet to discover where the true power of each prophet lay, and dismantle it before it comes boiling up to obliterate the Realms.

Jack Mooney owner of the "Jack Mooney & Sons" Circus. Wants to hire the PCs to capture a great cave bear with a brilliant golden coat.

After basking in the glory of your accomplishments, you learn of a problem with a caravan attack. A group of possibly Goblins have brazenly attacked the Hamlet of Kako, burning it to the ground. The information comes from a local farmer that witnessed the carnage. Pack your gear…time to go back to work in the Principality of Lockerbie!

This short adventure is set in the Forgotten Realms campaign setting; it may be run as a standalone adventure, or as a side trek for a larger module . Alternatively, this adventure could be inserted into any campaign setting. Trouble is brewing near the town of Red Larch; specifically, in the caves near Lance Rock. A few good adventurers are needed to investigate the increased orc and ogre sightings in the area.

A shadow hangs over the dark and dreary town of Squill. Townsfolk are being murdered in their beds without any explanation and the local graveyard has become a dangerous, haunted place. Consumed by fear, the men and women of Squill have begun casting evil glances at a young orphan boy. The victims, it seems, all had links to the lonely child, and none of them were good. A local priestess, however, wonders if the heart of the darkness consuming the town lies in a necromancer slain nearby only a few months ago...

This adventure has it all for an upper level group of players. With the rumor of a lost wizards staff on an island, the chase is on to find this powerful piece of magic. Arrival on the island leads off in over three directions and each path has a different set of challenges and rewards. Can your party locate the staff?

THRESHOLD! The northernmost town in the Duchy - and your last stop before your adventures begin. Threshold, the gateway to mysterious castles, lost temples, deadly caves and caverns. You have heard the stories and legends, now you wish to see for yourself. This product provides a complete campaign adventure that will take beginning characters from 1st all the way to 3rd level and possibly beyond, drawn from the first nine modules of the B-series adventures. See individual adventure entries for Boss, Common Monster and Items lists. TSR 9190

A band of shipwrecked adventurers awake to twilight on an uncharted jungle island to the Northwest of the Nalanthars with amnesia, little do they know the amnesia is recurrent at the completion of each long rest until an ancient curse powered by an incomplete Mythallar is lifted.

Ranked in 2004 as the single greatest adventure of all time by Dungeon magazine, this is a compilation of three series of modules: the G series "G1-2-3 Against the Giants" (G1 Steading of the Hill Giant Chief, G2 Glacial Rift of the Frost Giant Jarl, G3 Hall of the Fire Giant King), the D series (D1 Descent into the Depths of the Earth, D2 Shrine of the Kuo-Toa, D3 Vault of the Drow), and Q1 Queen of the Demonweb Pits. The characters begin by attempting to stop giant raids that have become prolific. They find out that the giant alliance is caused by the drow. They then descend into the Underdark in order to find the drow and stop their sinister plan. TSR 9179

The Haunted Hamlet and other hexes details four unique modular locations for your game. Made for old school essentials, but can easily be used with other old-school systems or even 5E. The four locations detailed in the zine focus on gameable content and being easy to use at the table. The locations are not connected to one another and can be sprinkled onto your campaign map however you like, or run as one shots. The PDF is graphic and art heavy and utilizes random tables and other tools to make it easier for GMs to run in a pinch. Details: 40 pages Single column text 8.5 x 5.5 aspect Black & White Bookmarks Four hex locations Random tables A rival NPC party A sky merchant A one page town Two hirelings

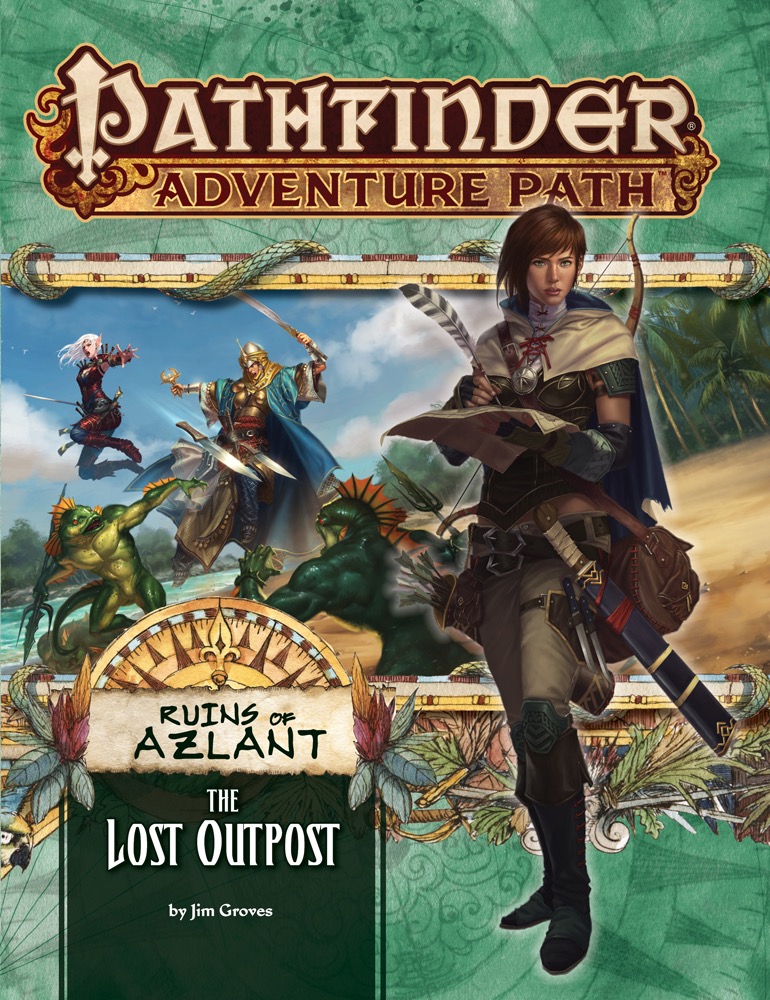
Trouble in Paradise The Ruins of Azlant Adventure Path begins with the adventurers standing on the deck of a ship ready to make landfall at their new home. However, dread settles in as they notice that the colony is empty and abandoned. Tasked with uncovering the whereabouts of the prior group of colonists, the adventurers go ashore and explore the deserted settlement. Uncovering strange evidence leads the adventurers across the island, where they encounter two survivors who can give them clues as to the fate of the rest of the first wave of settlers. Can the adventurers survive long enough to discover what truly befell the fledgling colony?