
The Godless Depths For the first time in eons, ancient aberrations are emerging from the deep ocean. Driven by some otherworldly fervour, they encroach upon the local villages, searching with beady eyes for anyone linked to the Gods. Even now you hear rumours of kidnap, men and women dragged kicking and screaming into the depths.
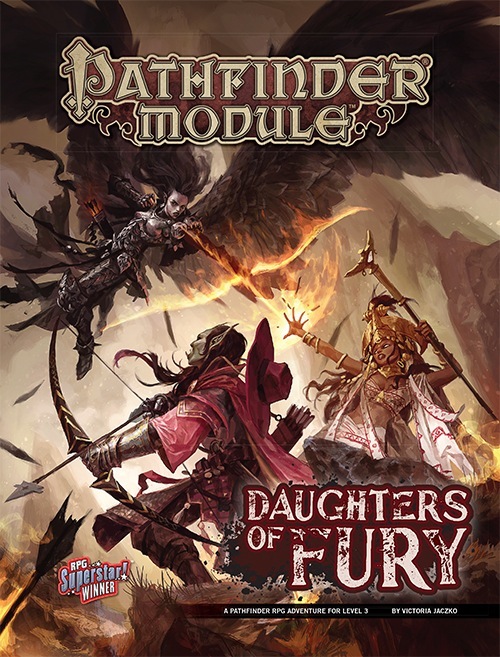
When devils slay the knightly leader of Arwyll Stead and orcs from the Hell's Fury tribe attack the town, all hope seems lost for the brave people living on Lastwall's border. The coincidental arrival of the mysterious half-orc Vegazi also raises unsettling questions, and it's up to the heroes to make sense of these events and end the Hell's Fury tribe's threat to Arwyll Stead once and for all. What does Vegazi have to do with the raiders' diabolical plot? Who will rally Arwyll Stead now that the town's icon has been cut down? And who is the mastermind orchestrating the orc tribe's alliance with devils from beyond?

This module features 5 locations ready to be put in any D&D 5e game. It features these 5 locations: - An old warehouse (lvl 1) An old building occupied by a gang of Kenkus that are trying to build a mechanical way to fly. - Ruined Sanctum (lvl 2) A decayed temple lost to time, some decades ago it was breached by some blights and they still use it as a resting place and a trap for adventurers. - The Lunar dove (lvl 3) A small and secretive brothel used by the elites. Unbeknownst to them, however, the Owner spies and hoards secrets to use to their advantage. - Cave of Mending (lvl 4) A cave with a magical healing lake, protected by a Druid that uses it to heal the wildlife from the surrounding area. - The temple to Xotarr (lvl 4) A hidden temple to an evil God where the cultists partake in calculated sacrifices.

Madness in Freeport, the final part of the Freeport Trilogy, details the final confrontation between the PCs, the Brotherhood of the Yellow Sign, and Sea Lord Milton Drac. In Part One, the Drac invites the PCs to the Grand Lighthouse Ball. Careful investigation can reveal the secret purpose of the lighthouse. In Parts Two and Three, the PCs must recover a powerful artifact to thwart the Brotherhood's plans. They must pass through an infamous pirate's hidden caves, then search a sunken temple of the serpent god Yig. In Part Four, the heroes must enter the Grand Lighthouse, AKA Milton's Folly, in a race against time to stop the Brotherhood's world-shaking master plan from coming to fruition. (Bibliographic note: This adventure was originally written for v.3.0, and later updated to the v.3.5 rules. The revised versions of Death, Terror, and Madness in Freeport were reprinted in an omnibus edition, along with two shorter filler adventures, as The Freeport Edition: Five Year Anniversary Edition.)
A desperate refugee emerges from the earth's depths in shadow-cloaked Nidal with an urgent pleas. A new faction in the subterranean dark folk city of Lyrudrada -- a wicked cult called the Reborn -- seeks a fabled artifact called the Cradle of Night. Vanished demigods of the Shadow Plane once used this artifact to craft the elusive caligni race, and the Reborn want to use it to shroud the world in darkness once more. Cursed with the stain of shadow, the heroes must battle their way through the tomb of an ancient horselord chieftain before descending to Lyrudrada. Plots and schemes run rampant in this city riven with political upheavals and back-alley bloodshed, and the heroes must collect allies and information to confront the Reborn in their fortified fane. With the mysterious masters of the caligni race arrayed against them, can the heroes hope to shed their shadowy curse and claim the Cradle of Night?
Greger’s Grotto is a community of pirates and other criminals, hidden away on a desolate coastline. The players are slaves sold to the Grotto’s owning family and used for manual labour and bloodsport in the arena. In this adventure, the players will need to: * survive harsh prison conditions, including the rivalry between prisoner factions: human, orc, goblin and hobgoblin * fight in arena battles against prisoners and beasts, often with strange twists to entertain the crowd * explore small mini-dungeons attached to the prisoners’ caverns * ultimately escape; whether by force, alliance with fellow prisoners, stealth, cunning or any combination of these Features of this adventure: * Pay-what-you-want (even nothing). * Illustrated with art by Setvasai. * Designed to fit into most campaign worlds. * Simulationist or story-driven: includes information for both. Use random rolls to determine what happens when, or take inspiration from various story hooks. (Or do both.) * 11 unique NPCs, including members of the Grotto’s owning family and leader of the prisoner factions. * Full maps of the Grotto, its arena and prisoner caverns, totalling over 40 rooms.
"Temple of the Deep Ones" is the lair of a group of deep ones and their god, suitable for four or five 7th-level characters. This adventure can be finished in one session. Ship captains report that a mysterious island has surfaced in the middle of a heavily trafficked trade route. Worse, ships that venture too close to the island are assaulted by a terrible creature and its servants. The island is disrupting trade throughout this part of the world, and several ships have already been lost. Unbeknownst to those that know of the place, the island rises at the will of Shar-Ngolyeth, a long-lost deity also known as That Which Lurks Beneath the Waves. The island is populated by a cult of deep ones and the beasts they have subjugated in the name of their dark god. The creature responsible for sinking ships is an aspect of Shar-Ngolyeth, a kraken. It is not meant for combat encounters; it's largely a plot device in this encounter.

The Ghost Tribe of Orcs were driven from their home under Wyvern Tor by some terrible evil. They marched to Phandalin and attacked, only to be defeated. Now the heroes will go beneath Wyvern Tor to discover the terror that chased out the orcs and perhaps find the source of the orc’ssardonyx. Journey to Beneath Wyvern Tor is the third of four parts in the After Lost Mine series. It will play out the journey to the orc’s former cave settlement and then into the darkness beneath. Part IV will have the party deal with the terror from the Underdark that drove out the orcs.

The Cave on Foggy Hook is the first of three connected adventures in the village of Hookholm and is aimed at busy or first time Dungeon Masters. This adventure is designed for 3-5 1st level characters and can be played in a single 3-5 hour session excluding character creation. In this adventure the party will find themselves in Hookholm, a small coastal village rebuilding after a devastating storm almost wiped it off the map. The village is located on the inner curve of the Foggy Hook, a spit of marshy land jutting into the Grey Sea. Beset by the sort of calamities that new adventurers will be able to sink their teeth into and will offer opportunities for roleplaying, puzzle solving, exploration and combat. Includes 5 maps in a number of variations, a brand new monster in the vicious Kuo-toa Feral, and a new chase complications table for chases through swamps or marshes.

With your past exploits being noticed the acting ruler of Dilad has requested your presence. An envoy of the leader has met with you and asked you to investigate a growing issue. The city of Acre is in a large scale building operation but limestone from the quarry has stopped coming. Delays will be costly and the party has been asked to go to Fecknic and discover what the problem is. You can’t really disappoint the top dog of the nation can you?
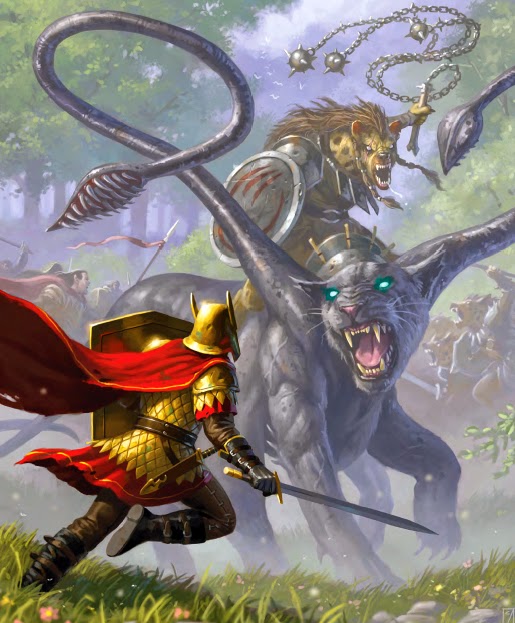
The party is enlisted to assist the Righteous Host, an army formed as a last resort to defend the world against the monsters of Elemental Evil. The host is greatly outnumbered. Its leaders send the party on a series of missions, each of which will give the Righteous Host an edge in the great battle to come. This epic adventure ends with the final push against the forces of Elemental Evil in the Meadows, and the outcome is informed by how effective the party is in their missions... and whether they are willing to risk putting themselves in the front lines. If the Righteous Host loses, players may decide to travel to Hommlet or other nearby towns to defend them. Whether the host is successful or not, players can decide to follow many different plot threads: exploring the Temple of Elemental Evil, finding the lich Kell the Eldest's lair and destroying his phylactory, or following the will of Bitbaern's Shield and discovering historical sites that were previously lost. Pgs. 44-69

*THIS IS A D&D NEXT/5E PLAYTEST ADVENTURE* Imani, a Turmishan wizard and former adventurer, seeks the aid of heroes to infiltrate Dretchroyaster’s lair and recover the Diamond Staff of Chomylla—the key to powerful magic and wisdom locked away for thousands of years. In addition to his own sagely interest in the lore of lost Uvaeren, Imani recognizes the dangers of such powerful magic falling into evil hands. The dracolich has secured the staff in his lair’s cen- tral chamber, using ancient wards of protection that can be bypassed only by four artifact-idols once belong- ing to a cult of Bhaal. Each group of adventurers enters the dungeon through a different section of the dun- geon—a forgotten temple of Bhaal, a vast underground lake, a troglodyte village, or Dretchroyaster’s vaults. Dretchroyaster’s lair is no simple set of caverns and ancient ruins. It sits atop a source of great power and energy, which the dracolich and his Cult of the Dragon allies hope to use to unlock the secrets of the staff. Only by undertaking a unified assault against Dretchroyas- ter’s lair can the adventurers hope to recover the Diamond Staff and survive the dracolich’s fury. The adventurers must make their way through the lair and recover the Bhaalite idols that will help unlock the Diamond Staff, all the while dealing with the lair’s creatures and avoiding the dracolich as he pur- sues intruders. Entering the Chamber of the Diamond Staff, the heroes must overcome its magical wards and claim the staff before being slain by the dracolich and his servants.

BLACKTIDE COVE THE CULT OF THE FISH-MEN From the Ship's Log of the Sprite: "...I can hear them fish-men. All the time with their chanting and hissing and whatnot. There's some kind of religion going on here, down below. We can't understand what they say, but it's something God-like, sure as spray on the foc'sle." A century ago, during the Spellplague, pirates hid a treasure at a shrine in a remote area of Impiltur's coast. Can the heroes claim it from that which lurks there? Blacktide Cove is a 4-6 hour adventure for 6 characters of 6th to 8th level set on the Sea of Fallen Stars! Set on the coast of Impiltur along the Easting Reach, Blacktide Cove can be placed anywhere there's a stretch of lonely coastline and the possibility of pirates. Blacktide Cove is 32 pages of adventure for you and your table! Includes a handy index, cartography by Dyson Logos, new magic items, and full-color player handouts - including exclusive art from Patrick E Pullen! Includes print-friendly version!

Halfling thief, Alton Lightheart, awakens to discover his shadow is gone! A child's doll kills its victims in a cruel and unexpected way. A sound-stealing sword is lost in a ruined volcanic temple. Among the witch’s valley mist, The Murk, sinister fey shadows terrorize the forest, demon spirits haunt old ruins, and undead howl from the volcanic shrine. Can the adventurer’s purge the vale of evil to gain its lost magic and riches? A three part adventure: 1. Alton’s Shadow: Delirious, bloodstained, alone. Halfing thief, Alton Lightheart, awakens to discover his shadow is gone! Will the adventurers help him to confront the unknown dread that awaits him? 2. The Vanishing at Rhu: Long Ago, the folk of Rhu made an agreement with a witch to save the thorp from destruction. She honored the agreement, but the folk broke their promise. One year later the village was razed. How? What wickedness lurks among the ruins of the fallen-tree village? 3. Stillness: A temple suffers a volcanic eruption. Believing it is the will of an angry god, all of its shaman are ritually slain. After years of disuse, the temple awakens as the zealots are reborn . . . as undead. Meanwhile, a magic sound-stealing sword is lost by explorers. Should an expedition seek the weapon and uncover the secrets of the lost shrine? Published by Wicked Cool Games

"Ribbons of blood dance through the air, tracing wide crimson arcs before fraying into thousands upon thousands of bright red droplets. The cheerful tavern atmosphere evaporates in a moment, rent apart by screams and cries. A woman with grey hair stands near the bar, grasping at the dagger in her throat with fingers made slippery by blood. She sways and collapses. More screams. A man stands before her. He is holding the hilt of the dagger, but lets it slip from a gory hand as the woman falls. He freezes for a moment, then spins and sprints away, knocking aside people as he goes. A young, flaxen-haired woman at the back of the tavern cries out, “Stop him! Stop him!” as he approaches the entrance – the entrance where you and your comrades are standing. What do you do?" A lonely outsider murders a popular village local before a room full of witnesses. But could he be innocent? The Lurker Beneath Red Larch is a 4-6 hour adventure for characters of 3rd-4th level. It is full of roleplaying, problem solving and challenging combat encounters.

Something sinister is brewing in the Emerald forest! It starts off simple, as they do. A group of fresh-faced adventurers is tasked with clearing out rats in the tavern cellar. What they find down there is something more than they bargained for. Now, they have to make a perilous journey across an uncharted forest to face off against an unknown threat (it’s a swarm of BrainiumOGL Rats). The fate of the entire world might be at stake! (or that of a small hamlet, at any rate!) Ratcatchers is a 4-6 hour setting neutral one-shot adventure for four to five characters of level 1-2. It has been designed keeping in mind players new to the game. Features A 25 page full-color and fully illustrated PDF, a printer friendly B&W version, and a tested for screen readers accessible version. A beginner friendly adventure that hangs a lampshade on RPG tropes, then sets said lampshade on fire. A template to convert any beast into were-rat hybrids. Rat-bunny and rat-pigeon, a.k.a. Trash Gryphons included. Several colorful battle maps for VTT use. Terrible rat based puns. Content Warning: The intended tone of this adventure is a mix of horror and comedy. Where it exactly lies on the spectrum of horror to comedy is up to you, the DM, and your players. There is depiction of body transformation and body horror, parental neglect and tight spaces. Also, there are rats. Lots and lots of rats. Published by undeadR

Ever been on a long running campaign and in one of the sessions one or a few players couldn’t make it? This adventure was made to be used as sort of a filler episode to fix that. Made for a small party of 1st-4th lvl characters and to be played in a single session. Story summary - The Gold Knife Bandits, a gang formed by a former army squadron that deserted. They are remarkably loyal to each other and are known in the area for attacking army caravans and camps. However, after several months of unfortunate loots. They decided to house a cultist of Beshaba and do what he asks to take away the curse of misfortune the gang is obviously under. Unfortunately, that includes using some members of the party as a sacrifice. The party will find the bandits cavernous hideout, clear through it, face the cultist, the Bandit's old boss, or both! All in a day’s worth of adventuring.
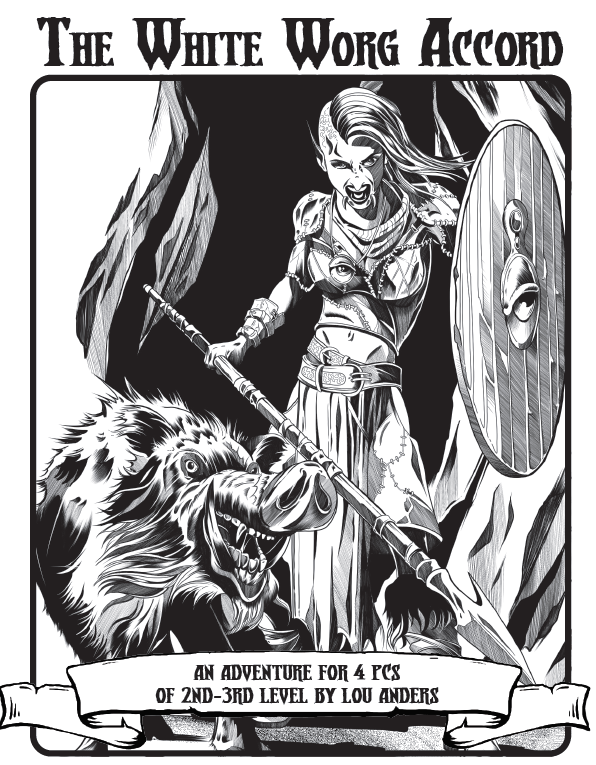
The noble dwarf Wulfstan vom Meer seeks adventurers to travel on his one remaining ship to the clan’s village, and to protect his vessel against any threats at sea. When they meet the White Worg Reavers, he wants the party to negotiate for the loan of two longships and their crew. Vom Meer offers 500 gp to anyone willing to undertake this task. It seems like easy money. However, the Wolfheim clan has troubles of its own—a group of trollkin bandits known as the Mossback Raiders have been competing with the White Worgs for territory west of Wolfheim. Their rivalry is coming to a head. When the PCs arrive at the White Worg homestead, they learn that the reaver dwarves are recovering from a recent attack. Their homestead has been sacked and vom Meer’s kinsman, Knud Stoneson, has been slain. Without a family connection, the clan’s chief will agree to vom Meer’s proposal only if the PCs will help rid them of that troublesome band of trollkin. If the PCs are to succeed in their task and help vom Meer, then a reavin’ they must go! This adventure for the 5th Edition of the world’s first RPG is meant for four 2nd and 3rd-level characters. Designed by Lou Anders, with cartography by Dyson Logos and cover art by Phil Stone.

An initial level adventure, this scenario has allowed for each PC to have an encounter as they get to the community of Lakedale (offered earlier) to prepare for their career. After successfully getting to the town the new PCs quickly discover a job opportunity pertaining to an overdue shipment from a Gnome Alchemist. Gelbo Green, alchemist, has an agreement with one of the merchants in town and is late on a delivery. Lettice Beauson runs the Purloined Purse and is looking for a group of adventurers to check on him. Time to start your careers!

STILL WATERS Sushi or Steak? Freshwater sahuagin!? Landlocked for hundreds of years, this colony of sahuagin have adapted to live in fresh water and flourished in secret, at least until recently, with the aid of a mysterious patron. Now, they need the party’s help to retrieve something precious to them… This adventure was originally made for a West Marches campaign, but is designed to easily fit into any standard fantasy setting. There are many areas to insert plot hooks for your own world or campaign. A 4-hour adventure for 6th-8th level characters by ALAN TUCKER