
Katha is a fully built city with nearly a hundred NPCs, dozens of shops, and many different factions all vying for power over this growing city. Katha is a growing city-state that can expand (or regress) in any direction depending on the choices of your group. It can easily suit any party of any size or level but is designed for mid-level parties with money to spend. The city will grow (or shrink) and change at the party's every move, making it a city full of potential. The document also includes a map and key for the city, four stat blocks for two major NPCs, a new monster, a boss fight, and a dungeon map. Katha is designed to be placed into any setting with only minor alterations. Advice for how to fit Katha into your setting is provided throughout the document. Included is also a plotline that can span anywhere between four and ten sessions. The Cult of the Storm, a mysterious and millenarian cult, hopes to bring about the end of the world so that it may be reborn. Several of the groups and NPCs in Katha are secretly working for the Cult. Will your party realize that they are accidentally helping them in time to stop the Cult from assembling the four parts of the weather control artifact and starting The Storm? The plot will also develop the city and reward your party not with wealth, but with property and the ability to build what they want and invest their time and energy into growing Katha.

Stop evil cultists of the Crushing Wave. The party rescues a member of the Brotherhood of the Cloak in Mulmaster (local mage guild); Drayson Fivestar. Drayson asks them to investigate the murder of his colleague. After some urban investigation, the investigation leads to a former guard tower of the Zhentarim, now occupied by elemental cultists. The tower was submerged in mud, but recently uncovered. The party faces of with the cultists. (Large page count, but feasible as a one shot after some editing, will probably take two sessions at most)

The Feystone Shards is an adventure for characters from levels 5-8, optimized for 4-6 player characters. This moderate length campaign should have 20+ hours of gaming, all focused around the Forgotten realms area of Red Larch. The Heroes are tasked to find five fragments of a shattered Orb, once worshipped by a faction of Elves. The search will take the party to a haunted Citadel, as they seek the scattered remnants of the Feystone. From a city of Stone Golems, to an alchemist's underground lair - the players will face obstacles and enemies that will challenge their very resolve. The Heroes will need to discover the secrets of the bauble's fey magic, finding the lost Elvin city where the Orb was once worshiped as a God. Join in the hunt for the Feystone Shards, and see if your characters are ready to transcend common Heroes...and become Legends.

Prince Zeech, the ruler of the town of Alhaster and lord of the domain of Redhand, is throwing a party. Bandits, slavers, pirates, and worse have been invited, along with a mysterious woman who holds the key to the coming apocalypse. "The Prince of Redhand" is the eighth installment of the Age of Worms Adventure Path, a complete campaign consisting of 12 adventures, several "Backdrop" articles to help Dungeon masters run the series, and a handful of poster maps of key locations. For additional aid in running this campaign, check out Dragon's monthly "Worm Food" articles, a series that provides additional materials to help players survive this campaign. Issue #340 of Dragon presents guidelines for what the PCs can do to dress to impress, and perhaps eke out a few precious bonuses on their Diplomacy checks. Pgs. 48-79

5e Solo Gamebooks presents Drums at Daggerford, the fifth in our continual series of solo adventures set in the Forgotten Realms. This quest enables you to experience D&D without a dungeon master! Simply roll up a level 5 PC and get playing. Drums at Daggerford is the way you must experience solo adventuring. Players and DMs beware, a new standard has been set. This solo adventure continues the story arc first begun in Death Knight’s Squire, developed further in Tyrant of Zhentil Keep & Citadel of the Raven, and left in The Tortured Land. Drums at Daggerford’s ability to echo a Tolkien spirit reverberates throughout the narrative no matter which path you may choose. But choose wisely because a razor’s edge separates peril from glory. Over a year in the writing, this latest instalment in our solo adventure series is a mini sandbox campaign that will give you anywhere up to 8 hours of solo adventuring enjoyment. Completionists and those who like to replay these adventures will get even more gametime. There are mysteries to be uncovered, items and sidekicks to be gained, codewords to unlock and villains to conquer! With lots of exploration, meaningful decisions, hard fights, and a variety of rewards and stories, Drums at Daggerford will continue to resonate with you long after solving the big mystery behind Krond Vikkurk’s malevolent plans.
A boxful of trouble. Sugar and spice and everything nice, that's what little girls are made of - but not this one! Think of this short adventure as 'Home Alone' meets AD&D. An apprentice to the town's wizard accidentally got into the cursed items while her teacher was away. Now she's acting strangely and playing a dangerous game of hide and seek with the party! Pgs. 44-47
This module is based on pre-Columbian Meso-America. Some changes from historical reality have been made to make the transition from reality to fantasy easy to accomplish. It is recommended that the DM research one or more of several historical works in order to more accurately recreate the atmosphere established in this adventure.
Provost Faurious has procured an Aethervane, an astrolabe-like instrument tied to Kythri that's used to navigate manifest zones. Unfortunately for the Provost, the Riedran ship that was carrying the Aethervane across the Sea of Rage to deliver it to their agent in Regalport fell victim to piracy. The player characters are dispatched to Regalport to meet up with the Provost’s agent there and petition High Prince Rygar for more information about the stolen cargo. When the characters dock in Regalport, they meet the Provost’s contact and are ushered into a meeting with High Prince Rygar. Wishing to show his intolerance for piracy, Rygar charters one of his own ships for the party’s use as they investigate the stolen cargo. Upon arriving at the crash site of the stolen cargo, the party is set upon by a fleet of pirates known as the Wind Whisperers. When things turn sour, a new surprise reveals itself as an unnatural storm rolls in, a stolen airship at its heart. The Wind Whisperers have found a way to convert the Aethervane to serve their own purposes. Seeking aid from Rygar and House Lyrandar, the heroes chase after the pirates by sail and airship. As they do, they are bedeviled by the Chaos Fleet—strange ships sailed by an even stranger crew that are drawn to the Aethervane and the chaos it brings. In a final airborne confrontation, the party boards the rogue airship and retrieves the sought-after artifact, with a chance to salvage or sink the stolen vessel in the process…
Beware the night-things, strangers!

The party seeks out Commodore Krux at the Happy Beholder. After speaking with the patrons, the party learns that Krux has disappeared and gets a lead to check out his ship, the Second Wind. At the ship, the party learns from Fel Ardra and Flinch that Krux is being held prisoner by the Amoebros in a cave on the underside of the Rock of Bral. The party infiltrates the Amoebros’ lair, gets past the guards, and learns of the animal experimentation performed by the gang. In a final climactic scene, the party rescues Krux from Ripples, the wicked boss of the plasmoid gang.

With Pardor in the middle of a heated civil war, your PCs have their own futures to ponder. Pulling into the fortified town of Parmatu, the group quickly discovers that they are not the only strangers in town. The plot thickens quickly as the adventurers discover that the other strangers are none other than a member of the royal family. Can the PCs help defend the rightful heir against a group of marauders hell bent on catching the young lord?

The player characters have been invited to compete in the infamous Laureate Trials. The Laureates are a well-known adventuring guild. Once a year, they allow a select group of known adventurers to take part in the Laureate Trials. The prize is becoming an official member of the Laureates, with all the perks and responsibilities that awards. Rumour has it that new initiates will be awarded a coveted Laureate Pin, with special powers of communication. This adventure is a starting module, designed for new players and Game Masters. It should take 1 - 2 hours with a standard group of 4 players. Everything you need to know is contained inside or in the Dungeons & Dragons Basic Rules. It is ideal for helping a beginning group of heroes get started and giving them a motivation for further adventures. Inside, there are Trials to test Agility, Wits and Combat, plus a special encounter at the end which will determine the fate of a forgotten individual.

Sharn is paralyzed. Half of the council was under the control of roach thralls for the last 20 years, and with the conspiracy revealed the government apparatus is at a standstill. The criminal organization Daask rises from the underbelly to take control of the chaos and further destabilize the city.

This couldn’t get worse. The key you are searching for has fallen into the hands of the eye tyrant of Skullport himself. Now you just need to rob Xanathar without getting disintegrated. Part Three of the Skullport Shakedown trilogy. A 2-4 Hour Adventure for Tier 2 Characters. Optimized For: APL 8

A Tutorial and Alternate Start for Lost Mines of Phandelver Before Phandelver is a tutorial adventure designed to help new players and DMs be better introduced to Dungeons & Dragons. Crafted with best educational practices in mind and covering important details of preparation and mindset often overlooked, especially by new DMs, Before Phandelver will help the Lost Mines of Phandelver truly become the adventure worthy of inclusion in the Starter Set.
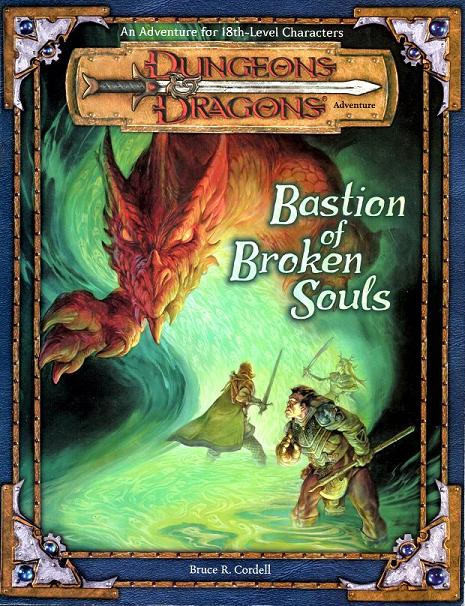
The Blood of Ancient Battles Rises An eternal demonic war draws dangerously close to an end, threatening the balance of all existence. At the crux of this chaotic feud resides a legendary terror fixated upon immortality at any cost. Only the most powerful heroes can hope to defeat a force that lies beyond the influence of the gods. "Bastion of Broken Souls" is a stand-alone adventure for the Dungeons & Dragons game. Designed to challenge 18th-level D&D heroes, it pits them against some of the most powerful beings in the multiverse. This adventure is the last element in a collection of adventures designed to take characters from beginner to advanced levels of play (although no previous adventure need be played to play this one). "Bastion of Broken Souls" features an additional 16 pages of content for the same price as most of the previous adventures in the series. WOTC 88167
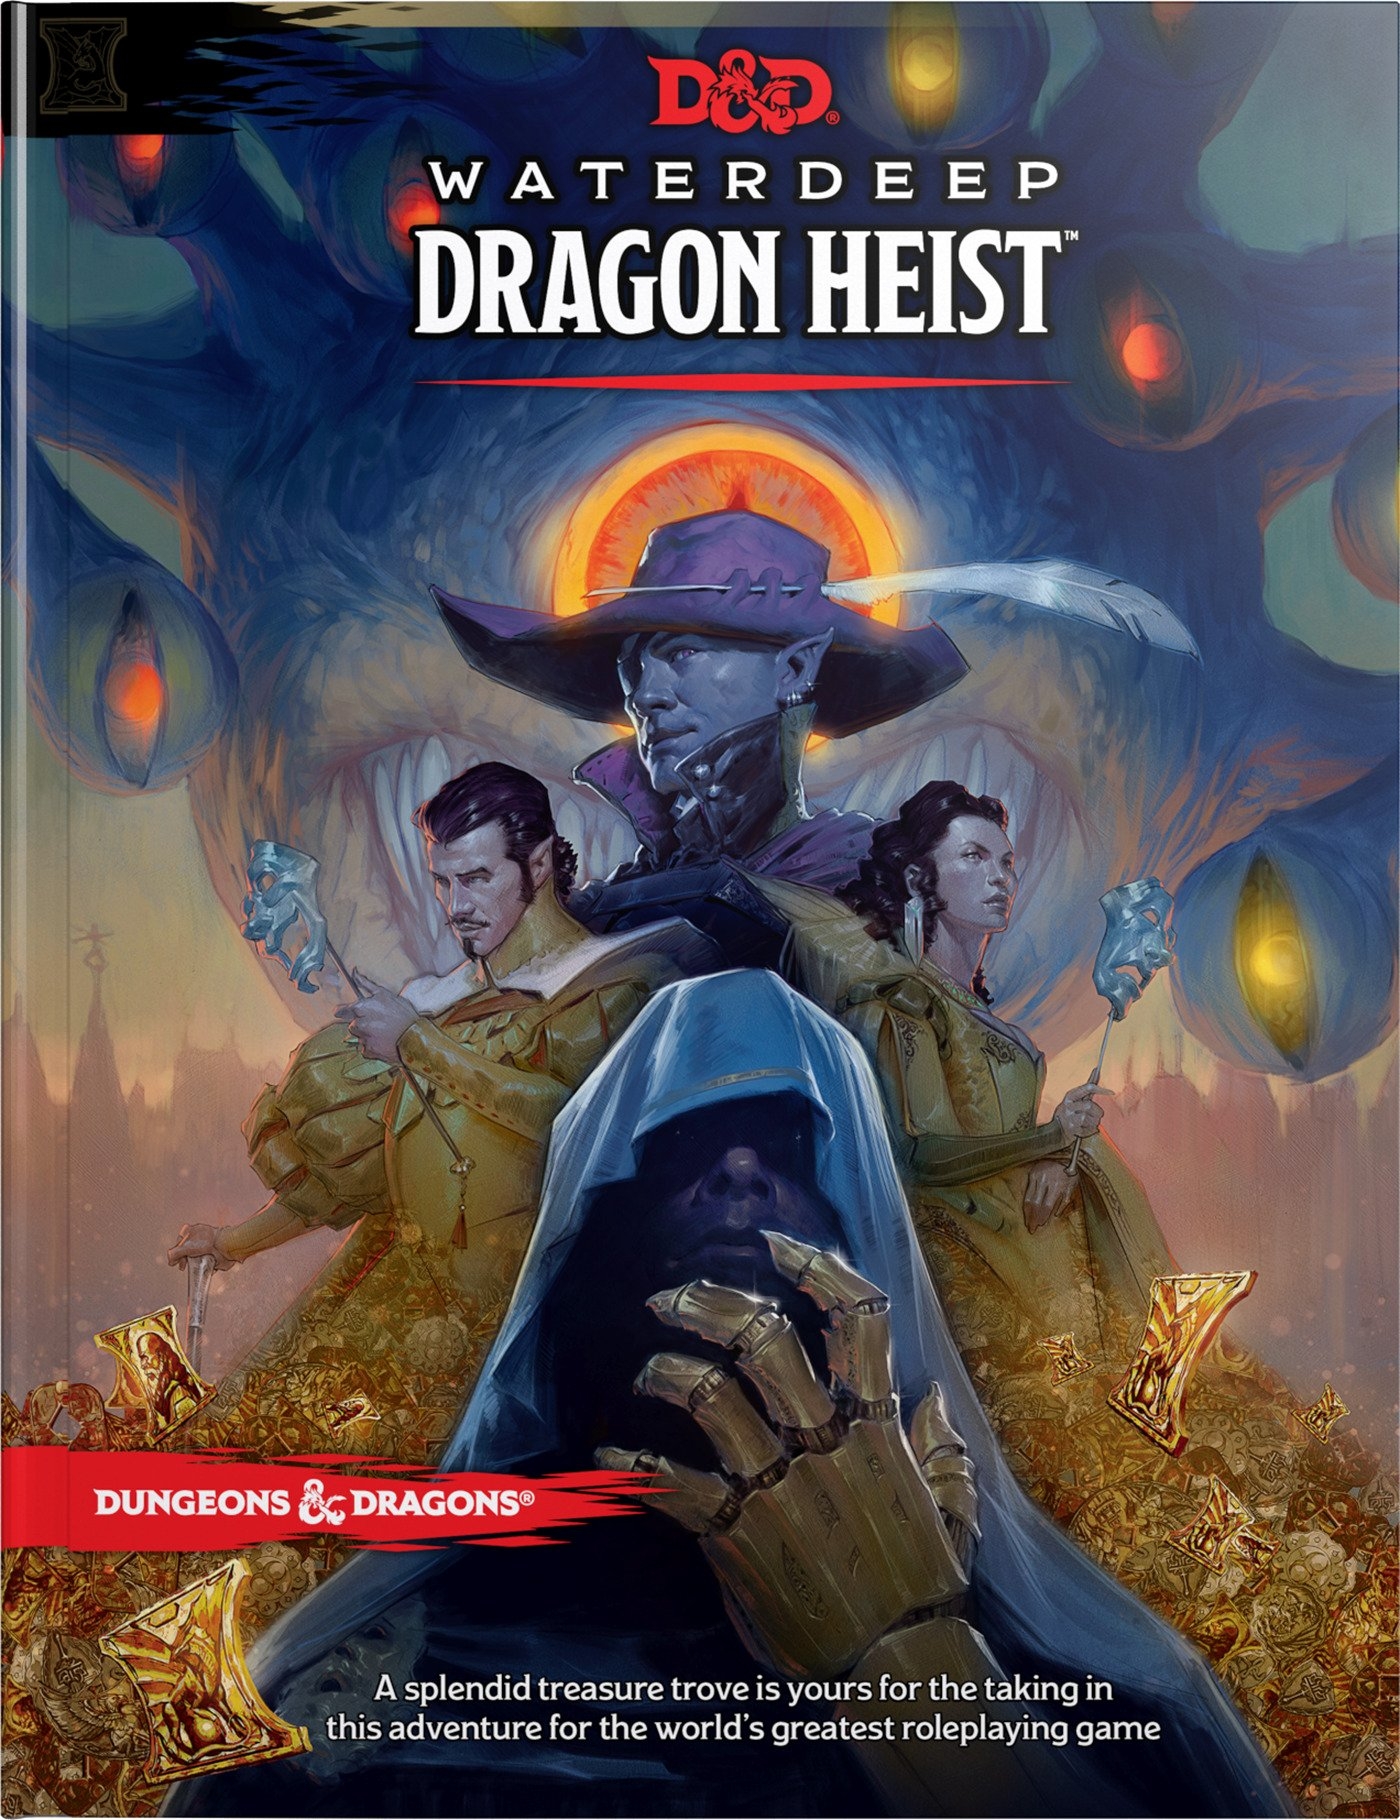
Welcome to Waterdeep! A fantastic treasure trove is yours for the taking in this adventure for the world's greatest roleplaying game. Famed explorer Volothamp Geddarm needs you to complete a simple quest. Thus begins a mad romp through the wards of Waterdeep as you uncover a villainous plot involving some of the city’s most influential figures. A grand urban caper awaits you. Pit your skill and bravado against villains the likes of which you’ve never faced before, and let the dragon hunt begin!

A moderate sized town perfect for adventurers to relax in and pick up extra supplies and lift a pint or two. This particuliar town is a focal point in several adventures in Filbar including FN6 - Sunken Temple of Bulu and F3 - Adventure in Skull Pass. A larger settlement than Xer, Feastelburg offers a variety of different shops for the well-heeled and 'healed' adventurer. As the Mayor of Feastelburg says "Oy, pull out a stool and drop a coin or two for something that suits your fancy"

Deep in the elven forests of Myereth, ancient rowan trees spread white boughs above a sacred site. Pillars of stone twist like some strange form of vine, curling among the branches and reflecting the light of a silvery moon. The forest is silent, and beautiful, protected since the dawn of time by a powerful Unicorn. The elven forest of Myereth is well known throughout the world as a safe haven of good and peace, a place where evil cannot stand to enter and where the trees weep healing tears upon those injured within its boundaries. Any player character elves know of the forest, its healing properties, and its legendary beauty. They may have heard of it as a legend, or they may have visited its mystic shrine when they were children, brought along on a pilgrimage by other elves. But something has gone terribly wrong. Refugees from Myereth, terrified and confused, are flooding into other elven cities. They speak of a great evil that has conquered the forest, one that has killed the body of the immortal Unicorn and tainted its spirit. Myereth runs with blood, they say, and the once-powerful rowan trees have begun to wither and die. In the center of the Rowan Grove, the bloodied bodies of the last elven warriors of Myereth lie scattered and broken. Those responsible call themselves the Servants of the Blood Moon, and they are led by a dark-robed sorcerer. The surviving elves do not know this evil man — all but one of those who fought against the Servants died — but they know that the sorcerer calls himself Tamarat. He has butchered the Unicorn, the spirit of the forest. The Myereth, and the elves, are dying.

The walled city of Wheloon holds the criminal population of Cormyr. The residents of that place are bound to it forever and cut off from the outside world. Inside, plans are made and malcontents pool their resources – and outside, forces influence the innocent to ensure that a dire plot can be realized without interference from the knights and mages that guard the realm. Now you’re here with no memory of what brought you to Wheloon, and all you can think of is finding out why!