
To arms! To arms! The battle lines are drawn as desert men and inhuman tribes wait poised to strike on the fertile and rich lands of the east. The call has gone out through the civilized lands. The armies have been raised to match the invading foes from the west. Nobles and peasants have joined swords to greet the foes. But Fate or Chance has decreed another role for a small few. No glorious banners will wave on their march. No squadrons of knights will charge at their word. Instead, they will fight the war with stealth, secrecy, and cunning. The risks they will take are great, but the fates of both armies lie with them. It begins one night for your party far from the fighting. Suddenly you are entrusted with the most dangerous mission of the war. Can you cross the Sind Desert, occupied now by enemy armies, to find the Great Pass? Can you find the one known only as The Master? What will you do if you find him? So begins your adventure in The Master of the Desert Nomads, the first module of a two-part adventure that can be concluded in the exciting Temple of Death or played entirely on its own. Can your party do what must be done? TSR 9068
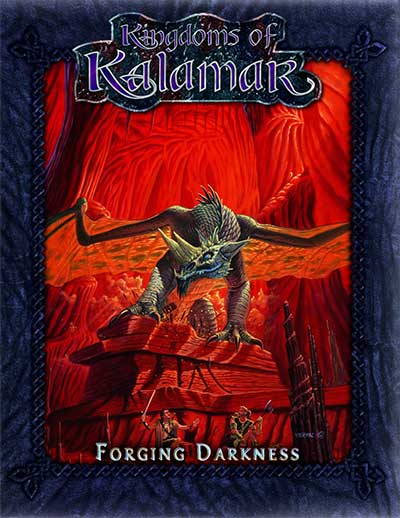
A Scavenger Hunt? The adventure begins in the city-state of Zoa as the wizard Geolain tasks the player characters with a quest to gather three ingredients they will use to forge a magic coin to defeat an evil wizard. Which will be more dangerous to collect, the mysterious diamond touched by death, the blood of a devil spilled by a coward or a blue dragon's breath? As the player characters race around Reanaaria Bay ti find the rare items, their nemesis Daresh the wizard begins to grow in strength and wrest power from the Skryvalkkers of the Lands of Skaarna. Will the player characters find the ingredients and enchant the coin in time? They just might be Skaarna's only hope. Published by Kenzer & Company

Introductory adventure for Dark Sun, included in the original box set. PCs start on a slave caravan but are freed when it is attacked. With limited equipment and water, they must cross the desert to an oasis then save a druid. As with many Dark Sun adventures, uses a flip book providing 24 maps and illustrations for players. Combines combat encounters with survival encounters, where the treasure may just be food or enough water for another day.

Temple of the Gleaming Sands is a short adventure for four 5th-level characters that features monsters, spells, and items from the newly released Sandstorm book. You can use this scenario to introduce the new material on deserts and arid wastelands into your campaign, or you can just use it as a site-based adventure in a desert area. The scenario is set in a remote area of the desert that very few humanoid travelers visit. The temple from which the adventure takes its name has lain forgotten for centuries and is now inhabited only by monsters who use it as a base. The area around the temple should be inhospitable enough to discourage humanoid settlement.
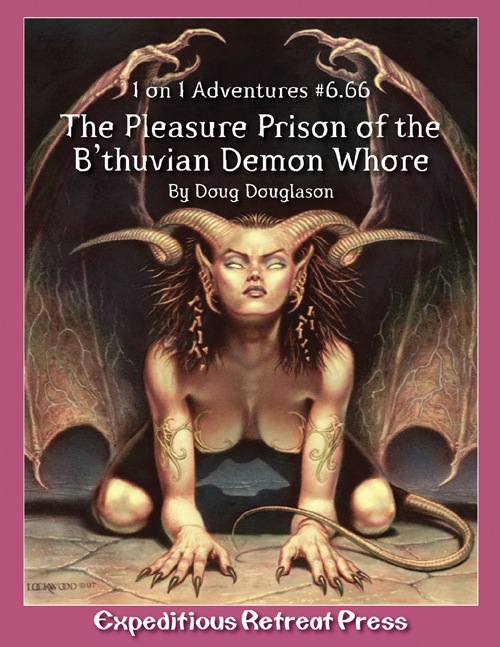
The adventure that is, quite frankly, too strong for the mere hobbyist gamer! A desert caravan ambushed! An incognito Queen elfnapped and taken to some sandy hideaway! A hero of epic proportions! Within these covers is the greatest adventure ever told. Will the dangerous renegade B'thuvian Demon Whore Alayshia have her way with our hero or will he have her to his way? Which way will the having be? Only you, playing the role of Krunk barbarian of the frozen wastes, will ever know...
The City of Sands adventure module starts where the Domes of Ishaq-Zahur leaves off, sending a party of heroes from the peril of the desert tombs to the streets of the sandy metropolis, Archensheen. There the players will find themselves caught in the middle of a fierce struggle for political power and ancient artifacts as factions from all across the city vie for control of relics from the Nartheneen's glory days. Choosing a side may make more enemies than it does friends, but can the heroes survive if they choose to stand alone? Part 2 of 6 in the Fate of the Forebears series.

In the Anauroch desert, darkness is growing. The followers of the Vile Spore Goddess Zuggtmoy have stolen the dreams of the Bedine Seeress Deja, trapping them in an eldritch artifact. Unless her dreams are returned, the Seeress will descend into madness, and her people along with her.
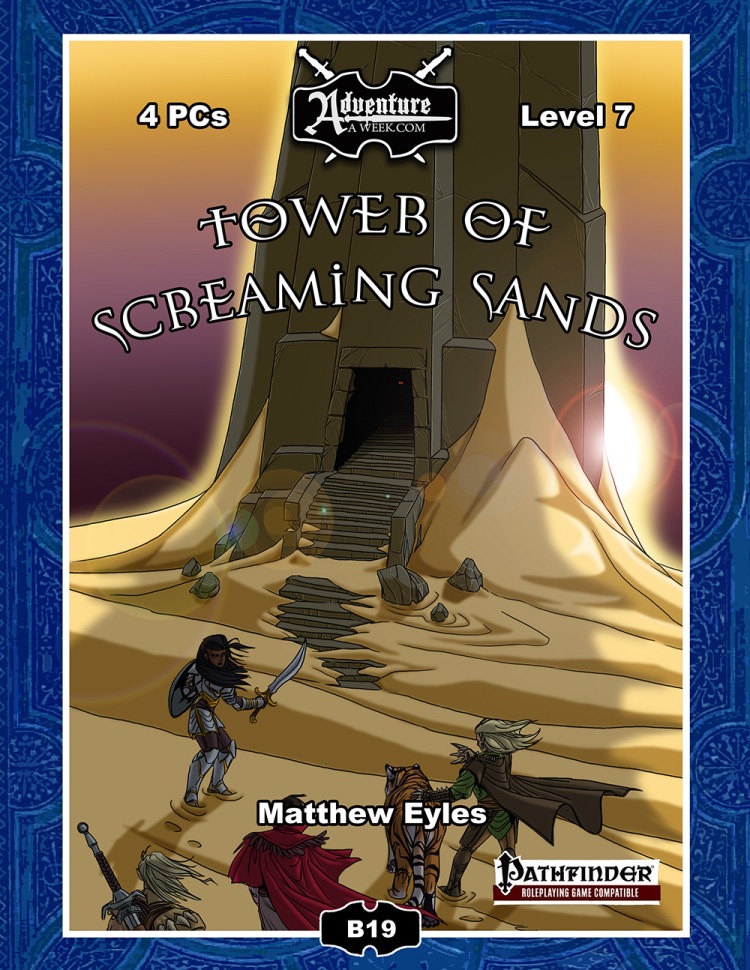
Deep within the blasted desert wastes a mysterious black tower has been sighted. The structure is not marked on any known map and has not been seen in this location by travellers in the region, yet there it stands. The adventurers set out to explore this ancient, isolated tower that appears ripe for the plundering. Within they face a gauntlet of insidious traps and supernatural horrors. The deeper the adventurers delve, the more secrets of the tower’s origins they uncover. The tower’s sinister creator does not rest easy in his arid grave – the adventurers must face him if they are to survive the Tower of Screaming Sands. Also included in “Tower of Screaming Sands”: Five deadly new traps: The Chamber of Ten Thousand Teeth, The God’s Grasp, Chamber of Flooding Sand, Hall of Arcing Blades and Descending Stone Block. A new monster – the scorpion swarm. Rules for whirlwinds, a new magical hazard GM tips for running overland travel.

To Hell and Back Again is the perfect adventure for new players and veterans looking to experience Dungeons & Dragons in a new way! It's written as a solo adventure, where choices have gigantic consequences, but it also provides balanced rules to play with a group or a Dungeon Master as well! This 80 page adventure features: - A heart-pounding origins story that fits perfectly as either a prequel to Descent Into Avernus, a stand-alone adventure, or into your ongoing fantasy campaign. - Beloved characters like Lulu the hollyphant, Mad Maggie and her redcap gang, the archdevil Zariel, and many others brand new to this adventure. - Infernal War Machines, and exciting encounters with unique stat blocks. - Innovative Destiny and Traits mechanics that make your choices really matter. - A ton of possible outcomes that will fuel your character's many adventures to come! - Four gorgeous sample characters, with interactive character sheets designed to be new-player friendly so that you can jump right into the story if you'd like. - A community survey when you finish so that you can see how your outcomes and choices compared to other players!
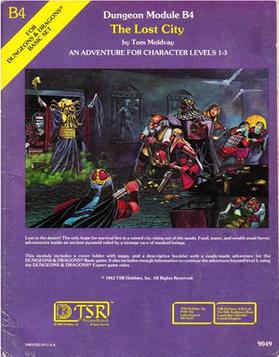
The Lost City is a low-level adventure, in which the only hope of the PCs' survival can be found in a ruined city slowly rising out of the sands. The adventure is set inside a huge step pyramid, with the lower pyramid only sketched out and the city itself described with a list of the major areas and a map. The adventure’s main villain is Zargon, a giant one-eyed monster and his minions. The entire double pyramid, not including the city, contains over 100 rooms. The module is designed to give novice Dungeon Masters experience fleshing out adventures and is only partially complete. Later TSR material hints that this adventure possibly takes place in Mystara, but the material is largely setting-neutral. TSR #9049
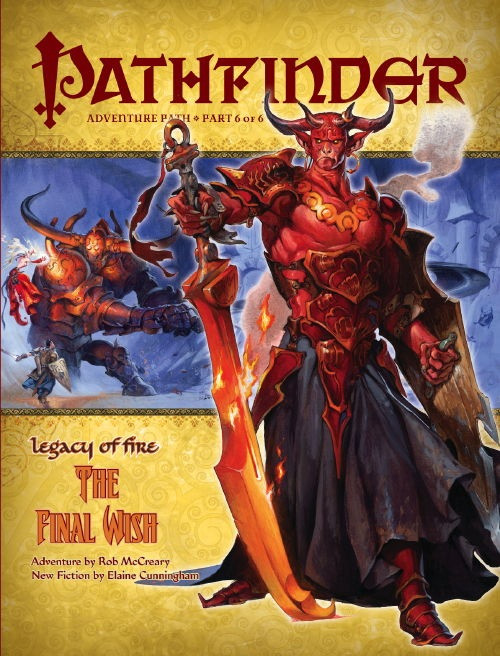
Fear and ruin grip the land as the long-imprisoned army of a mad genie renews its ancient war. From the streets of the exotic city of Katapesh to the shadow of cursed Pale Mountain, this horde of immortal warriors leaves only fire and ruin in its wake. Empowered and perverted by the granting of wild wishes, this seemingly invincible legion strangles the realm in its fearful grasp as an obsessed general stokes the embers of an age-old devastation. Can the PCs save Katapesh from both a burning tyrant and the resurrection of a living apocalypse? Find out in this, the climax of the Legacy of Fire Adventure Path! This volume of Pathfinder Adventure Path includes: ◆ “The Final Wish,” an adventure for 14th-level characters, by Rob McCreary. ◆ Accounts of the Spawn of Rovagug, the titanic spawn of the god of destruction, by Clinton Boomer. ◆ The magic of genies and insights into the power of wishes, by Wolfgang Baur. ◆ Pathfinder Channa Ti’s last-ditch efforts to prevent a dark god from entering the world, in a climactic Pathfinder’s Journal by New York Times bestselling author Elaine Cunningham. ◆ Seven new monsters by Adam Daigle, Rob McCreary, and F. Wesley Schneider.

Content in English / Contenido en Español Mini Hex is Hex Crawl that can be played in one session, its ideal to show your players what a hex crawl is about. It may serve simple purposes as finding some rare flowers in the forest, the location of a ritual in the city or the cave with the treasure in the hills. This module contains: 3 scenarios. 18 combat encounters for levels 4, 7 and 11 characters. 30 obstacles encounter of varying difficulty. More than 100 traps variations. Aids for easy setup. Area and battle maps. A couple of interesting mechanics to make your game feel fresh. Mini Hex es Hex Crawl que se puede jugar en una sesión, es ideal para mostrar a tus jugadores de qué se trata un rastreo hexadecimal. Puede tener propósitos simples como encontrar algunas flores raras en el bosque, la ubicación de un ritual en la ciudad o la cueva con el tesoro en las colinas. Este módulo contiene: 3 escenarios. 18 encuentros de combate para personajes de nivel 4, 7 y 11. 30 obstáculos ambientales de diversa dificultad. Más de 100 variaciones de trampas. Ayudas para prepara rápido y fácil una partida. Área y mapas de batalla. Un par de mecánicas interesantes para que tu juego se sienta fresco.
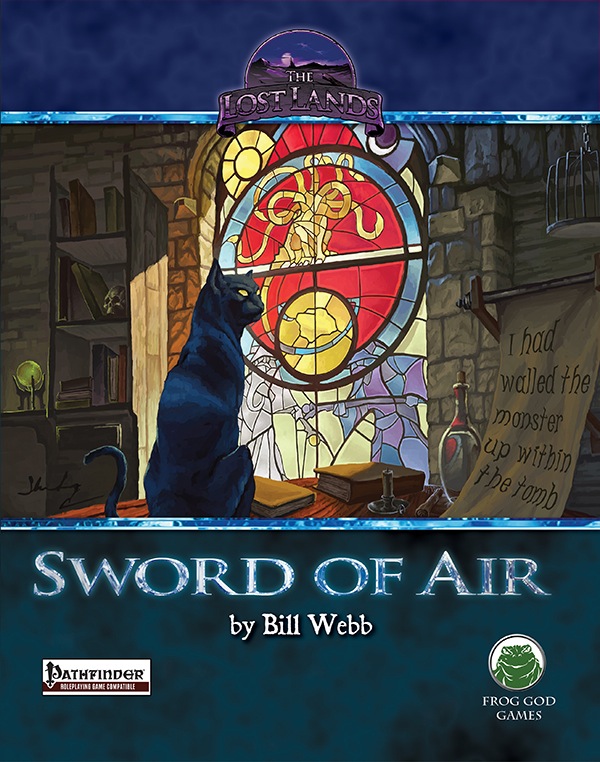
What is the Lost Lands? The Lost Lands is the home campaign world of Necromancer Game's and Frog God Game's own Bill Webb. This campaign has been continuously running since 1977. Many of the adventures published by Necromancer Games and Frog God Games are directly inspired by this campaign. They have evolved over the decades, and more material continues to flow from it as the dice keep rolling. Sages and wizards of legend speak of the Lost Lands—many of the players who have lived and died in Bill's campaign over the years now have a place in history (in the books). Frac Cher the dwarf, Flail the Great, Bannor the Paladin, Speigle the Mage, and Helman the Halfling are well known to the fans of Bill's work. This is the game world, and these are the adventures in which the players of these famous characters lived and died. Hundreds of players over the past 35 years have experienced the thrills and terrors of this world. The Sword of Air is the centerpiece of the Lost Lands. Currently, this epic tome consists of several parts: 1. The Hel’s Temple Dungeon—kind of like Tomb of Horrors on crack. This six-level, trap-and-puzzle infested dungeon formed the basis of Bill's game through his high school and college years. Clark Peterson’s very own Bannor the Paladin spent several real life months in the place, and, sadly, finished the objective. This is where the fragments of the fabled Sword of Air can be found…perhaps. 2. The Wilderness of the Lost Lands extending to the humanoid-infested Deepfells Mountains and providing detail about the nearby Wizard’s Wall. This so-called “wall” was raised by the archmages Margon and Alycthron harnessing the Spirit of the Stoneheart Mountains to raise the land itself, creating a massive escarpment to block invaders from the Haunted Steppes. These archmages are actual player characters from the early 1980s who live on in the legends of the Lost Lands. Over 70 unique encounter areas are detailed, and each one is a mini-adventure in itself. New wilderness areas may be added based on bonus goals described below! 3. The Ruined City of Tsen. Legend has it the city was destroyed by a falling meteor. This place forms an aboveground dungeon area the size of a city, with over 100 detailed encounter areas. It’s a very dark place…even at noon. 4. The Wizard’s Feud—This campaign-style adventure pits the players in a long-running series of intrigues and battles between two archmages. Which side will they take? Their actions all play into the overall quest, and could well determine which side wins. Law and Chaos are not always what they seem, and if the wrong decisions are made, the entire ordeal could fail. Remember, one of the wizards WANTS Tsathogga to win. 5. New monsters, new demons, new spells, and new rules for various aspects of play. 6. The Tower of Bells. This dungeon is the result of the workshop Bill ran at PaizoCon 2013, where the participants assisted him in building an old-school dungeon. Visit the tower and discover the secrets of the “artist” within. Beware: those entering may never come out!

In the eastern desert stands the ancient tomb of Solomon III. Like all tombs, it is full of magical treasure and crawling with deadly creatures. But unlike other tombs, this one is screaming. Years ago, soldiers and wizards went in to silence the screams, and they succeeded, but they never returned. Now Solomon’s tomb is once again screaming out across the dunes, and no one knows why. Solomon’s treasure is still down there, but then, so is whatever is screaming. ADVENTURE TYPE: Small Linear Dungeon DESIGN NOTES: This adventure is intended for characters levels 5 to 7. It includes a desert wilderness area, an oasis, the tomb exterior, the tomb interior, and a cave system below the tomb to explore. Each area contains various NPCs, new monsters, old traps, shiny treasures, and strange magical items. There are many opportunities for (deadly) combat, and a few of them may be inescapable, but it is possible for players to have complex interactions and to experience very different consequences, depending on their choices. INCLUDES: Story hooks, dialogue prompts, creature stat blocks, dungeon overview map, and full-sized battle maps of each dungeon room that can be printed and used right on the table. KEYWORDS: Tomb, ghuul, ghoul, skeleton, ooze, demon, devil, thief, wizard, desert, sabercat, oasis, spider, viper

“The Lost Mines of Karak” is the sequel to “The Shadow Rift of Umbraforge” and the fourth part of the Scales of War adventure path. After the player characters' success in "Siege of Bordrin's Watch" and "The Shadow Rift of Umbraforge", they have garnered something of a reputation in the city of Overlook. They are introduced to a wealthy patron that believes there is a connection between a shadar-kai arms dealer (from the previous two adventures) and a long lost dwarven mine. The patron wishes the PCs to find and secure the mine in order to use its wealth and resources to defend the city. The party then must travel through a wasteland and desert to find this mine. Once they have, they must fight through the hordes of monstrous creatures that inhabit it and defeat the Queen of the Drylands - a powerful naga. Pgs. 56-93

Appearing only once a century in the western deserts of Katapesh, the Asmodeus Mirage has plagued Golarion for thousands of years. Powered by a crystal bone devil skeleton and legendary for trapping unwary travelers, the Society has a vested interest in studying and cataloging the source of its power. You have been sent deep into the deserts of northern Garund to enter the Mirage—but there's a catch! The Mirage only exists on Golarion for 24 hours every 100 years. Get trapped in the Mirage, and you may never see Golarion again.

For thousands of years a great and terrible secret has lain hidden in the depths of the Sea of Silt. In the heart of this vast dust basin, an endless storm of ash and shrieking wind guards the deadliest concentration of evil and power found on the dying world of Athas - The Valley of Dust and Fire Valley of Dust and Fire more than doubles the known portions of the world of Athas. Intrepid explorers will discover new wonders and perils within the deadly Sea of Silt, from the beautiful island of Shault to the savage Mountains of the Sun. New rules for traveling the dust basin and surviving its many dangers are included. With luck and determination, a skillful and well-prepared party just might pass through the Great Ash Storm and enter the Valley of Silt and Fire. But this realm of shattered badlands and awful monsters is so deadly that only one man has ever reached the valley and returned to tell the tale. TSR 2413

Legend tells of a long-dead empire of sphinxes, ruled over for millennia by a great queen named Ankharet. She fell into darkness and her empire was shattered, as her subjects rebelled and cast her down. Unable to kill her, it is said that they bound her with great magic and buried her in a tomb, to wait for the foretold heroes who would be able to slay her and end her evil forever. Their empire in ashes, the sphinxes scattered to roam the world in bitter freedom, save a single great androsphinx. On the edge of the mysterious Barren Hills, between the mountains and the Great Desert, there is a gigantic statue of a crowned gynosphinx, ancient beyond reckoning. At its feet, a great androsphinx known as Khubsheth the Prophet has dispensed counsel and prophecy to all who come to him for longer than mortal records can tell. The heroes have come to visit Khubsheth, whether for counsel, prophecy or out of curiosity, but as soon as he lays eyes on them, he attacks! Upon his defeat, he tells them that they are the heroes foretold by the legend of Ankharet. Ankharet ruled over a long-dead empire of sphinxes, but she fell into darkness. Her subjects rebelled and cast her down, but were unable to kill her. It is said that they bound her with great magic and buried her in a tomb, to wait for the foretold heroes who would be able to slay her and end her evil forever. Kubsheth the Prophet tells the heroes that they must enter the tomb of the long-dead sphinx queen, kill her, and destroy her cursed crown, an artifact of tremendously evil power. As his blood seeps into the sands, a doorway opens at the base of the statue, leading down into darkness…
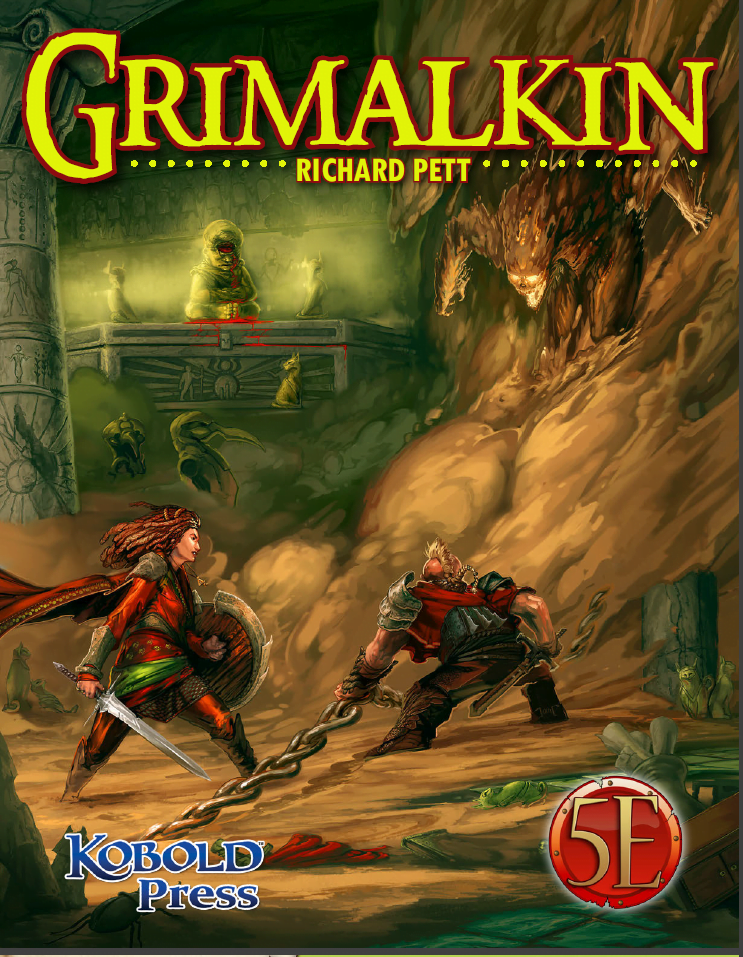
Lo! The corpse of poor, departed Scholar Zubayr, washed up on the shores of the River of Sand, lies in the charnel house…destined to become dinner for a cult of cannibals. Though distasteful in the extreme, this isn’t your concern—except that Princess Karima Gamila, the most beautiful gnoll in Per-Bastet, has begged you to rescue her friend’s body and help discover his fate. Still unmoved to action? Know then, adventurer, that the Scholar was hot on the trail of lost treasure! If you can claim his body from the cult and decipher the clues he left behind, long-buried riches and powerful magic might be yours. But nothing is simple in this city of dark wonders: others converge on the charnel house in pursuit of wealth, vengeance, or both. Can you out-fight and outwit vile cultists, undead catfolk, a cunning werecrocodile gnoll, and the deadly secrets that lie buried beneath the River of Sand? Set in the city of Per-Bastet in the Southlands Campaign Setting, it is meant for play either as the thrilling sequel to Cat and Mouse, or as a standalone treasure hunt! Also available in Pathfinder format.

A cloud of dust forms over the horizon as a titanic army of evil threatens the entire civilized world! The Master of the Desert Nomads and his legions are back, and they form the greatest threat that you have ever faced. You must persuade powerful rulers to join you cause, stave off threats to the alliance, and lead your armies to victory! This adventure contains a full-color map of the D&D Expert Set game world, 200 counters, and a special expansion of the War Machine mass combat rules that allows you to fight the entire war as a strategic wargame! Major battles and engagements can be fought using the BATTLESYSTEM Fantasy Combat Supplement for incredible tabletop action. Never-before-published information on all the nations of the Expert Set game world provides background and detail that will enrich your campaign. This adventure includes large-scale battles and uses an expansion of Douglas Niles and Gary Spiegel's warfare system, "The War Machine", developed as part of the D&D Companion Set (BECMI Ed.) from 1984. "Red Arrow, Black Shield" is more than just a follow-up to X4/X5; it's a lynchpin for the entire B/X/CM adventure sequence. The players travel through many lands that were home to past adventures, and their past interactions with those places could affect diplomacy in this new adventure. TSR 9160