
"The southlands of Eor are being despoiled. Merchants will no longer run their caravans on the main highway past the quiet village of Waycombe. The peasants are fleeing their lands, and all are demanding protection from the powerful Count of Eor. The goodly count has sent a troop of his trusted fighters to exterminate the brigands believed responsible for these outrages, but weeks have passed, and still there is no word from this force. Now John Brunis, Count of Eor, has turned to you for aid. After taking counsel with the High Priest of Eor, he believes that a small party of cunning, bold adventurers may succeed where armed might has failed. You find yourselves faced with many mysteries! Why has robbery suddenly erupted in the peaceful southlands? How could mere brigands be as powerful as the foes described to you by their numerous victims? Is this really mere robbery? Or is there some truth to the rumors, told only in hushed whispers, about the beginnings of a hideous plot being hatched by an ancient, vile, and evil foe of all mankind?" Eor is beset by marauders and lizardmen of a boldness not seen in years. Hired by the Count of Eor, the party is tasked with tracing the source of these foes and eliminating them for the safety of the realm. After a set piece combat in Count Brunis's castle, the party must trek across Eor's wilderness, eventually coming to the Great Southern Swamp beyond the village of Waycombe. With further exploration they can locate the Ancient Temple which serves as the tomb and stronghold of Sakathas, the vampiric LIZARD KING! TSR 9055

"Few brave souls dare to visit the City of the Dead at night. Some might say that tales of nighttime horrors are for children, but the wise folk know better" Three members of the Jackals gang, a famous grave robbers, are found murdered in the City of the Dead cemetery in Waterdeep. Their wounds are horrible, and their jaws are completely destroyed. City Watch is looking for heroes who are willing to stand up for their city and investigate this murder which has a clear supernatural influence. This adventure can be used as a faction mission for Waterdeep: Dragon Heist as well as a standalone one-shot. Sins of the Past features: - Investigation of a mysterious murder, which leads to uncovering one of Waterdeep’s families dark secret - Old family mausoleum full of dangers and secrets - Famous Mirror of Life Trapping with enemies trapped inside, which adventurers should face - Encounters with various undead creatures like will-o-wisps, zombies, specters, and ghosts - Moral dilemma characters should solve and two possible outcomes

Under raging stormclouds, a lone figure stands silhouetted against the ancient walls of castle Ravenloft. Count Strahd von Zarovich stares down a sheer cliff at the village below. A cold, bitter wind spins dead leaves around him, billowing his cape in the darkness. Lightning splits the clouds overhead, casting stark white light across him. Strahd turns to the sky, revealing the angular muscles of his face and hands. He has a look of power - and of madness. His once-handsome face is contorted by a tragedy darker than the night itself. Rumbling thunder pounds the castle spires. The wind's howling increases as Strahd turns his gaze back to the village. Fas below, yet not beyond his keen eyesight, a party of adventurers has just entered his domain. Strahd's face forms a twisted smile as his dark plan unfolds. He knew they were coming, and he knows why they came, all according to his plan. He, the master of Ravenloft, will attend to them. Another lightning flash rips through the darkness, its thunder echoing through the castle's towers. But Strahd is gone. Only the howling of the wind - or perhaps a lone wolf - fills the midnight air. The master of Ravenloft is having guests for dinner. And you are invited. TSR 9075

The player characters investigate recent kidnappings. The trail leads to a slaver operating from Underdark passages below the city. Also available at https://adventureaweek.com/product-category/rise-of-the-drow-ce/

The Triad Series continues with Lion’s Breath Prison. After success against the Order of the Goat troops your next challenge awaits. The spiritual arm of The Triad is known as the Lion’s Breath. With some unfinished business in the form of Marquis Forten, the PCs continue to seek out their quarry. Can they locate the elusive traitor and bring him to justice? This adventure continues to send the party across the fields of Neville!

Decades ago, an Osiriani Pathfinder named Bossell locked his transformed lover in the vaults beneath the Sothis Pathfinder Lodge. He then vowed that no one would ever discover his secret shame. The old and senile Bossell now relies on his assistant Fendel for everything, and the hapless assistant has disapeared into the vaults after reading his master's journal. You've been sent beneath the Lodge to destroy whatever it is that Bossell's lover has become—will you survive his secret or find yourself transformed as well?

Civil War Unrest. Turmoil. Rebellion. As above, so below - the cataclysmic events of the Wrath of the Immortals echo throughout the Hollow World setting. The Milenian Empire, with its classical Greek culture, has not escaped. Already the streets are un-safe, and the omens are getting worse... The emperor is dead... long live the emperor! But is the new emperor a man of the people, or a tool in the hands of malevolent powers? Walk carefully, for no stranger is safe upon the streets these days, and adventurers least of all! The mood of the capital city is turning ugly. Minions of the new emperor look on uncaring, while citizens disappear and philosophers fall to heedless mobs. The old emperor's elite guards are disbanded and scattered. Disorder reigns, and restless citizens threaten open revolt. And yet... a whisper is heard. Civil war can be averted. An ancient artifact, the Milenian Scepter, can rally those who would serve the Empire best. But the Scepter has been lost for generations, and who can say where it might be? The trail leads into the depths of the city, and across a dangerous wilderness to a forgotten oracle. For the lucky and the bold, perhaps it will lead to... THE MILENIAN SCEPTER This stand-alone adventure is compatible with the Wrath of the Immortals boxed set and the accessory HWR3, The Milenian Empire. You will need the D&D Hollow World boxed set to play this adventure. Easily adaptable to the AD&D game. TSR 9378
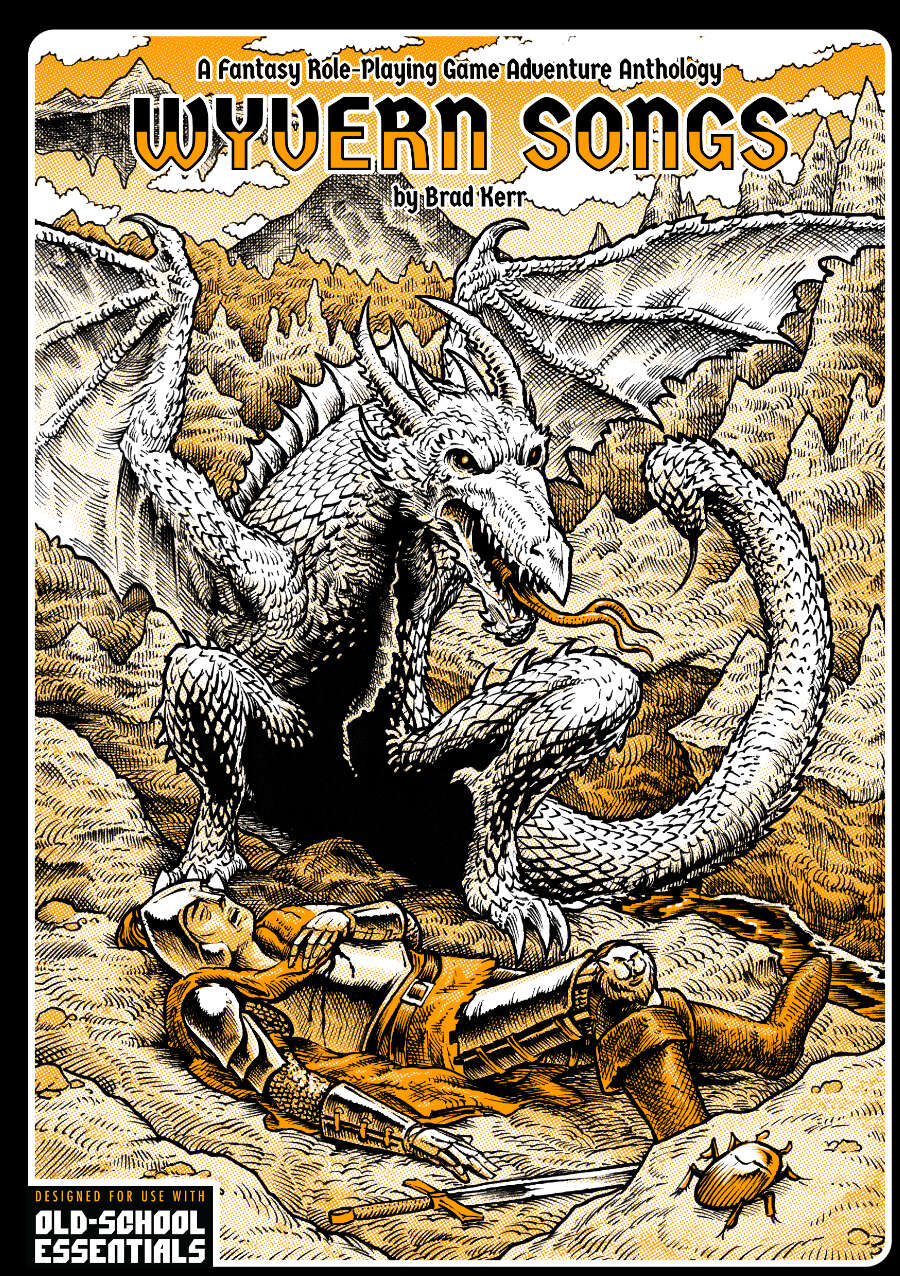
An introductory adventure for both new players and Old-School veterans alike. Explore an insect-haunted thieves guild secreted beneath a lighthouse. Claim the loot but beware the Skitterlord! 25 keyed locations Written for the Old-School Essentials (OSE) rule system

Run, play or splice up 66 pages of mayhem and weirdness in this Slavic mythic-inspired (with an acid fantasy-twist) mini-sandbox for Labyrinth Lord or the well-aged fantasy rpg of your druthers. Contains: • A 25-site pointcrawl of the otherwordly Slumbering Ursine Dunes region. Beyond the big ticket adventure sites you will find along the way a Polevik-haunted rye field, a Zardoz head-living hermit, bearling pilgrimage site, antediluvian beaver engineers and other assorted madness. • Two separate “dungeons”, the bio-mechanical, lost-in-time Golden Barge and the faction-contested Glittering Tower, with enough detail and portability to be slotted into an existing campaign. • The Chaos Index, a dynamic events system for modeling the mythic weirdness of the Dunes. Actions of the players in the sandbox will escalate or de-escalate the levels of events. • Four competing factions operating inside the Dunes, plus guidelines for their mutual interactions.

Something stirs in the dark heart of the Warwood, and in response something stirs in the stars. A simple encounter with bandits on the road leads the PCs to a frightening place where even dreams are deadly. Cultists seek to free the soul of a terrible entity from beyond the stars. The PCs must retrieve the soul vessel of a long-dead evil paladin to stop cultists’ plan from coming to fruition. Pgs. 60-92

The dungeon is essentially a large puzzle built around the premise of time travel. Many PC interactions are a direct result of the party dealing with the actions of their past or future selves. This adventure is designed for a fifth level party, to be played in a single session. It features a large full color map, artwork, NPC roleplaying tips, and two new magic items. Julinda the gnome mage has always been a bit off. She is a chronomancer who has become obsessed with achieving the reliable and reproducible technology of time travel, in the interest of returning to select parts of history and influencing their outcome to her pleasing; perhaps to avert a war, or to head off the enslavement of her people, or prevent the death of a loved one. Those who know her were aware of her ambitions, and now worry that they are coming to fruition, as she hasn't been seen in several months. And so, they have implored the PCs to seek her out...

The Creche of Set is a companion adventure made to go along with the events unfolding in Folio #10 (DF3 Forgotten Temple of Tefnut). It contains the information needed to run a side advenute during the events of The Hidden Valoria Campaign. After finding the secret under-passage in the fallen Temple of Tefnut, the party can descend through a stair located between two rooms. Down in the dark they will encounter a fallen tribe of Lizardmen who are now influenced by the mummy Aman-Utep in the halls above. Destroying this tribe, and recovering an artifact they possess, could prove highly valuable to the completion of the Lost Temple adventure. This adventure is formatted to both 1E & 5E gaming rules.

For years the Verbeeg clan on Clover Island has lived peacefully with the human settlement of Corsair Bay. A peace treaty has remained in effect that both groups attested to and have lived by. Recently the annual tribute that is to be paid to the giants has not come and now the giants are preparing for battle. Can your party go and act as an envoy to the giants or will they choose to go to war against them?

Do you dare delve into the depths of an ancient demon's prison? Designed to be a fun 5E challenge-dungeon. Delve into a cave where an ancient evil was once sealed away... but be wary, as over the ages, the seals upon the Demon have begun to weaken... This is the one-shot featured in my larger adventure, Tower of the Chronomancer, but more polished and slightly expanded to allow it to stand on its own. (Originally it was the Tower's "6th floor.") I'm making this Pay What You Want, hoping people will enjoy this content -- and maybe seek the larger adventures I've already written. The Cave. Mostly hidden behind a nondescript hill in a crowded wood, forgotten by almost everyone not of the nearest town, and even they have forgotten why the cave was originally created. What it contains -- what it seals in. Marked only by a broken, rotten sign, now it's viewed as a prank spot. Sometimes it's a hideout for unsuspecting bandits. Generally, it's a place no one goes on purpose due to the lingering "wrongness" that any who enter seem to feel. Any that pass through the perfectly-rectangular entrance will find that it's much more than meets the eye. Especially if they are able to find their way down to the Trials! The Story. Long ago, a shapeshifting demon called "Umbraeus, the Defiler" sought dominion over the world. It clawed its way out of the Hells and took control of the region through a mixture of trickery (empowering people it could use) and destruction (raining fire, destroying crops and rivals, etc.). Umbraeus reigned for many years... until it was betrayed by a rival, which allowed a group of adventurers and mages to defeat and trap it in a magical green gemstone. The gem was then buried deep underground, protected by a set of Trials that allowed only those pure of heart and capable of handling its influence to visit it. But a long time has passed. The seals that held Umbraeus at bay have begun to weaken. And the demon has found a way to crack the gemstone. Its malevolent influence has begun to seep out into the world above. If nothing is done, it may manage to fully escape! Includes: A 5e one-shot adventure for 5th-6th level adventurers (4-6 hours long) Combat, roleplaying, puzzles, discovery, randomness, and loot! A chalenging demon encounter with variable difficulty levels 6 original enemy statblocks, including an evil shadow-boss 2 original magic items. Keywords You Can Expect: High fantasy, cave dungeon, combat, evil demon, shadow dragon, puzzles, discovery, randomness, gelatinous cubes, constructs, moral quandries, and lots of loot.

Thomepreus’ curse is a classic crawl with elements of exploration, mystery and time travel. A curse has befallen the heroes and the source of their predicament is located in a buried temple. Here a forgotten cult have used a magical sand clock to curse their enemies. The temple seem empty but the arrival of the heroes appear predetermined and soon the heroes are propelled through time to arrive in the past. Here clues and objects are required to solve the mystery and to break the curse. However, they must hurry before cult members complete the preordained curse on the heroes.

The North can become very appealing to those who seek fame and fortune on their own course. The North is also home to humanoids and fell creatures, things that can find a foothold in the lawless wastes while also making a living. Larger and more lethal creatures like frost giants and white dragons can also be found, assuming you are foolish enough to go looking for them. This adventure is formatted to both 1E & 5E gaming rules.
:strip_icc()/pic2633965.jpg)
The Bunker transports the party from their starting hex to a destination 2 hexes away. It can be placed anywhere on the Purple Planet map that does not already contain a numbered encounter. It could be hidden beneath the fecund growth of the mushroom forests, lost in the broken lands, amid the Ancestor Peaks, or uncovered by a sand storm in the wastes.

*THIS IS A D&D NEXT/5E PLAYTEST ADVENTURE* Imani, a Turmishan wizard and former adventurer, seeks the aid of heroes to infiltrate Dretchroyaster’s lair and recover the Diamond Staff of Chomylla—the key to powerful magic and wisdom locked away for thousands of years. In addition to his own sagely interest in the lore of lost Uvaeren, Imani recognizes the dangers of such powerful magic falling into evil hands. The dracolich has secured the staff in his lair’s cen- tral chamber, using ancient wards of protection that can be bypassed only by four artifact-idols once belong- ing to a cult of Bhaal. Each group of adventurers enters the dungeon through a different section of the dun- geon—a forgotten temple of Bhaal, a vast underground lake, a troglodyte village, or Dretchroyaster’s vaults. Dretchroyaster’s lair is no simple set of caverns and ancient ruins. It sits atop a source of great power and energy, which the dracolich and his Cult of the Dragon allies hope to use to unlock the secrets of the staff. Only by undertaking a unified assault against Dretchroyas- ter’s lair can the adventurers hope to recover the Diamond Staff and survive the dracolich’s fury. The adventurers must make their way through the lair and recover the Bhaalite idols that will help unlock the Diamond Staff, all the while dealing with the lair’s creatures and avoiding the dracolich as he pur- sues intruders. Entering the Chamber of the Diamond Staff, the heroes must overcome its magical wards and claim the staff before being slain by the dracolich and his servants.

The Cage: A valuable trinket was stolen from the well-protected manor of the lady Morrigan Strange, and she enlists the help of some able-bodied adventurers to retrieve it. As it is the way of things, it turns out the problem is not as simple as it first seemed. A vile demon was trapped in the stolen orb and threatens to kill everyone in sight after its release! The package includes background information about the involved characters, a few details about the town of Beregost, several maps, and lots of adventure!

What is the Lost Lands? The Lost Lands is the home campaign world of Necromancer Game's and Frog God Game's own Bill Webb. This campaign has been continuously running since 1977. Many of the adventures published by Necromancer Games and Frog God Games are directly inspired by this campaign. They have evolved over the decades, and more material continues to flow from it as the dice keep rolling. Sages and wizards of legend speak of the Lost Lands—many of the players who have lived and died in Bill's campaign over the years now have a place in history (in the books). Frac Cher the dwarf, Flail the Great, Bannor the Paladin, Speigle the Mage, and Helman the Halfling are well known to the fans of Bill's work. This is the game world, and these are the adventures in which the players of these famous characters lived and died. Hundreds of players over the past 35 years have experienced the thrills and terrors of this world. The Sword of Air is the centerpiece of the Lost Lands. Currently, this epic tome consists of several parts: 1. The Hel’s Temple Dungeon—kind of like Tomb of Horrors on crack. This six-level, trap-and-puzzle infested dungeon formed the basis of Bill's game through his high school and college years. Clark Peterson’s very own Bannor the Paladin spent several real life months in the place, and, sadly, finished the objective. This is where the fragments of the fabled Sword of Air can be found…perhaps. 2. The Wilderness of the Lost Lands extending to the humanoid-infested Deepfells Mountains and providing detail about the nearby Wizard’s Wall. This so-called “wall” was raised by the archmages Margon and Alycthron harnessing the Spirit of the Stoneheart Mountains to raise the land itself, creating a massive escarpment to block invaders from the Haunted Steppes. These archmages are actual player characters from the early 1980s who live on in the legends of the Lost Lands. Over 70 unique encounter areas are detailed, and each one is a mini-adventure in itself. New wilderness areas may be added based on bonus goals described below! 3. The Ruined City of Tsen. Legend has it the city was destroyed by a falling meteor. This place forms an aboveground dungeon area the size of a city, with over 100 detailed encounter areas. It’s a very dark place…even at noon. 4. The Wizard’s Feud—This campaign-style adventure pits the players in a long-running series of intrigues and battles between two archmages. Which side will they take? Their actions all play into the overall quest, and could well determine which side wins. Law and Chaos are not always what they seem, and if the wrong decisions are made, the entire ordeal could fail. Remember, one of the wizards WANTS Tsathogga to win. 5. New monsters, new demons, new spells, and new rules for various aspects of play. 6. The Tower of Bells. This dungeon is the result of the workshop Bill ran at PaizoCon 2013, where the participants assisted him in building an old-school dungeon. Visit the tower and discover the secrets of the “artist” within. Beware: those entering may never come out!