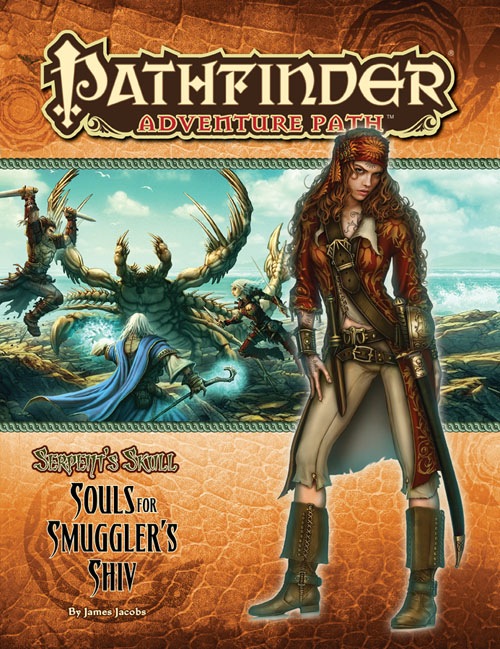
A deadly storm shipwrecks the passengers and crew of the Jenivere upon infamous Smuggler’s Shiv, an island off the coast of the jungle realm of Sargava. If they’re to have any hope of escaping the notorious pirates’ graveyard, the survivors will need to band together to outwit the isle’s strange beasts and legendary menaces. But can the PCs unite the swift-to-squabble castaways, especially when several seem to have mysterious goals of their own? And does Smuggler’s Shiv hide secrets even deadlier than its desperate denizens? This is part one of the Pathfinder Adventure Path "Serpent's Skull", but can be played as a standalone adventure that lasts approximately 10 four-five hour sessions. Great for first time dungeon masters. This is not a seafaring adventure. The PCs are shipwrecked on an island for the entire duration. This adventure ends with (hopefully) the PCs finding a way off the island (reaching level 3). It is therefore a great starting adventure with a definitive conclusion. After this module, you can continue with part two or change into your own homebrew.

Amid the gales and snowy Earthspur Mountains, the tumbling ruins of the ancient Tempest Mage's tower brood over the village of Windy Valley. When a kidnapper flees into the ruins, it's up to a group of adventurers to apprehend the rogue and save his victim from the vault below. Published by Cold Iron Conventions and Draxtar Games.

The yuan-ti anathema, Hessatali, calls out to his yuan-ti faithful from his prison in the Abyss. His network of vipers has uncovered the ruins of ancient Ss’tatha’lass and the Fane of Hessatali, a fountain of pure venom that will return the demi-god to life. Above the buried ruins of Ss’tatha’lass, yuan-ti agents have moved to control the politics of Scornubel. The characters fall into a complex yuan-ti plot that spans the breadth of the realm, pits the heroes against the forces of the Abyss, and explores the culture of the yuan-ti.

Agents for the Mayor of Kleine have discovered the stronghold of the Red Hand goblins deep within the Burning Hills. They have also discovered that the goblins are forming an alliance with local hobgoblin and bugbear tribes to sweep the humans out of Thunder Rift forever. The PCs must reach the lair before the hobgoblin and bugbear agents return to their own tribes. if the envoys do not return, the tribes will assume that the goblins murdered them and attack the goblins instead of the human settlements. In this way, the humans of Thunder Rift gain some unexpected allies against the Red Hand goblins. This is the most dangerous and demanding of the three adventures in this set. It is recommended that you play it after Red Hand Trail and Trouble Below. However, it can stand alone as an adventure in its own right if you wish. Part of TSR 1076 The Goblin's Lair

In ruins since the eruption of Mt. Hotenow, Thundertree is finally being rebuilt. The Lords’ Alliance is particularly interested in restarting a lucrative logging trade, but the bureaucratic wood-elf ambassador of Neverwinter Wood isn’t convinced. A mission to check on construction at New Thundertree and help with diplomacy quickly turns into an exciting dungeon delve as the entrance to an ancient temple is discovered! Can your party survive long enough to learn the mystical secrets of Thundertree’s past and claim its riches? Includes maps and a new magic item! The Lost Temple of New Thundertree one-shot is designed for 5th-7th level characters. This thrilling adventure is well-suited for parties who have completed Lost Mine of Phandelver or are roaming the Sword Coast region (ie: Neverwinter, Phandalin, Helm's Hold, Port Llast, Triboar, etc.) as part of Dragon of Icespire Peak or Storm King’s Thunder, but these campaigns are certainly not required. Though it takes place in Thundertree, the adventure can easily be moved to other settings. Content warning: undead; water hazards; tentacles

Frequent visitors know that the Adurite culture once ruled a large portion of the known world but has now all but disappeared. In this adventure a relic Golem that guards a shrine has been duped and gone on a rampage. This adventure was originally created for a “filler” adventure on a day when the entire party could not adventure. Spoiler alert the Golem is not the worst thing the party will face! At 29 pages this adventure has a little bit of everything.
It’s up to your brave heroes to fight off the invading kobolds and save… the cheese?? Well, a job’s a job, and things underground are seldom what they seem. Wheel of Evil is a 16-page adventure for old-school characters of levels 3 to 5, plus a full-color cover, classic maps, and handouts. Compatible with Labyrinth Lord™ and similar games, including the Advanced Edition Companion. "Wheel of Evil" is part of the Eastern Valnwall setting, based on the Known Lands in Labyrinth Lord™! This adventure blends traditional dungeon crawling with unique elements of horror and intrigue, set against the backdrop of a seemingly mundane task turned deadly by the influence of a hidden evil.

A fiend lurks among the Black Blade goblins. A shapeshifting barghest fashioned by the General of Gehenna to exact revenge on all goblin-kind. It’s aim: to kill as many goblin leaders as possible… A masked goblin approaches the party asking for help. Two tribe leaders are dead. But a rival for chief has control of the crime scene. Will the party discover the barghest among the goblin ranks? Can they stop this imposter before it strikes again? Adventure Overview The adventure’s story is spread over 4 parts and takes approximately 4 hours to play. The adventure begins with a Call to Action scene. Part 1: Goblin Politics. Krill sends his emissaries to implore help from any strong intermediary. The party is asked to investigate the murder of Thrawn in Dringly’s lair. This is Story Objective A. Part 2: The Opposition. Gain entry into Dringly’s lair and investigate the murder of Thrawn. Gather enough evidence to find the killer. This is Story Objective B. Part 3: To The Lair! Now that the players have determined the barghest (Yeep) is to blame, they need to get to Krill’s lair quickly as he is in imminent danger. This is Story Objective C. Part 4: The Barghest.When the players arrive at the lair, they need to get to Krill and expose and defeat the barghest. This is Story Objective D. Adventure Background A barghest named Yeep has begun its onslaught of attacks against the Black Blade goblins. Starting with Chief Gnar, then his second in command Thrawn, the barghest is moving methodically down the line of command. Krill is now chief. But he has some problems: Two leaders of the Black Blades are dead. Who killed them and why? Is he next? Dringly, the next in command, has decided to take his lair for himself, declaring himself Chief of the Black Blades. Who are the Black Blades? The Black Blades are a tribe of goblins in the local area. They are known for dipping their blades in a dark black substance. It is rumored these blades are poisonous. The Black Blades regularly attack passersby on the road to rob them. The Black Blades have two lairs, one run by a chief who leads the whole tribe, and another overseen by a boss lieutenant. The Black Blades have a well-established pecking order which is how Krill stands to become chief. The next in line is Dringly, who has also declared himself chief and wants Krill dead. Krill suspects that there is something suspicious about two leaders being killed within a day of each other, but he has already burned Gnar’s body without any investigation. He needs to investigate the body of Thrawn, but it is in Dringly’s lair. Krill wishes to avoid direct confrontation with Dringly at the present for three reasons: 1) Any violence would only kill his own tribe members and further divide the lairs. 2) He believes there is still hope for negotiation to reunite the Black Blades. 3) He believes that if he were to attempt negotiations himself, Dringly would kill him. This adventure features: Two maps. Ready for your favorite Virtual Tabletop. A full color pdf. A black and white pdf. One custom monster, a reprint of barghest, all others available in the Monster Manual. Four hours of entertainment involving: roll playing a goblin bard, investigating a murder scene, tracking down a barghest before it strikes again. Applicable to any setting.

Having put down a rising of giants, it was discovered that the motivating force behind their depredations was that of long-forgotten evil - the Dark Elves. Determined to seek out these creatures, a body of doughty adventurers mounted an expedition to learn the strength of the Drow and bring retribution to them (DUNGEON MODULE D1, DESCENT INTO THE DEPTHS OF THE EARTH). This module contains background information, a large-scale referee's map with a matching partial map for players, referee's notes, special exploration and encounter pieces, a large map detailing a temple complex area, encounter and map matrix keys, and an additional section pertaining to a pair of unique new creatures for use with this module and the game as a whole. A complete setting for play of ADVANCED DUNGEONS & DRAGONS is contained herein. This module can be played alone, as the second part of a series of three modules (with DESCENT INTO THE DEPTHS OF THE EARTH, D1, and VAULT OF THE DROW, D3), or as the fourth part of a continuing scenario (DUNGEON MODULES G1, G2, G3, D1, D2, D3, and Q1, QUEEN OF THE DEMONWEB PITS). TSR 9020, From 1978

Disturbing shadows have grown long over the northern reaches of The Land of Song. The fierce people who once fished the chilly fjords and hunted in the evergreen peaks now huddle in their villages. An evil is abroad in the land. The heroes are charged by Jarl Yngvar with traveling to the Valley of the Sleeping Jarls, an old tomb in the hills where dead kings are laid to rest, to discover the source of the malevolence bearing down upon the land and with eradicating it. Who can say what evil lurks amid the towering peaks and shadowed fjords? For decades this malevolent being plotted his vengeance upon Hjalmar’s heirs, for the jarl had gone the way of all mortals. Taking for himself the name Mogens (“powerful”), this evil spirit, now a self-styled dark lord, gathered wicked cronies and servants to itself and came to the Valley of the Sleeping Jarls. There, he has spent nearly two decades corrupting and desecrating the sacred resting place, reshaping the hollowed tombs into a blasphemous temple to his infernal lord.
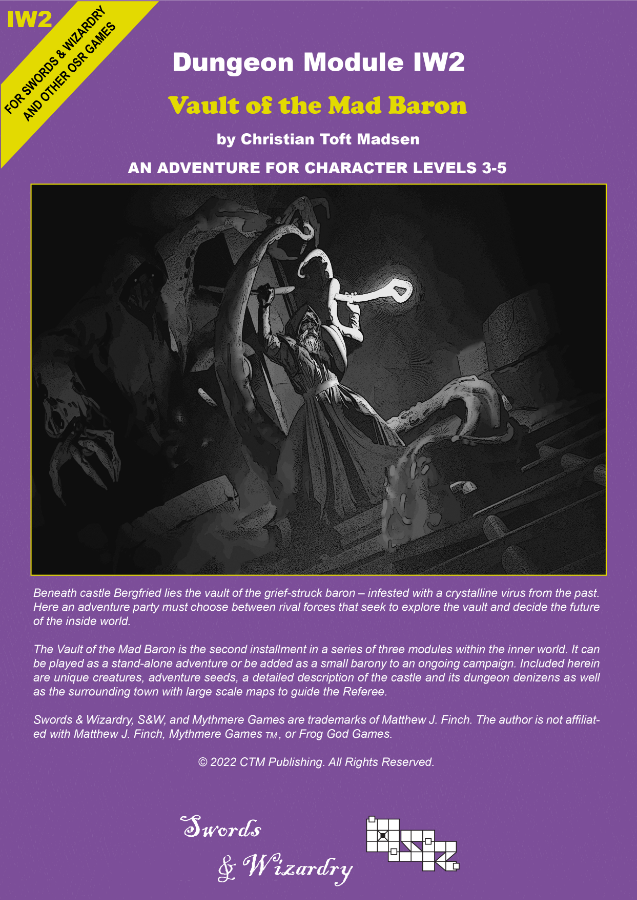
Beneath Castle Bergfried lies the vault of the grief-struck Baron – heavily infested with a crystalline virus from the past. Here an adventure party must choose between rival forces that seek to explore the vault and decide the future of the Inside World. ‘Vault of the Mad Baron’ is the second installment in a series of three modules in the Inner World. It can be played as a stand-alone adventure or be added as a small barony to an ongoing campaign. The scenario can be used with Swords & Wizardry or any other early variant of game rules and is suitable for PCs level 2-5. Inside you will find: A 60+ page old-school module with a layout optimized for fast and easy interfacing. An adaptable barony complete with town, castle and dungeon. Unique districts with encounters and sights. 6 major factions fully detailed with headquarter, plans, and missions for the PCs. Detailed description of a castle and associated dungeon levels. Downloadable maps for both players and the Referee. Locations allowing the PCs to travel to another era within the setting. Unique new creatures and magic items.

A Scavenger Hunt? The adventure begins in the city-state of Zoa as the wizard Geolain tasks the player characters with a quest to gather three ingredients they will use to forge a magic coin to defeat an evil wizard. Which will be more dangerous to collect, the mysterious diamond touched by death, the blood of a devil spilled by a coward or a blue dragon's breath? As the player characters race around Reanaaria Bay ti find the rare items, their nemesis Daresh the wizard begins to grow in strength and wrest power from the Skryvalkkers of the Lands of Skaarna. Will the player characters find the ingredients and enchant the coin in time? They just might be Skaarna's only hope. Published by Kenzer & Company
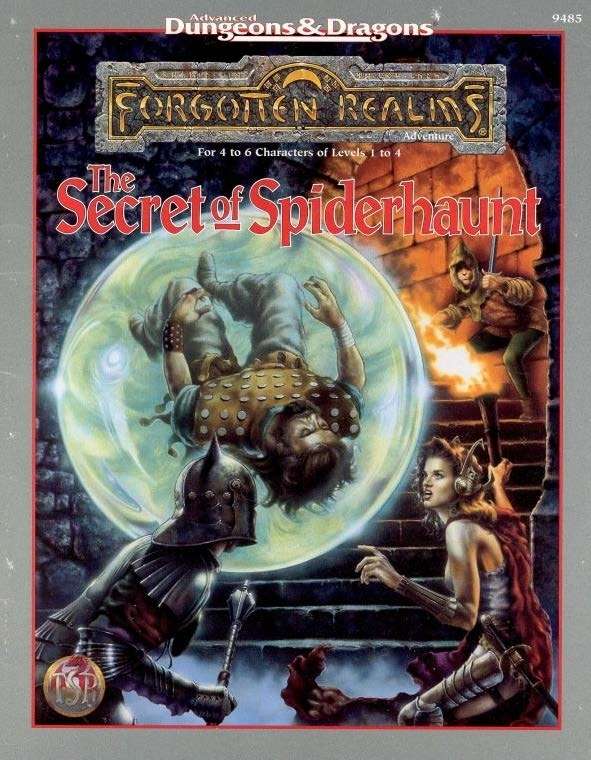
The infamous Sword of the Dales has always held a certain fascination in the eyes and hearts of the citizens of the Dalelands. Thus, it was no surprise when Randal Morn, rebel leader of Daggerdale, led an expedition into the crypt of a long-dead wizard to recover the weapon. Shaevyn the weapons-mage had created the Sword long ago, and it stood to reason that the blade would be waiting within his tomb. Perhaps the Sword of the Dales woulld allow Randal Morn to rule Daggerdale once again. But Randal Morn never returned from that fated party. Only tales of terror told by a lone survivor held any clues as to Randal's fate. A brave hand of heroes accomplished what Randal Morn's group failed to do in part one of this adventure trilogy, "The Sword of the Dales." Battling through the tomb's undead inhabitants, those heroes reached the burial crypt of Shraevyn. There, resting in the center of the coffin, was the Sword of the Dales, its azure glow filling the chamber. However, there was no sign of Randal Morn. Only a note signed by his hand held any clue as to his fate. "Seek me in Spiderhaunt," it proclaimed. "The fate of Daggerdale is in your hands." This is the second part of a trilogy of modules that began with "The Sword of the Dales." The saga concludes with "The Return of Randal Morn." TSR 9485

At the behest of Orcus, Demon Prince of Undeath, a mighty deathpriest hierophant has begun assembling a powerful strike force. He intends to launch the first of many assaults on the world, readying it for his master’s arrival. With the help of potent allies and grand rituals, the PCs have discovered a route to the Abyssal headquarters of this hierophant. This delve begins as the PCs teleport from the world to the first of a complex of interconnected chambers deep in the Abyss, linked only by portals. Pgs. 126-131

Chaos reigns outside Roslof Keep, and the spread of the violet corruption runs deep within Mithelvarn's Dungeon. Now, the Company of the Ivory Scimitar must not only face the challenges of the Roslof delve, but will also find the dangers of the Kelmalin Wildlands must be overcome as well if they are ever to get to the bottom of the deadly plague that ravages the land. Time is running out, and only those brave enough will be able to face the horrors of the Glade of the Burning Dead and the dark recesses of The Hill. This adventure is formatted to both 1E & 5E gaming rules. Also available in PDF.

An offer of exploration and adventure leads to a chilling underground dungeon. A mystical object is being asked to be retrieved by the local Wizard. This is the second adventure in a miniseries with the following adventures being: A Chance Encounter An Urgent Rescue A Dark Veil Falls
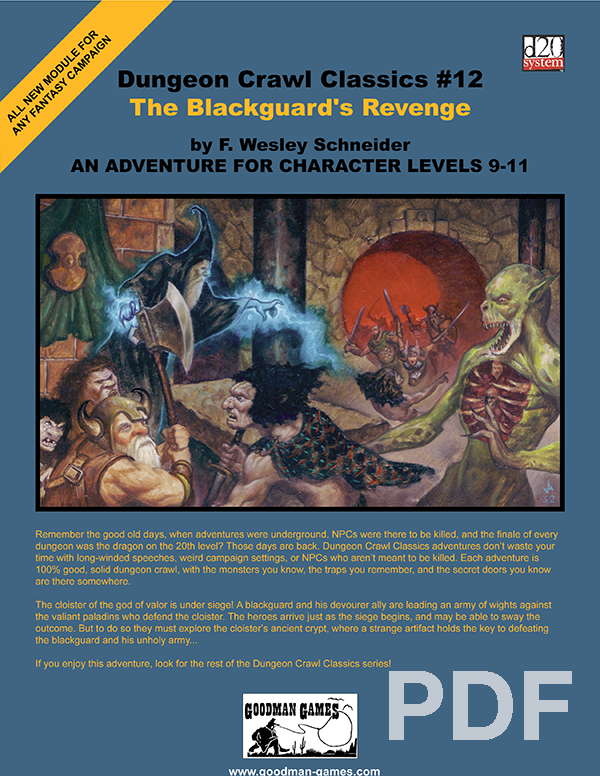
When the heroes come into town, word arrives that a nearby cloister of the god of valor is under siege by an army of undead. The adventurers travel to help defend the bastion of paladins, only to discover that these undead are actually ancient enemies of the paladins’ order. They have discovered a way to exact vengeance for slights committed centuries ago, but to finish their plan they must breach the cloister’s catacombs! Can the heroes battle them to the catacombs and defeat their horrific blackguard champion?

Are you ready for some HACK 'N' SLASH action? Do you yearn to unveil the hidden mysteries of the DWARVES? Are you thirsty for some UNEXPECTED encounters? The long lost Dwarven Kindgom of Gleodemar holds a relic of the past, Svarogs's Anvil, a magical artifact that can boost weapon production. The Heroes are sent to reclaim it, but the ancient fort is not empty and the new denizens have settled for good and do not seem keen on sharing any treasures. Will the Heroes manage to overtake them in a direct (and bloody) confrontation, or will the try to slip through the shadows to reach their goal? Maybe they will be captured and the "cavalry" will have to save them? In this adventure anything goes and it takes only one mistake to unravel the Heroes' careful plans and make them prisoners of the Keep. In this slightly challenging 5e hack 'n' slash adventure for 4th level PCs you will find: - a detailed story behind the Dwarven Kingdom of Gleodemar - a powerful dwarven artifact - a back-up NPC party, in case the heroes require a "deus ex machina" intervention - an optional ethical dilemma, to spice things up - both DM and player-safe maps - 3 boss monsters that can be used as future antagonists - non-stop action and suspense until the last minute of this 3-act mad rash and if all of that still does not sound fun, there's ALSO a race against time before the curtain falls. Download away! (and don't forget to share your feedback, we'd love to hear it!)

THE FIRST SET OF DUNGEONS ON DEMAND ADVENTURES! The first volume of Dungeons on Demand includes the first four dungeons: Bandit's Nest - Level 1 Adventure Dungeon Insidious Experiments - Level 4 Adventure Dungeon Fierce Tempers - Level 8 Adventure Dungeon Lord of Gloomthrone - Level 12 Adventure Dungeon It also includes the following supplements: New Twists on Old Monsters - Gaming Supplement Imbued with Magic - Gaming Supplement The bundle includes hundreds of pages worth of materials and supplements sure to keep your gaming sessions busy!

Citadel by the Sea is an AD&D gaming module for 4-8 characters, each of 1st to 3rd level. The fewer the characters available, the higher their levels should be. Characters should be well equipped, with at least one magical weapon apiece, but do not need any particular game experience. It is recommended that at least one ranger character and one elf character be members of the adventuring party, and that no player character be a half-orc. The Dungeon Master should read the entire module carefully before running this adventure; the events are laid out in the approximate order in which characters would normally encounter them, and the text builds the adventure as one reads through it.