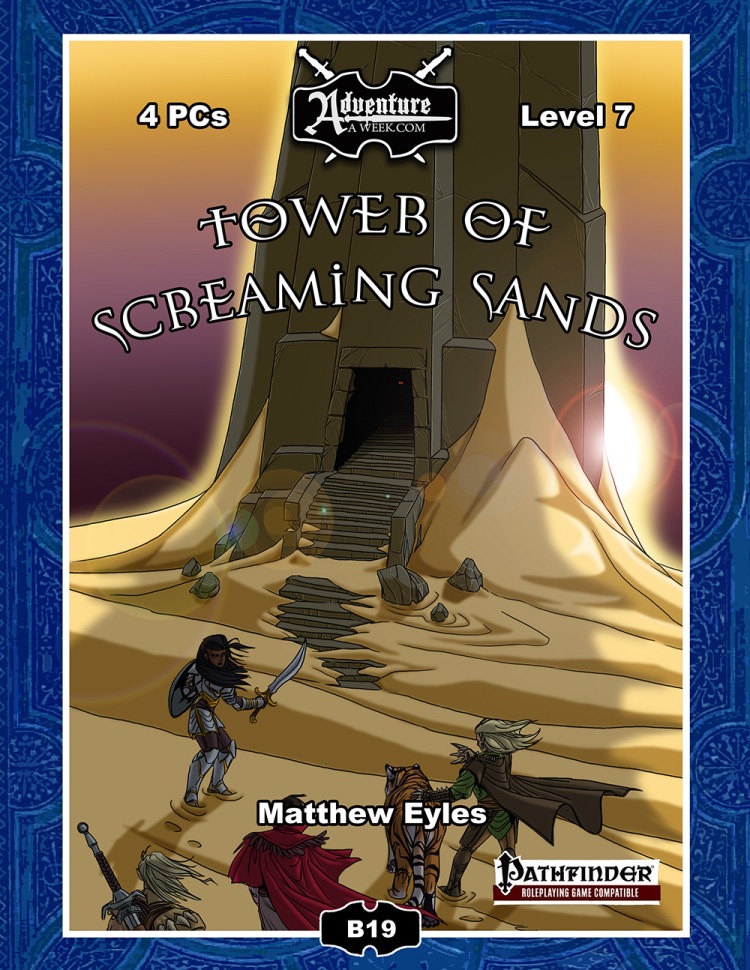
Deep within the blasted desert wastes a mysterious black tower has been sighted. The structure is not marked on any known map and has not been seen in this location by travellers in the region, yet there it stands. The adventurers set out to explore this ancient, isolated tower that appears ripe for the plundering. Within they face a gauntlet of insidious traps and supernatural horrors. The deeper the adventurers delve, the more secrets of the tower’s origins they uncover. The tower’s sinister creator does not rest easy in his arid grave – the adventurers must face him if they are to survive the Tower of Screaming Sands. Also included in “Tower of Screaming Sands”: Five deadly new traps: The Chamber of Ten Thousand Teeth, The God’s Grasp, Chamber of Flooding Sand, Hall of Arcing Blades and Descending Stone Block. A new monster – the scorpion swarm. Rules for whirlwinds, a new magical hazard GM tips for running overland travel.

A malicious and virulent force possesses the Vermyr Woods. The local wild-life has fled; known paths have mysteriously vanished or shifted; and locals have been found hanging dead from trees yet their eyes watch... they always watch. The hopes of the people are dwindling quickly. Believing that evil harpies have afflicted the woods, brave Captain Harkin set forth to serve them righteous justice! Even the mighty druid Algalor is nowhere to be found. Time passes and their worries compound. Why have the harpies attacked? What is the fate of Algalor and Captain Harkin? What is this mysterious evil that plagues the Vermyr woods? Who is Cartman's dad? The heroes will stumble into this mystery as they travel to Homid. They will discover the truth of the harpies as well as the fate of the heroes who safeguarded this region by delving deep into a forest labyrinth that feels alive! Will it consume them or will they be strong enough to defeat the evil at its core! Published by: Paper Dragon Tales
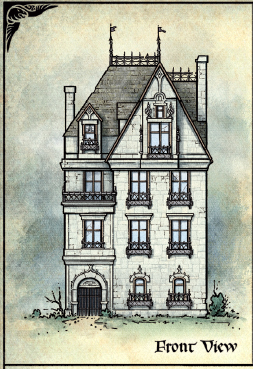
This adventure introduces characters to the land of Barovia. It expands what we know about the lands around Castle Ravenloft and sheds new light on the dark past of the castle’s lord. Players will investigate mysterious happenings in a small haunted house in Barovia.

Restore an Abandoned Temple Enter the catacombs near the desecrated Temple of Muir, Goddess of Paladins, and search for the lost tomb of Abysthor. Will your party be able to cleanse the evil that now inhabits these once-sacred halls, and recover the Stone of Tircople? Can your characters survive the traps of an undead sorcerer? Will your players discover the chamber of Living Rock and the secret power it holds? Adventure awaits! Gold and Glory! A fantasy adventure published for the D20 system, The Tomb of Abysthor is the first module in Necromancer Games Dungeon series and can be played as a stand-alone story or in conjunction with The Crucible of Freya and the forthcoming city supplement Bards Gate. What secrets lie hidden in the tomb of Abysthor?

In the aftermath of AD&D Second Edition's "Return to the Tomb of Horrors," the demilich Acererak was thought destroyed. In truth, his spirit lingered and now after eons he schemes once more to achieve divinity. The characters must travel to three extraplanar dungeons, in addition to the remains of the original Tomb, in order to stop this from coming to pass.
/pic572949.jpg)
Stormcrow Company—an unsavory band of adventurers—haven’t been seen or heard from in years. Rumors of their accumulated wealth have spread far and wide, and if they have truly been slain, that treasure is just waiting for adventurers to come and collect it. But is anything ever as easy as it seems? Pgs. 10-28

A generic tomb usable for one off adventures or unexpected exploration discovery. An abandoned dwarven tomb has been taken over by goblins.

This module features 5 locations ready to be put in any D&D 5e game. It features these 5 locations: - An old warehouse (lvl 1) An old building occupied by a gang of Kenkus that are trying to build a mechanical way to fly. - Ruined Sanctum (lvl 2) A decayed temple lost to time, some decades ago it was breached by some blights and they still use it as a resting place and a trap for adventurers. - The Lunar dove (lvl 3) A small and secretive brothel used by the elites. Unbeknownst to them, however, the Owner spies and hoards secrets to use to their advantage. - Cave of Mending (lvl 4) A cave with a magical healing lake, protected by a Druid that uses it to heal the wildlife from the surrounding area. - The temple to Xotarr (lvl 4) A hidden temple to an evil God where the cultists partake in calculated sacrifices.
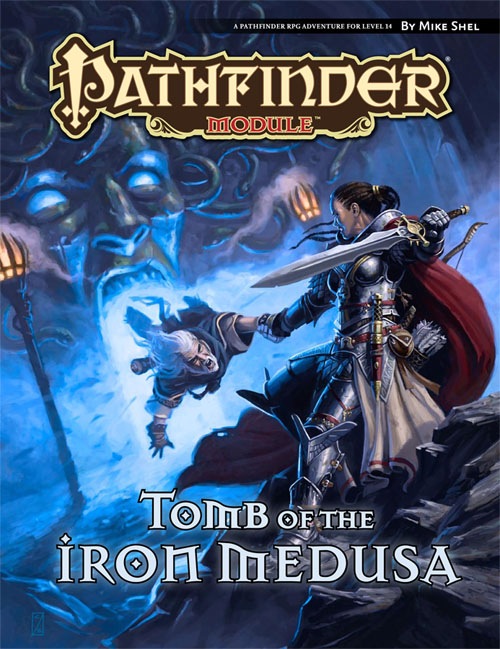
Hidden in the remote southern range of the World’s Edge Mountains lies a mysterious necropolis known in legend as the Tomb of the Iron Medusa. When the last heir of the dungeon’s long-dead noble builders hires the PCs to explore the forlorn and deadly site in search of evidence that may clear his family name, the intrepid heroes soon find themselves in over their heads. For the Tomb of the Iron Medusa does not give up its secrets lightly, and the dangerous truths that lie within its ancient, trap-laden crypts may have been hidden for very good reasons indeed.

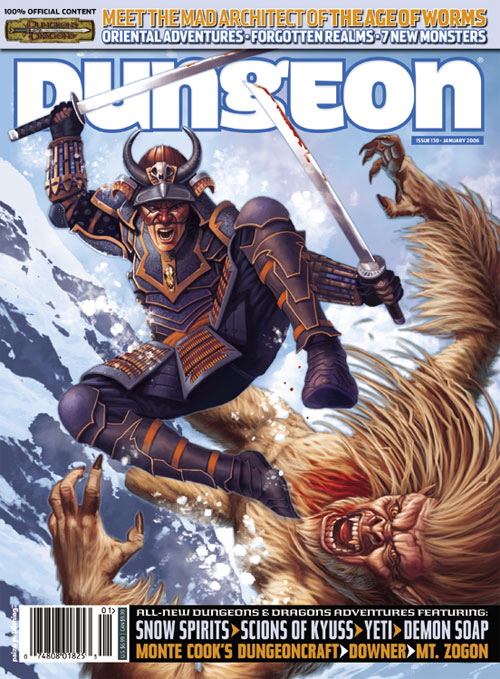
A handful of would-be adventurers gathers to explore an ancient tomb, eager to trade their discoveries for a ticket to a better life. What they find within presages the advent of the Age of Worms, an era of darkness, decay, and writhing doom. "The Whispering Cairn" is the first installment of the Age of Worms Adventure Path, a complete campaign consisting of 12 adventures, several "Backdrop" articles to help Dungeon masters run the series, and a handful of poster maps of key locations. For additional aid in running this campaign, check out Dragon's monthly "Worm Food" articles, a series that provides additional materials to help players survive this campaign. Pgs. 14-47

A long, perilous ocean journey behind them, the crew of the Sea Wyvern finds itself shipwrecked on the Isle of Dread. Their destination lies well over 150 miles to the south, miles heavy with the threat of the island's terrible inhabitants. Yet the unknown enemies are far more sinister, for more than just dinosaurs hunt the vast jungles. Before long, a cunning fiend picks up their trail, and its duplicitous master demands their sacrifice. "Here There Be Monsters" is the fourth chapter of the Savage Tide Adventure Path, a complete campaign consisting of 12 adventures appearing in Dungeon. For additional aid in running this campaign, check out Dragon's monthly "Savage Tidings" articles, a series that helps players and DMs prepare for and expand upon the campaign. Issue #352 of Dragon explores the Isle of Dread in detail, providing a complete ecology of the island and the writing of Larissa Vanderboren. This article can be used as a player handout to represent the journals the group recovered from the Vanderboren family vault in the first adventure in the Campaign. Shipwrecked on the Isle of Dread! Faced with a dangerous journey, the PCs must escort a ragged band of castaways through monster-infested wildlands in order to reach the safety promised by the colony of Farshore on the isle’s southern tip. Pgs. 32-60
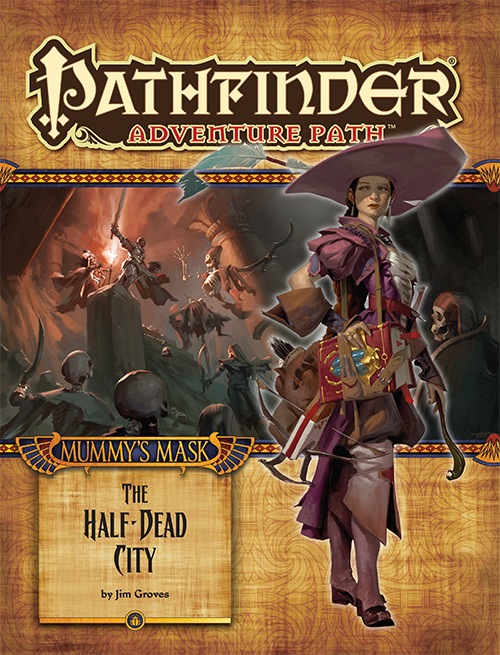
The Mummy's Mask Adventure Path begins with "The Half-Dead City," an exciting new adventure in the pyramid-laden realm of Osirion, Land of Pharaohs! In the city of Wati, the church of Pharasma holds a lottery allowing explorers to delve the tombs of the city's vast necropolis in search of the nation's lost glories. In the course of investigating dusty tombs and fighting their ancient guardians and devious traps, the heroes encounter a group of rival adventurers intent on keeping one tomb's treasures for themselves. At the same time, the heroes learn that a dangerous artifact has been stolen from the tomb. Can the adventurers defeat their rivals, or will they fall to the undead defenders of the city's necropolis?
The hamlet of Thistle has a problem. The river they depend on for trade and food was recently poisoned with a tide of filth, and a goblin named Belig has claimed responsibility. If the people of Thistle don’t pay a ransom, Belig has promised them much worse will come with the next poison tide. A Forgotten Realms adventure for 1st-level characters.
Take your first exciting foray into D&D's newest campaign setting with a deadly exploit in Sharn, City of Towers. Descend into the ruined undercity to face the legacy of the daelkyr, aberrations from the evil plane of Xoriat, and come face to face with the Queen with Burning Eyes! Pgs. 16-32

A recent earthquake has brought forth ancient evil from beneath the waves, to terrorize a sleepy coastal town. People are disappearing. The heroes will sail to an ancient, steam-powered temple in the ocean. They'll encounter mad fishmen, deadly traps, and ancient horrors that slumbered until now.

The Pyramid of Amra is a challenging adventure designed for characters of at least 12th level. Due to the nature and numbers of undead enemies (vampires), having a cleric on hand with the ability to cast raise dead and greater restoration is advisable. The PCs should be rounded out with a wizard or sorcerer and a pair of front-line fighters. In this adventure, the PCs travel to the Pyramid of Amra and the ancient Monastery of Night, where they face one of the most dangerous of opponents they are likely to meet, C’nosretep the Champion of Set.

Stonefang Pass wends its way through the mountains of the Stonemarch, home to brutal tribes of orcs. The time has come to clear the pass and gain a foothold, so that it can be used for trade between the town of Winterhaven and the lands beyond the mountains. Brave adventurers are needed to rid the pass of monsters and liberate Stonefang Keep from the orcs. Who’s up for the challenge?
The interrogation of the rogue wizard, Askalan, by the magocracy of Bemmea exposed his creation of unstable magical artifacts built in a ruined ley-line conduit. This Leystone, built by the mages of Vael Turog, had been dormant for centuries until Askalan discovered a way to power it. Now, after his untimely death, the Leystone's unstable power continues to grow at the edge of the Western Wastes. The magocracy hires the characters to find the awakened Leystone, uncover the mystery of this growing power, and return the source of the power to Bemmea for study.

The dragonmen have taken Solace. Its beautiful tree houses lie black and battered amid the stumps of great vallenwood trees. Kapak Draconians, armed with poisoned weapons, enforce a brutal martial law on the survivors. And Solace is only one outpost: the dragon armies control the plains. Only the elven kingdom of Qualinesti stands unconquered. The rest of the plainsmen suffer the most: a long slave caravan hauls hundreds of them to the fortress prison of Pax Tharkas. "Dragons of Flame" is the second in TSR's series of Dragonlance adventures for use with the AD&D game system. Your players will adventure in the world of Krynn and visit strange places such as Qualinost or the Sla-Mori, encountering bizarre draconians and disgusting Aghar. They can play the modules as a set of separate adventures or as a great quest that spans the entire Dragonlance story. Art by Jeff Easley. TSR 9132

"Wherein the local clergy makes the terrible mistake of not hiring enough assassins for the job." Synopsis: The heroes have just returned from the abyss (Occipitus) and reestablish themselves in Cauldron, when they are assaulted by a group of professional assassins. After they repel the attack, they trace back the lead to the temple of Wee Jas, where they find plenty of opposition from the second in command, Ike Iverson. After dispatching of the cleric and securing of a (spare) soul cage, the group finds evidence of a place important to the cagewrights' cause - an ancient underground complex named Karran Kurral. Mounting an expedition to that place, they find more evidence towards the horrific destiny on schedule for Cauldron. However, they gain access to the Soul Pillars after defeating a dracolich, that they can use to gather plenty of intelligence on the cagewrights' plans. Pgs. 12-51