
Clues discovered in Diamond Lake lead to the Dark Cathedral, a forlorn chamber hidden below a local mine. There the PCs battle the machinations of the Ebon Triad, a cult dedicated to the three vile gods. What does the Ebon Triad know about the Age of Worms, and why are they so desperate to get it started? "The Three Faces of Evil" is the second installment of the Age of Worms Adventure Path, a complete campaign consisting of 12 adventures, several "Backdrop" articles to help Dungeon masters run the series, and a handful of poster maps of key locations. For additional aid in running this campaign, check out Dragon's monthly "Worm Food" articles, a series that provides additional materials to help players survive this campaign. Issue #334 of Dragon provides comprehensive lists of all the things you can find for sale in Diamond Lake's (often) dubious shops. Pgs. 16-47

Encounters in the Savage Underdark is a 150-page supplement containing mini-adventures, NPCs, locations, and magic items,from eighteen of the DMsGuild's best authors.This incredible 150 page supplement features 24 amazing new Underdark adventures. Visit Annarei's Garden Encounter an insane aboleth Interact with traveling merchants Attend the Fire Fest Perform an Underdark heist and so much more....
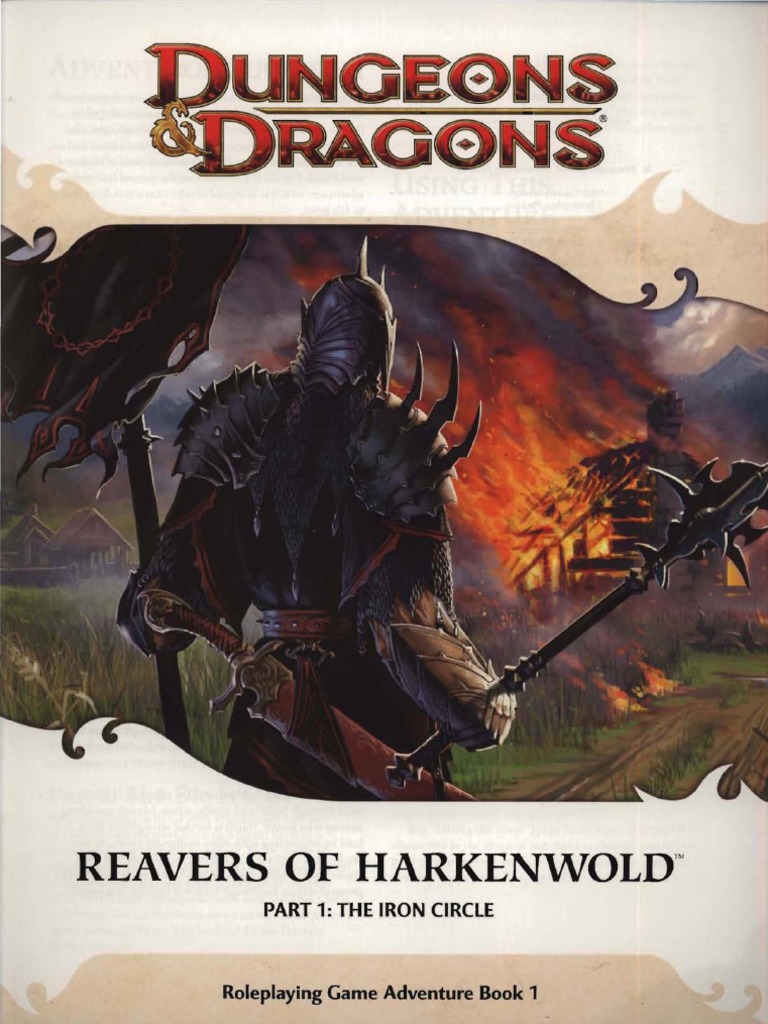
Reavers of Harkenwold pits the heroes against the Iron Circle, a company of cruel mercenaries that has seized control of the small land of Harkenwold. In this adventure, the heroes become daring rebels and lead the folk of Harkenwold against their oppressors.

An Adventure for Odysseys & Overlords Standing on a lonely, bare mound in the bottom of a dell full of swirling fog, a castle from the time of the Schism crumbles, forgotten. Inside, treasures—and terror—await. A writ of salvage has been posted in Chandra's Haven: 500 gold coins to the brave adventurers who find Misthollow Castle and secure it for Salamon Castos, a wealthy merchant. Castos claims to be the scion of the noble family which ruled Misthollow and built the castle generations ago. Castos grudgingly agrees to allow the characters to keep whatever they find in securing the castle, though he insists on right of first refusal on anything of value. The Odysseys & Overlords Player’s Guide is available at https://www.drivethrurpg.com/product/275042/Odysseys--Overlords-Players-Guide The Odysseys & Overlords Game Master's Guide is available at https://www.drivethrurpg.com/product/275040/Odysseys--Overlords-Game-Masters-Guide

The Free City: a shining gem in the crown of cultured civilization. Beneath the surface of this bustling metropolis is a rot, festering in the darkness, manipulating the lives of those unaware of its presence. Now a small adventuring band from out of town may be in over their heads. Their actions in Diamond Lake have attracted the wrath of one of the city’s hidden masters. A gang of infiltrators and an enigmatic mastermind plot their destruction, and only tracing the rot to the root can stop the onslaught. "The Hall of Harsh Reflections" is the fourth installment of the Age of Worms Adventure Path, a complete campaign consisting of 12 adventures, several "Backdrop" articles to help Dungeon masters run the series, and a handful of poster maps of key locations. For additional aid in running this campaign, check out Dragon's monthly "Worm Food" articles, a series that provides additional materials to help players survive this campaign. Check out issue #336 of Dragon for five attractions to tempt your PCs to spend some of their hard-earned loot. This issue of Dragon also features an Ecology of the Spawn of Kyuss, one of the central creatures featured in this campaign. Pgs. 34-60

Civil War Unrest. Turmoil. Rebellion. As above, so below - the cataclysmic events of the Wrath of the Immortals echo throughout the Hollow World setting. The Milenian Empire, with its classical Greek culture, has not escaped. Already the streets are un-safe, and the omens are getting worse... The emperor is dead... long live the emperor! But is the new emperor a man of the people, or a tool in the hands of malevolent powers? Walk carefully, for no stranger is safe upon the streets these days, and adventurers least of all! The mood of the capital city is turning ugly. Minions of the new emperor look on uncaring, while citizens disappear and philosophers fall to heedless mobs. The old emperor's elite guards are disbanded and scattered. Disorder reigns, and restless citizens threaten open revolt. And yet... a whisper is heard. Civil war can be averted. An ancient artifact, the Milenian Scepter, can rally those who would serve the Empire best. But the Scepter has been lost for generations, and who can say where it might be? The trail leads into the depths of the city, and across a dangerous wilderness to a forgotten oracle. For the lucky and the bold, perhaps it will lead to... THE MILENIAN SCEPTER This stand-alone adventure is compatible with the Wrath of the Immortals boxed set and the accessory HWR3, The Milenian Empire. You will need the D&D Hollow World boxed set to play this adventure. Easily adaptable to the AD&D game. TSR 9378

Vault of the Blood Mage is a deadly one-shot dungeon adventure for 4-6 8th level characters. Player Characters find themselves locked in a dungeon room with no memory of how they got there. Inflicted with a magical disease that is slowly turning them into mindless zombies, the dungeoneers have to work quickly to find the antidote and escape the vault before succumbing to the deadly affliction. To do so, the characters must avoid deadly traps, fight unique monsters, and solve fiendish puzzles.

An introductory adventure for AD&D. Discover the secret fortress! See if your character can survive the Trail by Fire! Use your own characters, or use the fully equipped characters that are provided. Also contains maps of the fortress and a detailed wandering monster table. Exploration into an underground military base, now occupied by monsters.

The heroes arrive at the eponymous Keep on the Borderlands, a fortress on the edge of civilization built to stave off the chaos and evil of the wilderness. Using it as a home base, a party can make forays into the surrounding wilderness, encountering monster and marauder alike. The centerpiece of the adventure is certainly the CAVES OF CHAOS, a network of tunnels and caverns found in the walls of a nearby but isolated ravine. It is here that hordes of evil humanoids have made their home. Through combat and negotiation, the players can try to explore and map out these caves, perhaps with the aim of accumulating valuable treasure or even cleansing the land of evil creatures. However, even the Caves are not all they seem. Beyond the goblins and kobolds lurk dark horrors: cults dedicated to fiendish chaos and a Minotaur's enchanted labyrinth await the unprepared adventurer. But for the hero who is brave, clever, and fortunate in equal and sufficient measure, great treasures and glory await in the Caves of Chaos that lie beyond the Keep on the Borderlands! TSR 9034

After a riot erupts in the streets of Cauldron, the PCs must track down a missing paladin before the mob tears the city apart. The PCs try to stop an assassin during the riot and get invited to a meeting, where they are tasked to search for the missing paladin. After some investigating they will travel to Vaprak's Voice, an ancient Spell Weaver laboratory, at the edge of the Demonskar. In the dungeon they will find the "Starry Mirror", a puzzle/travel device through which they have to travel, to find the missing paladin. Part 4 of The Shackled City Adventure Path Pgs. 44-82

"Proudfoot’s Trials“ is a D&D5e one shot adventure for 3 to 6 players on level 1-3. The playing time is about 3-6 hours. It is an adventure for beginners, so it contains a few tips for the DM on how to handle various situations. The adventure also offers: - Social interaction - Wilderness challenge - Combat encounters - Traps - Riddles - Adjustment suggestions for higher levels - Sketches - City map "Proudfoot’s Trials“ can also be adapted into an established group and campaign. It provides a varied, but not too complicated plot and can be used to create an enjoyable evening for your group.
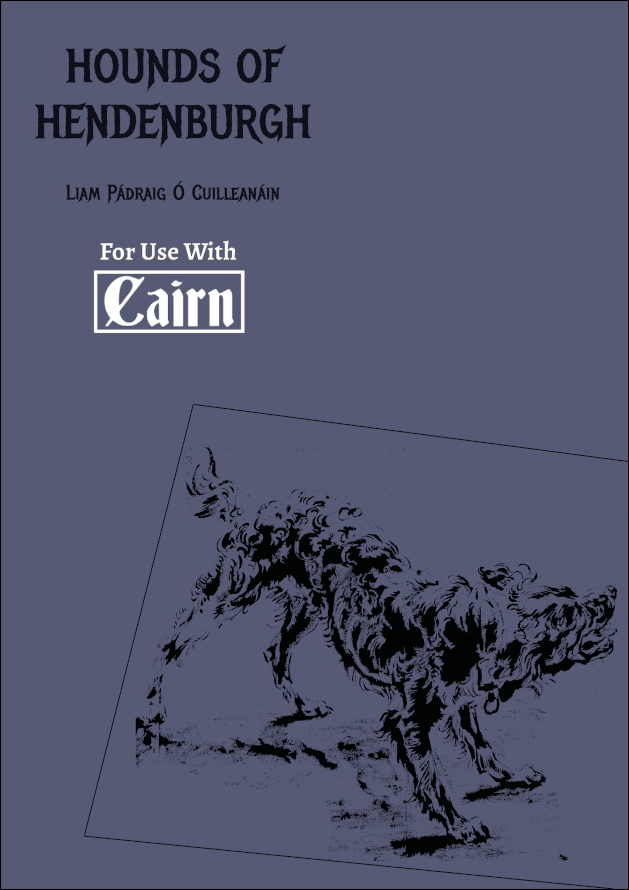
Terror roams the dark and brambled paths of the Kryptwood. A pack of giant spectral hounds rule the night, savaging those foolish enough to brave the forest. The villagers of Hendenburgh cower in the shadows of the ancient boughs as each morning heralds a newly savaged corpse. Explore the ancient paths of the Kryptwood in a 25-hex hexcrawl. Discover the mysterious Tyrant's Tomb. Negotiate, serve or betray the factions of the Kryptwood (a ghostly despot, a gang of highwaymen with excellent PR, a horrifying witch coven, and the eccentric inhabitants of Hendenburgh). Fight new monsters such as owlboars, kryptwood hounds and ghostly tyrants. Hounds of Hendenburgh is designed for use with Cairn by Yochai Gal but compatible with other OSR systems. If using OSRIC, OSE or other OSR rulesets then the adventure is best suited to low-level parties (1-3). Reviews Hounds of Hendenburgh is an adventure brimming with potential energy, like a domino run—any prodding by the players is sure to set off a chain reaction, but where any individual piece will end up is anyone’s guess . . . For me, Hounds of Hendenburgh is a major highlight of A Town, A Forest, A Dungeon. I’m eager to bring it to the table, and I expect it’s the sort of adventure that will reward referees who run it multiple times. - Dododecahedron Blog This 22 page adventure presents a delightful little romp through a colourful town, a dreadful forest, and a small haunted dungeon/crypt. Would that everything I reviewed were at least this good. A credit to county Donegal! - Bryce Lynch (tenfootpole.org)

A far realms themed delve into a twisted dungeon complex, filled with unique hazards, creatures and items. This adventure is designed for 4 level 6 characters and should take one or two sessions. Player and GM maps included.

The Vault of Pallon the Pious is an adventure for four 2nd level PCs. A famous pirate captain came to worship a lawful god in his final years. After a lifetime of plundering, pillaging, scuttling, and murdering along the coastline, the fear-inspiring Pallon the Merciless rebranded himself as Pallon the Pious. But, a history of violence is a hard thing to reconcile, and the salty old dog slowly succumbed to madness. His most precious possession was a set of scales that reflected perfectly his own inner conflict. The Scales of Misjudgement are buried deep in the treasure room of his crazed rock-island vault.

The Terror of Screeching Hill is an adventure designed for a party of four level 1-3 characters. Introduce your friends to Dungeons & Dragons or take a break from your current campaign and save the town of Stonehollow in this early level one-shot! To the villagers of Stonehollow, the flight of bats warns of an impending disaster. Earthquakes, which riddle the small mining town, often follow this omen causing cave-ins and trapping miners underground. Thankfully, the ground hasn't shaken in weeks. However, every night at sunset, a colony of bats fly over the town as a haunting cry echoes over Screeching Hill, a mound on the southern outskirts of the village. Villagers have begun to go missing, including the town's doctors Simon and Kirk Bartok, and some have suffered terrible wounds after being attacked by a relentless creature out of the darkness. With no doctors to treat the wounded and the expectation of more attacks, the villagers of Stonehollow turn to you for help. Will you investigate the terror of Screeching Hill and save the town from its reoccurring nightmare? Included: - A 16 page one-shot designed for level 1-3 characters - Unique maps - Two player handouts - A simplified document compatible with screenreaders
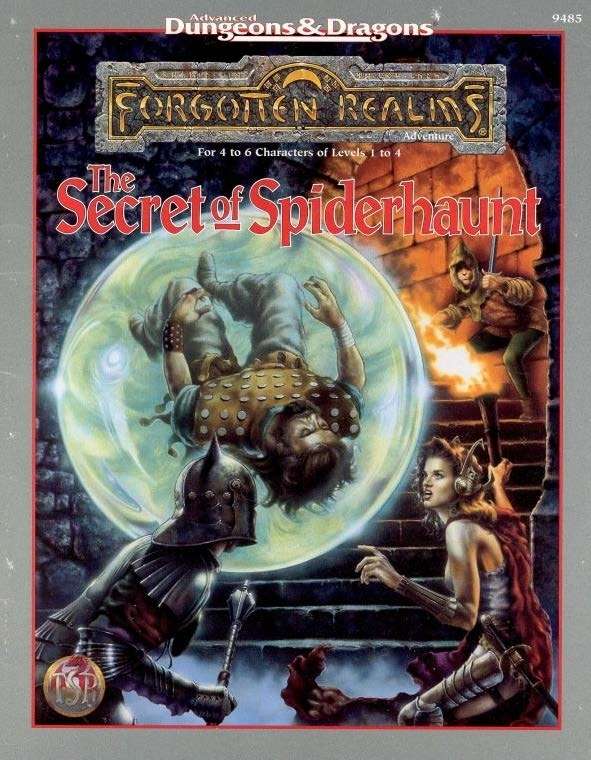
The infamous Sword of the Dales has always held a certain fascination in the eyes and hearts of the citizens of the Dalelands. Thus, it was no surprise when Randal Morn, rebel leader of Daggerdale, led an expedition into the crypt of a long-dead wizard to recover the weapon. Shaevyn the weapons-mage had created the Sword long ago, and it stood to reason that the blade would be waiting within his tomb. Perhaps the Sword of the Dales woulld allow Randal Morn to rule Daggerdale once again. But Randal Morn never returned from that fated party. Only tales of terror told by a lone survivor held any clues as to Randal's fate. A brave hand of heroes accomplished what Randal Morn's group failed to do in part one of this adventure trilogy, "The Sword of the Dales." Battling through the tomb's undead inhabitants, those heroes reached the burial crypt of Shraevyn. There, resting in the center of the coffin, was the Sword of the Dales, its azure glow filling the chamber. However, there was no sign of Randal Morn. Only a note signed by his hand held any clue as to his fate. "Seek me in Spiderhaunt," it proclaimed. "The fate of Daggerdale is in your hands." This is the second part of a trilogy of modules that began with "The Sword of the Dales." The saga concludes with "The Return of Randal Morn." TSR 9485

Those friendly dwarves were the first to go, the poor things. And now the beast has been killing and eating the people of Brandonsford. No-one wants to leave the town's walls. With the humans out of the forest, fairies have taken over, and now the goblin king Hogboon seeks to claim the entire forest as his new kingdom.

An older man named Mars Barz approaches you and your associate as you wander the small town of Senja. He is a local alchemist and purveyor of elixirs and has a delivery mission he needs fulfilled. You’ve got time to kill…why not!

*THIS IS A D&D NEXT/5E PLAYTEST ADVENTURE* Imani, a Turmishan wizard and former adventurer, seeks the aid of heroes to infiltrate Dretchroyaster’s lair and recover the Diamond Staff of Chomylla—the key to powerful magic and wisdom locked away for thousands of years. In addition to his own sagely interest in the lore of lost Uvaeren, Imani recognizes the dangers of such powerful magic falling into evil hands. The dracolich has secured the staff in his lair’s cen- tral chamber, using ancient wards of protection that can be bypassed only by four artifact-idols once belong- ing to a cult of Bhaal. Each group of adventurers enters the dungeon through a different section of the dun- geon—a forgotten temple of Bhaal, a vast underground lake, a troglodyte village, or Dretchroyaster’s vaults. Dretchroyaster’s lair is no simple set of caverns and ancient ruins. It sits atop a source of great power and energy, which the dracolich and his Cult of the Dragon allies hope to use to unlock the secrets of the staff. Only by undertaking a unified assault against Dretchroyas- ter’s lair can the adventurers hope to recover the Diamond Staff and survive the dracolich’s fury. The adventurers must make their way through the lair and recover the Bhaalite idols that will help unlock the Diamond Staff, all the while dealing with the lair’s creatures and avoiding the dracolich as he pur- sues intruders. Entering the Chamber of the Diamond Staff, the heroes must overcome its magical wards and claim the staff before being slain by the dracolich and his servants.

Your chase to wipe out the vampires of Undermountain leads to the Slitherswamp. The master vampire is close at hand! Part Three of the Vampire Hunt trilogy.