
A desperate ghost, a plea for help, and a forgotten crypt filled with peril and plunder. This is a tale of past conflicts, where blood magic has left a foul and dire aftermath, and time is of the essence. Maps and illustrations help guide you through rugged wilderness to re-discover a tomb lost to all but its denizens - creatures enslaved by an unholy item or awakened by its looming threat. Published by Roan Studio
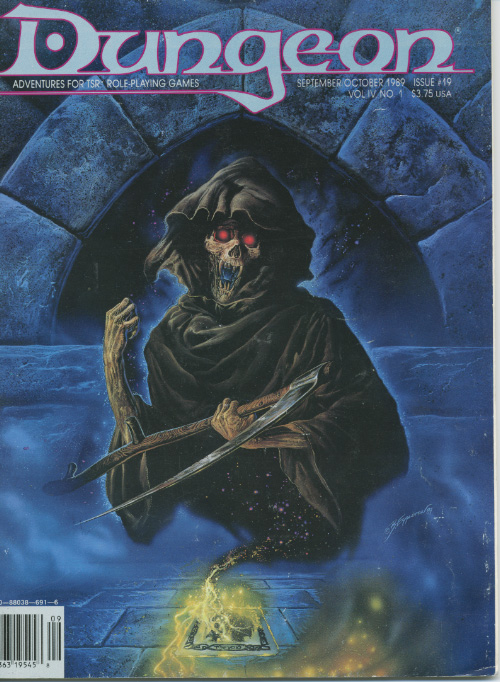
The fate of a city lies within a dungeon whose doors are sealed with - cards It's up to you to bring it tumbling down. “House of Cards” combined dungeon exploration with the Deck of Many Things to create an adventure experience unlike anything seen before. The deck is both a treasure and a trap, guarding a tomb complex that’s being used by the Night Masks thieves’ guild as a lair. If the PCs want the deck for themselves, they must first gather all the cards, which is easier said than done. - Christopher Perkins Pgs. 38-64

The Cult of the Dragon, along with its dragon allies and the Red Wizards of Thay, seek to bring Tiamat from her prison in the Nine Hells to Faerûn. To this end, they are sweeping from town to town, laying waste to all those who oppose them and gathering a hoard of riches for their dread queen. Continued in The Rise of Tiamat.

Just as the trail led from the STEADING OF THE HILL GIANT CHIEF to the frozen wastes where was found the GLACIAL RIFT OF THE FROST GIANT JARL, so the adventure in the latter place has let (or transported) the intrepid party to what they hope will be their last challenge. They are about to venture into the hot and smoking barrens which are in effect Muspelheim, the home of fire giants. This module contains background information, referee's notes, three level maps, and exploration matrix keys. It provides a complete module for play of ADVANCED DUNGEONS & DRAGONS, and it can be used alone or as the last of a three-part expedition adventure which also employs DUNGEON MODULE G1 (STEADING OF THE HILL GIANT CHIEF and DUNGEON MODULE G2 (GLACIAL RIFT OF THE FROST GIANT JARL). TSR 9018
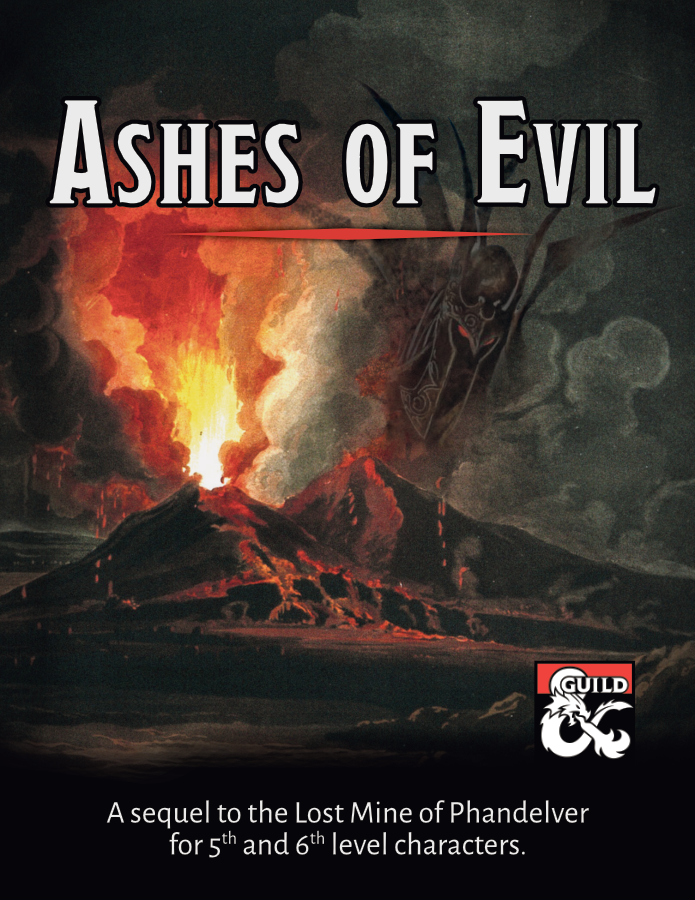
A sequel to the Lost Mine of Phandelver adventure for 5th and 6th level characters. An ancient forgotten evil threatens the Sword Coast once again! Our party of intrepid adventurers returns to Phandalin and Wave Echo Cave for what is at first glance a rescue and exploration mission. Prospectors for the Rockseeker mining concern have disappeared deep inside the flooded caverns that give the cave its name. The peril extends much deeper than mere lost explorers though, as the party stumbles upon an ancient, long-forgotten struggle between good and evil. Inexplicable cultists hide in ambush at every turn. A risky raft ride through treacherous underground waterways leads to an ominous discovery. Ancient ruins tell a story of the terrors of the night and a noble alliance sworn to fight them. A search for a powerful weapon of light leads the party on a mind-blowing, sky-high ascent into the unknown. Then, a whirlwind of danger: A rumbling volcano. Legions of undead. A desperate battle for the survival of the region. This adventure was designed as part of “The Next Adventure” Design Jam at the DMs Guild. It works best for a party that has just completed the Lost Mine of Phandelver adventure, but it can easily be inserted into any campaign. It is designed for a party of four to six 5th or 6th level characters and, based on playtesting, will take an average of about 3 sessions to complete.

A world unseen lies beyond a twisted, metal gate in a remote field of the Dhalpurna Mountains. Will the characters brave the alien monstrosities, technologies, and magic inside to learn the secrets that have been brooding in this strange place for millennia? Gate of the Lens Wizard is a science-fantasy exploration adventure and includes: -A gate that leads to the tunnels beneath a distant jungle moon -Intelligent spiders at war with glass-skulled astronomy wizards -An unfathomable artifact that can rewrite time itself -Combat cards for each monster, PC, and special treasure -High-quality digital maps for use with virtual table tops

Restore an Abandoned Temple Enter the catacombs near the desecrated Temple of Muir, Goddess of Paladins, and search for the lost tomb of Abysthor. Will your party be able to cleanse the evil that now inhabits these once-sacred halls, and recover the Stone of Tircople? Can your characters survive the traps of an undead sorcerer? Will your players discover the chamber of Living Rock and the secret power it holds? Adventure awaits! Gold and Glory! A fantasy adventure published for the D20 system, The Tomb of Abysthor is the first module in Necromancer Games Dungeon series and can be played as a stand-alone story or in conjunction with The Crucible of Freya and the forthcoming city supplement Bards Gate. What secrets lie hidden in the tomb of Abysthor?

The Heartland Scouts – brave defenders of the Coast Way – have been captured! What their captors haven’t counted on is the adventurers’ feisty animal companions. Left behind, they are nevertheless bound to spell trouble! In this entirely unique adventure, players take on the roles of trusty animal companions and familiars on a quest to rescue their adventurer masters. Surely leaving behind a druid’s harmless badger friend is no threat to one of the great evil powers of the world – or is it? Rescue: A Familiar Tale features a story and challenges designed especially for the animal companions. Players choose and customize their animal companion from over 20 options, with illustrated character sheets included for each one. This adventure does not require existing player characters and can be enjoyed by players of any experience level with the game. While it makes for a perfect “something different” one shot, Rescue can also serve as a session zero for any new campaign and includes guidelines for a fun and surprising way to create inspired new characters at the adventure’s end!

The first part of the Dreams of Red Wizards adventure path originally published for the D&D NEXT Playtest. Following the events Ghosts of Dragonspear Castle, a new set of adventurer's will see some of the repercussions of that adventure. This adventure is intended to be continued in the Dead in Thay adventure (Note that they Dead in Thay 5e adventure featured in Tales from the Yawning Portal is missing a significant portion of interlude that links Scourge of the Sword Coast to the events within the Doomvault). The adventurers arrive when Daggerford is crowded with refugees from outlying lands. Goblins, gnolls, and orcs have been raiding the countryside. Now, food is scarce and tension is high. Blame for a theft has fallen on the refugees, and the Duke of Daggerford has forbidden more of the displaced from coming into town. After overcoming difficulties to enter Daggerford, the characters learn more about the raids. As they fight against the humanoids and delve deeper in the darkness that encircles Daggerford, the characters learn of Bloodgate Keep. After a final fiendish ambush, they’re ready to confront the real threat to the area. DM Note: This adventure points the adventurers strongly towards Bloodgate Keep but that location does not appear until the Dead in Thay adventure; at several points the party may feel drawn to explore that location rather than continue their investigations around Daggerford. However, since Bloodgate Keep is only eluded to as a source of great evil power, it can serve to easily segue to an entirely different adventure path. As a NEXT Playtest adventure, Scourge of the Sword Coast uses milestone leveling and the included stat blocks for creatures do not necessarily match or even appear in the 5e Monster Manual, nor do they have XP values or challenge ratings. In some places it will reference rules used in the Playtest but dropped or changed in the 5e release, these are unlikely to substantially impact gampley with 5e rules.

The Free City: a shining gem in the crown of cultured civilization. Beneath the surface of this bustling metropolis is a rot, festering in the darkness, manipulating the lives of those unaware of its presence. Now a small adventuring band from out of town may be in over their heads. Their actions in Diamond Lake have attracted the wrath of one of the city’s hidden masters. A gang of infiltrators and an enigmatic mastermind plot their destruction, and only tracing the rot to the root can stop the onslaught. "The Hall of Harsh Reflections" is the fourth installment of the Age of Worms Adventure Path, a complete campaign consisting of 12 adventures, several "Backdrop" articles to help Dungeon masters run the series, and a handful of poster maps of key locations. For additional aid in running this campaign, check out Dragon's monthly "Worm Food" articles, a series that provides additional materials to help players survive this campaign. Check out issue #336 of Dragon for five attractions to tempt your PCs to spend some of their hard-earned loot. This issue of Dragon also features an Ecology of the Spawn of Kyuss, one of the central creatures featured in this campaign. Pgs. 34-60
Everyone in the city eagerly anticipates The Arena's opening at the end of every month. This month, an unexpected change to the lineup just days before is rife with rumours! The most feared and respected gladiator in history, Imhullu, the Dragon of Marduk, has issued a challenge to an unknown rival—a fight to the death on charges of heresy. Rumours of insults and slander are spreading throughout the Great Market, though the truth remains inscrutable. The crowds gathered outside The Arena are beyond belief; people must have come from every dimension. Gaining entrance to The Arena is going to be next to impossible. Also, you don't have a ticket! Fortunately for you, you haven't spent your youth in a particularly productive manner! Centred around a gigantic arena full of gladiators, your adventurers must brave the depths of The Pits evading and fighting strange, horrifying creatures, in order to gain entrance. Once inside, they must hold strong against social and political pressures in the hopes of finding a seat in time to watch the main event! But have they gotten themselves caught up in secrets best left alone? There’s only one way to find out!

You’ve come to the wild frontier outpost of Ylraphon, a town rebuilt from destruction and now ruled by adventurers, to pass on a proud noblewoman’s final wish to her dungeon-raiding heirs. Yet the young heroes of House Marsh have delved too deep. Can you rescue them from a trap filled ruin, vengeful assassins, and a mysterious entity that turns its attackers into its defenders? The suggested run time is 4 hours, but in practice needed much longer. Ideal for open ended play. Lots of background information - bordering on too much.

Candlekeep is under siege, and it needs adventurers to help protect it! Heed the call to defend the legendary monastery and stand against the tide of evil. Confrontation at Candlekeep was used as a D&D Next playtest for D&D 5E. It was released to organized play Dungeon Masters in August 2013, and ran at Gen Con, PAX, and other major conventions. The adventure includes rules for running multiple tables, but can also be run for just one table. The attack on Candlekeep by forces of Asmodeus is tied to the events in Ed Greenwood's novel about the Sundering, "The Herald."

What began as a subtle sickness has now spread into a full-blown contagion of magical origins around Roslof Keep! Although protected from the outbreak by their Mithel Standard, the Company of the Ivory Scimitar is now challenged with not only continuing their quest to defeat the Dungeon but also saving the town that they have grown to love. With unlikely allies forming from the other Mithel Companies, as well as unforeseen help within the labyrinth itself, the Ivory Scimitar must now take on the perilous task of curing the Violet Corruption while trying to discern the nature of its cause from somewhere deep within Mithelvanr's mad dungeon of self-propagating monstrosities! This adventure is formatted to both 1E & 5E gaming rules. Also available in PDF.

Something strange lurks within the stony confines of an abandoned wizard’s tower. The sole surviving member of a forlorn adventuring party is desperate to find out what happened to his friends and is willing to provide a generous reward to anybody willing to launch a second expedition. Will the heroes uncover the secrets of the tower, or will they also disappear into the darkness?

In the frontier stronghold of Purdey’s Rest, rumors of mysterious lost ruins lead a group of young adventurers into the wilderness — and the forgotten dungeons of a legendary dark mage. Facing off against evil bandits, foul undead, and ravenous monsters, the characters seek the rewards of wealth and fame. But before they can claim either, they must survive all the deadly threats of Hazakor’s lost halls. The Hidden Halls of Hazakor is a starter adventure for fifth edition fantasy roleplaying, written with a special focus on young, beginning Gamemasters of ages twelve and up. In a friendly and straightforward fashion, this adventure explores some of the ways a good fantasy RPG dungeon crawl can be put together. It offers advice on how to just let things happen during a game session, and how to not be overwhelmed by all the directions in which an adventure can go. It talks about how to bring nonplayer characters to life, how to have fun running monsters, and how to challenge the other players and their characters alike. The Hidden Halls of Hazakor is for any player who’s ready to sit in the GM’s chair for the first time — and who is ready to learn some of the tricks and techniques that help all GMs run great games. The PDF download also includes untagged maps for Purdey's Rest and the Hidden Halls of Hazakor dungeon, making it easy to run the adventure in a virtual tabletop setup. These maps are missing the number key and any features that should initially be known only to the GM (including traps and secret doors). The publisher's website offers free pregenerated characters for the adventure, but they are not included in the adventure. The website also has a free GM Guide as well. Insane Angel Studios

Few planes possess the raw malevolence of the Infinite Layers of the Abyss. It is a place of random violence, appalling cruelty, and pure, unadulterated wickedness. Here, unreasoning malice rules, and countless demons torture and murder for the joy of it. The Abyss is innovative in its wretchedness, with each fleeting moment birthing new and awful psychotic acts of utter evil. Those who brave its depths find no relief from its corrosive nature, nor respite from the cancerous seeds of evil blooming within all who tarry here; they find only anguish, pain and if they're lucky, sudden, abrupt death. "Into the Maw" is the ninth chapter of the Savage Tide Adventure Path, a complete campaign consisting of 12 adventures appearing in Dungeon magazine. For additional aid in running this campaign, check out Dragon magazine's monthly "Savage Tidings" articles, a series that helps players and DMs prepare for and expand upon the campaign. Issue #356 of Dragon magazine features an expanded list of strange and exotic magical items that could be purchased from the mercane merchants encountered during "Into the Maw." In order to rescue a friend, the PCs must sail into the Abyss and infiltrate a prison built by the Prince of Demons. Pgs. 48-85

In this town, nothing goes like clockwork. A voice in the darkness offered him power, with only one string attached: first he had to find some adventurers. A fiend and minions of the plane of fire have set up shop beneath a small town, and have been attracting evil minions to their lair! In this town of Jenkel, the religious leader (named Broderick) is secretly under the influence of the demon and has been doing her will out of his own greed for power. A tilted pyramid appeared in the town years ago, and is actually the tip of a tower buried in the town. The tower leads to a dungeon and a shrine where the party can fight off the demon and rid the town of the evil influence. Pgs. 18-31

The valley of Haven was a peaceful land. Its crops were abundant, its citizens prosperous. Elves, Dwarves, Halflings, and Humans lived together in harmony. Hidden away in the heart of the Thunder Mountains, Haven was a safe place to live. The rivers were sweet and pure; the weather was pleasant and warm. Something terrible has come to pass in Haven - terrified refugees speak of a fabulous ruby uncovered in the mountains and a catastrophe that befell the palace. Whatever the cause, Haven now lies in chaos. Raiding bands of orcs, goblins, and hobgoblins terrorize the countryside. The disaster happened so suddenly that the citizens are confused and helpless. Without their leaders, who are trapped in the palace, they have no courage to fight back. The situation has become desperate. TSR 9044

The End of the World Is at Hand! A hideous death cult has seized control of an ancient artifact-monument known as Tovag Baragu. The power behind the cult is the Old One himself, Iuz the Evil, demonic master of an empire. He's on an all-or-nothing quest for supremacy over the world—and the heavens beyond. To stop him, heroes must face horrors never dreamed of, journeying to a shadowed city where Death rules and the living cower. Here, Iuz will achieve his mad dream by destroying the imprisoned master of that alien citadel: Vecna, the mightiest lich, an immortal demigod. Two items exist with the power to stop Iuz—the Eye and the Hand of Vecna—but using them carries fantastic risks. Not even the gods know what will be unleashed when these items are fully activated. Die Vecna Die! takes the heroes from the Greyhawk campaign to the demiplane of Ravenloft and then to the Planescape city of Sigil. However, none of the material from those settings is required for play. TSR 11662