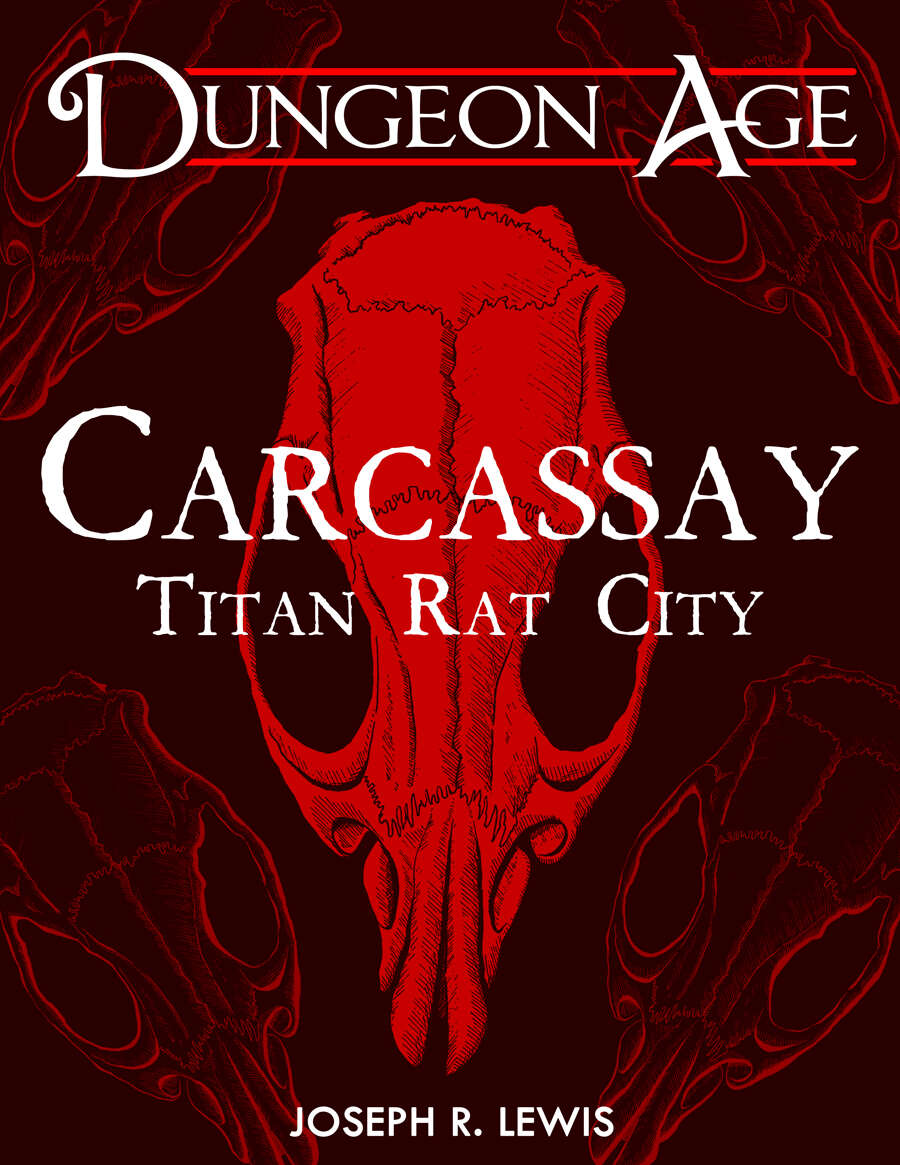
The ancient world of Harth withers beneath its dying sun…but it’s not dead yet. Welcome to the strange and dangerous city of Carcassay, huddled below the skeleton of a titan rat, sprawling above the ruins of countless dead civilizations. This is where folk come to find wealth, power, revenge, secrets, oblivion… and everything in between. Carcassay is a sandbox city adventure. There are many locations to explore in, around, and under the city. Players can explore any place at any time, and may radically reshape the city’s politics, economy, religions, and physical existence. There are standard dungeons stacked under the city, and GMs are encouraged to keep adding more dungeons… all the way down. Tone. It leans more toward low fantasy or sword-and-sorcery. Most shops look like real shops. Most people look like real people. But strange and horrible things lurk everywhere as soon as you start to scratch the surface. This is my Lankhmar. Carcassay is a vast, bizarre city. It has over 100 locations where you can meet Chaos cultists, Lawful knights, retired adventurers, shopkeepers, brewers, musicians, artists, scientists, hermits, royalty, beggars, doctors, space vampires, eldritch horrors, machine priests, crab colonists, mushroom farmers, mummies, assassins, and diplomats from distant lands… and the moon. And every one of them has goods or services to sell, and a quest (or three) to offer. What sort of quests? Fetch a relic, assassinate a rival, find a relative, steal a soul, implant an agent, cure a disease, stop a riot, solve a murder that hasn’t happened yet, hunt a thief, locate a shrine… the list goes on. And for every Quest, there is a specific Reward: money, weapons, relics, Chaos mutations, exclusive memberships, information, Angelic miracles… the list goes on. This is a place where you can make a lot of money, but also where you can spend that money on interesting goods and services. Factions? We have a few. Seven Chaos cults, five knightly orders, two mercenary companies, four wealthy families, six (seven!) Corpse Lords, foreign diplomats, rival innkeepers, rival tavern owners, plus all the dungeon-delving gangs currently mucking about underground. When you grow weary of all the adventures at ground level, there are three classic dungeons buried under the city to explore. This book contains months (if not years) of campaigning. Enjoy the Chaos.

Rising from the surface of a massive lake, an ancient ziggurat travels through time for purposes unknown. It’s up to the characters to enter this strange relic and discover what dark threat the structure poses. The Ziggurat Beyond Time contains advice for customizing the adventure for your own campaign. It also contains an artifact, the Deluvian Hourglass, that has time-related properties and wishes to witness the end of the world. Pgs. 23-55
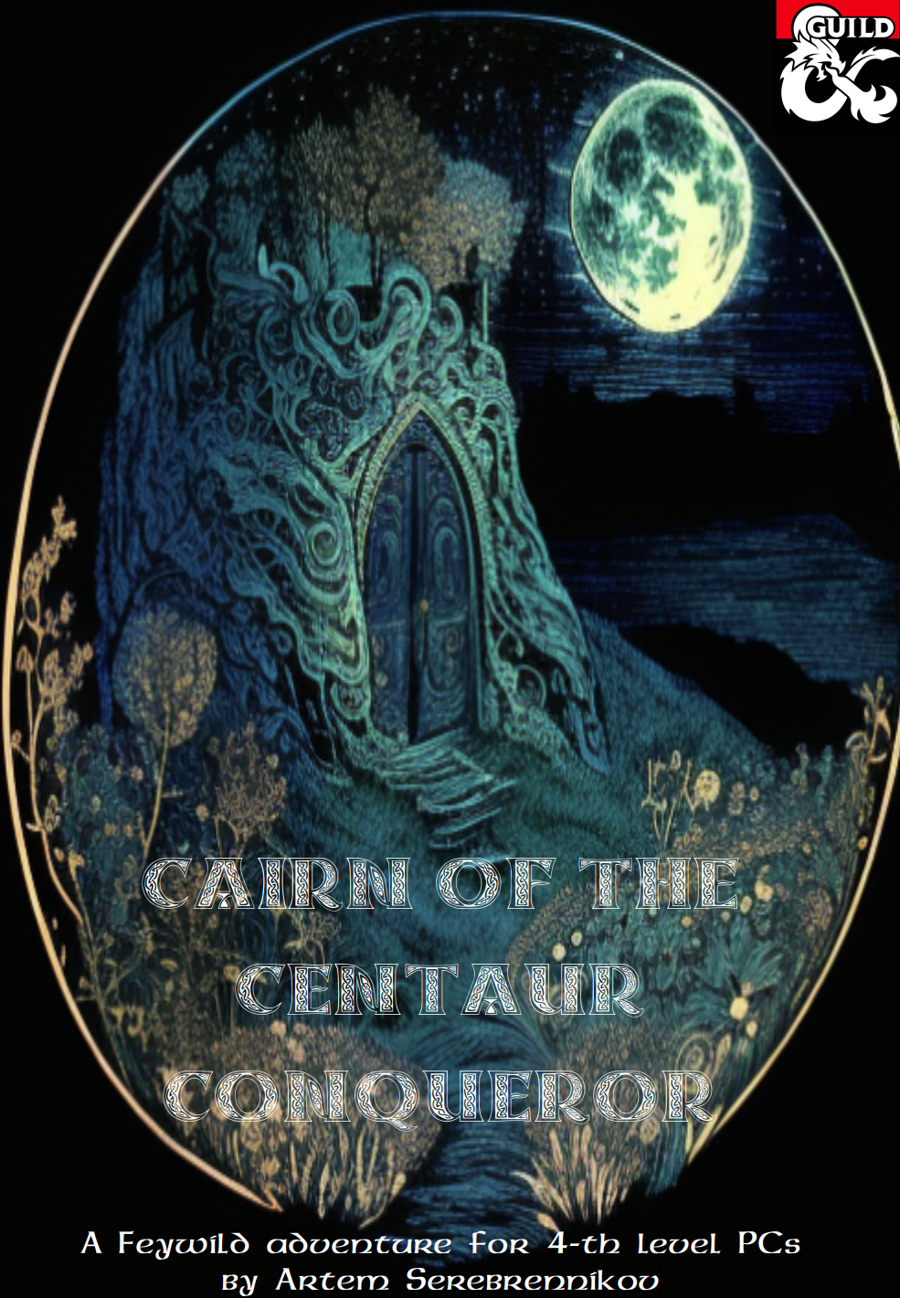
A tenday ago, the human settlers of Olostin’s Hold started hearing strange noises coming from the distant White Stag Hills. Noises of battle. Incessant sounds of thundering hooves, clashing steel, flying arrows, and screams of agony heard from miles away. Could those be the awakened spirits of the past? And if so, what could be done to lay them to rest? The answers are found in Cairn of the Centaur Conqueror, a Feywild dungeon that only appears once every 777 years...

East of Beregost, nestled in the outskirts of the Wood of Sharp Teeth, Durlag’s Tower has intrigued and yet stymied adventurers for decades. Stuffed full of mechanical traps and arcane wards, and rumored to be inhabited by fiends, very few have managed to extract any REAL treasure from the former home of Durlag Trollkiller. However, a powerful item in the ancient fight against the giants is said to be housed there, and the cloud giant Baron Rajiram has committed significant resources toward recovering it. After a pleasant tea in her garden, Seer calls upon you to beat him there and put a stop to his efforts! Sequel to Durlag's Tower.

A deathpriest hierophant of Orcus has turned the lower catacombs of a cemetery into a base for the undead and demonic horde it is gathering. The deathpriest loses control, however, with the arrival of a balor, and its carefully orchestrated forays to snatch victims have turned into wholesale slaughters. The PCs arrive in a nearby town to meet with a merchant who promised to sell them a long-coveted magic item. They are not altogether pleased to arrive to find the aftermath of a brutal attack—and no sign of their item. Pgs. 150-155
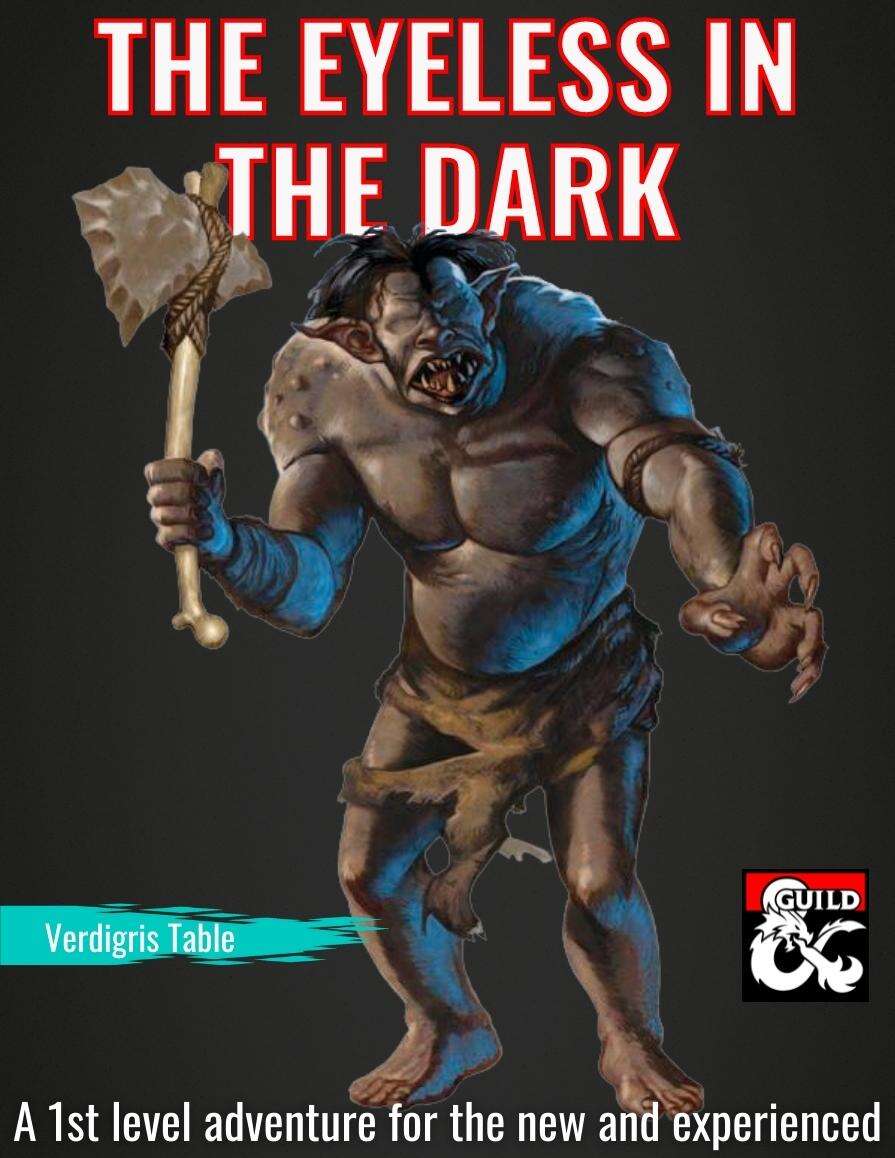
A cave-in at the dwarven mine exposed a passage into the eerie, alien world that lies deep below the surface. Monsters poured out of the darkness and killed many before the surviving miners made it back into the light. Now they seek brave adventurers to face the dangers down in the dark depths. As a one shot or the first adventure of a new campaign, The Eyeless in the Dark carries new and experienced players away from the light of the ordinary surface world and down into the fantastical dark depths where here there be monsters. Chock full of adventure, as well as design notes for Dungeon Masters that will help novice and veteran DMs provide their players with an exciting and memorable game night, and leave them eager for the next session. Use this adventure in combination with the Integrated Hill Encounters and/or the Forest and Grasslands to create an open world sandbox of adventures that can fill many sessions of a campaign.

Dracula, the Lord of Shadow and Darkness, has covered the land in shadow and dispatched armies of monsters and undead from his magical castle. His armies threaten to overrun major cities and plunge the world into a literal Dark Age. The last of the vampire-hunting clan that traditionally opposed him has disappeared, and still the armies advance. He must be stopped. If that's not enough motivation, it is well-known that his castle is full of magical items and great riches... but also great danger. If you've ever wanted D&D and Castlevania to meet, look no further. This adventure is exactly what you wanted. Every area of the castle poses different and unique challenges to keep the party engaged and on their toes. Written for the DM as a ready-to-run adventure, it is designed for four to six characters. The adventure starts at level 3 at the outer defenses of the castle, and ends with the party advancing to level 13 after defeating Dracula in an epic battle. The adventure includes documentation to help even a new DM succed, including suggestions for how to run each of the area "boss" monsters in combat. There are approximately 50 new enemies and over 3 dozen new magical items. It also comes with a list of suggested music for many areas of the castle, and a 25-page campaign log recounting an actual tabletop play-through of this adventure from the DM's perspective.
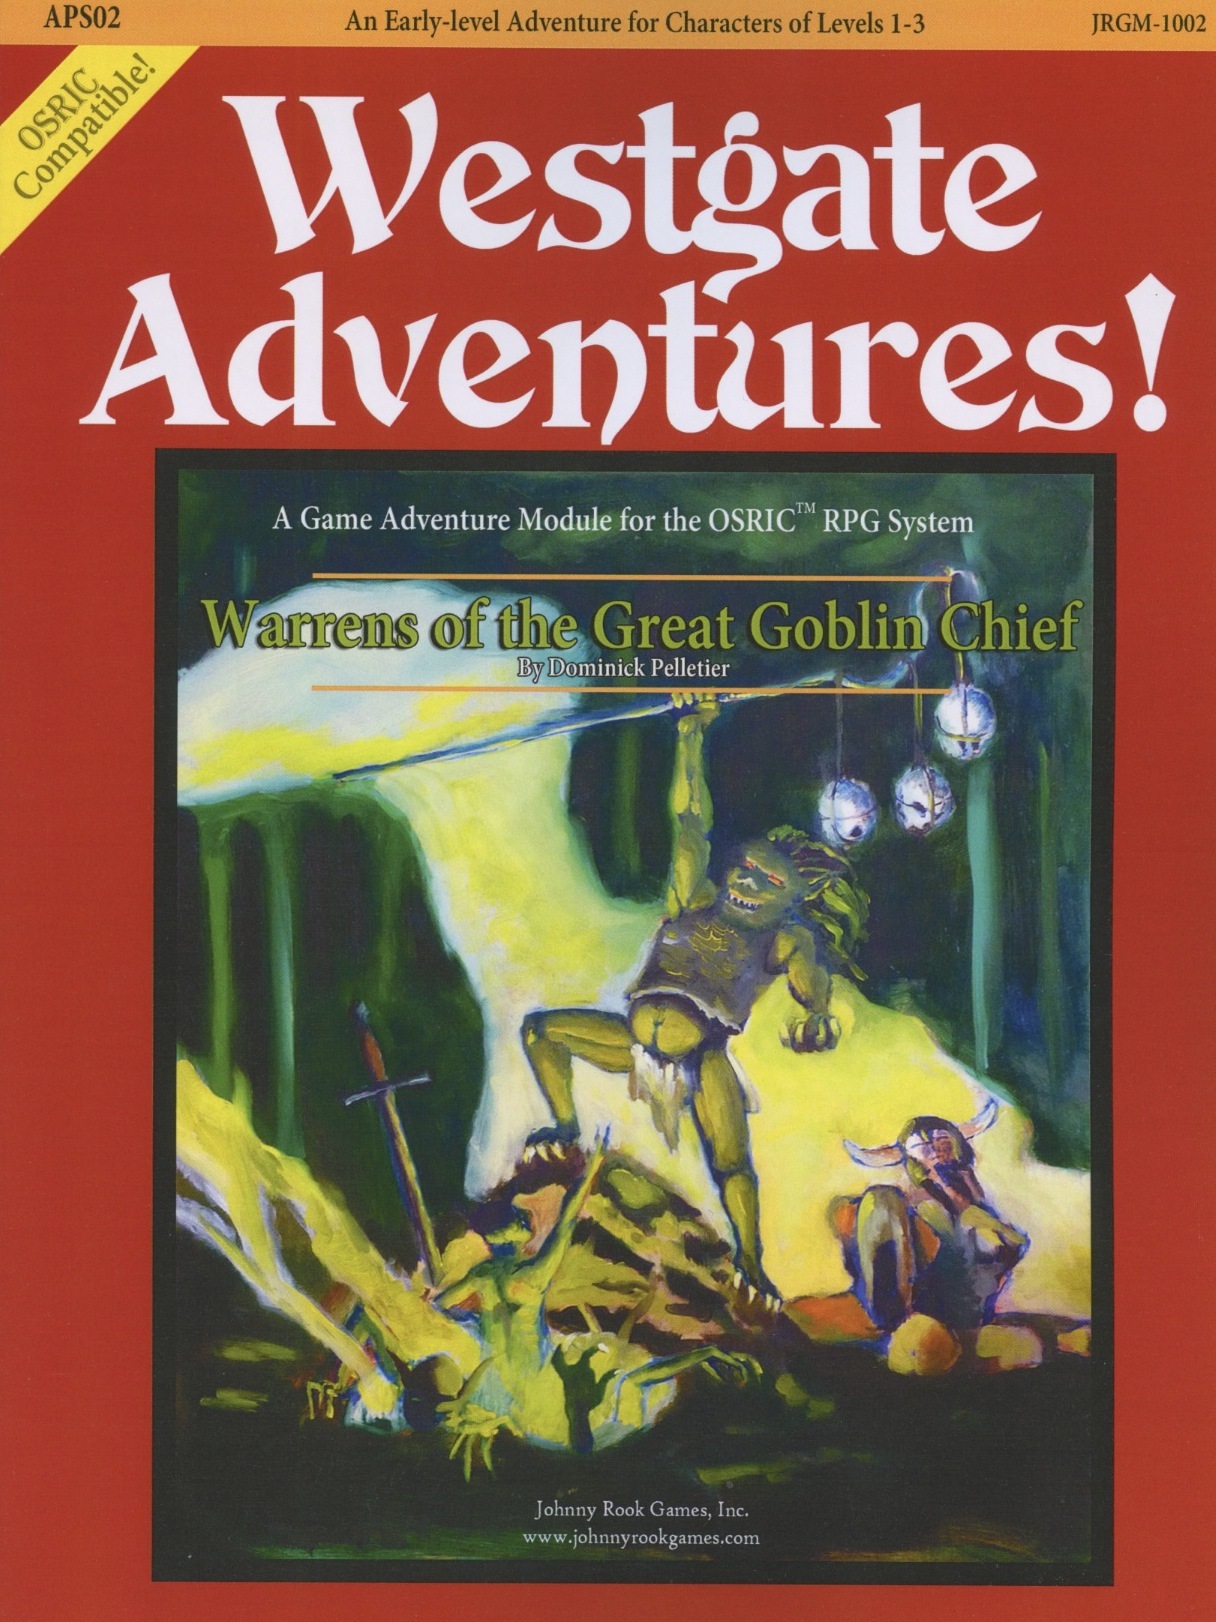
Goblins have returned to the area of Westgate, seeking an ancient magical item constructed for their foul kind. In their search, the goblins attack an imperial convoy secretly disguised as a merchant’s wagon. The knowledge that goblins are near must be kept quiet from the public, thus a small band of adventurers is required to seek out the creatures and the stolen magic item, deep inside the warrens of the great goblin chief! But the adventure does not end there...

The heroes hurry to reclaim a treasured item that an evil hag has hidden away. The item they seek is well guarded by dangerous foes bent on destroying any that dare enter their domain. Estimated play time - 1 hour. This product contains two combat encounters designed for 4th level PCs, an extensive backstory, new monsters and new magic items. The encounters are easily adapted to almost any campaign setting. The text also includes optional changes that DMs may consider when running the adventure for their own campaigns. This side trek encounter is the second of a three-part "Fey's Bargain" encounter series.

Something is amiss in the town of Rhiannon. Recently raided by a band of vile creatures, the citizens of Rhiannon were shocked to find their lord at the root of the incident. And now Lord Kent is holding a competition for “all walks of life with a propensity for the gambling arts.” Will the PC aid the citizens of Rhiannon and uncover the truth about the mysterious Lord Kent? Or will the PC take this opportunity to line her own pockets? Either way, the answers lie inside the walls of Lord Kent’s keep and the gamblers within.

When a Thayan research expedition returns from the Glacier of the White Wyrm with only two survivors that are reduced to whispering about an ancient pyramid under the ice, perhaps it is time to discover just what scares the life out of a nation of necromancers. The events of DDEP2 Mulmaster Undone resulted in terrible geographic upheaval all around the southeastern region of the Moonsea. Massive landslides, earthquakes, tidal waves, and gnashing tornados devastated the land and the city of Mulmaster was nearly scrubbed from the face of Faerun. Fortunately, these events also revealed previously hidden artifacts—trinkets, mostly—from the ancient Netherese all around the city. The Thayans have long held an interest in the port city and wasted no time in assisting in the rebuilding efforts. They simply asked that a blind eye be turned to their archaeological interests, and in return they would continue to spend their own resources (at no expense to the Mulmasterites or even the High Blade) to rebuild the city, bigger and better than before. It wasn’t long before their interests paid off with the discovery of a research laboratory beneath the Glacier of the White Worm, far to the east of Mulmaster and nestled in the mountains. The Thayans sent a sizable expeditionary force but only two acolytes returned. The visiting Zulkir has found this particularly troublesome, and with the assistance of Rastol Shan, the head of the Cloaks, has arranged for a mercenary force to perform a more pointed investigation of the area. In return the Thayan noble has promised significant compensation. Upon arrival at the dig site, the characters are quick to discover that the laboratory hides ancient and palpable evil. The purpose of the facility can be discerned with careful investigation, and the effect of the still-active fragment of the Dark Obelisk has empowered (some may say attracted) servants of the Worm that Walks. Danger and death await, certainly, though the characters always have the option of running away and living to fight another day…
Dreams of the sleeping wizard seep into reality. Manifest familiars war over the fate of a remote islet. An infinite garden houses an escaped experiment. The god of purity is fooled for his blessings. Into the nightmare we go. 16 pages contain 3000+ words describing 10+ keyed areas to explore (complete the wandering monsters table), 10+ friends and foes to talk to, 10 magic items to use, and thousands of gold worth of treasure to plunder. The adventure is designed for B/X, or like-systems. It is suitable for 4 to 6 characters of levels 1 to 3. It is heavily inspired by the dungeon synth album The Sleeping Wizard by Umbría, which may serve as a soundtrack.

With a bit of experience under your belts, you roll into the small town of Windomere with the hopes of catching a ferry to the larger community of Sepopolis. Your initial greeting lacked a warm glow and you quickly discover why. Apparently a river pirate with the moniker of ‘Slippery Peat’ and his cronies have been causing quite a stir in the area. You have a bit of a layover…ready to do the region a favor?

When huge stones fall out of the night sky, A deadly curse settles over Gravencross. Help the village exorcise the Demon Stones. “The sun had set an hour ago, and the rain lashed down and the wind howled on the dark moor. A storm this late in the season was unusual, but this one seemed different. The clouds were more menacing, tinged with anger, the rain colder and more biting than usual. Skerrill had to find the lost calf and get him back to the farm before his father came back from the city on business. He’d been looking for two hours now, and he was right in the middle of the moor when the storm hit. He knew he should have turned back as soon as darkness fell, but then he was never the brightest boy in the valley. If only he had remembered to lock the farm gate. The calf was now likely dead anyway having stumbled among the boulders and rocks, panicking in the dark, and then fallen in a floodwater stream and drowned. Either way, he was in more trouble than he could imagine. Suddenly, a bright flash of white light and a roaring peal of thunder were preceded by an explosion as a huge object fell from the sky and impacted the ground of the moor no more than a stone’s throw from him. Dirt, mud, water, and debris erupted from the impact site, flying high into the air and then covering the moor for hundreds of feet all around. Skerrill was knocked to the ground instantly and covered in the fallout from the blast. His ears rang and his head spun, but he staggered to his feet in a daze. He stumbled to where the blast had happened only moments before, and in a depression in the ground lay a huge stone glowing orange as if hot. Skerrill passed out. Two more thunderous explosions crashed in the distance.”

A fiend lurks among the Black Blade goblins. A shapeshifting barghest fashioned by the General of Gehenna to exact revenge on all goblin-kind. It’s aim: to kill as many goblin leaders as possible… A masked goblin approaches the party asking for help. Two tribe leaders are dead. But a rival for chief has control of the crime scene. Will the party discover the barghest among the goblin ranks? Can they stop this imposter before it strikes again? Adventure Overview The adventure’s story is spread over 4 parts and takes approximately 4 hours to play. The adventure begins with a Call to Action scene. Part 1: Goblin Politics. Krill sends his emissaries to implore help from any strong intermediary. The party is asked to investigate the murder of Thrawn in Dringly’s lair. This is Story Objective A. Part 2: The Opposition. Gain entry into Dringly’s lair and investigate the murder of Thrawn. Gather enough evidence to find the killer. This is Story Objective B. Part 3: To The Lair! Now that the players have determined the barghest (Yeep) is to blame, they need to get to Krill’s lair quickly as he is in imminent danger. This is Story Objective C. Part 4: The Barghest.When the players arrive at the lair, they need to get to Krill and expose and defeat the barghest. This is Story Objective D. Adventure Background A barghest named Yeep has begun its onslaught of attacks against the Black Blade goblins. Starting with Chief Gnar, then his second in command Thrawn, the barghest is moving methodically down the line of command. Krill is now chief. But he has some problems: Two leaders of the Black Blades are dead. Who killed them and why? Is he next? Dringly, the next in command, has decided to take his lair for himself, declaring himself Chief of the Black Blades. Who are the Black Blades? The Black Blades are a tribe of goblins in the local area. They are known for dipping their blades in a dark black substance. It is rumored these blades are poisonous. The Black Blades regularly attack passersby on the road to rob them. The Black Blades have two lairs, one run by a chief who leads the whole tribe, and another overseen by a boss lieutenant. The Black Blades have a well-established pecking order which is how Krill stands to become chief. The next in line is Dringly, who has also declared himself chief and wants Krill dead. Krill suspects that there is something suspicious about two leaders being killed within a day of each other, but he has already burned Gnar’s body without any investigation. He needs to investigate the body of Thrawn, but it is in Dringly’s lair. Krill wishes to avoid direct confrontation with Dringly at the present for three reasons: 1) Any violence would only kill his own tribe members and further divide the lairs. 2) He believes there is still hope for negotiation to reunite the Black Blades. 3) He believes that if he were to attempt negotiations himself, Dringly would kill him. This adventure features: Two maps. Ready for your favorite Virtual Tabletop. A full color pdf. A black and white pdf. One custom monster, a reprint of barghest, all others available in the Monster Manual. Four hours of entertainment involving: roll playing a goblin bard, investigating a murder scene, tracking down a barghest before it strikes again. Applicable to any setting.
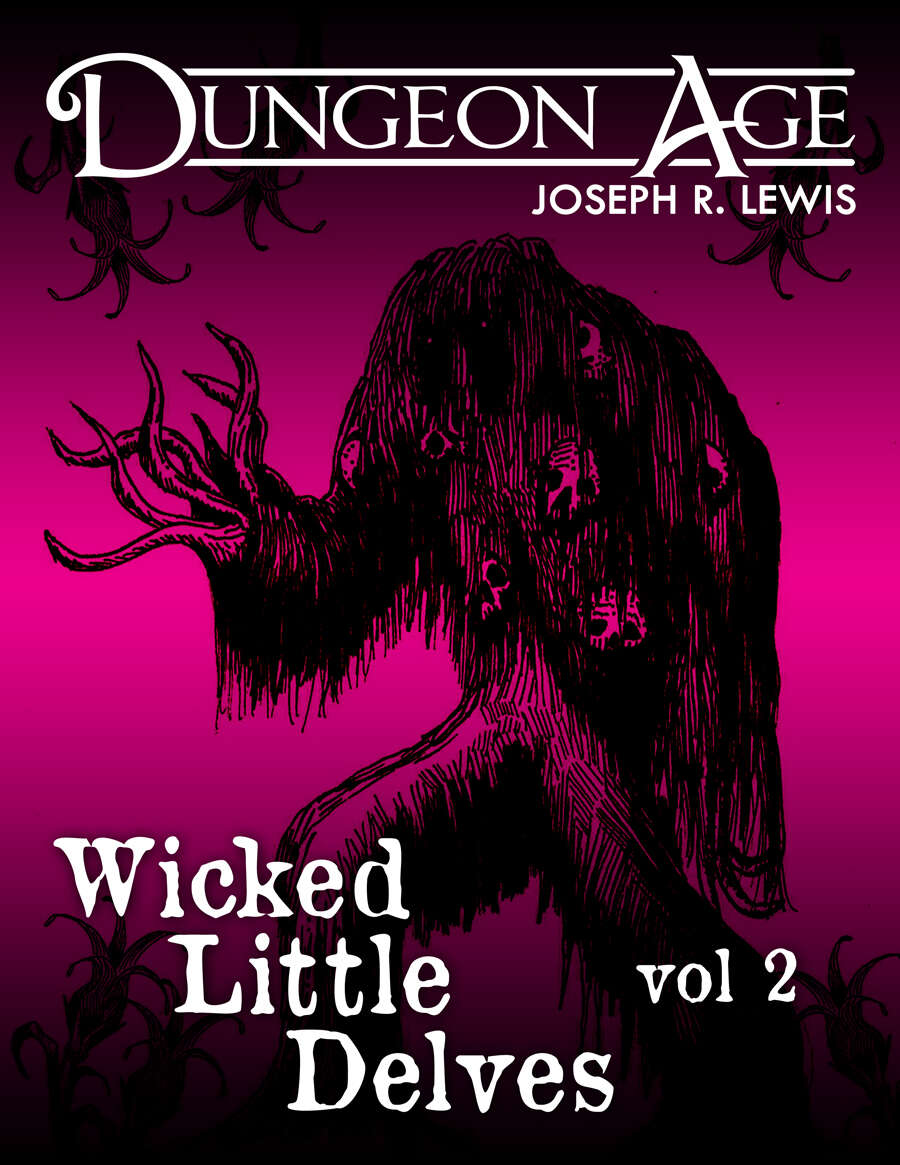
These are three one-shot dungeon delves. Each delve features nine rooms or locations full of challenges and interactivity. Each delve has only one type of monster, but they are complex, and there are lots of them! This volume of Wicked Little Delves includes three small dungeon adventures: - a salt mine taken over by aggrieved Salt Knockers, - a swamp settlement destroyed by raging Swamp Brutes, and - a decadent earthscraper where the residents found immortality within their Iron Thralls. SYSTEM: Each monster has stats for Fifth Edition, Old School Essentials, and Into the Odd. These adventures are intended for characters at levels 4, 5, and 6. They are mainly focused on exploration and combat, with some minor social encounters. Estimated run time for each: 1 session, or 2-5 hours. Each adventure includes one complex original monster and a variety of unique treasures. ADVENTURE TYPE: Mid Level / Combat / Exploration / One-Shot / Dungeon Delve DESIGN NOTES These adventures are intended for low-level characters Level 4-6 9 unique encounter locations per delve (27 in all!) 3 original monsters with multiple abilities and weaknesses Dungeon maps and original illustrations
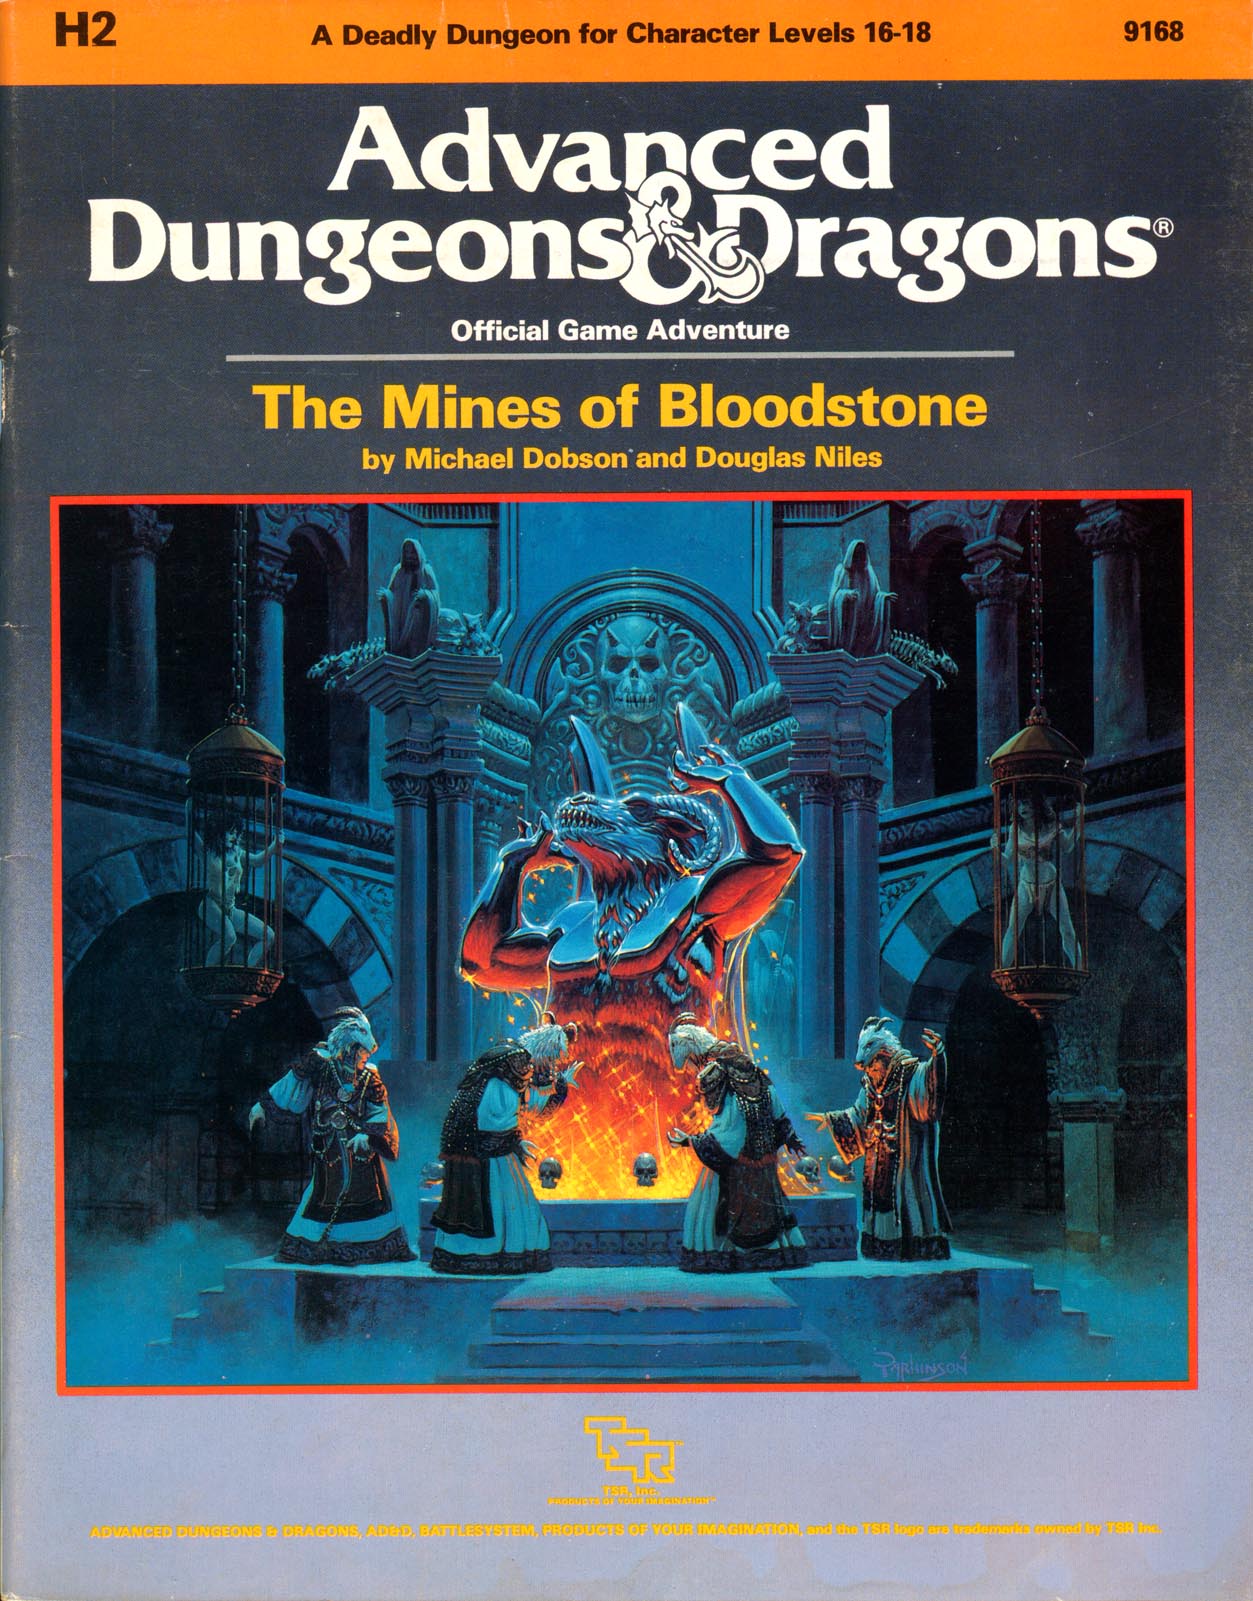
The most deadly dungeon ever devised! High-level characters brave the unexplored corridors of Deepearth to confront perhaps the most feared adversary in the AD&D game. The second chapter of the Bloodstone Pass saga follows the conclusion of the desperate war against the bandit army. A cold and bitter winter drives the villagers to the edge of starvation, and numerous horrors strike the town of Bloodstone Pass. Join the adventure as the heroes explore the depths of the ancient bloostone mines, now inhabited by fearsome demons. There they hope to uncover the fantastic treasures rumored to exist in the unknown darkness. But deep within the mines, all is not what it seems.... This module uses the new rules from the Dungeoneer's Survival Guide and Wilderness Survival Guide. The adventure also includes optional BATTLESYSTEM scenarios fought entirely underground. These supplementary products are not required to play the adventure, however. TSR 9168
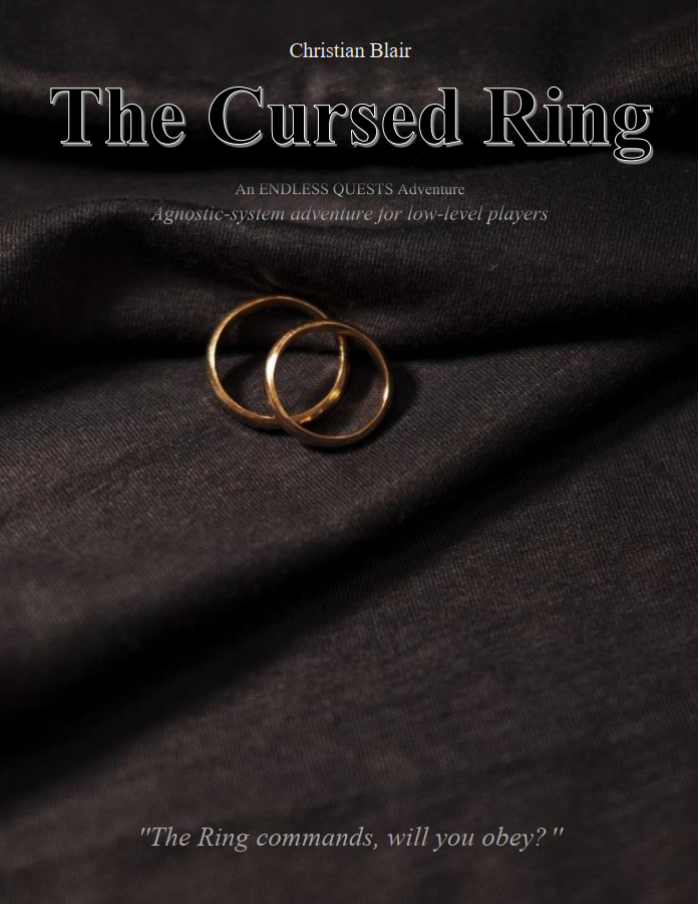
(EQ1) The Cursed Ring is a generic fantasy short adventure for low-level players, themed around puzzle hunting, traps, and monster combat. It is designed to be solved in approximately 5-6 hours, depending on the size of the party and skill of the players. This adventure takes place in a cursed fortress, where they must find a powerful mythical ring capable of granting great power, in exchange for enormous sacrifices. Players must recover the ring and get out of this dangerous place alive.

When Fort Iron was taken from the duergar who inhabited it, much of their subterranean quarters were never fully explored. An ancient oubliette has been discovered and its contents have disturbed the miners. Can the mine and the miners be saved from the dangers of the Oubliette of Fort Iron?

Children and a cleric have been kidnapped from a small coastal town by undead creatures who crawled out of the sea. Defend the Captain's Folly Tavern, investigate the mystery, swim through underwater caverns, and fight the monstrous denizens of the deep in order to save the kidnapped civilians! This adventure includes: 4 New Monsters, 4 New Magic Items, A Seafaring Skill Challenge, & Complications for an Underwater Chase Encounter!