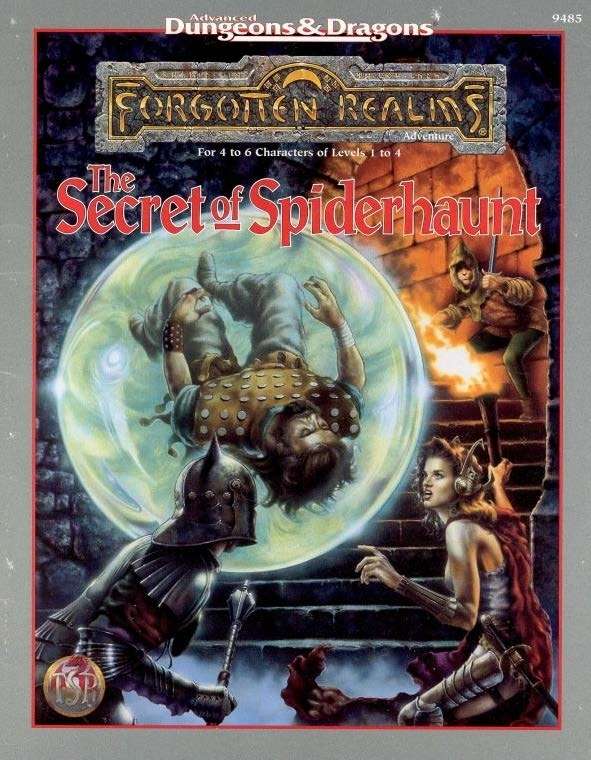
The infamous Sword of the Dales has always held a certain fascination in the eyes and hearts of the citizens of the Dalelands. Thus, it was no surprise when Randal Morn, rebel leader of Daggerdale, led an expedition into the crypt of a long-dead wizard to recover the weapon. Shaevyn the weapons-mage had created the Sword long ago, and it stood to reason that the blade would be waiting within his tomb. Perhaps the Sword of the Dales woulld allow Randal Morn to rule Daggerdale once again. But Randal Morn never returned from that fated party. Only tales of terror told by a lone survivor held any clues as to Randal's fate. A brave hand of heroes accomplished what Randal Morn's group failed to do in part one of this adventure trilogy, "The Sword of the Dales." Battling through the tomb's undead inhabitants, those heroes reached the burial crypt of Shraevyn. There, resting in the center of the coffin, was the Sword of the Dales, its azure glow filling the chamber. However, there was no sign of Randal Morn. Only a note signed by his hand held any clue as to his fate. "Seek me in Spiderhaunt," it proclaimed. "The fate of Daggerdale is in your hands." This is the second part of a trilogy of modules that began with "The Sword of the Dales." The saga concludes with "The Return of Randal Morn." TSR 9485

Infiltration of a ruined archive; the players--beseeched by a mysterious psionic calling--work to uncover the machinations of the Nalar and hopefully free their captive held far below...

A long-simmering merchant conflict has turned into a war of assassination, and the PCs are called in to prevent an attempt to murder the daughter of one of the merchants. They lead her yuan-ti would-be killer on an overland chase through a canyon called Ehlonna’s Scar, which contains surprises of its own.

"A curse has spread through Darkroot Forest! Plants are attacking people, and the very air seems poisonous once you travel deep within the woods. Your group has decided to investigate this area, and rumors have it that the abandoned town of Faeriewell is where this disease started spreading. Or maybe the people of a nearby settlement asked for your help? or perhaps a noble Lord that just inherited the land hired you to clear out his new forest? This part is really up to you." The Curse of Faeriewell is an adventure for a level 5 party that you can easily drop into a campaign or play as a standalone one-shot. It will last between 3 and 5 hours. It is setting agnostic, but best at home in a Fantasy world. This adventure can serve as an interlude from your main campaign, a sidequest or simply as a one shot.
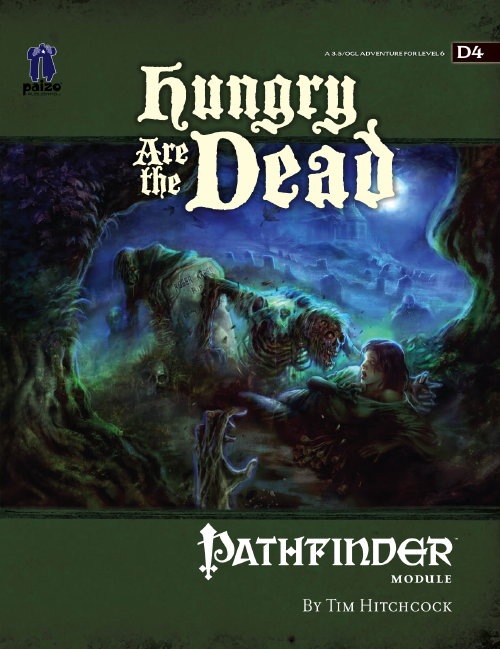
The logging town of Falcon’s Hollow has been through rough times—first a kobold tribe abducted the town’s children for an evil ritual, then an unknown force reanimated the defeated kobolds to attack the town. Now a horde of zombies approaches and a mysterious evil gathers power in the north, tainting wildlife and the buried dead, its presence hinting at ancient evils better left undisturbed.

The Iron King's daughter has been cursed by a demon who lurks inside a mirror locked deep in the palace dungeons. Can the characters win their freedom from those same dungeons by entering the mirror demon's horrifying, maze-like realm and finding a way to end the curse? The Demon in the Mirror is a creepy dungeon crawl adventure for 5th-level characters. It takes about 5-7 hours to complete and includes: -An otherworldly, reality-bending realm inside a magical mirror -Four new monsters: the mirror demon, ceiling creep, reflection demon, and librarian of Leng! -Combat cards for each monster, PC, and special treasure -Gorgeous digital maps (with and without grid) for virtual table tops

If the PCs are to avert the Age of Worms, they must invade the heartland of Kyuss' power, the Wormcrawl Fissure, and destroy one of the world's most powerful dracoliches before the Wormgod awakens. "Into the Wormcrawl Fissure" is the eleventh installment of the Age of Worms Adventure Path, a complete campaign consisting of 12 adventures, several "Backdrop" articles to help Dungeon masters run the series, and a handful of poster maps of key locations. For additional aid in running this campaign, check out Dragon's monthly "Worm Food" articles, a series that provides additional materials to help players survive this campaign. Issue #343 of Dragon presents statistics for some extraplanar entities the PCs may wish to call upon to aid them in the Wormcrawl Fissure. Pgs. 54-89

The Free City: a shining gem in the crown of cultured civilization. Beneath the surface of this bustling metropolis is a rot, festering in the darkness, manipulating the lives of those unaware of its presence. Now a small adventuring band from out of town may be in over their heads. Their actions in Diamond Lake have attracted the wrath of one of the city’s hidden masters. A gang of infiltrators and an enigmatic mastermind plot their destruction, and only tracing the rot to the root can stop the onslaught. "The Hall of Harsh Reflections" is the fourth installment of the Age of Worms Adventure Path, a complete campaign consisting of 12 adventures, several "Backdrop" articles to help Dungeon masters run the series, and a handful of poster maps of key locations. For additional aid in running this campaign, check out Dragon's monthly "Worm Food" articles, a series that provides additional materials to help players survive this campaign. Check out issue #336 of Dragon for five attractions to tempt your PCs to spend some of their hard-earned loot. This issue of Dragon also features an Ecology of the Spawn of Kyuss, one of the central creatures featured in this campaign. Pgs. 34-60

Disturbing shadows have grown long over the northern reaches of The Land of Song. The fierce people who once fished the chilly fjords and hunted in the evergreen peaks now huddle in their villages. An evil is abroad in the land. The heroes are charged by Jarl Yngvar with traveling to the Valley of the Sleeping Jarls, an old tomb in the hills where dead kings are laid to rest, to discover the source of the malevolence bearing down upon the land and with eradicating it. Who can say what evil lurks amid the towering peaks and shadowed fjords? For decades this malevolent being plotted his vengeance upon Hjalmar’s heirs, for the jarl had gone the way of all mortals. Taking for himself the name Mogens (“powerful”), this evil spirit, now a self-styled dark lord, gathered wicked cronies and servants to itself and came to the Valley of the Sleeping Jarls. There, he has spent nearly two decades corrupting and desecrating the sacred resting place, reshaping the hollowed tombs into a blasphemous temple to his infernal lord.

Half a century ago the legendary mage Delekin reached his zenith but began a fall of monumental disaster. After being betrayed by his party the mage changed alignment and began a cruel tirade against the residents. He was finally taken down by the Lords of Evil and imprisoned in a tomb created to lure good adventurers to their death. Many have entered the unholy locale and none have returned. Whatever evil is present in the tomb is powerful, and most likely very wealthy. This adventure is one of the Original series i.e. an early work!
Step right up ... You too can be a contestant on … Adventuring Gladiators? A set of challenges meant to test the resolve of the party. Pgs. 32-45

Local villagers whisper of a mysterious place deep in the marsh - a place shrouded in mist and dotted with barrow mounds, ruined columns, and standing stones. The tomb-robbers who explore beneath the mounds - or rather the few who return - tell tales of labyrinthine passages, magnificent grave goods, and terrifying creatures waiting in the dark. Are you brave (or foolish) enough to enter Barrowmaze? Barrowmaze Complete (BMC) is a classic megadungeon for use with any old school fantasy role-playing game. BMC includes everything in Barrowmaze I and II in the same book in addition to new material, art, layout, and cover art by Ex-TSR artist Erol Otus. Barrowmaze Complete will keep your players on their toes and your campaign going strong. BMC is brought to you by the Old School Renaissance (so don’t forget your 10’ pole). This edition includes art by the aforementioned TSR artists Erol Otus, as well as Tim Truman, Jim Holloway. New old-school artists include Peter Pagano, Cory Hamel, Stefan Poag, Zhu Bajie, Stephan Thompson, and others.
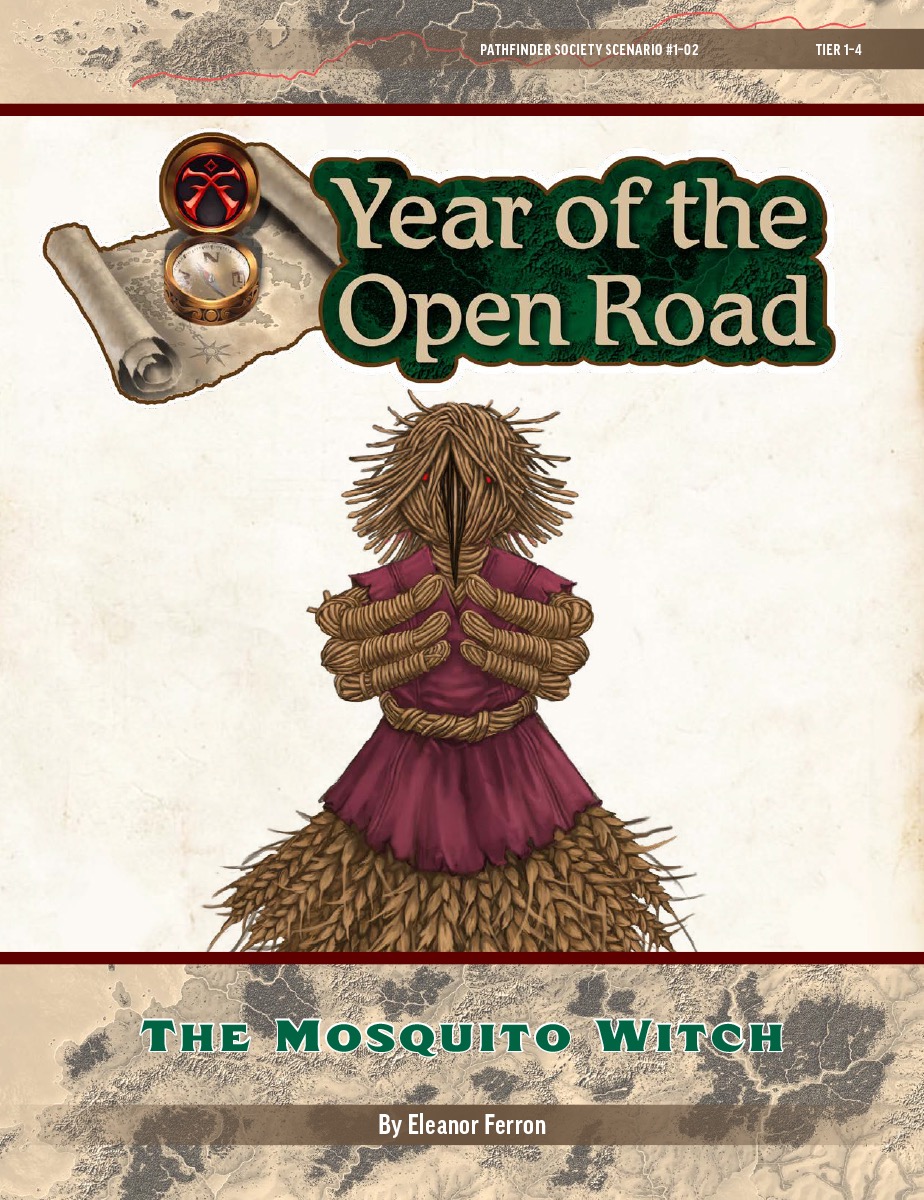
Decades ago, witnesses reported a fearsome cryptid outside of the quiet River Kingdoms town of Shimmerford. Dubbed the Mosquito Witch, it was rarely seen since and quickly became a beloved local legend that the town celebrates and promotes to attract visitors. But when recent attacks began savaging livestock and townsfolk alike, many have started believing the Mosquito Witch was real all along. The PCs travel to Shimmerford to unravel the cryptid mystery, but might they just become the witch's next victim?
Launching the Unlock the Vault-series, this first installment sees the party search the royal crypt in the ruins of Wellsing for the fabled Shield of Ralfour - An artifact that, initially unknown to the party, also acts as one of the eight keys to break the seal on Aizendore's Vault of Tragic Treasure.

The Halls of Runehammer is a classic dwarven dungeon crawl for 5th edition dungeons and dragons. The core adventure module is desigend for characters who are second level and should take a party up to 4th level. 150 years ago a horrible plague called the Red Death swept the known world. When faced with the destruction of their entire clan some of the dwarves of Runehammer turned to a dark evil in an attempt to survive. Until recently that evil lay dormant, but now it threatens to engulf the entire region surrounding the Halls of Runehammer including the small town of Last Stop. Features over 8 episodes of encounters flled with action, excitement, and danger Blaze your own path or choose from two sets of pregenerated characters; one party of dwarves and one party of the canon characters for the Asnar: The Last Kingdom campaign (digital download) Contains 25 available digital maps for high quality printing or use with Online systems like Roll20 (digital download) Comes with Combat Encounter sheets for most combat encounters to help speed up your game play (digital download) Comes with a fully printable puzzle ring trap for Episode 7: The Pump Tower Contains 30 pieces of artwork created just for this adventure and 14 additional licensed pieces of artwork

The Temple of Draxion is an adventure with 2-3 encounters that uses clever tactics, trickery, and good defensive positions to make low-level monsters challenging. The defenders in the encounter try to deceive the PCs; groups willing to accept anything the DM says at face value will horribly misjudge the actual level of danger they are in. The adventure is set in a partially-collapsed dungeon that was once a temple to Erythnul, but is now the headquarters of a pair of aspiring bandits, and their kobold employees. Pgs. 12-15

Sometimes you can just be in the wrong place at the wrong time... Sheltering from a savage storm, a group of fledgling adventurers find themselves trapped by circumstances and powerful forces from a bygone age. Escaping from dark and dismal caverns, the heroes must brave a nightmarish trek through haunted and hostile terrain, pursued by an mysterious assailant to the very walls of Anduria – home of the greatest civilisation in the world. On the edge between madness and salvation, they must broker a deal with shadowy cults and political powers to determine not only their own fate, but potentially that of the Eternal City itself.

A Gritty OSR Fantasy Setting by Travis Legge The mortal lands are divided. A dozen kingdoms lie scattered across the world, separated by dangerous wilds filled with bandits and monsters. The bravest mortals act as adventurers, guiding travelers between the kingdoms, killing monsters to thin their numbers, and plundering ruins in search of the lost treasures of the golden age. This is the world of Odysseys & Overlords! The party are traveling west through the Untamed Gauntlet, on their way to somewhere else and using a stream to guide their steps. They step out from under the eaves of the forest to spy looming before them a cliff, a tall wall of stone which stretches away to either side as far as they can see. A waterfall cascades onto sharp rocks into a pool from which pours the stream they were following. The sheer cliff is easily 100 feet high, and too wet and slick to climb safely, though it can be tried. Atop the cliff is a bare stone hill which looks like it was at one time worked by intelligent hands; a look-out post of sorts has been carved into its southernmost peak. The map says it’s called “Wyvernseeker Rock,” but it doesn’t say why. The hill appears deserted. A long age ago, beyond mortal memory, a forgotten people built a watching post and refuge atop and within Wyvernseeker Rock. A hundred years ago, an adventurer named Olaf Wyvernseeker claimed the Rock for his own and set out with companions to clear the lands thereabouts. They were never heard from again. The upper chambers of the Rock are a convenient lair for a Giant Rhadogessa and its spider servants. Still, it’s got to be safer than climbing the cliff. Right? Published by Aegis Studios

Written in celebration of Swords and Wizardry Appreciation Day 2017, Return to Fel’Valashar picks up where Dungeons of Fel’Valashar left off. In this book is a collection of mini dungeon adventures with a small region called Fel’Valashar that they take place within. Each of these adventures is written in such a way that they don’t have any ties to each other or to Fel’Valashar. This means you can easily drop them into your own world with no fuss. Includes: Details of the south-western region of Fel’Valashar. Four mini dungeon adventures. New monsters. New magic items.
An ancient gate to the abyss lies undisturbed in the Valley of Obelisks. Sinister forces seek to reactivate the gate for their own ends, can the heroes stop them in time?