
Buried in the desert sands of Mulhorand, near the city of Mishtan, lies an ancient stone statue of a sphinx queen. After a fierce sandstorm reveals a huge tablet etched with hieroglyphs between the statue’s paws, the PCs must translate the strange writing to find the secret entrance into the Temple of the Sphinx Queen. The conclusion offers three optional endings for DMs to choose from to suit their players, including a wicked trap, a twist that leads to further adventures, or a tough climactic combat suitable for a one-shot. Included are: Five new Egyptian-themed monsters: The Sphinx Queen, Black Lion Guardian, Zombie Scarabs, Snake of Set and Desert Spirit. A new weapon, the khopesh Four new magic items: Statue of Set, Guardian Khopesh of Set, Warded Puzzle Box and Minor Concoction of Healing Two hieroglyphic puzzle player handouts and a DMs translator sheet

You have no friends here What can you do when the Mists deposit you in the city of Lekar? The militia is no better than a gang of sadistic bullies, the citizens are more contagious than a fleet of plague ships, and every foot of public space is covered with corpses of criminals who committed no crime greater than struggling to survive in the oppressive domain of Falkovnia. Danger haunts your every move A secret society of assassins, known only as the Ebon Fold, has been hunting down visitors to Lekar and killing them in a most grisly fashion; all that remains of the victims are desiccated husks that crumble to ash when touched... and you are their next targets. There is no escape When everyone who has befriended you is either dead or hunted by the authorities, you have no choice but to fight back. But the Ebon Fold is a numberless horde whose leader holds sway over death. How can you defeat enemies that won't stay in the grave? They strike from the depths of darkness and steal your life... one dagger stroke at a time. This 64-page adventure can be played independently, or as the opening challenge in the Grim Harvest series that continues with Death Ascendant and concludes with Requiem. Inside the package is a poster map that fully details asll 10 levels of the chilling complex known as the Well of Bones. TSR 9523

A group of adventurers find themselves drawn to Axeholme, a small, desolate village with a rash of disappearances. An ancient burial mound nearby has been opened, its stone door found shattered, and, if the villagers are to be believed, the disappearances are the work of a wizard’s curse. But things are not always what they seem.

I am the Set Rahotep No man was more potent when I was amongst those dwelling in the land of Khemit. In death I am greater still! Do you not fear serpents? I am the Aepep Rahotep! Who does not tremble before the monsters of the Duat? I am one! Does your flesh not crawl at the sight of a terrible wyrm? I am the Deathwyrm Rahotep! Does your blood run cold before the face of a fiend? Know then that I am Rahotep the Fiend! Who shuns not demons? Shun me, for I am the demon Rahotep, the Red Devil. And which fool listens? That one is wise! Praise Set and the Set Rahotep, that one, and pity the rest! An Epic Adventure and Sourcebook Gary Gygax's Necropolis is a vast campaign scenario that sweeps the characters into an epic adventure across the magical desert kingdom of Khemit. From a hidden evil in a desert village, to the secrets of ancient tombs, Necropolis takes the characters on a dangerous mission to thwart the plans of an undying archpriest-wizard who would be a god! Necropolis is also a campaign sourcebook, detailing the lands of Khemit, new classes and prestige classes, new spells and more than 60 monsters unique to the desert lands. This book also details over 50 new gods and new cleric domains, allowing DMs to run extended campaigns in the desert kingdom.
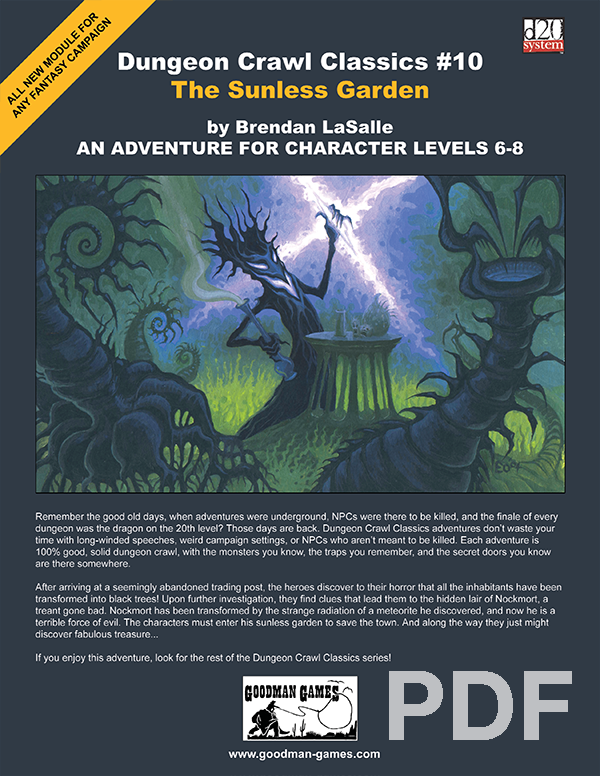
After arriving at a seemingly abandoned trading post, the heroes discover to their horror that all the inhabitants have been transformed into black trees! Upon further investigation, they find clues that lead them to the hidden lair of Nockmort, a treant gone bad. Nockmort has been transformed by the strange radiation of a meteorite he discovered, and now he is a terrible force of evil. The characters must enter his sunless garden to save the town. And along the way they just might discover fabulous treasure...
For ages, “the old monastery on the hill” was simply that and nothing more to those that knew of it – a small building of a forgotten age and purpose, overgrown by the land around it. But recently, rumors have been making way among the educated that there is a wealth of knowledge that hides within the old monastery, waiting for someone to find it. Most dismissed these rumors as hearsay... but those with their eyes on the prize continued to pay attention. There must have been some merit to these claims, because seemingly overnight a monstrous creature has appeared on the monastery grounds - a serpent the size of a dragon, with a dozen legs and breath that crackles with lightning! There's no doubt the rumors and the monster's appearance are related somehow, and the PCs are tasked to put their skills to work to figure it out!

*THIS IS A D&D NEXT/5E PLAYTEST ADVENTURE* Imani, a Turmishan wizard and former adventurer, seeks the aid of heroes to infiltrate Dretchroyaster’s lair and recover the Diamond Staff of Chomylla—the key to powerful magic and wisdom locked away for thousands of years. In addition to his own sagely interest in the lore of lost Uvaeren, Imani recognizes the dangers of such powerful magic falling into evil hands. The dracolich has secured the staff in his lair’s cen- tral chamber, using ancient wards of protection that can be bypassed only by four artifact-idols once belong- ing to a cult of Bhaal. Each group of adventurers enters the dungeon through a different section of the dun- geon—a forgotten temple of Bhaal, a vast underground lake, a troglodyte village, or Dretchroyaster’s vaults. Dretchroyaster’s lair is no simple set of caverns and ancient ruins. It sits atop a source of great power and energy, which the dracolich and his Cult of the Dragon allies hope to use to unlock the secrets of the staff. Only by undertaking a unified assault against Dretchroyas- ter’s lair can the adventurers hope to recover the Diamond Staff and survive the dracolich’s fury. The adventurers must make their way through the lair and recover the Bhaalite idols that will help unlock the Diamond Staff, all the while dealing with the lair’s creatures and avoiding the dracolich as he pur- sues intruders. Entering the Chamber of the Diamond Staff, the heroes must overcome its magical wards and claim the staff before being slain by the dracolich and his servants.

When a group of archaeologists put out a call for adventurers to help them escort a valuable artefact back to civilization, nobody expects anything out of the ordinary. However, our heroes have more than mere bandits to deal with at Havel’s Cross... Undead monsters roam the night and an ancient artefact stirs within a long forgotten temple. Getting to the bottom of the mystery will require a strong sword-arm and an even stronger stomach.

Dark Water Trap is a mini-adventure that has a single encounter that involves Duergar using darkness and anti-darkvision to get the player to fall into a Pit trap full of water, so that the party will drown. The encounter either works as a standalone (Ie. the Duergar have been causing trouble), or as a part of a larger adventure or dungeon, Duegar or otherwise. Pgs. 26-27

A mysterious tower beckons. Recently a strange tower hidden in the forest was rediscovered, but only one scout returned to tell the tale, but a strange tale of cults, bandits and ghosts it was. Dare our heroes explore this forgotten place? Originally from the Danish convention Fastaval as part of the living campaign, Hinterlandet. Now presented here for the first time in English. It is an adventure with emphasis on exploration and meeting the unknown.
Trouble Cubed is a is a pseudo-adventure with three interesting gelatinous cube encounters. These three encounters are structured in a way that they can be used together as one adventure, or each individually dropped into any adventure from EL5 to 7. The encounters vary the cube's encounter situation significantly, and the tactics needed to deal with them, such as by trapping a character with a portcullis between a cube and a pit trap, placing a cube half down a pit trap, and having the cube accidentally ingest a beneficial potion (such as spider climb). Pgs. 29-30
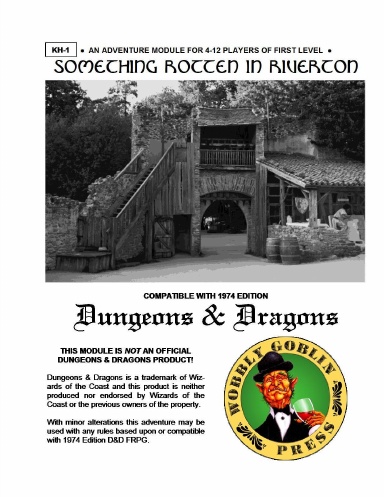
Riverton is in Peril! Chaos has reared its ugly head in the troubled town of Riverton! You and some new friends have left home to seek your fame and fortune. Brace yourselves, opportunity is about to hit you right between the eyes! The time has come to show you were made for better things than scratching out an existence on some hardscrabble farm, or slaving away in the hold of some perfumed and effete Peer of the Realm. Grab your sword, don your armor, ready your magic wand; adventure awaits!

A fiend lurks among the Black Blade goblins. A shapeshifting barghest fashioned by the General of Gehenna to exact revenge on all goblin-kind. It’s aim: to kill as many goblin leaders as possible… A masked goblin approaches the party asking for help. Two tribe leaders are dead. But a rival for chief has control of the crime scene. Will the party discover the barghest among the goblin ranks? Can they stop this imposter before it strikes again? Adventure Overview The adventure’s story is spread over 4 parts and takes approximately 4 hours to play. The adventure begins with a Call to Action scene. Part 1: Goblin Politics. Krill sends his emissaries to implore help from any strong intermediary. The party is asked to investigate the murder of Thrawn in Dringly’s lair. This is Story Objective A. Part 2: The Opposition. Gain entry into Dringly’s lair and investigate the murder of Thrawn. Gather enough evidence to find the killer. This is Story Objective B. Part 3: To The Lair! Now that the players have determined the barghest (Yeep) is to blame, they need to get to Krill’s lair quickly as he is in imminent danger. This is Story Objective C. Part 4: The Barghest.When the players arrive at the lair, they need to get to Krill and expose and defeat the barghest. This is Story Objective D. Adventure Background A barghest named Yeep has begun its onslaught of attacks against the Black Blade goblins. Starting with Chief Gnar, then his second in command Thrawn, the barghest is moving methodically down the line of command. Krill is now chief. But he has some problems: Two leaders of the Black Blades are dead. Who killed them and why? Is he next? Dringly, the next in command, has decided to take his lair for himself, declaring himself Chief of the Black Blades. Who are the Black Blades? The Black Blades are a tribe of goblins in the local area. They are known for dipping their blades in a dark black substance. It is rumored these blades are poisonous. The Black Blades regularly attack passersby on the road to rob them. The Black Blades have two lairs, one run by a chief who leads the whole tribe, and another overseen by a boss lieutenant. The Black Blades have a well-established pecking order which is how Krill stands to become chief. The next in line is Dringly, who has also declared himself chief and wants Krill dead. Krill suspects that there is something suspicious about two leaders being killed within a day of each other, but he has already burned Gnar’s body without any investigation. He needs to investigate the body of Thrawn, but it is in Dringly’s lair. Krill wishes to avoid direct confrontation with Dringly at the present for three reasons: 1) Any violence would only kill his own tribe members and further divide the lairs. 2) He believes there is still hope for negotiation to reunite the Black Blades. 3) He believes that if he were to attempt negotiations himself, Dringly would kill him. This adventure features: Two maps. Ready for your favorite Virtual Tabletop. A full color pdf. A black and white pdf. One custom monster, a reprint of barghest, all others available in the Monster Manual. Four hours of entertainment involving: roll playing a goblin bard, investigating a murder scene, tracking down a barghest before it strikes again. Applicable to any setting.

"Night falls on the Border Kingdoms, a land rife with conflicts and schemes, where lords, counts, dukes, kings, and emperors rise, proclaim themselves, and are swept away with the speed and regularity of waves crashing upon a shore. As you settle in for the evening at a quaint little roadhouse by the name of Harker’s Cleaver, all seems quiet. Were the stories of this turbulent region just that, or have the Border Kingdoms yet to reveal their true nature?" A Two-Hour Adventure for 1st and 2ndLevel Characters The tavern the characters are staying at are attacked by skeletons. Where have they come from and why have they attacked?

The fourth installment of the Filbar Dual (FD) series is The Hunt for Charon and picks up where the FD3 - Crisis at Marstan left off. Your pair of intrepid adventurers is off to find out who orchestrated the attack at Marstan. When the previous adventure concluded they discovered a note mentioning a “Charon” as behind the attack and the humanoid raiders. This adventure will see if the pair can find and defeat this person/humanoid and protect the area once and for all.
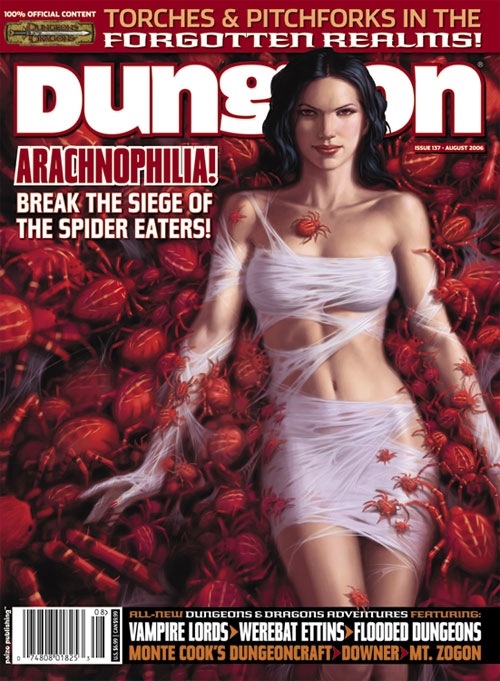
The village of Haven-Fara has a problem - it's been overrun with spiders that have been forced out of their nearby lair. Yet could this spider problem be merely a symptom of something worse to come? When the backwater town of Haven-Fara wakens under a thick blanket of webs to find half its populace missing, its up to the PCs to descend into a silk-chambered nest of the arachnid abductors. In a vertical maze of web-lined tunnels, they discover a dying queen, a legendary treasure, and a secret that could change Haven-Fara forever. Pgs. 14-20 & 22-28 & 30, 32 and 34
The Siege of Castle Rend is an adventure for the fifth edition of the world’s first roleplaying game, suitable for five 5th-level characters. It takes place over four parts, and each part can be completed in one or two sessions of play, depending on your group’s playstyle and how long you like to play in a single sitting. If all goes according to plan over the course of this adventure, the player characters will expose an usurping lord, fight orcs, acquire a stronghold, defend it from an invading army, win the admiration of a town filled with potential vassals, and make political connections within the Barony of Bedegar. Of course, no adventure goes according to plan. The PCs will invariably throw these well-laid schemes into chaos, and they’ll have to improvise. But if we know how things would have gone if the PCs never showed up (or are cowards), it makes it easier for us GMs to improvise when things go off the rails. Published by MCDM
In this Adventure, the heroes explore the lair of an adult green dragon who has become a dracolich. She is served by living and undead minions and slaves. Pages 302-307
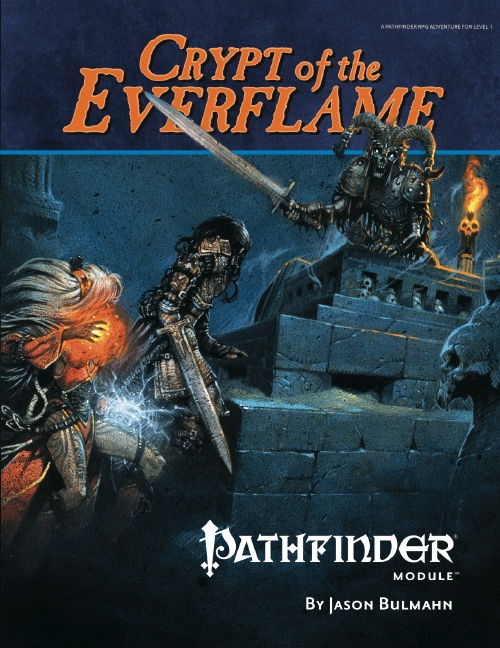
The young heroes of the town of Kassen are ready for their coming-of-age ceremony, an old tradition in which they retrieve a piece of the eternal flame burning in the tomb of the town's founder. Yet when they arrive there, they find only the corpses of their fellow townsfolk, dead bandits, and mysterious animated skeletons. The novice heroes must brave the traps and perils of the Crypt of the Everflame, discover the source of the corruption that has awakened an ancient evil, and defeat a menace that seeks vengeance against Kassen and its people. Part One of Price of Immortality.

In the eastern desert stands the ancient tomb of Solomon III. Like all tombs, it is full of magical treasure and crawling with deadly creatures. But unlike other tombs, this one is screaming. Years ago, soldiers and wizards went in to silence the screams, and they succeeded, but they never returned. Now Solomon’s tomb is once again screaming out across the dunes, and no one knows why. Solomon’s treasure is still down there, but then, so is whatever is screaming. ADVENTURE TYPE: Small Linear Dungeon DESIGN NOTES: This adventure is intended for characters levels 5 to 7. It includes a desert wilderness area, an oasis, the tomb exterior, the tomb interior, and a cave system below the tomb to explore. Each area contains various NPCs, new monsters, old traps, shiny treasures, and strange magical items. There are many opportunities for (deadly) combat, and a few of them may be inescapable, but it is possible for players to have complex interactions and to experience very different consequences, depending on their choices. INCLUDES: Story hooks, dialogue prompts, creature stat blocks, dungeon overview map, and full-sized battle maps of each dungeon room that can be printed and used right on the table. KEYWORDS: Tomb, ghuul, ghoul, skeleton, ooze, demon, devil, thief, wizard, desert, sabercat, oasis, spider, viper