
"...the Ultimate Campaign Adventure..." A sinister force, long thought destroyed, stirs from the black hole that spawned it. Like an ebony darkness it prowls the land and safety is but an illusion, for it watches from every shadow and ponders possibilities. What began years ago with the introduction of the players to the quiet village of Hommlet and the amazing lands of Greyhawk, at last is complete. Here is the long awaited campaign adventure featuring the ruins of the Temple of Elemental Evil! Evil broods and grows beneath those blasted stones. This is your chance to drive it back and scatter its forces again. This product includes the village of Hommlet, the filthy shire of Nulb, and reveals the ruins of the Temple of Elemental Evil and the labyrinths that lie beneath, a warren of darkness. And beyond these ruins, even more is revealed. For the first time this product provides a complete campaign adventure which will take beginning characters from 1st all the way to 8th level and possibly beyond! Hours of adventure await you! TSR 9147
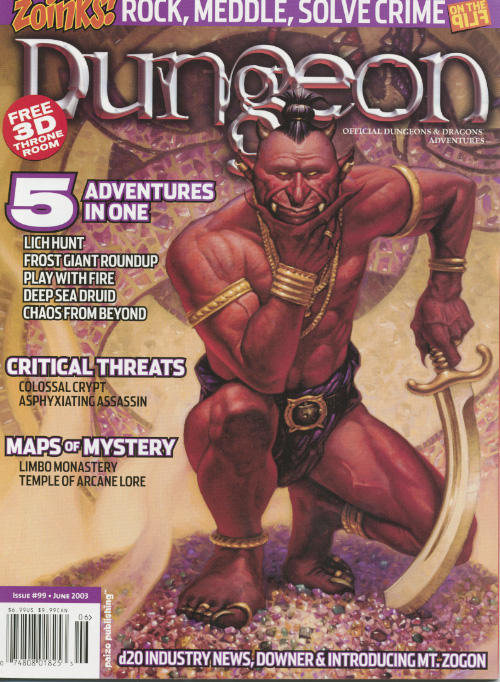
A minion of chaos has come to the Prime Material Plane from the void of the Far Realms to terrorize and conquer in the name of its masters. The PCs must act quickly to assemble a legendary artefact powerful enough to weaken the minion so it can be defeated. Pgs. 20-47

War brews beneath the emperor's notice, nature convulses as unholy demons bring woe to entire prefectures, and hobgoblin mercenaries wearing powerful machine armor march in greater numbers than ever before. Will you rise to save the empire or is Soburin destined for destruction? Soburin is beset upon by dark forces from its ancient past—not only the evil mists that transform men into monsters, but now too the return of a potent necromancer set to bring about a reign of agony, despair, and death! In the looming crisis the immortals that have treated the world as their gaming set are gathering their agents and pawns, deploying unique warriors across the continent with goals as mysterious as they are. It is within this epic game of intrigue that the adventurers become entangled as they undertake quests for the governmental bengoshi in the Sukochi, Yokuba, Ikari, Hakaisuru, Fuson, and Gekido prefectures as well as visit the enigmatic Tsukisasu, city of oni. Demons begat by the entities that consumed nature plague the party during their travels as do a very special gang of smugglers, the gun-toting Mubo Brothers, and the bloody hobgoblin mercenary erikotera warriors suddenly far more populous across the countryside than ever before. By the time all is said and done the PCs take part in a furious mass battle, nail-biting race through an undead dungeon, and finally an epic fight against an ancient evil atop the Hone-Noroi bone tower before it all comes crashing down! This extensive adventure path takes characters from 3rd to 12th level and includes all previous Mists of Akuma modules (Scourge of Róbai Shita Temple, Feud Primordial, Fangs of Revenge, Cursed Soul of the Scorpion Samurai, Yai Sovereign of Storms, and Revenge of the Pale Master) paired together with connecting material that creates one intensive campaign sure to delight GMs and players for months on end! It would be exhausting to list everything that's inside of the 374 pages of Trade War—here are some quick highlights and if you think this book is for you, peruse the table of contents (below) and sample PDFs. Over 50 maps 90 different NPCs and monsters 6 highly-rated adventure modules ranging from straightforward dungeon crawls to sandboxes of intrigue and back (and 2 sidequests by Andrew Engelbrite and Dirk van de Rijt) 8 new class archetypes: survivalist barbarians, smuggler bards, acrobat monks, tumbler rogues, enigmatic eye warlocks, desperado warlocks, and wizards of the inside out 32 new martial arts stance feats including new weapons martial arts stances Hyperlinks throughout to make accessing statblocks from the core rules a breeze Rules for mass combat An epic 9-level bone dungeon inspired by Buddhist hells Mists of Akuma character sheets

Gnomish tinkerer Antikythera Ulam thought she’d struck upon a clever idea when she constructed a clockwork servant smart enough create other creatures of its own design. However, she soon found that the problem with giving things minds of their own isn’t always the wisest of ideas… Note: This adventure is intended to work with Mordenkainen's Tome of Foes, and requires a copy of the book to run succesfully.
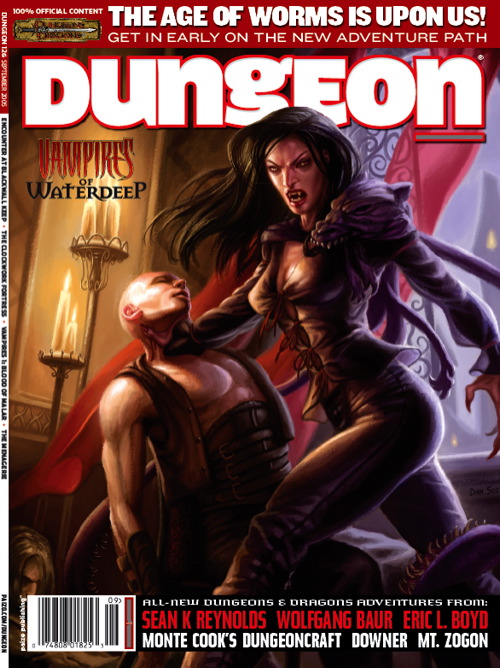
A mechanical man discovers his ancestral fortress has fallen to a lunatic derro, but something worse than mad derro haunts the Clockwork Fortress' gears. This adventure is a sequel to Dungeon Issue #115's "Raiders of the Black Ice," although you need not have run that adventure to enjoy "The Clockwork Fortress." Pgs. 42-61

It all begins with a simple request (doesn’t it always?) from an old farmer. The request – protect his cattle herd from vicious wolves. Simple enough for the brave adventurers, right? But it doesn’t stay that way. Not at all. Soon, the adventuring party will find themselves in the thick of it as they solve puzzles, avoid traps, fight for their lives, and endure witty taunting. And in the end, they discover an artifact that may, or may not, be useful to them. This adventure includes a cursed shield, a new undead creature, and a new artifact. Total party experience earned is approximately 14,500.

The dungeon is essentially a large puzzle built around the premise of time travel. Many PC interactions are a direct result of the party dealing with the actions of their past or future selves. This adventure is designed for a fifth level party, to be played in a single session. It features a large full color map, artwork, NPC roleplaying tips, and two new magic items. Julinda the gnome mage has always been a bit off. She is a chronomancer who has become obsessed with achieving the reliable and reproducible technology of time travel, in the interest of returning to select parts of history and influencing their outcome to her pleasing; perhaps to avert a war, or to head off the enslavement of her people, or prevent the death of a loved one. Those who know her were aware of her ambitions, and now worry that they are coming to fruition, as she hasn't been seen in several months. And so, they have implored the PCs to seek her out...

Decades have passed since Sokol Keep was reclaimed, and a small garrison placed there along with a beacon to help guide ships. Now, that beacon has gone dark, and the garrison has disappeared. In Phlan, rumors circulate that something ancient was discovered in the grounds beneath the keep, dating to before the clerics of Tyr built the small fortress. Uncover the secrets of Sokol Keep! An adventure for 1st-4th level characters.

After turning himself into a manticore, the self-style wizard-artiste, Mortzengersturm, moved to the crystalline peak of Mount Geegaw to practice his transformation magic without interference. You've been hired to snatch his most prized artifact, the Whim-Wham Stone--or at least some of its eldritch light. A menagerie of magic hybrids, a self-absorbed vampire, more than a few hippogriffs, and of course, the mad manticore himself await! It's like a Rankin-Bass stop motion special--except it could end in a total party kill.
:strip_icc()/pic2633965.jpg)
The Bunker transports the party from their starting hex to a destination 2 hexes away. It can be placed anywhere on the Purple Planet map that does not already contain a numbered encounter. It could be hidden beneath the fecund growth of the mushroom forests, lost in the broken lands, amid the Ancestor Peaks, or uncovered by a sand storm in the wastes.
When an injured child collapses in the street, will you venture into the cellar he fled from to discover what hides, creaking in the dark? Published by Nord Games
The Giants are on the March! The Rise of the Runelords Adventure Path continues! Driven to battle by a maniacal warlord, the once-peaceful stone giants of the Storval Plateau threaten to destroy the sleepy town of Sandpoint. Will fast action and quick wits be enough to save the defenseless community? Yet, even if the giants' initial raid can be repelled, only by striking at the heart of their titanic war machine—the black-towered fortress of Jorgenfist—can the menace be quelled. But who knows what mysterious bloodlust spurs the usually peaceful giants to war, or what mysteries lie beneath their ancient fortress?
Freeport is a fantasy “free city” you can place in a fantastic setting. Its basic premise is a pirate city gone legit… at least on the surface. In truth, the pirate tradition is alive and well in Freeport, but camouflaged by a veneer of respectability. These days the city’s pirates are privateers, legalized pirates Freeport loans out to the highest bidder. You’ll learn more in the short history of the city that follows. This should help give you a taste of the flavor of Freeport before the adventure begins and the given background is all you need to run this adventure. It is an ideal starting place for a new campaign as the player characters find themselves stranded in Freeport after a deal goes sour. A seemingly simple job plunges them into the strange underside of the city, where they uncover secrets worth dying for. Death in Freeport is the first from the Freeport trilogy, together with Terror in Freeport and Madness in Freeport. Synopsis: Death in Freeport drops the player characters into the midst of political and magical intrigue, as the hidden Brotherhood of the Yellow Sign manipulates events to bring its dread god to the world. Freeport is still a bustling center of trade, but evil currents run beneath the surface. There are secrets here, and questions unanswered. The characters will undoubtedly learn there is more here than they expect in a simple seaport. The question is, will that knowledge kill them? As the adventure begins, the player characters (PCs) have just come to Freeport on a merchant ship. While on the docks, the PCs are attacked by a press gang, who mistake them for easy marks. The press gang is handily beaten off; since they are unused to real resistance. A bookish young man named Brother Egil then approaches the PCs. He says that he’s been looking for a group that can take of itself, and that he has a job for them if they are interested: finding a missing librarian. The missing man, Lucius, disappeared two days previously, and Egil is eager to find him. Egil gives the PCs some background on Lucius and his strange behavior. The PCs are then free to investigate: They are likely to visit Lucius’s home, the temple to the God of Knowledge, and an orc pirate ship. This should form a picture of Lucius as a man searching for his own past—who found something he wasn’t counting on. Following a trail of clues, the PCs learn about the Brotherhood of the Yellow Sign. With a little luck, the PCs can trail the cultists back to their hideout, penetrate the lair, and discover secret tunnels underneath it. Deep underground they find degenerate serpent people, and eventually Lucius himself. The librarian has been tortured badly and will die without aid. The PCs also have to deal with the leader of the cult, a man they may recognize from the temple. When the cult priest is slain, they are in for an even bigger surprise. He was not human at all, but a serpent man in disguise. What this means for Freeport only the gods can say.

A malicious and virulent force possesses the Vermyr Woods. The local wild-life has fled; known paths have mysteriously vanished or shifted; and locals have been found hanging dead from trees yet their eyes watch... they always watch. The hopes of the people are dwindling quickly. Believing that evil harpies have afflicted the woods, brave Captain Harkin set forth to serve them righteous justice! Even the mighty druid Algalor is nowhere to be found. Time passes and their worries compound. Why have the harpies attacked? What is the fate of Algalor and Captain Harkin? What is this mysterious evil that plagues the Vermyr woods? Who is Cartman's dad? The heroes will stumble into this mystery as they travel to Homid. They will discover the truth of the harpies as well as the fate of the heroes who safeguarded this region by delving deep into a forest labyrinth that feels alive! Will it consume them or will they be strong enough to defeat the evil at its core! Published by: Paper Dragon Tales

Lost within the ruined House Cannith citadel of Whitehearth, an arcane workshop somewhere in the perilous Mournland, is the key to constructing a terrible magic weapon. Agents of the Emerald Claw will stop at nothing to recover the ancient device. As malevolent forces hunt for the artifact, only the most resourceful heroes will reach Whitehearth first and discover the secrets that lie within. "Shadows of the Last War" is a stand-alone adventure for the Dungeons & Dragons game that will immerse your characters in the Eberron campaign setting. Designed to challenge 2nd-level D&D heroes, it pits them against one of Eberron’s most nefarious organizations.
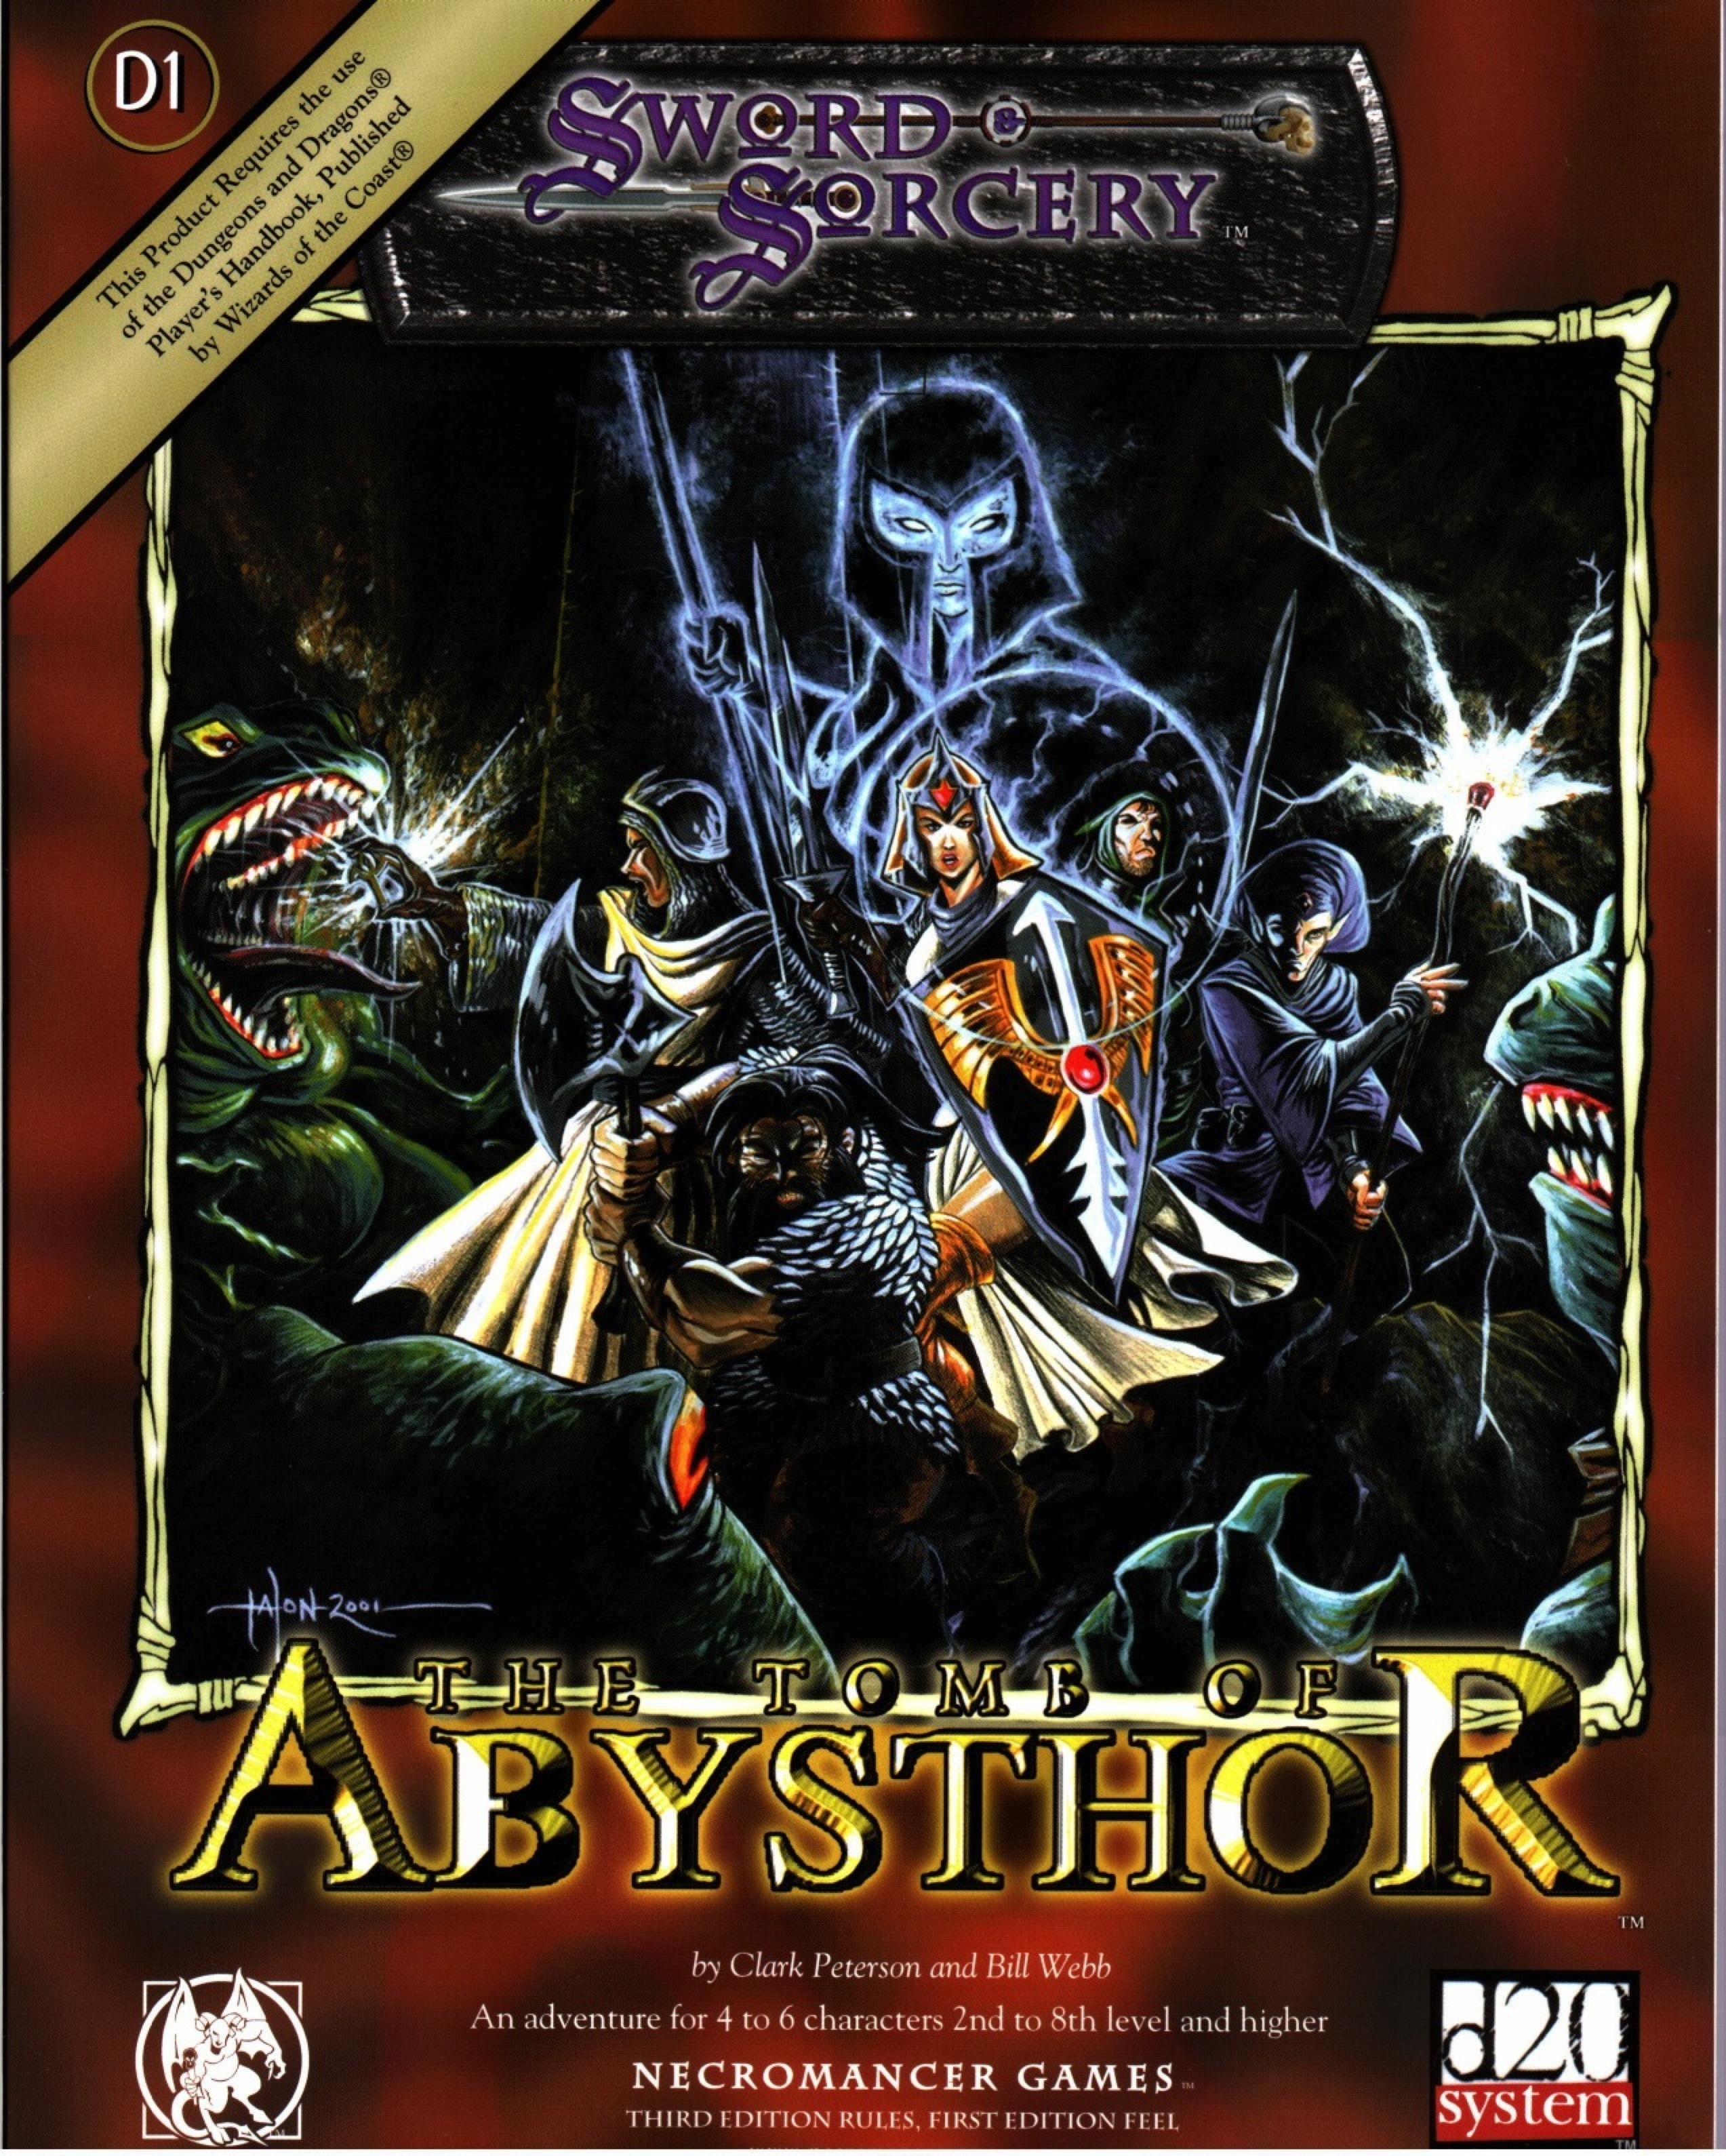
Restore an Abandoned Temple Enter the catacombs near the desecrated Temple of Muir, Goddess of Paladins, and search for the lost tomb of Abysthor. Will your party be able to cleanse the evil that now inhabits these once-sacred halls, and recover the Stone of Tircople? Can your characters survive the traps of an undead sorcerer? Will your players discover the chamber of Living Rock and the secret power it holds? Adventure awaits! Gold and Glory! A fantasy adventure published for the D20 system, The Tomb of Abysthor is the first module in Necromancer Games Dungeon series and can be played as a stand-alone story or in conjunction with The Crucible of Freya and the forthcoming city supplement Bards Gate. What secrets lie hidden in the tomb of Abysthor?
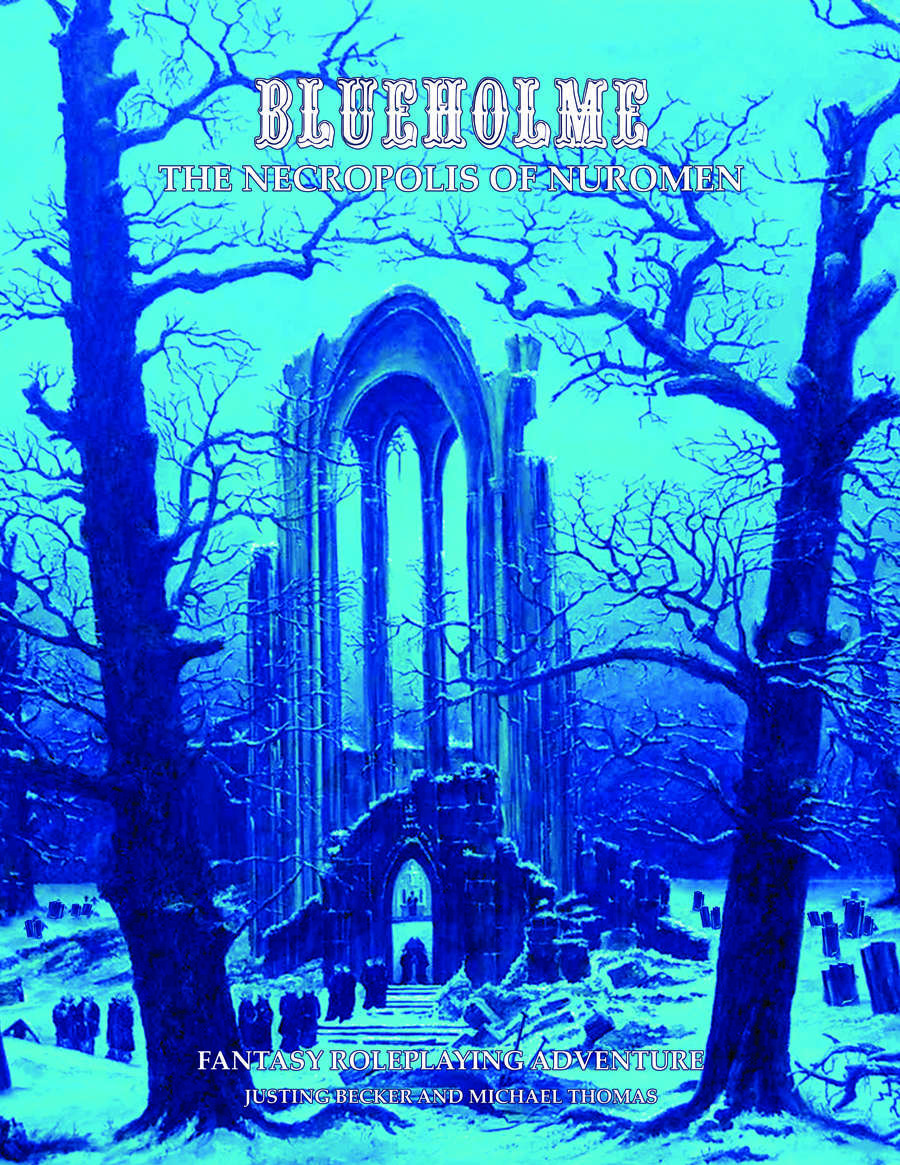
The Necropolis of Nuromen is a modular quest designed to let the referee introduce a group of 1st level characters to the thrills of Underworld exploration as they attempt to unravel they secrets of the evil necromancer’s lair and deal with some bandits, too. The Necropolis of Nuromen is set in a fantasy realm, beginning near the small town of Camlann Castle and leading adventurers to explore the sinister Necropolis of Nuromen. The narrative unfolds around Nuromen the Necromancer, who fell to ruin by dabbling in forbidden magic, leading to the downfall of his tower and the town known as Law's End. The adventure includes exploration of a haunted forest, encounters with various creatures, and a quest for lost treasures and magical artifacts hidden within the depths of the necropolis. To play this adventure you also require the BLUEHOLME™ Prentice Rules or the BLUEHOLME™ Journeymanne Rules. This is an updated Version of "Maze of Nuromen" from 2013.
England, 1620. To strike a blow against the Patriarchy, six women perform a dangerous rite in an abandoned priory. Through dance, they commune with Terpsichore, Greek muse and patroness of dancers. Starving demons slither across the moors; monstrous nuns shriek in the infirmary; and within the Attic, a great unraveling awaits. The fate of the world rests in the hands of the players. Will they bring about an egalitarian utopia? Will they skulk away in the night, pockets bulging with treasure? Will they bring about the destruction of all things? Will they find the Tract of Teratology, a randomly-generated creature-summoning ritual with 3.6 quadrillion combinations? After this adventure, nothing will be the same. An adventure for Lamentations of the Flame Princess Weird Fantasy Role-Playing and other traditional role-playing games. Writing by Rafael Chandler Cover Art by Jason Rainville Interior Art by Jason Rainville and Ian MacLean Cartography by Ian MacLean Layout and Design by Sarah Richardson

A fiend lurks among the Black Blade goblins. A shapeshifting barghest fashioned by the General of Gehenna to exact revenge on all goblin-kind. It’s aim: to kill as many goblin leaders as possible… A masked goblin approaches the party asking for help. Two tribe leaders are dead. But a rival for chief has control of the crime scene. Will the party discover the barghest among the goblin ranks? Can they stop this imposter before it strikes again? Adventure Overview The adventure’s story is spread over 4 parts and takes approximately 4 hours to play. The adventure begins with a Call to Action scene. Part 1: Goblin Politics. Krill sends his emissaries to implore help from any strong intermediary. The party is asked to investigate the murder of Thrawn in Dringly’s lair. This is Story Objective A. Part 2: The Opposition. Gain entry into Dringly’s lair and investigate the murder of Thrawn. Gather enough evidence to find the killer. This is Story Objective B. Part 3: To The Lair! Now that the players have determined the barghest (Yeep) is to blame, they need to get to Krill’s lair quickly as he is in imminent danger. This is Story Objective C. Part 4: The Barghest.When the players arrive at the lair, they need to get to Krill and expose and defeat the barghest. This is Story Objective D. Adventure Background A barghest named Yeep has begun its onslaught of attacks against the Black Blade goblins. Starting with Chief Gnar, then his second in command Thrawn, the barghest is moving methodically down the line of command. Krill is now chief. But he has some problems: Two leaders of the Black Blades are dead. Who killed them and why? Is he next? Dringly, the next in command, has decided to take his lair for himself, declaring himself Chief of the Black Blades. Who are the Black Blades? The Black Blades are a tribe of goblins in the local area. They are known for dipping their blades in a dark black substance. It is rumored these blades are poisonous. The Black Blades regularly attack passersby on the road to rob them. The Black Blades have two lairs, one run by a chief who leads the whole tribe, and another overseen by a boss lieutenant. The Black Blades have a well-established pecking order which is how Krill stands to become chief. The next in line is Dringly, who has also declared himself chief and wants Krill dead. Krill suspects that there is something suspicious about two leaders being killed within a day of each other, but he has already burned Gnar’s body without any investigation. He needs to investigate the body of Thrawn, but it is in Dringly’s lair. Krill wishes to avoid direct confrontation with Dringly at the present for three reasons: 1) Any violence would only kill his own tribe members and further divide the lairs. 2) He believes there is still hope for negotiation to reunite the Black Blades. 3) He believes that if he were to attempt negotiations himself, Dringly would kill him. This adventure features: Two maps. Ready for your favorite Virtual Tabletop. A full color pdf. A black and white pdf. One custom monster, a reprint of barghest, all others available in the Monster Manual. Four hours of entertainment involving: roll playing a goblin bard, investigating a murder scene, tracking down a barghest before it strikes again. Applicable to any setting.

Adventure in a wizard's highly magical tomb. While still in college, Jennell Jaquays, writing as Paul, started The Dungeoneer fanzine. For the first issue, Jaquays wrote F’Chelrak’s Tomb. The pioneering adventure and its successors proved memorable. Looking back at The Dungeoneer, Jaquays said, “It’s the adventures that stand out, and not simply because no one else was doing mini-adventures in 1976. When I read comments about the magazine or talk to fans (old and new), no one talks about the monsters, or the art, or the magic items and rules variants. It’s always the adventures.”