
In this prelude to the full Princes of the Apocalypse campaign book, adventurers face off against the influence of Elemental Cultists in the hills and canyons of the Dessarin Valley. The four mini-adventures within are only tangentially related to each-other, and instead serve as starting points and hooks for the plots of the complete Princes of the Apocalypse Campaign. Players start in the well-described town of Red Larch; first investigating a local necromancer, then uncovering cult influences within the town, and finally heading off to infiltrate or do battle with two small elemental cultist strongholds. All parts of this adventure can serve as great places to seed hooks for other campaigns.
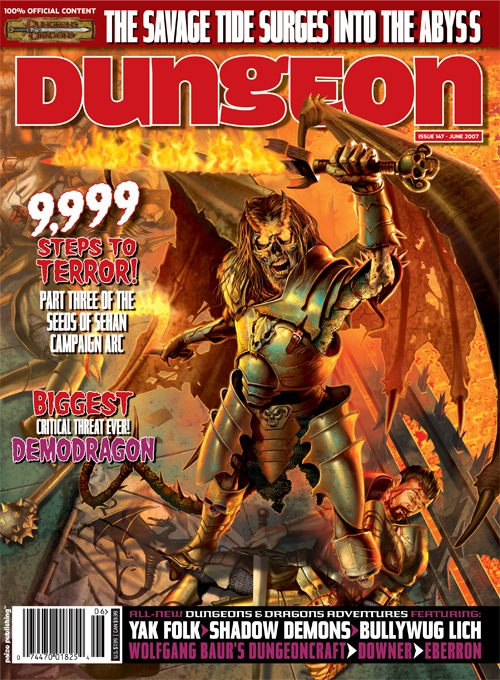
Few planes possess the raw malevolence of the Infinite Layers of the Abyss. It is a place of random violence, appalling cruelty, and pure, unadulterated wickedness. Here, unreasoning malice rules, and countless demons torture and murder for the joy of it. The Abyss is innovative in its wretchedness, with each fleeting moment birthing new and awful psychotic acts of utter evil. Those who brave its depths find no relief from its corrosive nature, nor respite from the cancerous seeds of evil blooming within all who tarry here; they find only anguish, pain and if they're lucky, sudden, abrupt death. "Into the Maw" is the ninth chapter of the Savage Tide Adventure Path, a complete campaign consisting of 12 adventures appearing in Dungeon magazine. For additional aid in running this campaign, check out Dragon magazine's monthly "Savage Tidings" articles, a series that helps players and DMs prepare for and expand upon the campaign. Issue #356 of Dragon magazine features an expanded list of strange and exotic magical items that could be purchased from the mercane merchants encountered during "Into the Maw." In order to rescue a friend, the PCs must sail into the Abyss and infiltrate a prison built by the Prince of Demons. Pgs. 48-85

The Pathfinder Society seeks the ancient ruby ring of the salamander and it falls to a team of Pathfinders to find it. Last seen in the Tri-Towers Yard, a once elite academy for the youth of Absalom, the ruby ring is now lost in the Drownyard, all that remains of Tri-Towers after it was destroyed a decade ago in the great quake. The Pathfinders must risk the strange black ichors and salty brine to find their prize—will they risk their very souls as well?

Something stirs in the dark heart of the Warwood, and in response something stirs in the stars. A simple encounter with bandits on the road leads the PCs to a frightening place where even dreams are deadly. Cultists seek to free the soul of a terrible entity from beyond the stars. The PCs must retrieve the soul vessel of a long-dead evil paladin to stop cultists’ plan from coming to fruition. Pgs. 60-92

Candlekeep is under siege, and it needs adventurers to help protect it! Heed the call to defend the legendary monastery and stand against the tide of evil. Confrontation at Candlekeep was used as a D&D Next playtest for D&D 5E. It was released to organized play Dungeon Masters in August 2013, and ran at Gen Con, PAX, and other major conventions. The adventure includes rules for running multiple tables, but can also be run for just one table. The attack on Candlekeep by forces of Asmodeus is tied to the events in Ed Greenwood's novel about the Sundering, "The Herald."
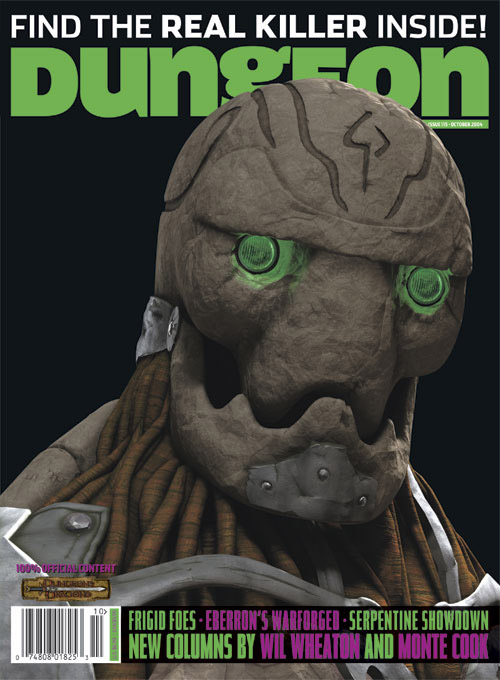
Smoke still rises from the shattered buildings and ruined streets of the troubled town of Cauldron, yet if not for the actions of a band of heroes, it would not exist at all. A sinister cabal of cultists bent on plunging Cauldron into the prison plane of Carceri had awakened the volcano below the town, and amidst the attacks of dragons and fiends from the outer planes, these heroes were able to evacuate the city and then strike at the cultists in their lair near the volcano's heart. Now, this cult, the Cagewrights, lies shattered, their members put on the defensive for the first time. All that remains is to finish the job, but the surviving Cagewrights still have some surprises left in their mysterious stronghold under the snake-haunted ruins of Shatterhorn. "Strike on Shatterhorn" is a Dungeons & Dragons adventure designed for four 18tth-level characters. This adventure is part of the Shackled City Adventure Path that began with "Life Bazaar" (Dungeon #97) and continued with "Flood Season" (Dungeon #98), "Zenith Trajectory" (Dungeon #102), "The Demonskar Legacy" (Dungeon #104), "Test of the Smoking Eye" (Dungeon #107), "Secrets of the Soul Pillars" (Dungeon #109), "Lords of Oblivion" (Dungeon #111), "Foundation of Flame" (Dungeon #113), and "Thirteen Cages" (Dungeon #114). The Adventure Path concludes in Dungeon #116 with "Asylum." Pgs. 56-82

Precis Intermedia brings back this follow-up to the first known commercially-published adventure (Palace of the Vampire Queen) for the original Roleplaying Game (First Edition/OD&D/0E). Originally released in 1977 by Wee Warriors, The Dwarven Glory provides 8* map sections that can be arranged as desired and containing pre-factored creatures and treasures (in other words, this is essentially a geomorphic stocked dungeon). While hit points are provided for the creatures, the First Edition RPG or an OSR equivalent (B/X recommended) is required for actual rules and their descriptions. At one time, the community of Dwarven Glory was a thriving and wealthy one. The community became easy prey for Mortoc and his Ten Orc Tribes. Although the Orcs conquered Dwarven Glory, they could not completely destroy it. There were parts of the caverns they did not even penetrate. Now the caverns echo in the misty gloom, offering refuge to the forgotten and promise to the adventurer. This piece of gaming history is a must for collectors and old school gamers. With the original on the extremely rare list, this classic reprint of The Dwarven Glory has been remastered for a clean print, and is readily available at a low cost. * The original printing included only 7 map sections, designated Sections B through H. The mythical Section A has been added as a bonus. Wee Warriors and The Dwarven Glory are trademarks of Precis Intermedia. All rights reserved.

Wanderers emerge out of the desert in the dead of night, bending low against the driving sandstorm. They are adventurers, heroes whose tale has yet to begin. And they are in trouble. For he last three days, a raging sandstorm has harried you. Your faces and hands are rubbed raw by the driving sand. Worse, not once has the sun risen in that time: 3 days worth of unbroken night. Finally, something rises out of the yellow-black haze. A massive structure, outlined in moonlight. The heroes are TRAPPED in a cursed land, harried by sandstorms. They stumble apon a ruined city and a DARK TOMB that lies beneath. Can they find a way to escape this land? Or are they doomed to be drowned in the SORROW OF THE SAND LORD?
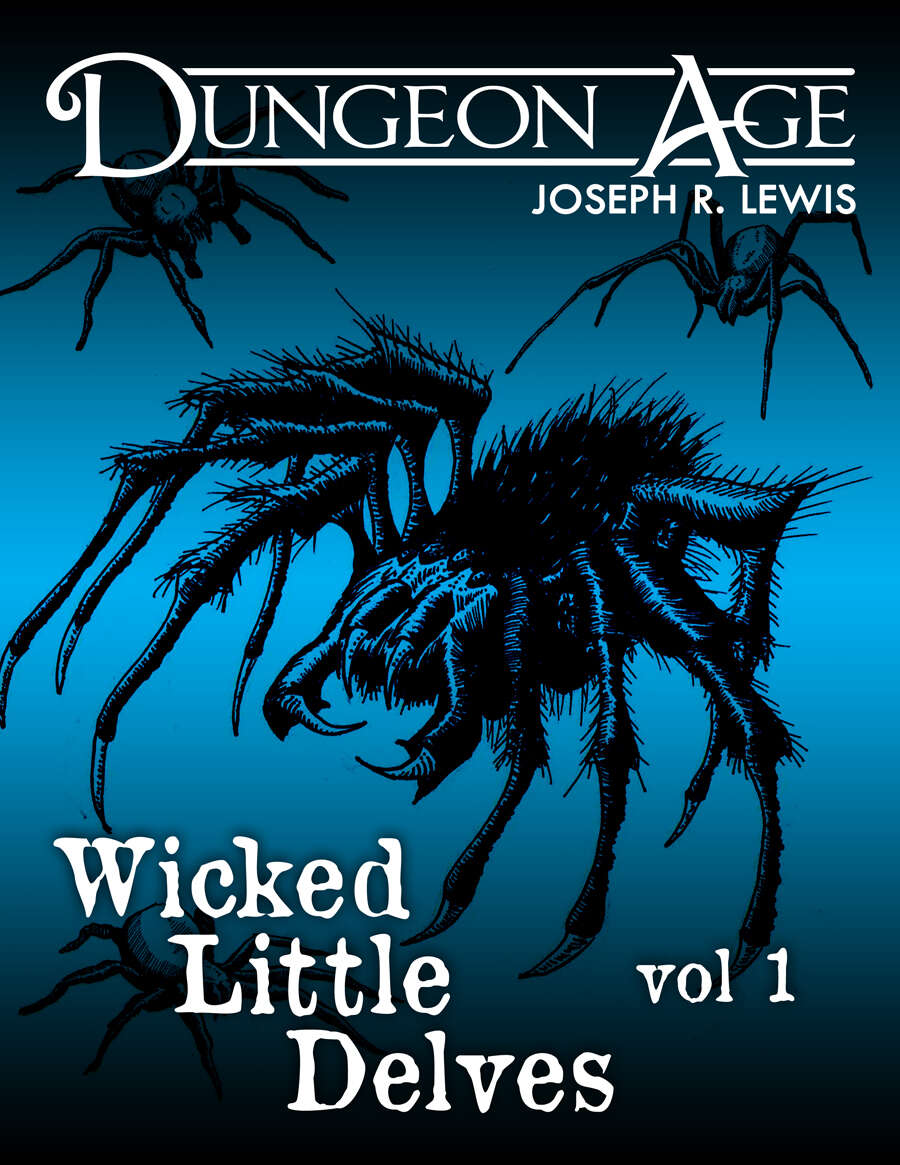
These are three one-shot dungeon delves. Each delve features nine rooms or locations full of challenges and interactivity. Each delve has only one type of monster, but they are complex, and there are lots of them! This volume of Wicked Little Delves includes three small dungeon adventures: - a new twist on the classic spiders-in-the-cellar, - a prison full of attack dogs, and - an abandoned cult lair full of pirate treasure and killer crabs. SYSTEM: Each monster has stats for Fifth Edition, Old School Essentials, and Into the Odd. These adventures are intended for characters at levels 1, 2, and 3. They are mainly focused on exploration and combat, with some minor social encounters. Estimated run time for each: 1 session, or 2-5 hours. Each adventure includes one complex original monster and a variety of unique treasures. ADVENTURE TYPE: Low Level / Combat / Exploration / One-Shot / Dungeon Delve
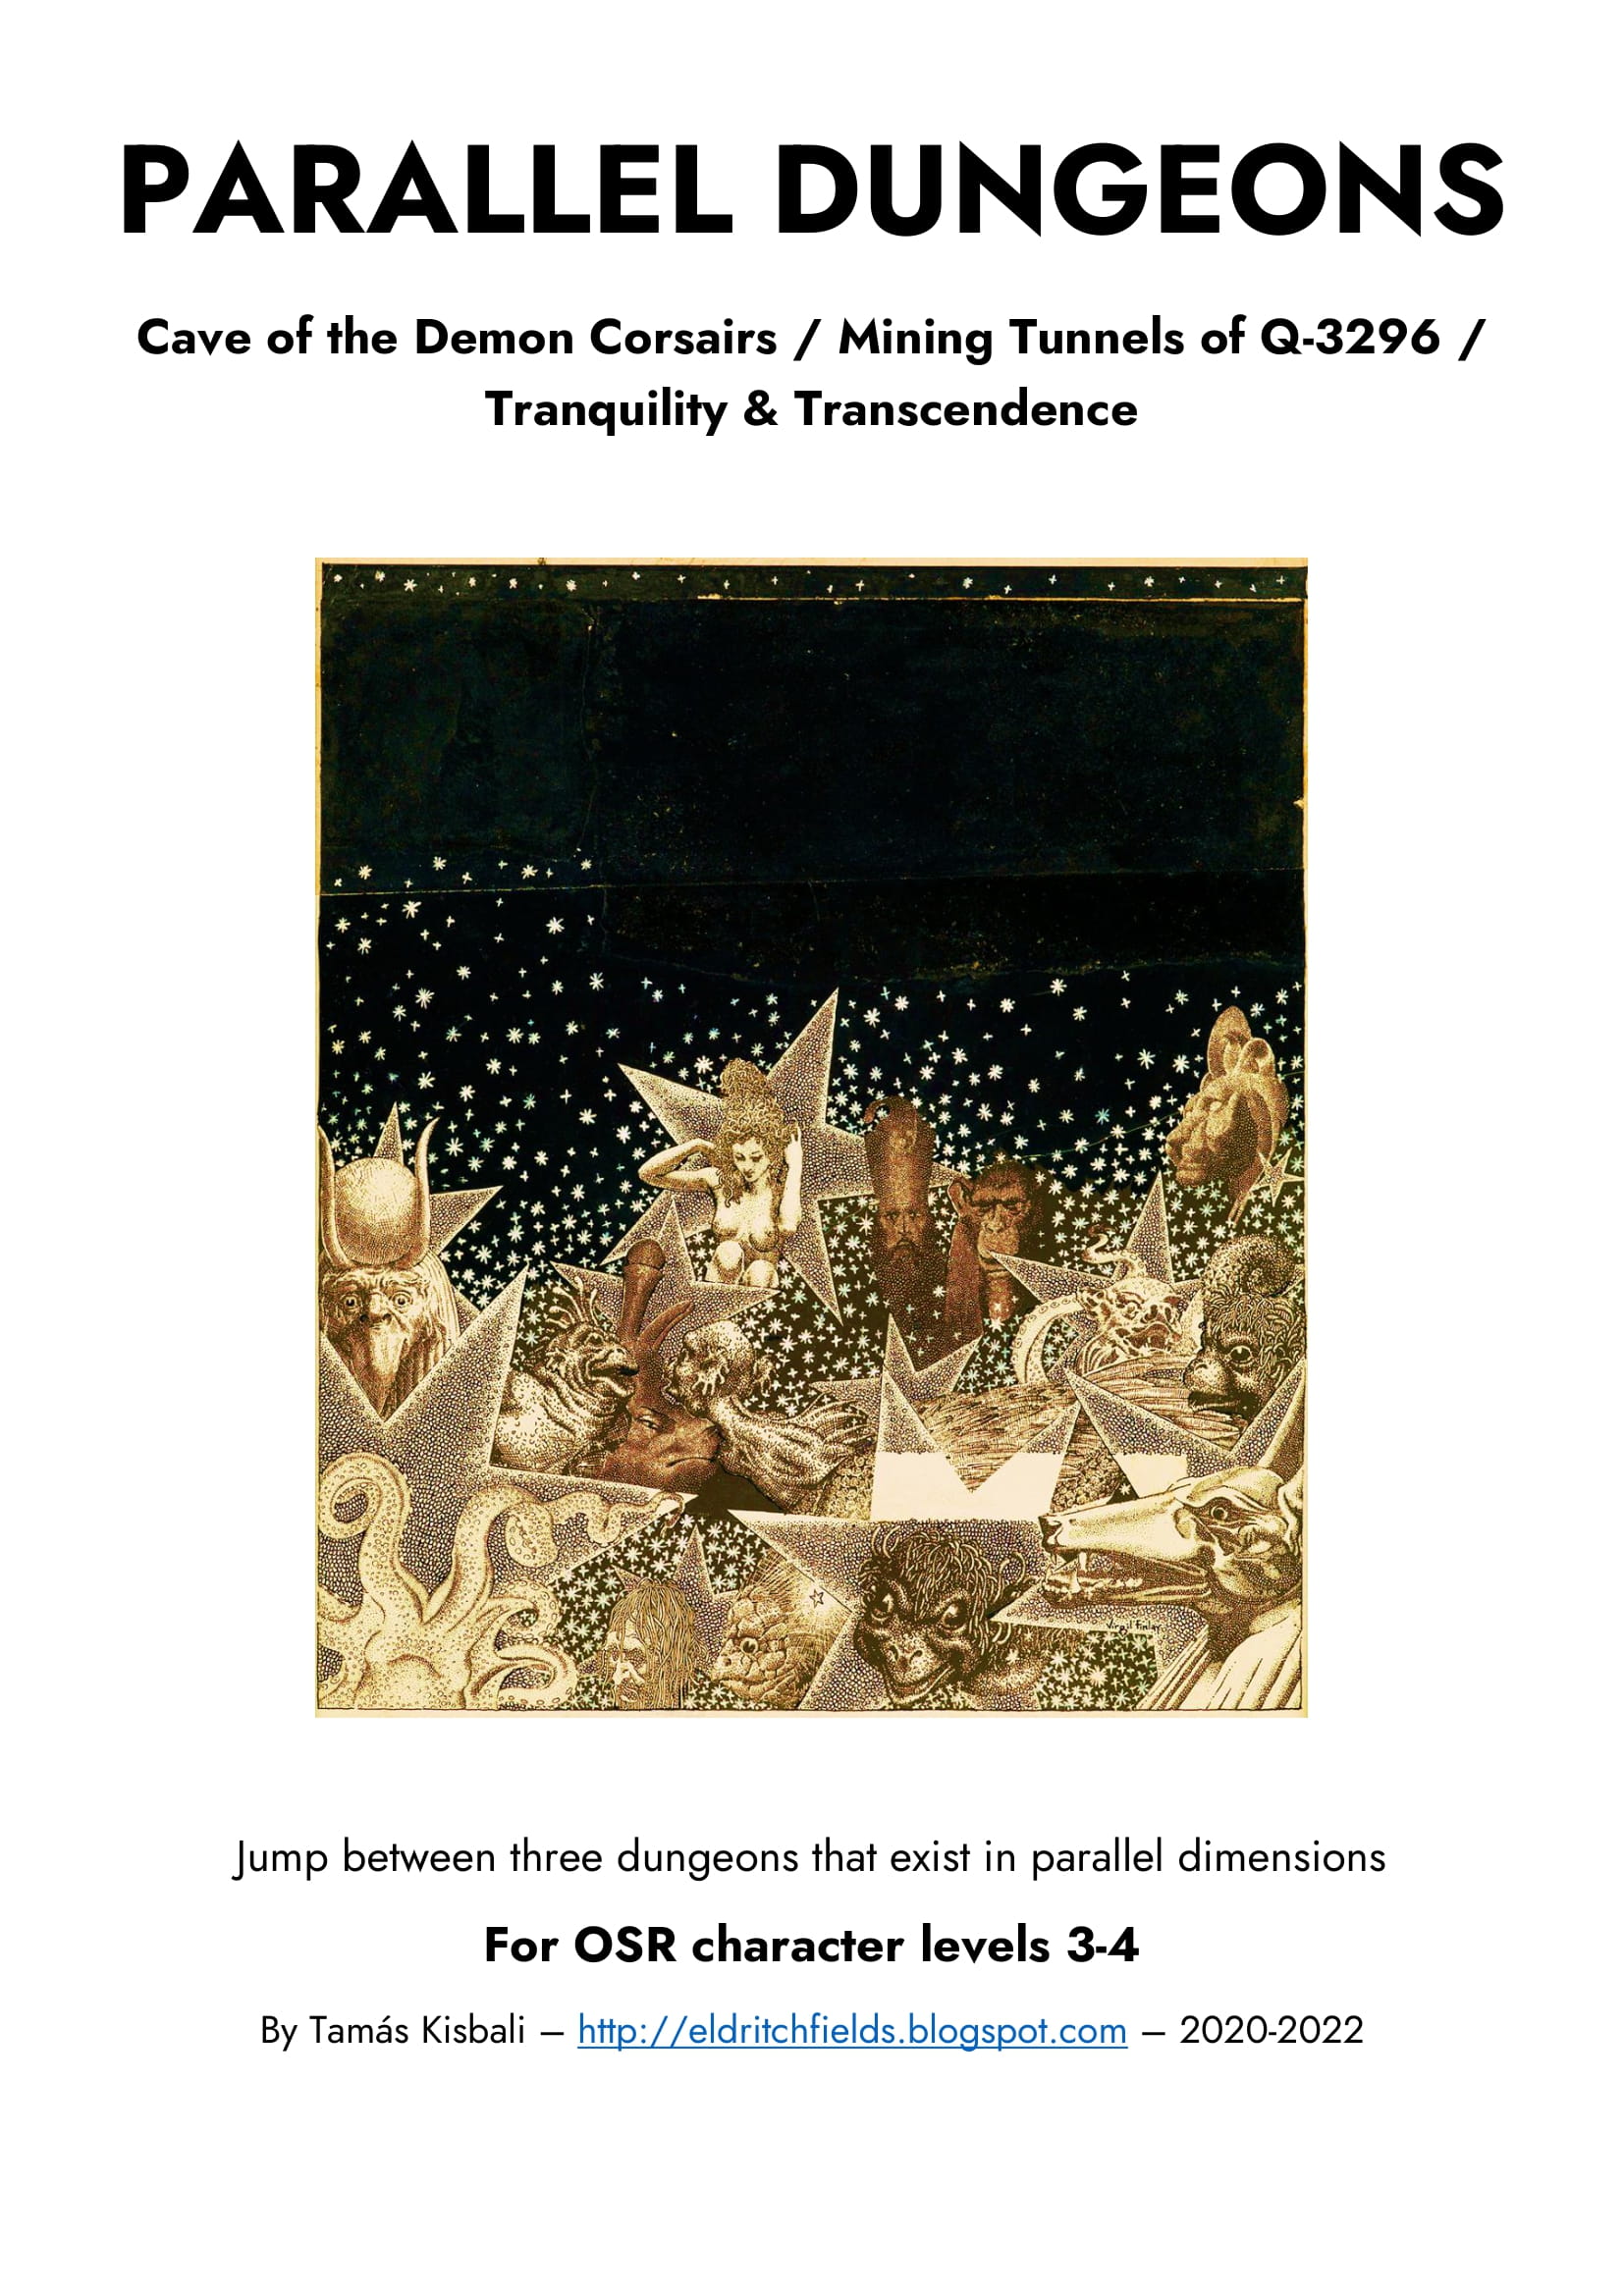
Three dungeons in one! The party is given a "dimension shifting device" and sets out to explore a 15-area cave, simultaneously occupied by the DEMON CORSAIRS, the remnants of an ASTEROID MINING OPERATION, and the MONASTERY OF TRANQUILITY & TRANSCENDENCE! The three dungeons are presented in three columns, so when the characters shift from one dimension into another, it's easy to find the corresponding area description. For use with old-school or OSR RPG systems. Recommended for character levels 3-4. Published by Eldritch Fields.
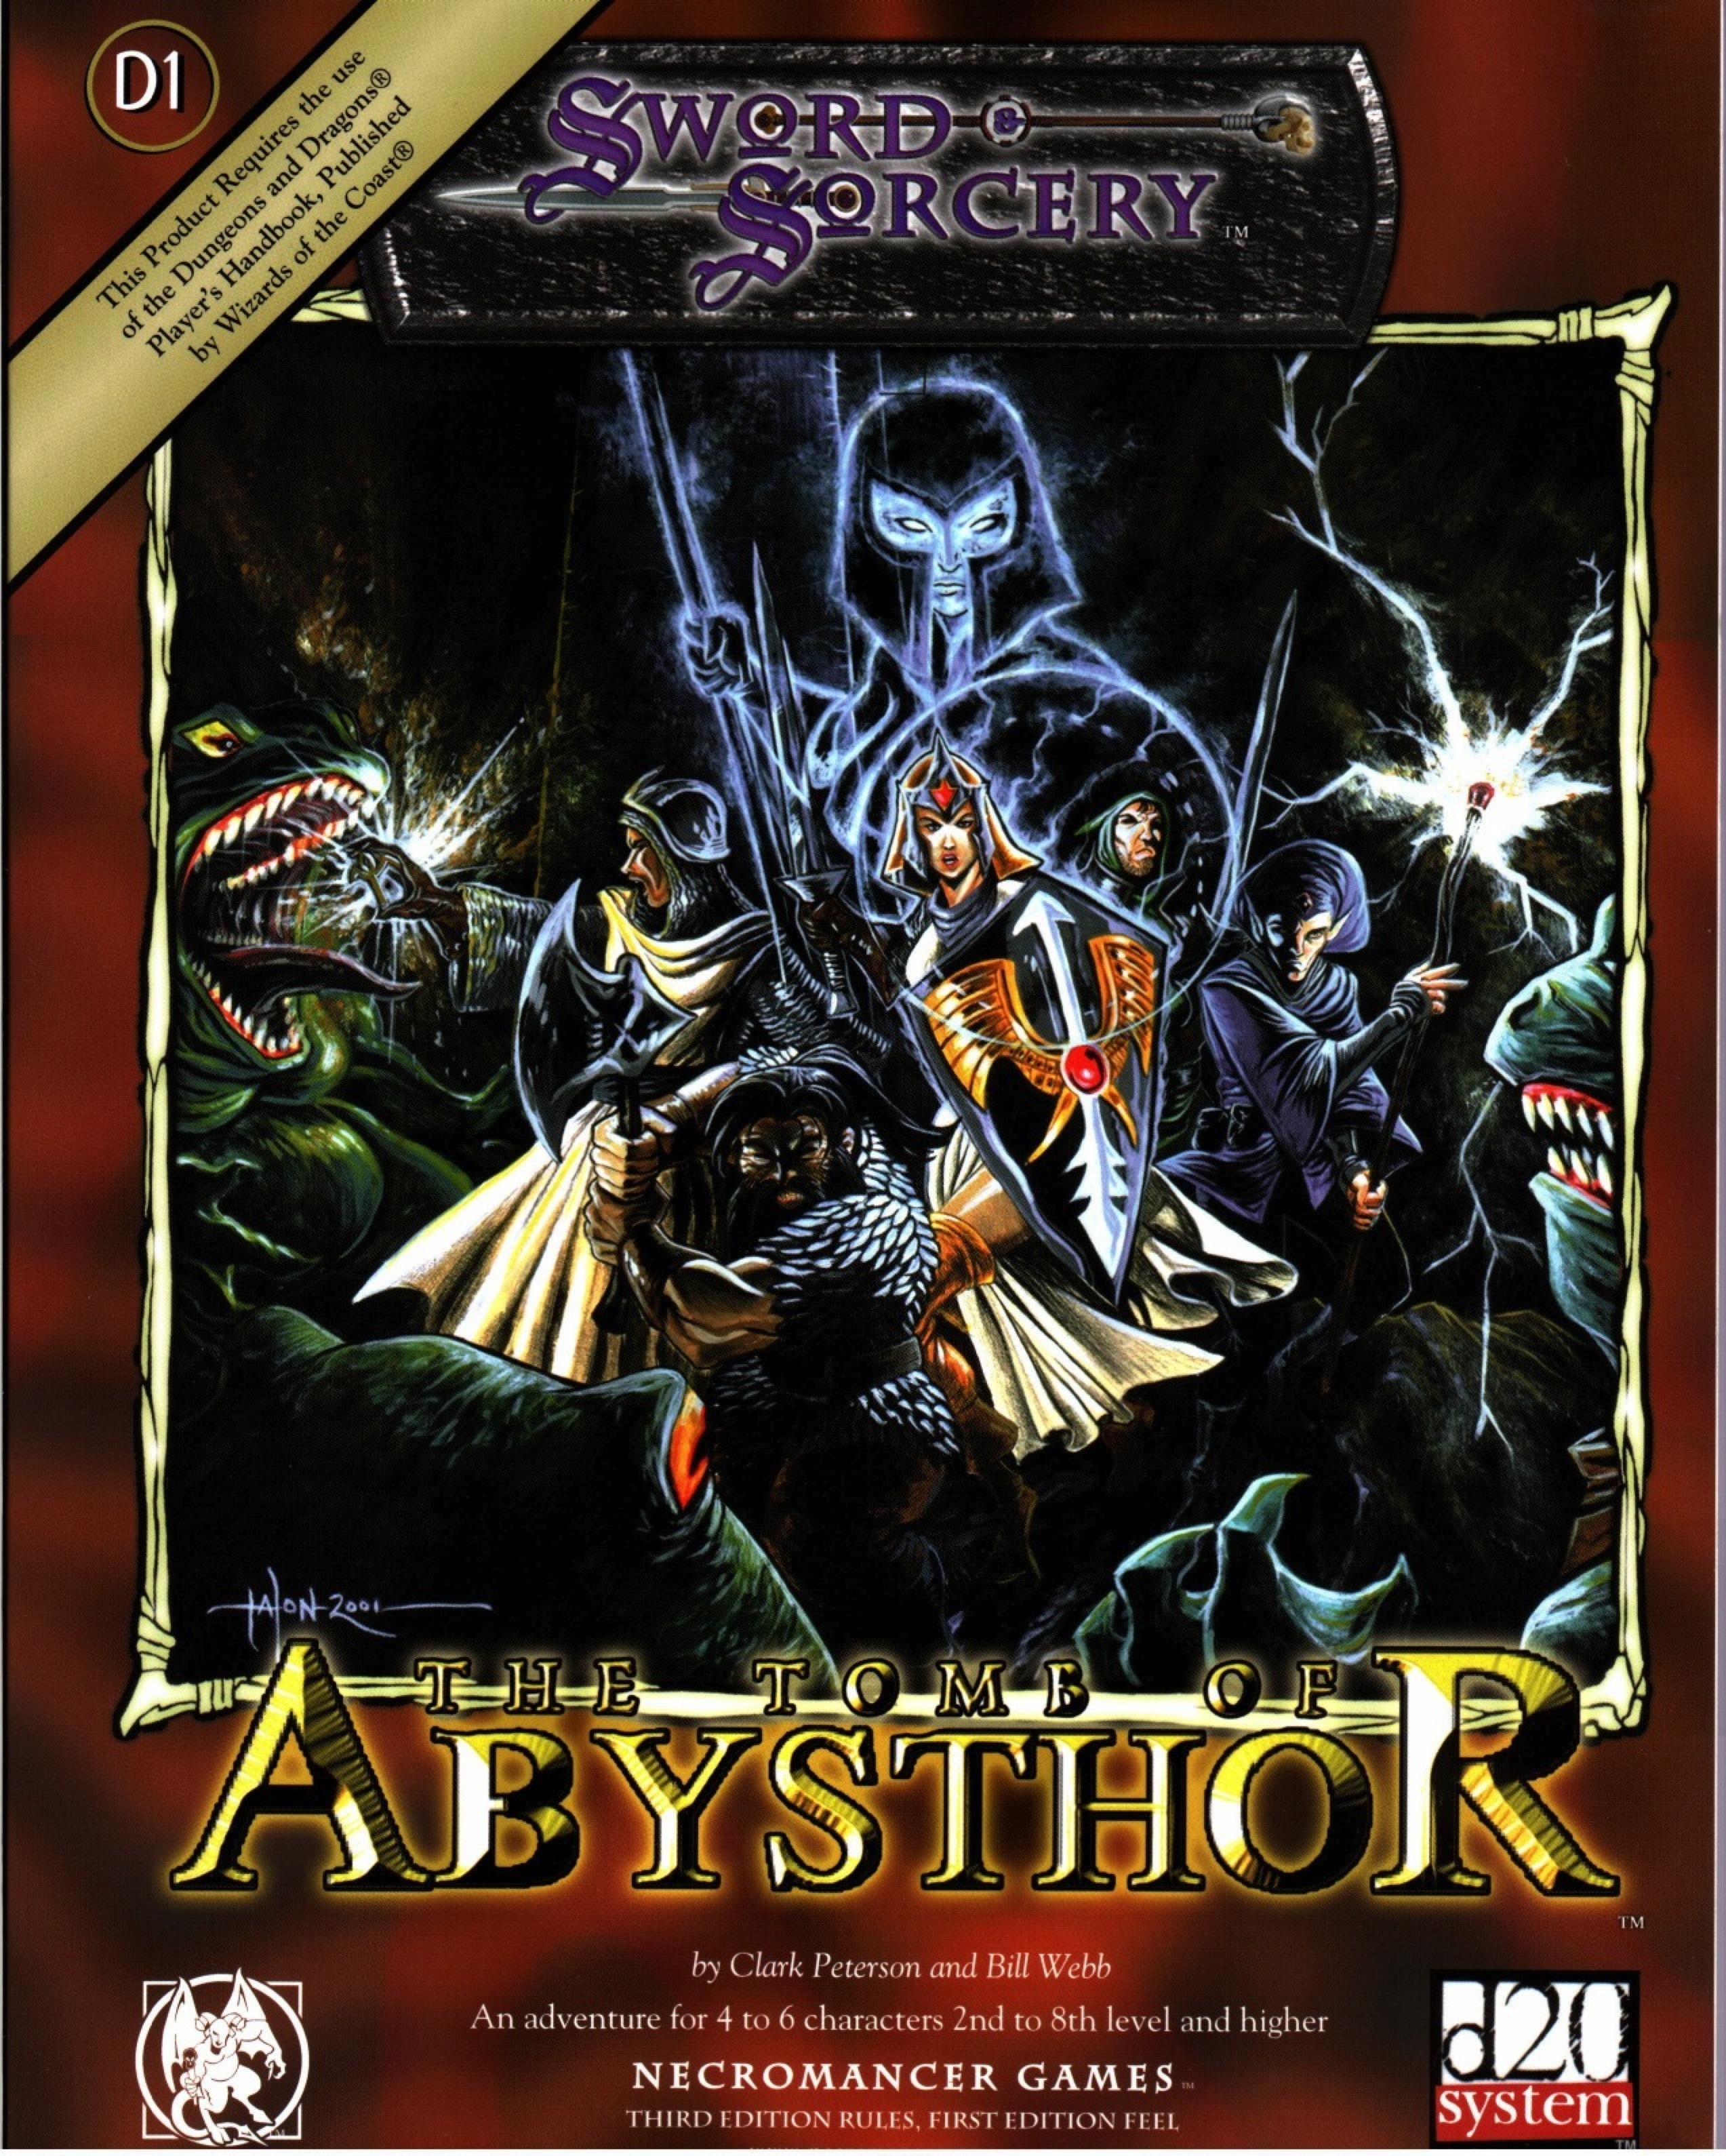
Restore an Abandoned Temple Enter the catacombs near the desecrated Temple of Muir, Goddess of Paladins, and search for the lost tomb of Abysthor. Will your party be able to cleanse the evil that now inhabits these once-sacred halls, and recover the Stone of Tircople? Can your characters survive the traps of an undead sorcerer? Will your players discover the chamber of Living Rock and the secret power it holds? Adventure awaits! Gold and Glory! A fantasy adventure published for the D20 system, The Tomb of Abysthor is the first module in Necromancer Games Dungeon series and can be played as a stand-alone story or in conjunction with The Crucible of Freya and the forthcoming city supplement Bards Gate. What secrets lie hidden in the tomb of Abysthor?

In the canyon of Thunder Rift, in the village of Kleine, goblins have always been a nuisance, but the natives have dealt with them and continued an otherwise peaceful existence. Now, a valuable magical item, called the scepter of truth, has disappeared! The ingenuity of the crime bears the mark of the goblins' leader, the Master Thief Raven. The scepter must be recovered, but there is no one in Kleine with the strength and courage to penetrate Raven's trap-laden hide-out, deep in goblin territory. A party of stout adventurers might survive the mission, but they will have to be quick, smart, and especially careful. This module has been created especially for the inexperienced Dungeon Master and players who are interested in the exploration of dungeons and ruins. TSR 9350
The Siege of Castle Rend is an adventure for the fifth edition of the world’s first roleplaying game, suitable for five 5th-level characters. It takes place over four parts, and each part can be completed in one or two sessions of play, depending on your group’s playstyle and how long you like to play in a single sitting. If all goes according to plan over the course of this adventure, the player characters will expose an usurping lord, fight orcs, acquire a stronghold, defend it from an invading army, win the admiration of a town filled with potential vassals, and make political connections within the Barony of Bedegar. Of course, no adventure goes according to plan. The PCs will invariably throw these well-laid schemes into chaos, and they’ll have to improvise. But if we know how things would have gone if the PCs never showed up (or are cowards), it makes it easier for us GMs to improvise when things go off the rails. Published by MCDM

This module features 5 locations ready to be put in any D&D 5e game. It features these 5 locations: - An old warehouse (lvl 1) An old building occupied by a gang of Kenkus that are trying to build a mechanical way to fly. - Ruined Sanctum (lvl 2) A decayed temple lost to time, some decades ago it was breached by some blights and they still use it as a resting place and a trap for adventurers. - The Lunar dove (lvl 3) A small and secretive brothel used by the elites. Unbeknownst to them, however, the Owner spies and hoards secrets to use to their advantage. - Cave of Mending (lvl 4) A cave with a magical healing lake, protected by a Druid that uses it to heal the wildlife from the surrounding area. - The temple to Xotarr (lvl 4) A hidden temple to an evil God where the cultists partake in calculated sacrifices.

While at times cliché there are few adventures better than an old fashioned trek into the ruins of a deserted castle. This adventure pits a new adventurer against the decades old remains of a hilltop castle that is “haunted”. The old keep was the site of a mighty battle years before that swayed the power in the area but now it is the crumbling remains of the once powerful Baron Sancrist. While the old fortress is supposed to be deserted the area farmers and villagers swear they have seen the dead walk the parapets in the moonlight. Well you wanted adventure….here it comes!

Are you in need of a breeding factory that spews out torrents of mutated weretoads into your campaign world? Do your adventurers enjoy exploring slimy, wet ruins inhabited by depraved, vile creatures? The Towers of the Weretoads is a mini-dungeon you can plop down in the edges of any of the lakes/fresh water bodies in your campaign world. It's filled with treasure, danger and slime. The Towers of the Weretoads is presented in an innovative mapping style that eliminates the needs for flipping between pages as you run it. Everything you need to know about a dungeon level is right there in front of you on the same single page! This allows you, the DM, to focus on creating a dynamic, interesting and challenging dungeon experience for your players. This PDF includes a 3 level dungeon and 2 original and disgusting enemies for adventurers to fight. The randomness and non-linearity of the encounters means this adventure could be an appropriate challenge for a wide level range of adventurers. Published by Gorgzu Games

A fiend lurks among the Black Blade goblins. A shapeshifting barghest fashioned by the General of Gehenna to exact revenge on all goblin-kind. It’s aim: to kill as many goblin leaders as possible… A masked goblin approaches the party asking for help. Two tribe leaders are dead. But a rival for chief has control of the crime scene. Will the party discover the barghest among the goblin ranks? Can they stop this imposter before it strikes again? Adventure Overview The adventure’s story is spread over 4 parts and takes approximately 4 hours to play. The adventure begins with a Call to Action scene. Part 1: Goblin Politics. Krill sends his emissaries to implore help from any strong intermediary. The party is asked to investigate the murder of Thrawn in Dringly’s lair. This is Story Objective A. Part 2: The Opposition. Gain entry into Dringly’s lair and investigate the murder of Thrawn. Gather enough evidence to find the killer. This is Story Objective B. Part 3: To The Lair! Now that the players have determined the barghest (Yeep) is to blame, they need to get to Krill’s lair quickly as he is in imminent danger. This is Story Objective C. Part 4: The Barghest.When the players arrive at the lair, they need to get to Krill and expose and defeat the barghest. This is Story Objective D. Adventure Background A barghest named Yeep has begun its onslaught of attacks against the Black Blade goblins. Starting with Chief Gnar, then his second in command Thrawn, the barghest is moving methodically down the line of command. Krill is now chief. But he has some problems: Two leaders of the Black Blades are dead. Who killed them and why? Is he next? Dringly, the next in command, has decided to take his lair for himself, declaring himself Chief of the Black Blades. Who are the Black Blades? The Black Blades are a tribe of goblins in the local area. They are known for dipping their blades in a dark black substance. It is rumored these blades are poisonous. The Black Blades regularly attack passersby on the road to rob them. The Black Blades have two lairs, one run by a chief who leads the whole tribe, and another overseen by a boss lieutenant. The Black Blades have a well-established pecking order which is how Krill stands to become chief. The next in line is Dringly, who has also declared himself chief and wants Krill dead. Krill suspects that there is something suspicious about two leaders being killed within a day of each other, but he has already burned Gnar’s body without any investigation. He needs to investigate the body of Thrawn, but it is in Dringly’s lair. Krill wishes to avoid direct confrontation with Dringly at the present for three reasons: 1) Any violence would only kill his own tribe members and further divide the lairs. 2) He believes there is still hope for negotiation to reunite the Black Blades. 3) He believes that if he were to attempt negotiations himself, Dringly would kill him. This adventure features: Two maps. Ready for your favorite Virtual Tabletop. A full color pdf. A black and white pdf. One custom monster, a reprint of barghest, all others available in the Monster Manual. Four hours of entertainment involving: roll playing a goblin bard, investigating a murder scene, tracking down a barghest before it strikes again. Applicable to any setting.
Under raging storm clouds, the vampire Count Strahd von Zarovich stands silhouetted against the ancient walls of Castle Ravenloft. Rumbling thunder pounds the castle spires. The wind’s howling increases as he turns his gaze down toward the village of Barovia. A lightning flash rips through the darkness, but Strahd is gone. Only the howling of the wind fills the midnight air. The master of Castle Ravenloft is having guests for dinner—and you are invited. Spans levels 1-10.

Recent earthquakes have unearthed a small section of a lost dwarven fortress. The dwarves are long gone, but rumors suggest they might have left treasure or weapons behind. After a journey into the Underdark, the characters find a barred iron door bearing the names of several ancient dwarven clans. Pgs. 90-95

The wedding was meant to unite poweful families from Everlund and Silverymoon. "Til death do us part" comes sooner for some couples than others when undead hordes and a feral demilich are uninvited guests. The Dead Wedding is a short, 3 to 5 hour adventure for characters level 14 to 16. The adventure contains maps for Moonshadow Keep and the crypt of the demilichess Regetta Arch Therm, deadly traps, and RP hooks that enable players to use high-level non-combat abilities.