
A black dragon’s treasure hoard has been located in the Twilight Marsh, and within it are secrets that hold interest to the factions. With the dragon marauding over the countryside, the horde is left unguarded. Now is the time to plunder its lair!
Freeport is a fantasy “free city” you can place in a fantastic setting. Its basic premise is a pirate city gone legit… at least on the surface. In truth, the pirate tradition is alive and well in Freeport, but camouflaged by a veneer of respectability. These days the city’s pirates are privateers, legalized pirates Freeport loans out to the highest bidder. You’ll learn more in the short history of the city that follows. This should help give you a taste of the flavor of Freeport before the adventure begins and the given background is all you need to run this adventure. It is an ideal starting place for a new campaign as the player characters find themselves stranded in Freeport after a deal goes sour. A seemingly simple job plunges them into the strange underside of the city, where they uncover secrets worth dying for. Death in Freeport is the first from the Freeport trilogy, together with Terror in Freeport and Madness in Freeport. Synopsis: Death in Freeport drops the player characters into the midst of political and magical intrigue, as the hidden Brotherhood of the Yellow Sign manipulates events to bring its dread god to the world. Freeport is still a bustling center of trade, but evil currents run beneath the surface. There are secrets here, and questions unanswered. The characters will undoubtedly learn there is more here than they expect in a simple seaport. The question is, will that knowledge kill them? As the adventure begins, the player characters (PCs) have just come to Freeport on a merchant ship. While on the docks, the PCs are attacked by a press gang, who mistake them for easy marks. The press gang is handily beaten off; since they are unused to real resistance. A bookish young man named Brother Egil then approaches the PCs. He says that he’s been looking for a group that can take of itself, and that he has a job for them if they are interested: finding a missing librarian. The missing man, Lucius, disappeared two days previously, and Egil is eager to find him. Egil gives the PCs some background on Lucius and his strange behavior. The PCs are then free to investigate: They are likely to visit Lucius’s home, the temple to the God of Knowledge, and an orc pirate ship. This should form a picture of Lucius as a man searching for his own past—who found something he wasn’t counting on. Following a trail of clues, the PCs learn about the Brotherhood of the Yellow Sign. With a little luck, the PCs can trail the cultists back to their hideout, penetrate the lair, and discover secret tunnels underneath it. Deep underground they find degenerate serpent people, and eventually Lucius himself. The librarian has been tortured badly and will die without aid. The PCs also have to deal with the leader of the cult, a man they may recognize from the temple. When the cult priest is slain, they are in for an even bigger surprise. He was not human at all, but a serpent man in disguise. What this means for Freeport only the gods can say.

An anticipated rematch between the Reghed Nomads and the Goliaths of Wyrmdoom Crag is interrupted by disaster as one thing after another goes wrong! It falls upon the party to pick up the ball when others have let it drop! A DungeonCraft adventure using the "Goat-Ball!" seed. A Four-Hour Adventure for Tier Two characters (levels 5-10). Optimized for APL 8. Somebody Dropped the Goat-Ball originally debuted at DungeonCraft World Tour on May 2021. Included are VTT-friendly maps and handouts in separate files to help with running your games virtually. I also have a printer friendly version included of several of those maps for those that prefer their works to be printed on the flesh of dead trees.
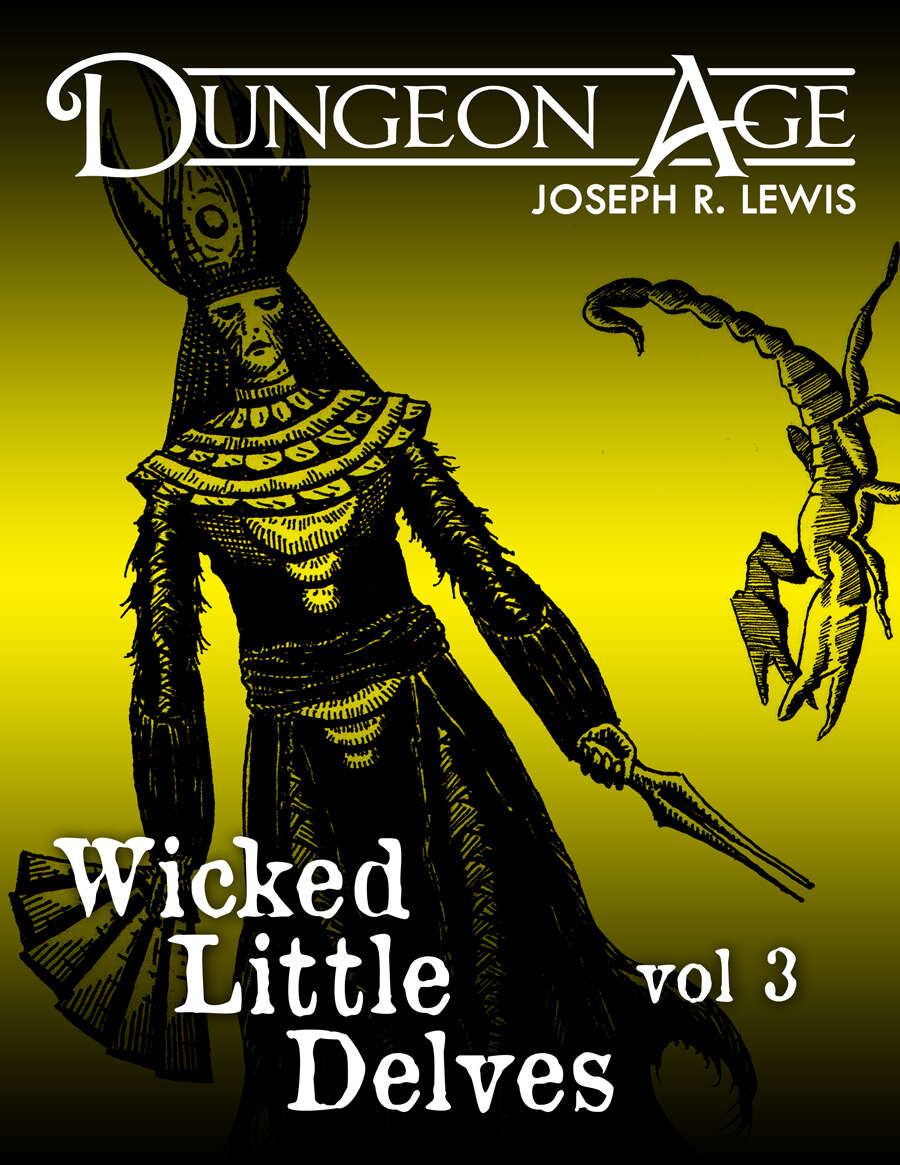
These are three one-shot dungeon delves. Each delve features nine rooms or locations full of challenges and interactivity. Each delve has only one type of monster, but they are complex, and there are lots of them! This volume of Wicked Little Delves includes three small dungeon adventures: - a tunnel complex full of dragons trying to eat each other, - a desert palace of sorcerous mummies trying to restore life to the wasteland, and - an ancient cathedral where zealots of Chaos try to summon unspeakable terrors from beyond the stars. SYSTEM: Each monster has stats for Fifth Edition, Old School Essentials, and Into the Odd. These adventures are intended for characters at levels 7, 8, and 9. They are mainly focused on exploration and combat, with some minor social encounters. Estimated run time for each: 1 session, or 2-5 hours. Each adventure includes one complex original monster and a variety of unique treasures. ADVENTURE TYPE: Mid Level / Combat / Exploration / One-Shot / Dungeon Delve DESIGN NOTES These adventures are intended for mid-level characters Level 7-9 9 unique encounter locations per delve (27 in all!) 3 original monsters with multiple abilities and weaknesses Dungeon maps and original illustrations
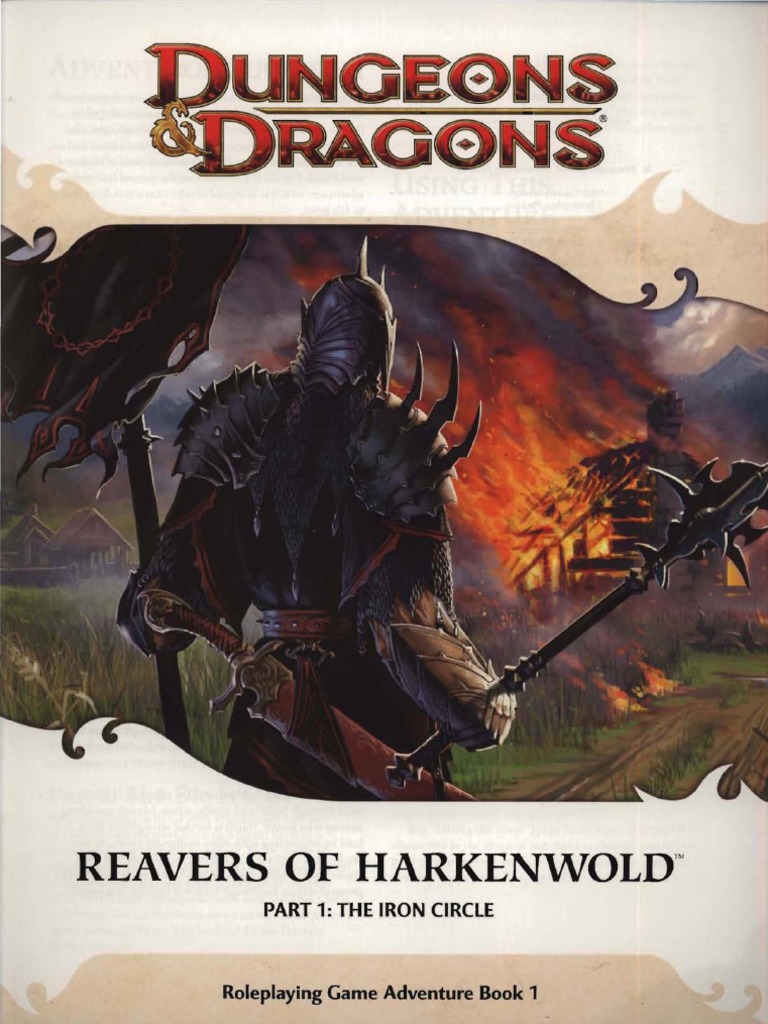
Reavers of Harkenwold pits the heroes against the Iron Circle, a company of cruel mercenaries that has seized control of the small land of Harkenwold. In this adventure, the heroes become daring rebels and lead the folk of Harkenwold against their oppressors.
Digging in the Dark People are vanishing from the village of Brookhollow. Can you solve the mystery in time to save your friends? Pgs. 12-29
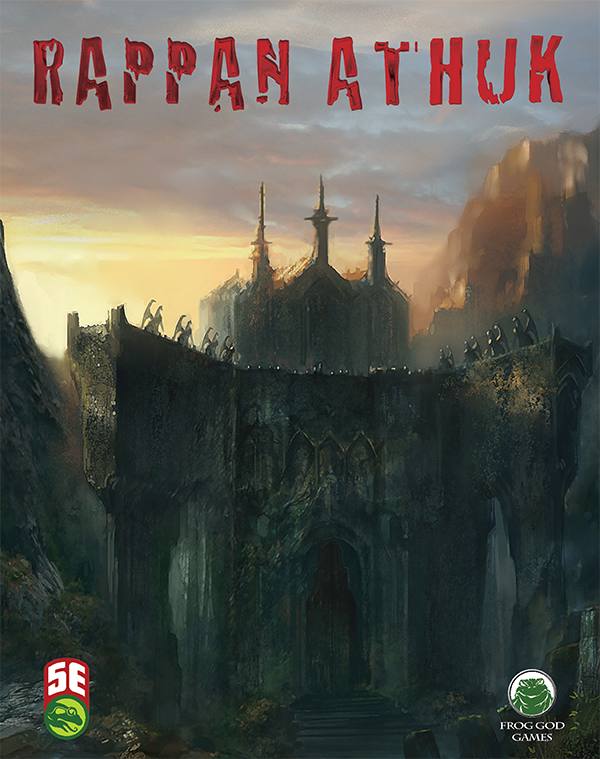
The Dungeon of Graves, is nothing more and nothing less than a good, old–fashioned, First Edition dungeon crawl updated for the 5th Edition Roleplaying Game. Very difficult, it should strike fear into the hearts of the most stalwart adventurers. It offers an abundance of traps, tricks, and monsters. We hope that you find this module as fun and exciting as those thousands of players who have ventured into (and not as often out of) the endless caverns and mazes of Rappan Athuk—The Dungeon of Graves. Rappan Athuk is a difficult dungeon. Even the upper dungeon levels should not be attempted by a party of less than six mid-level characters.

The Hag's Hexes is a 66 page guide designed by Dungeon Masters Guild luminaries like JVC Parry and Janek Sielicki alongside rising stars and old stalwarts like Matt Butler, Matthew Gravelyn, and Tim Bannock. It was created with one thing in mind: to make hags more than the sum of their (often meager) Challenge ratings, giving them the mechanics, roleplay potential, and weird magic that can inspire campaigns, lay low kings and warlords, and potentially ensnare unwary Player Characters into campaign-changing curses or long-term bargains that force them into terrible moral quandaries! Split into five chapters, the authors have provided everything a DM needs to terrify their players for years to come. The Bestiary features over a dozen monsters; some are new hags, some are their minions or even their mobile lairs, and one of them -- the Shaitan AKA Desert Hag -- was featured in Monsters of the Guild! Bargains & Curses is a chapter filled with ideas that can kick-start campaigns, threaten valued NPCs, or put Player Characters' very existence and morality at stake. Chapter 3 includes two dozen items of wonderment, weirdness, and dread, ranging from fairy tale-inspired items of whimsy to terribly cursed items of horror. Chapter 4 is titled "Filthy, Vile & Downright Dirty" and provides dozens of roleplaying tips to make hags come alive, new mechanics inspired by and expanding on Volo's Guide to Monsters (coven spell lists, aunties, grandmothers, alternative coven members), and ends with useful combat tactics for each of the hags from the Monster Manual and Volo's Guide, as well as tactics for covens. Finally, Chapter 5 presents five encounter groups (with sub-encounters) to give you quick story seeds and monster lists that you can put together in minutes to create a single encounter or to inspire a full campaign, and ends with three full-length adventures -- each with 3-5 encounters -- that showcase many of the new monsters, rules, magic items, and so on that appeared in earlier chapters. Each of these adventures comes with an encounter map meant to act as inspiration for hag lairs, and they include useful mechanical ideas for terrain effects and descriptive keywords listed directly on the map for added inspiration and easy customization! Designed by Tim Bannock. Written by Matt Butler, JVC Parry, Janek Sielicki, and Tim Bannock. Edited by Matthew Gravelyn and Tim Bannock. Cover Art by Elena Naylor. Cartography by Tim Bannock using Inkwell Ideas' Dungeonographer (Dungeonographer is copyright Inkwell Ideas). Layout & Graphic Elements by Elena Naylor with Tim Bannock. Interior Art by Arcana Games, Bruno Balixa, David Lewis Johnson, Dean Spencer, Earl Geier, Filip Gutowski, Jacob E. Blackmon, Joyce Maureira, Petr Kratochvil, Jayaraj Paul, Brian Brinlee, and Wizards of the Coast.

The fabled sword of Selfaril is told to bestow wisdom and power upon whomever wields it, so naturally its discovery has caused quite a stir in Mulmaster. All of this is complicated when a masked benefactor claims to not only know the truth about the blade, but also how it can be used to benefit the oppressed people of Mulmaster. Can it truly change Mulmaster for the better?

Tragedy has struck the Dwarven Kingdom of the Hammerskin Clan. Recent quakes have opened the Dwarven mines to a humanoid invasion that have taken over the Stonegate and Irongate sections of the kingdom. On your last foray into the Dorgel Mountains you were tasked to deliver a plague cure for the town of Timel. On your way through the trade route you discovered the invasion and fought your way through to deliver the remedy. Now you must return to help the Dwarves secure their domain!

Six murders in a single night! A major city in the Forgotten Realms is rocked by a series of gruesomely bizarre deaths of notable citizens. What mysterious murderer could have slain six people in different corners of the city? Why did the criminal leave a playing card at each scene? Could a high-stakes card game that happened ten years ago explain the goings-on? And, most importantly, is the goddess of misfortune personally involved?
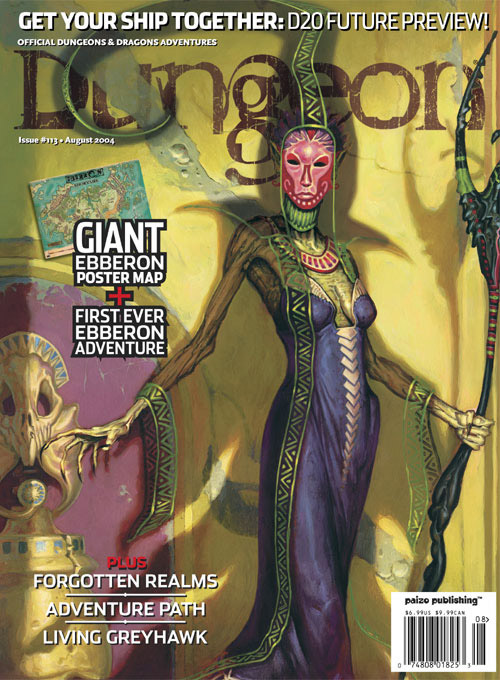
Take your first exciting foray into D&D's newest campaign setting with a deadly exploit in Sharn, City of Towers. Descend into the ruined undercity to face the legacy of the daelkyr, aberrations from the evil plane of Xoriat, and come face to face with the Queen with Burning Eyes! Pgs. 16-32
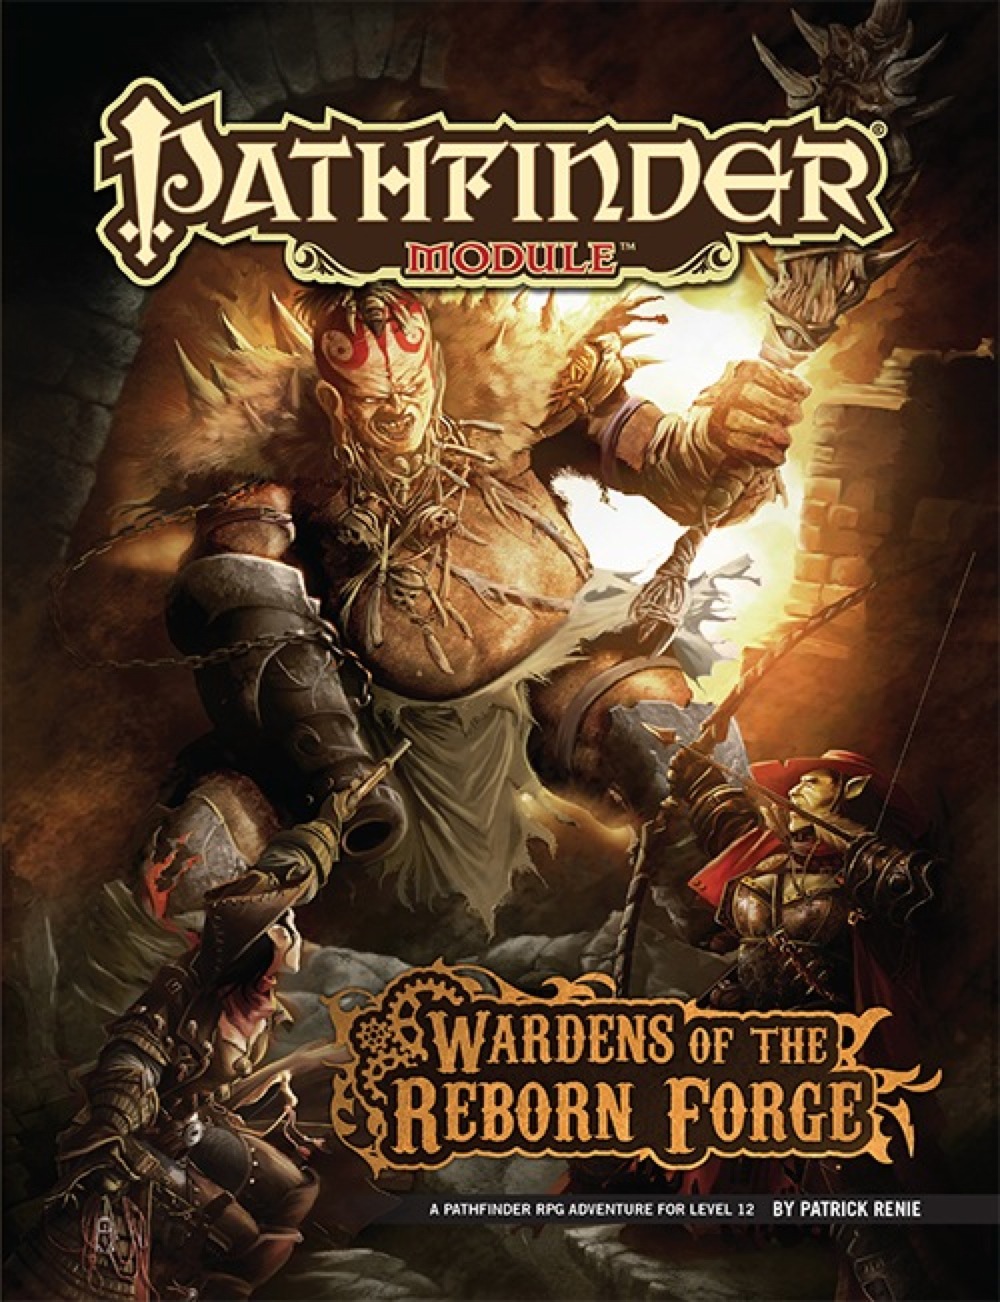
Alkenstar, City of Smog, is a bastion of civilization in the magic-warped region known as the Mana Wastes. Its ingenious citizens survive in the treacherous Spellscar Desert with the help of canny inventions like guns and clockwork automatons, but now their construct protectors have begun to run amok within the city. It falls to the PCs to venture beyond the city walls to find the source of their strange behavior.
Long ago the dwarf-like "Dverg" established a "forge" hidden deep beneath the earth where they forged weapons of "cold" iron. Cold iron was considered a far superior material and was especially effective against Trolls and could even damage ghosts. The forge is thought have been long abandoned and priceless artifacts of great power are rumored to lie forgotten beneath the Altis mountains. Among them is rumored to be the fabled Axe of Mortality - a weapon said to be powerful enough to slay a god. Is your party brave enough to venture out in search of these valuables? Flameless Forge of the Dverg is a free/pwyw dungeon crawling adventure designed for level 1-3 Shadowdark RPG characters. The adventure is assumed to take place in a viking-esque fantasy setting, but can be adapted by tweaking some names and figuring out replacements for the nordic gods.

This material was originally published as three separate adventures: G1 (STEADING OF THE HILL GIANT CHIEF), G2 (THE GLACIAL RIFT OF THE FROST GIANT JARL), and G3 (HALL OF THE FIRE GIANT KING). Contained herein are referee notes, background information, maps, and exploration keys for three complete adventures using the ADVANCED DUNGEONS & DRAGONS rules. This module can be used alone or as the first in a series of adventures that includes Dungeon Modules D1-2 (DESCENT INTO THE DEPTHS OF THE EARTH), D3 (VAULT OF THE DROW), and Q1 (QUEEN OF THE DEMONWEB PITS). TSR 9058
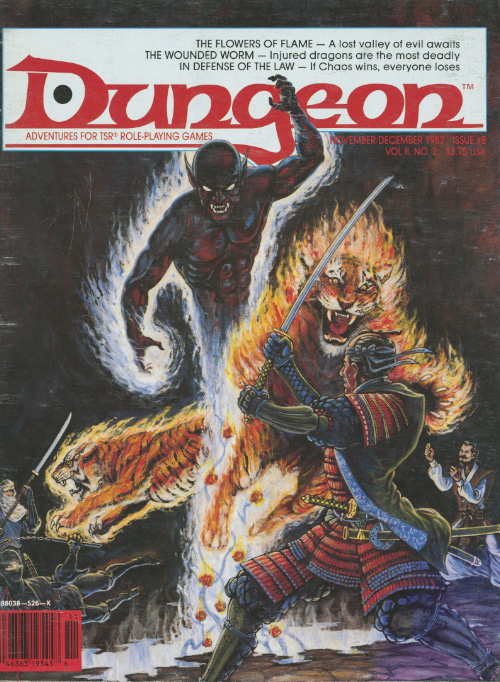
They sure don't make lawful allies like they used to. A question of morality versus ethics - made lethal. Pgs. 17-34

An initial level adventure, this scenario has allowed for each PC to have an encounter as they get to the community of Lakedale (offered earlier) to prepare for their career. After successfully getting to the town the new PCs quickly discover a job opportunity pertaining to an overdue shipment from a Gnome Alchemist. Gelbo Green, alchemist, has an agreement with one of the merchants in town and is late on a delivery. Lettice Beauson runs the Purloined Purse and is looking for a group of adventurers to check on him. Time to start your careers!

God of Ore is a 3rd-level adventure that takes the characters from the quiet, mountainside town of Miners’ Refuge into the heart of the Stoneheart Mountains in pursuit of a failed pilgrimage to discover a phony religious relic deep inside legendary Mithral Mountain. The dark, twisting tunnels that bore into the fabled mountain soon reveal that some mysteries are not what they first appear to be.

“The Temple Between” is an adventure for 9th level characters, and it is challenging enough to take them to 11th level by the time all is said and done. Although intended as the final chapter of the heroic tier portion of the Scales of War Adventure Path, it can be run as a standalone adventure, or as an adventure in a campaign of your own making, with a small degree of modification. It contains elements of urban investigation, dungeon delving, and even wartime conflict, making it a suitable adventure to players of many tastes and preferences. The western end of Elsir Vale has been greatly troubled in recent days. The threat of the orc hordes from beyond the Stonehome Mountains, though turned back at Bordrin’s Watch, still lingers in the people’s minds. Peculiar and hostile creatures of shadow lurk in the caverns and caves below. Political squabbling grows among the city’s powerful dwarf clans. All this makes the city particularly vulnerable to an enemy nobody saw coming - that nobody even imagined. This enemy has goals and objectives far beyond the ultimately unimportant Elsir Vale, but the first step is the utter subjugation of Overlook. An enemy who, at least in part, is already here. In this adventure the player characters start by investigating the strange behavior of the city's clergy. They swiftly discover hints of a conspiracy worming its way through the city hierarchy - some members are possessed while others have been replaced by dopplegangers. After trailing this conspiracy to its source they discover a portal that leads to an ancient temple in the mountains. Using the portal, the PCs go to the abandoned ancient temple where they must confront both a cadre of fey and a band of mercenaries, from whom they learn there is a plot for a full-scale invasion of the region! The PCs must them rush back to Overlook and cement their place as heroes as they face off against the invading forces. Pgs. 4-71
Launching the Unlock the Vault-series, this first installment sees the party search the royal crypt in the ruins of Wellsing for the fabled Shield of Ralfour - An artifact that, initially unknown to the party, also acts as one of the eight keys to break the seal on Aizendore's Vault of Tragic Treasure.