
The Haunted Hamlet and other hexes details four unique modular locations for your game. Made for old school essentials, but can easily be used with other old-school systems or even 5E. The four locations detailed in the zine focus on gameable content and being easy to use at the table. The locations are not connected to one another and can be sprinkled onto your campaign map however you like, or run as one shots. The PDF is graphic and art heavy and utilizes random tables and other tools to make it easier for GMs to run in a pinch. Details: 40 pages Single column text 8.5 x 5.5 aspect Black & White Bookmarks Four hex locations Random tables A rival NPC party A sky merchant A one page town Two hirelings

A D&D 5e adventure set inside Shakespeares’ Romeo& Juliette. Enter Verona and Investigate what caused the Capulet mansion to sink underground and become a cursed hellscape Play as your characters or use the pre-generated characters (including Mercutio the tiefling warlock, Rosalind the elven wizard, Balthasar the halfling rogue, and more). You don’t need to know Shakespeares’ Romeo and Juliette to enjoy this dungeon dive but it helps :-) This product includes: The Adventure Printer-friendly character sheets A high Res map for VTT
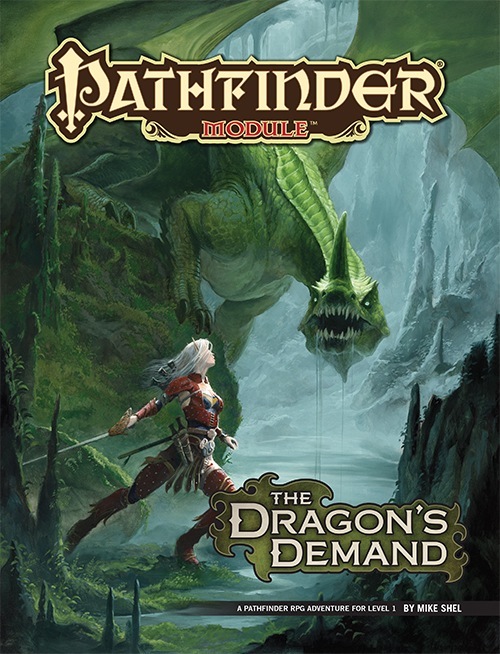
Founded by a famous dragonslayer, the small town of Belhaim has become a sleepy rural community just off the beaten path, a settlement where everyone knows everyone and strangers are the talk of the town. But when Belhaim’s peace and quiet is shattered by the sudden collapse of the last standing tower of its founder’s castle, things quickly bloom out of control. Why were there bodies of kobolds amid the rubble? What’s the sinister secret behind the strange sounds of flapping wings in the night? And what’s happened to local wizard Balthus Hunclay, who’s not answering knocks on his door? The collapsed tower had long been an eyesore to the cantankerous old man—could he have had something to do with its destruction? And what of the rumors of strange stirrings in nearby Dragonfen? Has Belhaim’s ancient draconic nemesis returned?

The country of Rhyl has been beset nearly every night for many years by a large, terrible creature that flies out from the mountains near the city of Asereht. Nearly a year ago the creature broke through the wall of King Namreh’s castle and carried off the king’s son, Prince Laechim, along with a large amount of the royal treasure. After the creature’s raid on the castle, King Namreh ordered his army to search the mountains and discover Astylis’ complex. The soldiers made two forays into the mountain wilderness, but each time were harassed and eventually driven back by goblin raiders. Since the failure of the second assault, the king has taken to commissioning small parties of mercenaries and adventurers, sending them into the mountains with promises of great reward upon the completion of the rescue mission. For reasons which the king has never found out, none of these rescue parties has ever returned to Asereht. Your party is now attempting to be the first. Pgs. 37-44
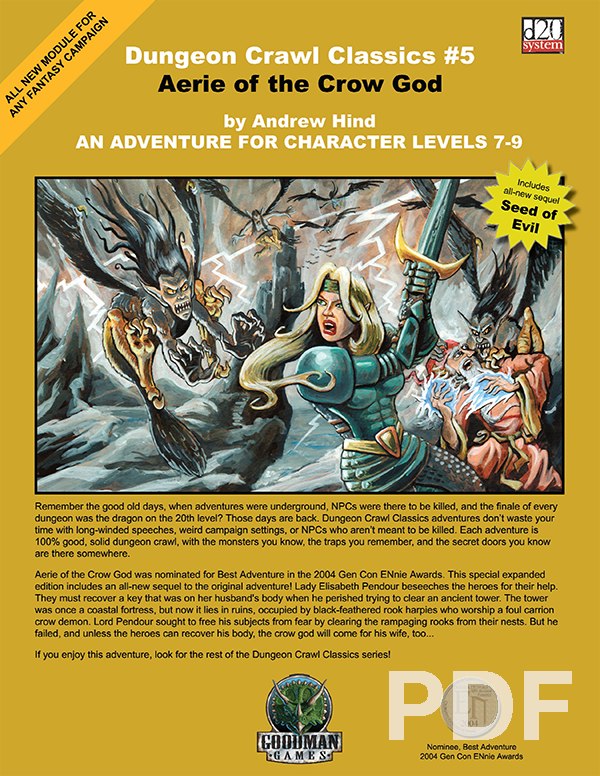
Lady Elisabeth Pendour beseeches the heroes for their help. They must recover a key that was on her husband’s body when he perished trying to clear an ancient tower. The tower was once a coastal fortress, but now it lies in ruins, occupied by black-feathered rook harpies who worship a foul carrion crow demon. Lord Pendour sought to free his subjects from fear by clearing the rampaging rooks from their nests. But he failed, and unless the heroes can recover his body, the crow god will come for his wife, too…

A fiend lurks among the Black Blade goblins. A shapeshifting barghest fashioned by the General of Gehenna to exact revenge on all goblin-kind. It’s aim: to kill as many goblin leaders as possible… A masked goblin approaches the party asking for help. Two tribe leaders are dead. But a rival for chief has control of the crime scene. Will the party discover the barghest among the goblin ranks? Can they stop this imposter before it strikes again? Adventure Overview The adventure’s story is spread over 4 parts and takes approximately 4 hours to play. The adventure begins with a Call to Action scene. Part 1: Goblin Politics. Krill sends his emissaries to implore help from any strong intermediary. The party is asked to investigate the murder of Thrawn in Dringly’s lair. This is Story Objective A. Part 2: The Opposition. Gain entry into Dringly’s lair and investigate the murder of Thrawn. Gather enough evidence to find the killer. This is Story Objective B. Part 3: To The Lair! Now that the players have determined the barghest (Yeep) is to blame, they need to get to Krill’s lair quickly as he is in imminent danger. This is Story Objective C. Part 4: The Barghest.When the players arrive at the lair, they need to get to Krill and expose and defeat the barghest. This is Story Objective D. Adventure Background A barghest named Yeep has begun its onslaught of attacks against the Black Blade goblins. Starting with Chief Gnar, then his second in command Thrawn, the barghest is moving methodically down the line of command. Krill is now chief. But he has some problems: Two leaders of the Black Blades are dead. Who killed them and why? Is he next? Dringly, the next in command, has decided to take his lair for himself, declaring himself Chief of the Black Blades. Who are the Black Blades? The Black Blades are a tribe of goblins in the local area. They are known for dipping their blades in a dark black substance. It is rumored these blades are poisonous. The Black Blades regularly attack passersby on the road to rob them. The Black Blades have two lairs, one run by a chief who leads the whole tribe, and another overseen by a boss lieutenant. The Black Blades have a well-established pecking order which is how Krill stands to become chief. The next in line is Dringly, who has also declared himself chief and wants Krill dead. Krill suspects that there is something suspicious about two leaders being killed within a day of each other, but he has already burned Gnar’s body without any investigation. He needs to investigate the body of Thrawn, but it is in Dringly’s lair. Krill wishes to avoid direct confrontation with Dringly at the present for three reasons: 1) Any violence would only kill his own tribe members and further divide the lairs. 2) He believes there is still hope for negotiation to reunite the Black Blades. 3) He believes that if he were to attempt negotiations himself, Dringly would kill him. This adventure features: Two maps. Ready for your favorite Virtual Tabletop. A full color pdf. A black and white pdf. One custom monster, a reprint of barghest, all others available in the Monster Manual. Four hours of entertainment involving: roll playing a goblin bard, investigating a murder scene, tracking down a barghest before it strikes again. Applicable to any setting.
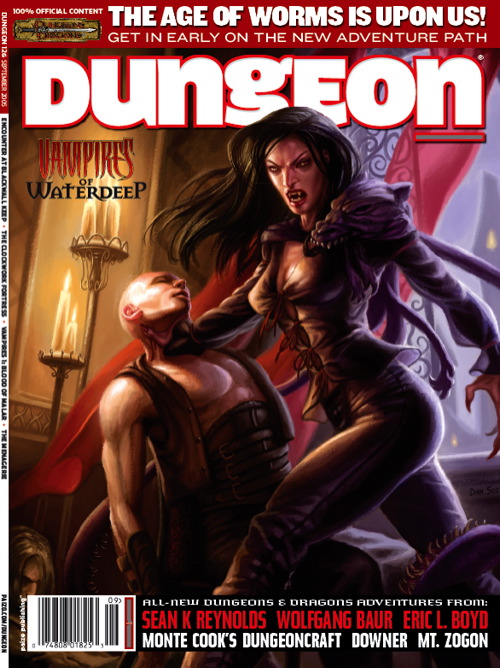
A mechanical man discovers his ancestral fortress has fallen to a lunatic derro, but something worse than mad derro haunts the Clockwork Fortress' gears. This adventure is a sequel to Dungeon Issue #115's "Raiders of the Black Ice," although you need not have run that adventure to enjoy "The Clockwork Fortress." Pgs. 42-61

Revolt of the Gladiators! The corrupt Thyatian senator, Helenites Osteropolus, his latest scheme smashed by the adventurers and their gladiator allies, hatches a new plot to destroy the influence of the Order of the Sands (even, perhaps, to attack the Emperor himself!) Yet greater dangers lie ahead. If his plot succeeds, it will remove the guardians that protect the city from the creatures that lurk in the caverns and catacombs below. Can the players block his gambit? Will the wheel of justice grind small, or will the greasy palm of political corruption reach out and save the senator once again? You decide, in the chaotic swirl of the Thyatian capital's politics. This module is designed especially for the DM who wants to sharpen his interactive skills. Recommended for four to six characters, levels 3-4 Includes map of a realistic catacomb complex below Thyatis City Unique role playing climax tests players' integrity and skill New information on the military Legions of Thyatis This module is a stand-alone sequel to DDA1 Arena of Thyatis. TSR 9296
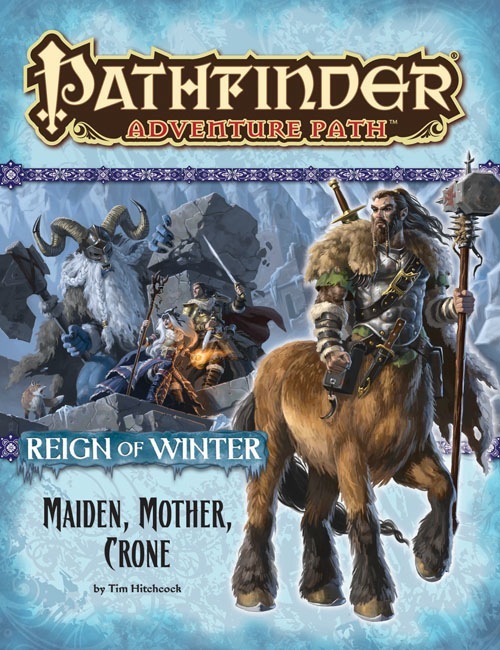
On the trail of Baba Yaga, the heroes find themselves transported to the barbaric land of lobaria on the far-off continent of Casmaron. They must explore three ancient, mystically linked dungeons in search of more clues to the fate of the Queen of Witches, while contending with savage centaurs and demon-worshiping frost giants who seek to claim Baba Yaga's secrets for themselves.

Many centuries ago, the dwarven kingdom of Sarphil stretched out across the Galena Mountains east of the Moonsea. They dug for the precious metals hidden beneath the rocky terrain, and they established numerous cities and settlements to aid in their excavation and manufacturing efforts. This was during the early days of Myth Drannor, the elven kingdom in the forest of Cormanthor, and the dwarves and elves initially clashed as each sought resources and expanded their territories. Myth Drannor and Sarphil eventually settled their differences, and many dwarves moved into the elven city to offer their services and expand their knowledge. In the Galena Mountains, Sarphil continued to flourish. Unfortunately, these days of prosperity did not last long. The last great king of Sarphil was lost in the dwarven city of Mount Throndor, beneath the mountain peak of the same name, and Sarphil withered under bitter clan disputes since no single family could claim legitimate lineage over the fragmented kingdom. What happened under Mount Throndor has been a mystery for thousands of years. Many attempts have been made to reclaim the lost riches and legacy of the last Sarphilan king, but powerful wards have prevented intrusion under the mountain, wards erected by the dwarves of Sarphil. Were the wards built to keep outsiders from intruding – or to keep something inside from escaping? An enterprising dwarven leader wants to find out, but she is going to need some help from a band of heroes. Horrors of Mount Throndor is a Dungeons & Dragons adventure of exploration, darkness, and terror featuring a lost dwarven city overrun by forces from the Far Realm and the journey to cleanse it once and for all. The adventure is designed for a group of 11th-level characters, and successful completion of the adventure should put the characters at 16th level. Here There Be Monsters Mount Throndor has become infested with madness from the Far Realm. During their journey to penetrate the ward and through the city itself, the characters are going to face gibbering horrors, unpredictable slaadi, fanatic stone giant cultists, degenerate star spawn horrors, mutant derro, undead dwarves, and countless golems. The ancient breweries of Mount Throndor have produced alementals who slither in the darkness, and a great dwarven war juggernaut named Big Hans stomps through the city. Legendary Villains and Epic Moments Though it has been sealed, Mount Throndor is not empty. The characters have opportunities to meet, interact with, and (likely at least) combat against powerful foes within the legendary dwarf city. A dwarf lich, a Far Realm spider goddess, an iron-encased demilich, and a melted flesh derro warlock monstrosity all await, along with a mind-bending force - Great Cthulhu! The characters have a chance to face an avatar of Great Cthulhu in the dwarven depths in the final confrontation of the adventure to free Mount Throndor and rid Faerun of a Far Realm invasion! An Adventure of Exploration Mount Throndor is a big, sprawling complex, a dwarven city with two major strongholds, a bridge system spanning a massive underground lake, and a deep mining complex. The scale is difficult to grasp and convey. Previous examples of adventures featuring these elements have included maps - usually lots of them, great spawling maps connected at ends to make huge subterranean dungeons. It is the classic image of a D&D dungeon crawl, and the map is a key component to its visualization. However, in this adventure, the maps are handled differently. There are certain areas, ususally outside the dwarven city itself, that include maps that are suitable for use at the game table, either in theater of the mind style or grid-and-miniatures. Mount Throndor itself is presented with an abstract map, and exploring it utilizes the exploration procedure outlined in Appendix A. Characters traverse the huge subterranean system using this abstract system, and during their travels they are going to run into random encounters and sites with more interesting and complex encounters.

A cemetery is nice but an entire city of the dead.....THAT'S an adventure. At 29 pages this adventure a large number of challenges for a party of higher levels. Set in the famed Adurite city of the dead this adventure offers many challenges to a party. What lies within? What treasures may be found? This adventure is not for the faint of heart. With over ten area maps and multiple pictures of areas the party may find, this is a full adventure. Are your players ready for a big adventure?
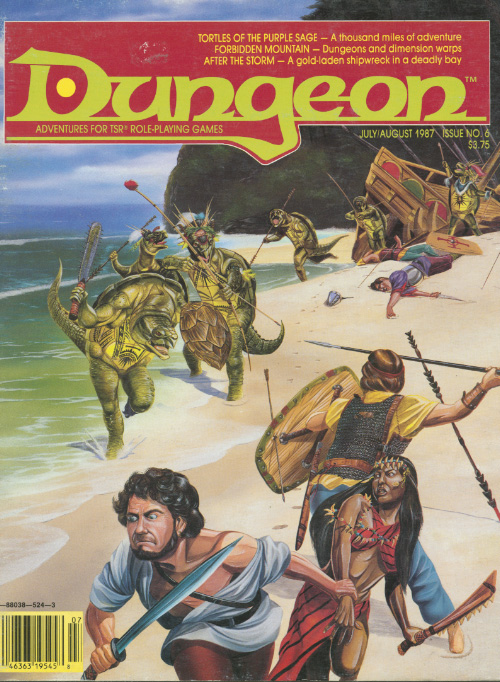
A friendly little cottage and a dreadful secret. As the adventure begins, the PCs are on a journey through temperate, wilderness hills -- perhaps toward a destination of importance in the ongoing campaign, or they might merely be wandering in search of heroic opportunities. Pgs. 20-25

The legendary spellcaster Emirikol the Chaotic has turned the region into a wild magic zone, a place where all magic goes awry. The only way to put things back to normal is to retrieve the source of the problem deep inside the Ooze Chambers of Emirikol! This adventure is for 4th level characters and can be run on its own or as part 3 of the Litany of Arrows adventure path. This adventure contains, 2 pages of new magic items, 8 new monsters and NPCs, a full write-up of Bwimb II, the Paraelemental Princess of Ooze, an entity referred to in many D&D products but never fully fleshed out and stats for the 3rd edition iconic heroes Regdar and Mialee, who play a major role in this adventure. It's got over 10 pieces of original art, full color maps, tagged and untagged, and a special handout for the player who obtains the Ooze Fist of Emirikol. This adventure builds on the story begun in the platinum-selling Castle of Corellon and the follow-up, Warpath of Gruumsh.

Your expedition to the wastelands proved fruitless until you came across a group of Bedouins. The locals report that they may have found a tomb hidden below the swirling desert sands. Intrigued, you and your group examine the site unaware that you are about to stumble into the deadly Gonnagetcha Tomb!

Amid the gales and snowy Earthspur Mountains, the tumbling ruins of the ancient Tempest Mage's tower brood over the village of Windy Valley. When a kidnapper flees into the ruins, it's up to a group of adventurers to apprehend the rogue and save his victim from the vault below. Published by Cold Iron Conventions and Draxtar Games.
Kingdom of the Blind is a short adventure for four 8th-level characters. The adventure is set in a minor duchy that is fairly removed from the ruler of the land. As a result, trouble can brew in the land and the king would not know immediately. About three years ago, a medusa, Zhanna Serpentlock, began systematically turning every person in Duke Jellhyn Fedorel's (N male human Ari5) duchy to stone. After losing many peasants to the medusa, Jellhyn attempted to placate her. He offered her his second son, Dephyl, for a husband. Duke Jellhyn and his family had always been rather tense and uncomfortable around Dephyl anyway due to the fact that Dephyl had lost an eye in a freak magical explosion as a boy. Zhanna accepted the marriage, and though Dephyl didn't really care for his family due to how they treated him, he was also less than happy with the arrangement. A year ago, Zhanna appeared at Fedorel's citadel again. She claimed that Dephyl had been untrue and that she had turned him to stone for his adultery. Throwing Dephyl's stone head down in the courtyard of the citadel, she swore vengeance on all Fedorels for his betrayal. Duke Fedorel and his household fled the citadel. Rather than give chase, Zhanna took up residence there and began ruling the duchy as the sole remaining Fedorel family member. Jellhyn and his family have lived in exile for a year. This is what the PCs can learn, but more is going on. As it turns out, Dephyl is alive and quite happy with his marriage. Zhanna is not repulsed by his disfigurement as his family was, and Dephyl's missing eye is something of an asset in the relationship since it lessens his chance of being accidentally petrified by his wife. In the two years of his marriage, he has grown up and gained ambition -- he wants to rule. As a second son (pawned off on a monster), he would never have received the chance. Now, with Zhanna's help, he can rule. However, Dephyl doesn't have the stomach for killing his father and brother. Instead, he and Zhanna plotted to take over the duchy by frightening everyone away. Zhanna carved a stone bust of Dephyl and used it to frighten off the rest of his family. Now Dephyl and Zhanna live happily in the citadel and rule the duchy together, though Dephyl's existence among the living is a secret.
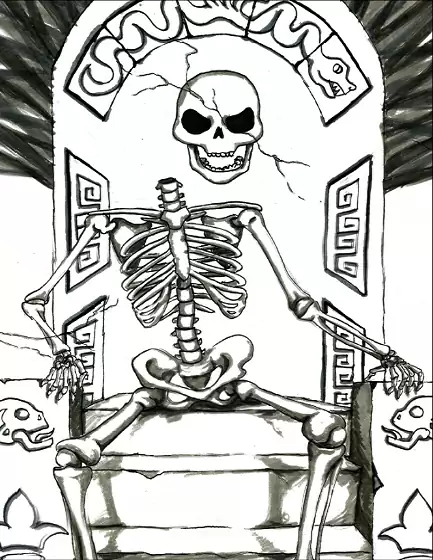
Centuries ago, the four deities worshipped by mortals – Kishar, Kotaresh, Lyth, and Asar-Segt – threatened to drown the world in a flood of saltwater to punish the living for their impiety. The oracles and witches of the realm struck a desperate bargain with the gods, however, and convinced them to spare the world. In exchange, the mortal kingdoms were bound to demonstrate their faith once every generation by sending their most courageous and adroit warriors to the Crucible, a ziggurat in the lowest valley of the land. Every quarter-century, on the first full moon of summer, an eclipse darkens the night and the sealed ziggurat opens. Many traps, tricks, and guardians lie within the Crucible to test those who enter. Few who heed the challenge of the gods survive – most find only quick death. If the races of the world are deserving of the gods’ affection, their champions will overcome the trials of the Crucible and light the Divine Brazier hidden in its uppermost chamber. If they are not, the flickering candle of civilization will be snuffed. Little of value will have been lost. Published by Defy Danger and Save Versus Death
"Orcs have returned to the once quiet border province of Blackmarch. The Bleak Tower and its meager garrison are all that stand against the tide. Their only hope lies in a ragtag band of adventurers willing to venture into the perilous maw of Ironwood Gorge..." "Ironwood Gorge is a fantasy role-playing adventure for 4-8 characters of levels 2-5, designed for older editions of the world's most popular fantasy role-playing game and its clones such as Labyrinth Lord and OSRIC. The material is also easily adaptable to any other class and level based fantasy role-playing game. Ironwood Gorge serves as part two in the Blackmarch sequence of adventures, but is built to function just as well as a one-off adventure, a drop-in-a-hex location for sandbox games, or as a kick start to a new campaign. The module includes keyed maps detailing both the Bleak Tower: a living, breathing refuge for adventurers; and Ironwood Gorge: a cave complex with over 100 keyed areas of traps, monsters and mayhem. The module is illustrated throughout with original artwork and includes appendices detailing new monsters, magic items, and spells. Whether you are looking for an out-sized adventure to usher the hardiest characters to the intermediate levels, or a fully-realized location to plunder for maps and ideas, Ironwood Gorge is a treasure from the old-school of gaming..." An alternative to B2 - Keep on the Borderlands

Protect the Future! At the height of Netheril's power, the fortress of Spellgard held many great secrets of the Empire of Magic. Now, only ruins remain... and one last guardian, the near-mythical Lady Saharel, whose prophetic visions draw the desperate and the doomed from across Faerun. But a dark presence in one of Spellgard's intact towers wants to control the power of prophecy for itself and remake the future in its own image.

"...the Ultimate Campaign Adventure..." A sinister force, long thought destroyed, stirs from the black hole that spawned it. Like an ebony darkness it prowls the land and safety is but an illusion, for it watches from every shadow and ponders possibilities. What began years ago with the introduction of the players to the quiet village of Hommlet and the amazing lands of Greyhawk, at last is complete. Here is the long awaited campaign adventure featuring the ruins of the Temple of Elemental Evil! Evil broods and grows beneath those blasted stones. This is your chance to drive it back and scatter its forces again. This product includes the village of Hommlet, the filthy shire of Nulb, and reveals the ruins of the Temple of Elemental Evil and the labyrinths that lie beneath, a warren of darkness. And beyond these ruins, even more is revealed. For the first time this product provides a complete campaign adventure which will take beginning characters from 1st all the way to 8th level and possibly beyond! Hours of adventure await you! TSR 9147