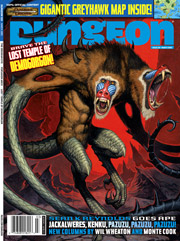
The pearl divers of Shoalbury are in trouble. A band of birdlike kenku and ogres have been ambushing and plundering outgoing shipments of pearls, and the villagers are growing desperate. And why are the bandits stealing eyes from the bodies of their victims? A single guard survived the most recent ambush with one eye intact, and his testimony may just be enough to lead a brave band of adventurers to the bandit lair, and to the sinister cult they serve.
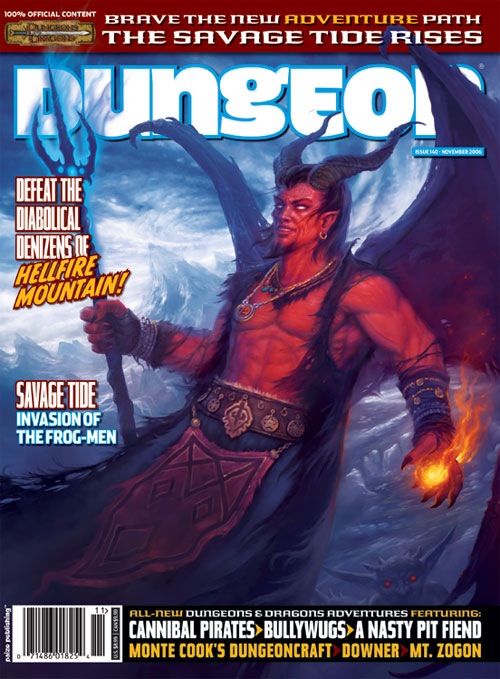
When an attempt to arrange an early inheritance backfires, a man of lesser ambition than Vanthus Vanderboren would no doubt withdraw into his sister's manse to hide under her skirts and pray that the truth of his patricide remain hidden. Fortunately for Vanthus, lack of ambition has never been a problem. Now the Vanderobrens' prodigal son slinks east along the coast of Blood Bay, lured by rumors of an incredible prize kept in a smuggler's hideout called Kraken's Cove. Yet what he is destined to find there is far more than a lucrative bit of banditry. What awaits him is the savage tide. "The Bullywug Gambit" is the second chapter of the Savage Tides Adventure Path, a complete campaign consisting of 12 adventures appearing in Dungeon magazine. For additional aid in running this campaign, check out Dragon magazine's "Savage Tidings" articles, a series that helps players and DMs prepare for and expand upon the campaign. Issue #349 of Dragon magazine looks into the region surrounding Sasserine, and provides useful information if your PCs wish to explore this area more thoroughly than they do in the course of this adventure. The hidden caves of Kraken's Cove have long served the pirates of the Crimson Fleet as a place to stage their smuggling operations. When their latest cargo backfires, the PCs find themselves faced with something far worse than murderous pirates. Pgs. 12-48
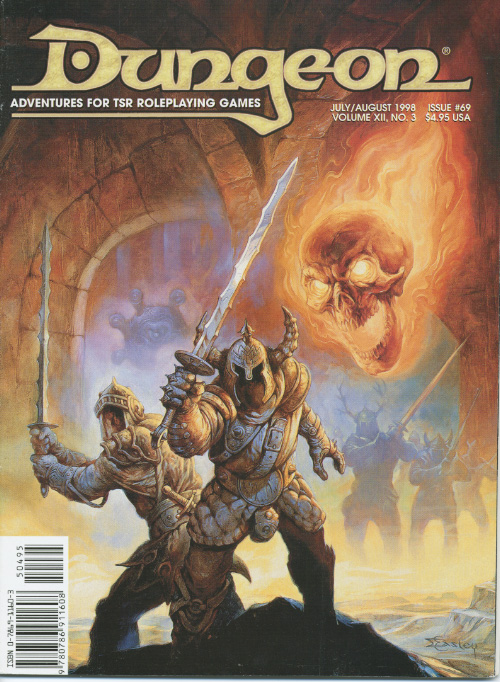
Strange things are a-slither in Wolfhill House. The first adventure of The Mere of Dead Men Series! Into the Mere From the magazine: Edging along the eastern edge of the Mere is the High Road, a vital and well-traveled route linking Waterdeep to the northern town of Leilon and, north of that, the city of Luskan. Over the past several months, the trade toad between Waterdeep and Leilon has been plagued by monsters from the Mere of Dead Men. Caravans report brutal attacks by lizard men on catoblepas mounts, yuan-ti, gargantuan bullywugs and will o' wisps. Sir Justin Melenikus, a Waterdhavian knight and paladin of Helm, has grown weary of these attacks and offered his services to the city, offering to hire adventurers to deal with the problem. Pgs. 10-27
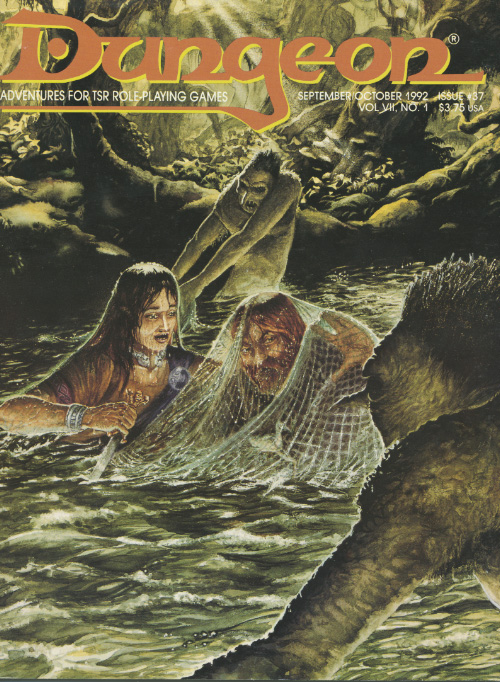
Two common elements mixed together create deadly peril. The last dungeon that many heroes will ever see. This dungeon crawl was based on the original S1 Tomb of Horrors. This is not an adventure for neophyte adventurers. Many traps, puzzles, and monsters exist to kill the party. However, the treasure of the mud sorcerers may be too tempting to pass by! Pgs. 50-70

The corrupt town guard of the Styes refuse to help when a mysterious monster begins to slaughter the residents of Hopen'er Asylum, an old decrepit mental aslyum. A call is put out for any adventurers willing to defeat this mosnter and save Hopen'er before it falls any further into madness... From the author of Murder on the Primewater Pleasure comes The Horrors Beneath Hopen'er Asylum. If you enjoyed that adventure then you will love this! This horror adventure takes place in and below Hopen'er Asylum. Originally designed to serve as an introduction to the location known as The Styes frorm the Ghosts of Saltmarsh campaign book, this adventure can be easily transferred to any setting (advice is given on how to do this). The characters will explore an abandoned underground wing of the mental asylum, before delving into a forgotten cave system to face an unknown enemy, a Dubh. The adventure is designed for 6th - 7th level characters and takes anywhere between 4 - 6 hours to finish. The adventure contains full colour maps, as well as VTT versions of the maps.

Fresh-faced and more than a little hung-over our newly graduated mage of the great Dunromin College of Magic and his friends step into the tea-room next to the Porter’s Lodge and ask for something for a headache. Within minutes they find themselves accosted by the smiling figure of Malcolm Darkstar, Bursar of the College and owner of the tea-rooms, keen to ask them a favour… This is an introductory level set of scenarios designed to take a starting-level party on their first exciting adventures; The Lost Son; The Return of the Cauldron of Millent and the Murder at the Red Barn
The Pyramid of Amra is a challenging adventure designed for characters of at least 12th level. Due to the nature and numbers of undead enemies (vampires), having a cleric on hand with the ability to cast raise dead and greater restoration is advisable. The PCs should be rounded out with a wizard or sorcerer and a pair of front-line fighters. In this adventure, the PCs travel to the Pyramid of Amra and the ancient Monastery of Night, where they face one of the most dangerous of opponents they are likely to meet, C’nosretep the Champion of Set.

Revolt of the Gladiators! The corrupt Thyatian senator, Helenites Osteropolus, his latest scheme smashed by the adventurers and their gladiator allies, hatches a new plot to destroy the influence of the Order of the Sands (even, perhaps, to attack the Emperor himself!) Yet greater dangers lie ahead. If his plot succeeds, it will remove the guardians that protect the city from the creatures that lurk in the caverns and catacombs below. Can the players block his gambit? Will the wheel of justice grind small, or will the greasy palm of political corruption reach out and save the senator once again? You decide, in the chaotic swirl of the Thyatian capital's politics. This module is designed especially for the DM who wants to sharpen his interactive skills. Recommended for four to six characters, levels 3-4 Includes map of a realistic catacomb complex below Thyatis City Unique role playing climax tests players' integrity and skill New information on the military Legions of Thyatis This module is a stand-alone sequel to DDA1 Arena of Thyatis. TSR 9296

This dungeon is suitable as a one-shot or drop-in for characters between levels 12 and 17. Taken from the Against the Idol of the Sun high-level hexcrawl campaign, the Death Knight's Tomb is a location-based exploration adventure. It features increasing localized time distortions that ultimately pit the party in a fight against an ogre Death Knight and his minions who just destroyed an elven time lab over ten millenia ago, which is just a few seconds ago in relative terms at the bottom level. There are six distinct sections to the dungeon containing four combat encounters of increasing difficulty. As written, the party enters the structure to rescue an overly adventurous Scorpionfolk couple and their rescuers, but they can be omitted or rewritten to any other species.

Constructed into the side of an active volcano or buried deep beneath the ground lies the Temple of Pure Fire. Within its walls is enough flame and lava to make even the hardiest of adventures question their decision to pass through its doors. This temple contains grand constructs that have laid dormant for hundreds of years, but stir from their great slumber when they are needed to defend this former place or worship. Grand forges, lava-fueled smelters, and even an obsidian lava transportation vehicle wait within the walls of this ancient temple.

An adventure in Hyperborea designed for from four to six characters of 6th through 8th level In the far reaches of Hyperborea’s Crab Archipelago lies a small, mountainous island known as Crystal Point. Passing sailors recently have witnessed a crimson glow in Crystal Point’s waters and beams of russet light shining up from its steep cliffs. Too, unusually frequent lightning storms in the area have torn the sky in blinding flashes, shattering the air with their awesome sound. The seedy wharf taverns of Khromarium and elsewhere buzz with these strange tales—some even speculate that Crystal Point may hold the lost treasure of Atlantis! The Lost Treasure of Atlantis takes players into an action-packed realm of adventure: the mythical world of Hyperborea, a sword-and-sorcery campaign setting inspired by the fantastic fiction of Robert E. Howard, H.P. Lovecraft, Clark Ashton Smith, and others. This adventure is designed for Astonishing Swordsmen & Sorcerers of Hyperborea™ (AS&SH™), a role-playing game descended from the original 1974 fantasy wargame and miniatures campaign rules as conceived by E. Gary Gygax and Dave Arneson. Therefore, AS&SH is compatible with most traditional fantasy role-playing games (c. 1974 to 1999) and their modern simulacra, such as OSRIC™ and Swords & Wizardry™.

A fiend lurks among the Black Blade goblins. A shapeshifting barghest fashioned by the General of Gehenna to exact revenge on all goblin-kind. It’s aim: to kill as many goblin leaders as possible… A masked goblin approaches the party asking for help. Two tribe leaders are dead. But a rival for chief has control of the crime scene. Will the party discover the barghest among the goblin ranks? Can they stop this imposter before it strikes again? Adventure Overview The adventure’s story is spread over 4 parts and takes approximately 4 hours to play. The adventure begins with a Call to Action scene. Part 1: Goblin Politics. Krill sends his emissaries to implore help from any strong intermediary. The party is asked to investigate the murder of Thrawn in Dringly’s lair. This is Story Objective A. Part 2: The Opposition. Gain entry into Dringly’s lair and investigate the murder of Thrawn. Gather enough evidence to find the killer. This is Story Objective B. Part 3: To The Lair! Now that the players have determined the barghest (Yeep) is to blame, they need to get to Krill’s lair quickly as he is in imminent danger. This is Story Objective C. Part 4: The Barghest.When the players arrive at the lair, they need to get to Krill and expose and defeat the barghest. This is Story Objective D. Adventure Background A barghest named Yeep has begun its onslaught of attacks against the Black Blade goblins. Starting with Chief Gnar, then his second in command Thrawn, the barghest is moving methodically down the line of command. Krill is now chief. But he has some problems: Two leaders of the Black Blades are dead. Who killed them and why? Is he next? Dringly, the next in command, has decided to take his lair for himself, declaring himself Chief of the Black Blades. Who are the Black Blades? The Black Blades are a tribe of goblins in the local area. They are known for dipping their blades in a dark black substance. It is rumored these blades are poisonous. The Black Blades regularly attack passersby on the road to rob them. The Black Blades have two lairs, one run by a chief who leads the whole tribe, and another overseen by a boss lieutenant. The Black Blades have a well-established pecking order which is how Krill stands to become chief. The next in line is Dringly, who has also declared himself chief and wants Krill dead. Krill suspects that there is something suspicious about two leaders being killed within a day of each other, but he has already burned Gnar’s body without any investigation. He needs to investigate the body of Thrawn, but it is in Dringly’s lair. Krill wishes to avoid direct confrontation with Dringly at the present for three reasons: 1) Any violence would only kill his own tribe members and further divide the lairs. 2) He believes there is still hope for negotiation to reunite the Black Blades. 3) He believes that if he were to attempt negotiations himself, Dringly would kill him. This adventure features: Two maps. Ready for your favorite Virtual Tabletop. A full color pdf. A black and white pdf. One custom monster, a reprint of barghest, all others available in the Monster Manual. Four hours of entertainment involving: roll playing a goblin bard, investigating a murder scene, tracking down a barghest before it strikes again. Applicable to any setting.

Along the caravan routes that tie the Cities of the West to the Kingdoms of the East, many tales are told of the mountains called the Towers of the Sun. One of these legends concerns a dark road said to be hidden among the twisty trails that spiderweb the mountains. Into the earth the road leads, into and through a series of vast caverns filled with treacherous traps and cunning monsters. Yet dangerous though the path is, many a party of adventurers have been tempted to walk it, for the stories say that the loot of a hundred lost caravans lies concealed along that evil way. [Comment: Uncertain for what levels of play this adventure is designed]

You’ve arrived at the small community of Smentz (15 locations!) to regain strength after your last adventure. While speaking with the people of the small village you catch wind of some ruins across the river that may have a mine or cache of ore and ruins to investigate. Your group is not the first who has had interest in searching but those that have ventured east have not returned. Are you ready for a bit more adventure?

nside this full-color, 132-page anthology you’ll find five best-selling Adventurer’s League quests for level 1-10 characters. Inside are over 20 illustrations, including a half-dozen full-page pieces by the esteemed Andrea Alemanno. Also included are instructions on how to weave these adventures into an ongoing story arc as part of your campaign. Tier 1 (Level 1-4): The Cornflower Hive (SFBAY-04-01): What links an infamous Zhentarim mercenary with a brilliant but tormented artificer? To find out, the adventurers must break the goblinoid siege of the village of Westfir. After the bizarre goblins are defeated, the Cornflower Hive must be destroyed. Ultimately, what secrets are held in the grain mill by the Westfork river? The White Well (PDXAGE-01-01): The Gommurg Clan of hill dwarves rarely deal with outsiders. The dwarf clan’s isolation has gifted them with great skill and wealth. Unfortunately, their pride has made them vulnerable to an ancient power confined centuries ago. An exile has magically foretold the clan’s destruction. This diviner is the only one who knows how to stop the evil threatening the Gommurg. Tier 2 (Level 5-10): The Barrows of Solina (STORM-01): Zhentarim traders. Shadowy figures roaming the fields near Hillsfar. How do these all relate? Everything traces back to the recently unearthed grave-barrows. Rescuing a caravan from undead attackers, the adventurers learn of an ancient danger. The Dark Hunt (PDXAGE-02-01): The village near Oreclasp Keep has been reporting brutal owlbear attacks that have left people missing or dismembered. Lord Oreclasp has placed a bounty for every owlbear beak brought to Oreclasp Keep. The villagers don’t suspect the deeper problems brewing in the land. Under Earth & Stone (SFBAY-04-02): A Mulmaster refugee named Ani Kuleimatt discovered references to a forgotten mine near the Moonsea, a mine rumored to produce an unexpected export. The adventurers are hired to locate the complex and secure its resources for the Mulmaster Diaspora.
You step forward into the circle of runes and feel your stomach lurch. Within a blink of an eye, you find yourself in the arena. You can no longer see the audience but you can faintly hear them cheering and chanting beyond the arena’s walls... In Azaruuk's Ultimate Battle Royale the players find themselves whisked away to Sigil, the city in the center of the multiverse, where the must face off against each other in Azaruuk's arena. In this arena they will fight Azaruuk's Homunculi and dodge devious hazards all while trying to defeat the others to become the Ultimate Champion! This module is intended for two or more level 10 players, however it can be run for players of any level with only a little tweaking required. There is no need for a dedicated Dungeon Master when running this module. Everyone can have their own character and responsibilities of the Dungeon Master can be shared between everyone. It includes: An exciting player versus player encounter Rules for building better balanced characters including how to handle equipment Rules for running this module without a dedicated DM Various hazards such as lava pits and lightning rods A new Arena Action mechanic for dynamic hazards A new monster to fight: azaruuk's homunculus Two new items designed to make PvP combat more exciting: insignia of ba'sha and tonic of exceptional healing A detailed map of the Arena
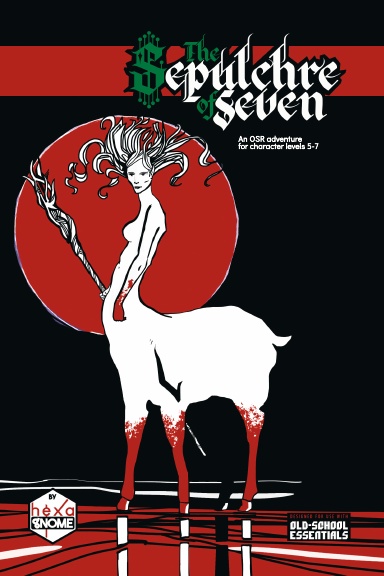
NEVER MEET FORGOTTEN HEROES! Long ago a half-elf, half deer-centaur named Jayne led a small guerilla band against the armies of an evil fae witch. They prevailed at terrible cost. Monsters moved into her hideout-turned-sepulchre, still haunted by Jayne’s ennemies and companions, and a ghost longing to complete his vengeance... Adventurers will discover the fates and true faces of unremembered heres. Will they get out with forgotten riches, or become the latest victims of a centuries-old tragedy? A 39-room OSR dungeon module for character levels 5-7. Designed for use with the Old-School Essentials ruleset, compatible with most old-school pen-and-paper RPGs.
Something is killing people in Palebank Village, and if the party does not stop it they could be next.
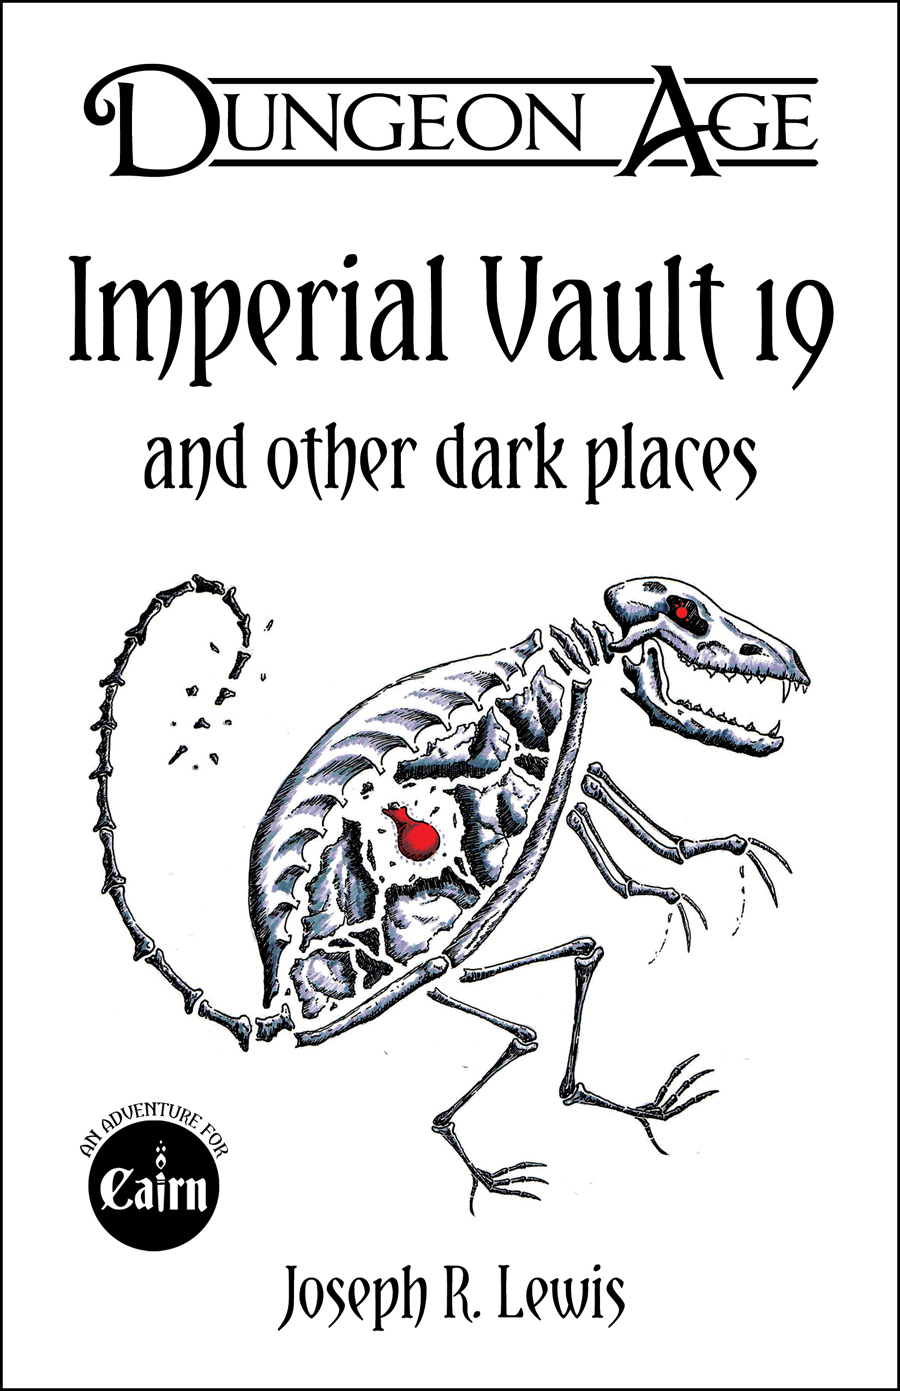
A collection of five one-shot adventures for Cairn! Imperial Vault 19 A grieving widow in the forest begs you to save her baby. A hedge witch has taken the infant down into an old imperial vault where she uses the child’s Chaos tears in alchemical potions. And who knows what old treasures might still be hidden in the vault? Unless it’s not that kind of vault… Barrow of the Blood Baron Face off against vampire bats, vampire thralls, and a vampire noble, as well as a few other creatures that have clawed their way into this once-armored vault. Discover works of art, exotic wines, enchanted clothing, and filthy weapons. Negotiate with the guards and intruders alike, using clever words or whatever stake-like objects are close at hand! Tomb of the Tin Templar Encounter electric jellyfish, tinker gnomes, and the rusted corpse of the noble Sir Tristan, as well as a few other creatures that have drifted into this marvelous mechanical vault. Discover windup toys, clockwork companions, and baffling devices. Negotiate with the guards and intruders alike, using clever words or whatever rusty objects are close at hand! Priory of the Primate Priest Defy root trolls, monkey monks, and a beguiling dryad, as well as a few other creatures that have found their way into this marvelous living vault. Discover magical armor, haunted skulls, and the bonest of the apes' victims. Negotiate with the guards and intruders alike, using clever words or whatever living objects are close at hand! Fane of the Fey Fellmonger Match wits with guild goblins, pixies, and a living skin suit, as well as a few other creatures that have spirited their way into this disturbing leathery vault. Discover arcane clothing, deadly sewing tools, and a fey lord who isn't entire dead yet. Negotiate with the guards and intruders alike, using clever words or whatever sewing objects are close at hand! New PC Background: The Dungeoneer! In addition to some unusual delving gear, select one of 10 unfortunate results of a recent delve-gone-wrong, as well as one of 13 helpful boons or tools from a recent delve-gone-right.

The Full Campaign - Updated for 2020! On Shadowed Shores In a land few have heard of, and fewer still have visited, lies untold adventure, treasure and fame. The renowned Captain Farsail has sent out word that she will undertake an expedition to Serpent Isle, but is in need of a crew. Anyone able to hold a sword or cast a spell is welcome, but be warned, the island is as deadly as it is beautiful.