
"Far be it from me to impugn the mettle of adventurers such as yourselves, but daring the depths of Undermountain merely for fortune's sake is more absurd than kicking a sleeping dragon in the nose for sport. Even so, you've returned for another trip to the Underhalls, so be prepared. You stand to enter the Lost Level this time: Gird yourselves for diplomacy as well as destruction. You'll find the last stronghold of an extinct dwarven clan: Do be good enough to extend the greetings of the Blackstaff to Bandaerl. There's also a dark vampiress who enjoys a good hunt, and be sure to mind the beholders: They're trained to keep you from escaping. "Enjoy, and don't say Khelben didn't warn thee." TSR 9519
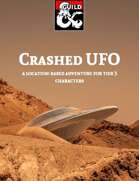
In this adventure, designed to last for a 3-4 hour session, the player characters encounter (or are directed to) a mysterious object in the mountains: A strange, silvery disc around one hundred feet across. If they make it past the deadly laser turrets and the very hungry sole survivor who lurks inside the only viable entry, they can explore the derelict craft. They will find several magic items, including a solar-powered laser pistol, as well as evidence of the ship's dead masters: The brain-eating illithid. But with technology comes other ways to stay alive over long periods of time, and the greatest danger is accessed by pushing the only lit button in the entire ship...

The PCs begin in the port city of Luskan, where they're hired on by a caravaning merchant to perform guard duty for the long, dangerous journey over the Spine of the World Mountains. If the heroes do well, they reach the small town of Targos, where they hear rumors of a dead mage's lost tower out on the tundra. In order to find it, the PCs must overcome numerous obstacles but may find allies in the peoples of the Ten-Towns region, including a barbarian prince, a sly halfling, and a unique ranger. Not all is as it seems, though, nor can all smiling faces be trusted. Can the PCs separate the truth from the lies, locate the Accursed Tower, determine all its secrets, and survive?
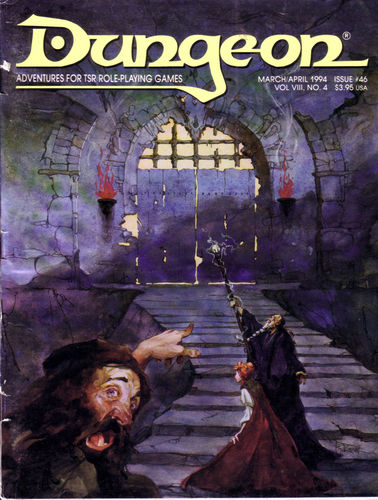
The Northmen and their allies play hardball. The Northmen are on a rampage, and only the duergar know why. Discover the secret of the iron orb. In the lands of the Northmen, near the city of Tallborg a mysterious relic was uncovered in a mine: a perfect orb of black iron. The orb was taken to the temple. When Ulvmard, high priest of Odin lifted the orb it revealed its true nature. The orb levitated from his hands, floating before him. The orb had changed Ulvmard, bestowing him great powers. The orb spoke to him with flattery and advice. As he became reliant on the orb, its power over him extended, bending him to its will and taking control. It used him to further its agenda: destruction of the dwarven race and restoration of the duergar! Claiming to be acting on Odin's behalf, Ulvmard lead the Northmen to rise up against the dwarves, and ordered raids to pillage the southern kingdoms for the materials he would need to construct a colossal iron warrior to defeat the dwarves. This adventure has viking and norse mythology influences. Pgs. 50-71
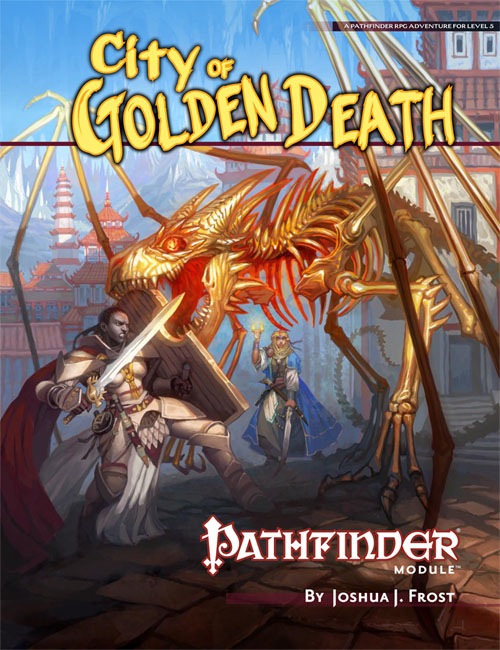
In the center of Lake Encarthan looms the dreaded Isle of Terror, accursed land of mystery and treachery. Hidden within the island's negative energy storms, the secret treasure city of the wizard-king Tar-Baphon has lain sealed for centuries. Now masked cultists have opened the golden city of Xin-Grafar to claim the wealth of the legendary city for the Living God Razmir. Can the PCs track the cultists through the poisoned swamps and blasted wastelands of the Isle of Terror to the City of Golden Death itself? And what forgotten dangers will oppose them as they struggle to prevent a dark faith from spreading across the world? Part 3 of the Price of Immortality trilogy.

Picking up where Chapter 33: Adventures in the Ptolus book leaves off, the adventures in The Night of Dissolution cover an arc that pits player characters against the darkest foes the city of Ptolus has ever faced. Following the threads of a hidden conspiracy, the characters find themselves up against insane cultists, wild chaos magic, and horrors from the primordial days of the world. This adventure book is laced with urban intrigue, high action, and even some dungeon exploration. Some highlights include: A description of Pythoness House, a haunted oracle/brothel that hides a trove of weapons vital in the fight against the Cults of Chaos. A huge secret temple of chaos where insidious fanatics worship the dreaded Galchutt. Details of a city-wide network of covert spies and agents that extends even into the highest echelons of Ptolus’ elite society. These adventures culminate in the player characters’ attempt to stave off the Night of Dissolution, a dark time long foretold when the slumbering Galchutt will awaken in their hidden lairs deep below the city—and bring catastrophe and woe to the world. Published by Malhavoc Press

“The Lost Mines of Karak” is the sequel to “The Shadow Rift of Umbraforge” and the fourth part of the Scales of War adventure path. After the player characters' success in "Siege of Bordrin's Watch" and "The Shadow Rift of Umbraforge", they have garnered something of a reputation in the city of Overlook. They are introduced to a wealthy patron that believes there is a connection between a shadar-kai arms dealer (from the previous two adventures) and a long lost dwarven mine. The patron wishes the PCs to find and secure the mine in order to use its wealth and resources to defend the city. The party then must travel through a wasteland and desert to find this mine. Once they have, they must fight through the hordes of monstrous creatures that inhabit it and defeat the Queen of the Drylands - a powerful naga. Pgs. 56-93

"For Blibdoolpoolp!!" "The power of the mind and belief are wonderous, often leading us to manifest things that aren’t real. For the kuo-toa, this power is heightened, allowing their collective belief to manifest gods." Two tendays ago, a paladin of Torm was kidnapped by kuo-toa. In a strange turn of events, she was mistaken for a kuo-toa god, and whisked off to their underground lair. Barria has managed to pose as the god and now shakily leads a small faction of kuo-toa while trapped underground. With her influence being increasingly scrutinized, and with the different kuo-toa sects on the brink of civil war, it’s a dangerous time, even for a ‘god’… The heroes’ mission — rescue the paladin from the kuo-toa oceanic lair before she’s transformed into a kuo-toa god. The kuo-toa are an Underdark-dwelling race of fishlike humanoids. Different sects worship different god-like beings, each god manifested through the strength of a sect’s collective zeal. Such “gods” feature prominently in this adventure. Product Overview ♦ 4 to 8 hours for four to five characters. ♦ Scalable for 3rd-6th level. ♦ High-resolution maps of the Kuo-Toa lair. ♦ 9 new statblocks, including Dire Barnacles and Hypno-Cuddlefish! ♦ Includes plot hooks, handouts, rules for faction combat, and more!

The Kierhammer clan of dwarves pride themselves as excellent excavators, but the respective families are not without friction. While clearing the entrance to the tomb of an ancient king, tensions rose following the death of one of the Kierhammers, who seemingly fell accidentally. It is your job to ensure the clan stays united, and when disease strikes, to make sure resources are managed properly, so that the mission is complete and you all return alive. A wicked force, however has other plans...

Protect the Future! At the height of Netheril's power, the fortress of Spellgard held many great secrets of the Empire of Magic. Now, only ruins remain... and one last guardian, the near-mythical Lady Saharel, whose prophetic visions draw the desperate and the doomed from across Faerun. But a dark presence in one of Spellgard's intact towers wants to control the power of prophecy for itself and remake the future in its own image.
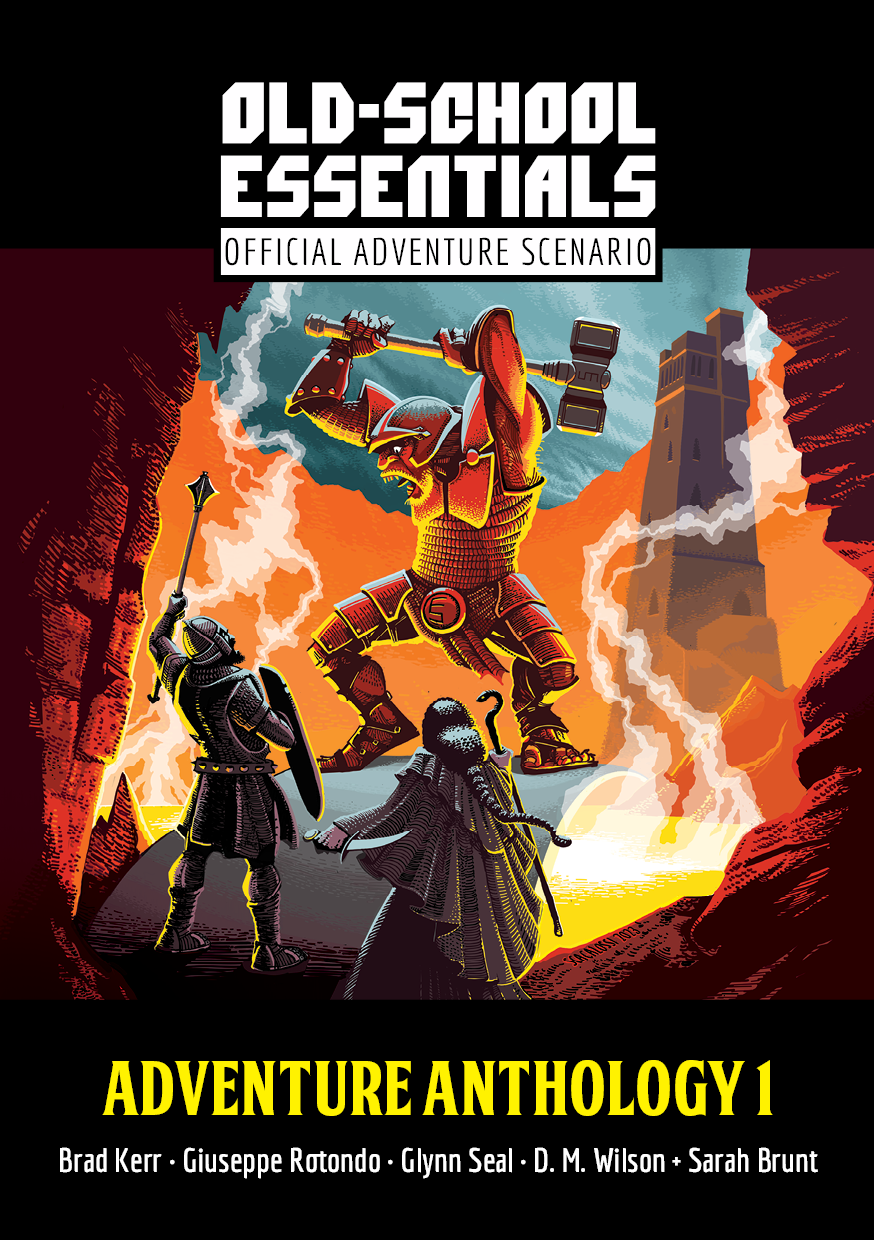
A level 2–3 sewer adventure by Glynn Seal. PCs plumb fetid sewers and recently-revealed secret halls, in search of a lost worker. In these forsaken chambers, they may find answers and treasures, but may also come face-to-face with a bloated monstrosity and its depraved followers. For Old-School Essentials (OSE) Included as one of four adventures in "Old-School Essentials Adventure Anthology 1"

An introductory adventure for AD&D. Discover the secret fortress! See if your character can survive the Trail by Fire! Use your own characters, or use the fully equipped characters that are provided. Also contains maps of the fortress and a detailed wandering monster table. Exploration into an underground military base, now occupied by monsters.
Something is killing people in Palebank Village, and if the party does not stop it they could be next.

Straight from the garage of Chris's mom—and 1981—comes this homegrown, truly old school adventure of malign druids, twisted tree demons, evil blink dogs, arboreal gelatinous cubes, magical pecans and certain death. Though sadly missing half its original key, the release has been painstakingly recreated by the author as a grown man. More or less.

People from all over the world travel to the oracle of the dead, the Necromanteion, to commune with the spirits of the dead. Following a ritualistic preparaton of the body and the mind, a "Seeker", as they are called, enters the Adyton, and with the help of the Prophet comes in contact with spirits. Who would your characters talk to if they found themselves in the Necromanteion? Before you can answer that, you must first save it from a demonic invasion! With the temple in chaos, and foul fiends everywhere, will our adventurers be able to save the Necromanteion?

An adventure site for 3-5 characters of levels 3-4. Featuring two new monsters from the forthcoming guide, The Hag's Hexes! Seven fully developed encounter areas! It's National Gumdrop Day on February 15th, and the forthcoming release entitled THE HAG'S HEXES has a candy hag and its candy-coated minions, so we're releasing this exclusive, seven-encounter adventure site featuring two new monsters -- the enticing Gumdrop Ooze and the cursed Crul -- to celebrate!

Under raging stormclouds, a lone figure stands silhouetted against the ancient walls of castle Ravenloft. Count Strahd von Zarovich stares down a sheer cliff at the village below. A cold, bitter wind spins dead leaves around him, billowing his cape in the darkness. Lightning splits the clouds overhead, casting stark white light across him. Strahd turns to the sky, revealing the angular muscles of his face and hands. He has a look of power - and of madness. His once-handsome face is contorted by a tragedy darker than the night itself. Rumbling thunder pounds the castle spires. The wind's howling increases as Strahd turns his gaze back to the village. Fas below, yet not beyond his keen eyesight, a party of adventurers has just entered his domain. Strahd's face forms a twisted smile as his dark plan unfolds. He knew they were coming, and he knows why they came, all according to his plan. He, the master of Ravenloft, will attend to them. Another lightning flash rips through the darkness, its thunder echoing through the castle's towers. But Strahd is gone. Only the howling of the wind - or perhaps a lone wolf - fills the midnight air. The master of Ravenloft is having guests for dinner. And you are invited. TSR 9075

Captured! While trekking across a trackless wasteland, your stalwart band has fallen into the clutches of a nefarious gang of desert raiders. Imprisoned in a subterranean chamber, you are bereft of all of your equipment and magic items, save for a few tattered loincloths. But as chance would have it, an opportunity to escape the cell presents itself. To escape, you must head deeper into an ancient sealed tomb, armed with nothing but your wits and anything you can find along the way. Getting to the surface is just one of many challenges, as you still need to recover your precious equipment, and flee the Lost Oasis, which is surrounded by an inhospitable sea of solid glass!

It’s been a long few days of travel and the adventurers are tired of eating rations and sleeping on the ground. The road opens to a small town with an inviting tavern. The smells of grilling meat and ale fill their nostrils and the sounds of laughter and music float out the tavern’s door. Unlucky for the adventurers, they’ve stumbled upon Dragon’s Breath Tavern. What starts out as a pleasant evening of food, drink, and entertainment soon evolves into an adventure that takes the party into and under Dragon’s Breath Tavern. The adventure includes roleplay, exploration, combat, and a dice game called Demon Dice. Although written in a non-specific location, this adventure could be run as a one-shot during the WoTC official campaign – Curse of Strahd. The adventure includes an isometric map and a top-down map of Dragon’s Breath Tavern. Available as PDF or for Fantasy Grounds.

This is the laboratory of High Alchemist Sureves Epans. He led a group of alchemists in research for many years, but recently there was a bit of a mishap. He discovered his wife was cheating on him with one of his employees and while in a drunken stupor trying to create a discreet potion to deal with the two of them, he let loose an infectious plague on the lab which turned all but a lucky few in the facility into shambling husks of their former selves., fused with their own creations as their minds turned to know but one thought - rage. This dungeon has rules to modify all encounters for a group of players levels 4 through 6 and is intended for a party of four. If you have more players, feel free to adjust the difficulty up one level for each additional player or simply tune the monsters to your needs. This dungeon contains many original enemies, a unique puzzle, and an environment that is meant to bring a sense of terror and anxiety on your players. I consider this to be the Horror-themed adventure of the module so feel free to add some creepy music and extra details along the way to bring the area to life (or death).