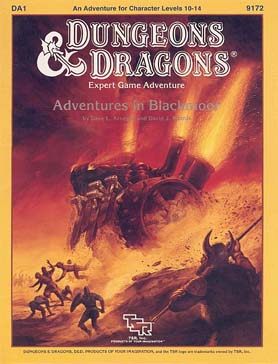
On every side the storm clouds gather. To south and east, the Great Empire of Thonia plots to end Blackmoor's independence and reclaim its lost province. To the west, the implacable Afridhi are on the move. To the north, the evil Egg of Coot prepares to cross the thundering sea and once again bring fire and sword into the heart of the small kingdom. Beyond the realm of the Egg, the hated Skandaharian Raiders are building longships and preparing to fall upon Blackmoor's unprotected coast while its tiny army turns to meet these other threats. Into this time of black despair, there steps a band of adventurers who clutch strange swords and wear the most curious armor?and who claim that Blackmoor sank beneath the ice 3,000 years ago! TSR 9172

A bandit leader known only as "The Ravager" brings ruin to the Border Kingdoms. The characters must destroy the source of his power and defeat him before he can complete his evil plans. Pgs. 11-21

This adventure concerns a once-proud fortress that fell into the earth in an age long past. Now known as the Sunless Citadel, its echoing, broken halls house malign creatures. Evil has taken root at the citadel's core, which is deep within a subterranean garden of blighted foliage. Here a terrible tree and its dark shepherd plot in darkness.

The Blistering Forge Situated atop Mount Marazbor, an active volcano, it the dwarven lava-forge once known as Citadel Grungharaz. Once, this great armoury produced hordes of weaponry for dwarven regiments in far off lands, but now it has been taken over by rampaging fire giants. Are you capable of infiltrating the Gauntlet of Flame?
Under raging storm clouds, the vampire Count Strahd von Zarovich stands silhouetted against the ancient walls of Castle Ravenloft. Rumbling thunder pounds the castle spires. The wind’s howling increases as he turns his gaze down toward the village of Barovia. A lightning flash rips through the darkness, but Strahd is gone. Only the howling of the wind fills the midnight air. The master of Castle Ravenloft is having guests for dinner—and you are invited. Spans levels 1-10.

To Find the Immortals! The all-powerful Immortals have vanished! The quest to locate them has led across the Atlass Ocean and the land of Shahjapur, where moguls hunt tigers, un-touchables respectfully avoid higher castes, and holy fakirs perch immobile for years on end. In this land of shrines and elephants and shapeshifting assassins, resolution may lie at the end of the mysterious "Emerald River." But no one knows the location of this river and no map shows its bed. Does the answer lie within the Temple of Eight Sweet Winds? Hopefully so, for time grows short. The Immortals themselves must be found and enlisted - to stave off the approaching cataclysm called: NIGHTSTORM! Nightstorm is the third adventure for the D&D Hollow World Campaign Set. The Hollow World boxed set is required to play. This 65-page adventure fits easily into your existing campaign, either as a stand-alone adventure or part of the history-spanning Blood Brethren trilogy. These three lined modules can be played in any order - but the adventure ends here! This adventure is designed for four to six characters of levels 8 to 10. Easily Adaptable to the AD&D Game! TSR 9311

The Hag's Hexes is a 66 page guide designed by Dungeon Masters Guild luminaries like JVC Parry and Janek Sielicki alongside rising stars and old stalwarts like Matt Butler, Matthew Gravelyn, and Tim Bannock. It was created with one thing in mind: to make hags more than the sum of their (often meager) Challenge ratings, giving them the mechanics, roleplay potential, and weird magic that can inspire campaigns, lay low kings and warlords, and potentially ensnare unwary Player Characters into campaign-changing curses or long-term bargains that force them into terrible moral quandaries! Split into five chapters, the authors have provided everything a DM needs to terrify their players for years to come. The Bestiary features over a dozen monsters; some are new hags, some are their minions or even their mobile lairs, and one of them -- the Shaitan AKA Desert Hag -- was featured in Monsters of the Guild! Bargains & Curses is a chapter filled with ideas that can kick-start campaigns, threaten valued NPCs, or put Player Characters' very existence and morality at stake. Chapter 3 includes two dozen items of wonderment, weirdness, and dread, ranging from fairy tale-inspired items of whimsy to terribly cursed items of horror. Chapter 4 is titled "Filthy, Vile & Downright Dirty" and provides dozens of roleplaying tips to make hags come alive, new mechanics inspired by and expanding on Volo's Guide to Monsters (coven spell lists, aunties, grandmothers, alternative coven members), and ends with useful combat tactics for each of the hags from the Monster Manual and Volo's Guide, as well as tactics for covens. Finally, Chapter 5 presents five encounter groups (with sub-encounters) to give you quick story seeds and monster lists that you can put together in minutes to create a single encounter or to inspire a full campaign, and ends with three full-length adventures -- each with 3-5 encounters -- that showcase many of the new monsters, rules, magic items, and so on that appeared in earlier chapters. Each of these adventures comes with an encounter map meant to act as inspiration for hag lairs, and they include useful mechanical ideas for terrain effects and descriptive keywords listed directly on the map for added inspiration and easy customization! Designed by Tim Bannock. Written by Matt Butler, JVC Parry, Janek Sielicki, and Tim Bannock. Edited by Matthew Gravelyn and Tim Bannock. Cover Art by Elena Naylor. Cartography by Tim Bannock using Inkwell Ideas' Dungeonographer (Dungeonographer is copyright Inkwell Ideas). Layout & Graphic Elements by Elena Naylor with Tim Bannock. Interior Art by Arcana Games, Bruno Balixa, David Lewis Johnson, Dean Spencer, Earl Geier, Filip Gutowski, Jacob E. Blackmon, Joyce Maureira, Petr Kratochvil, Jayaraj Paul, Brian Brinlee, and Wizards of the Coast.

Adventuring in the Principality of Lockerbie continues with Issue in the Canyon. Your party has enjoyed the advantages of being considered a hero but as the days’ progress, it is back to normal in Gormell. After having a bit of ale at the local tavern you notice a wagon caravan has arrived in town and the people are abuzz over their arrival. Noticing that some of employees are a little beat up, you find yourself in the sheriff’s office being told of a brazen, humanoid attack on the merchants. Looks like you just found a job opportunity!

As your experience is beginning to get noticed, a new problem has come to Lakedale. Reports of the profitable Andall Mine to the south is under attack by humanoids. Gather your cohorts…looks like it is time to go back to work and see if you can boost your fame!

In FQ13 – Future Past our brave adventurers are summoned by the Duke of Bast to the capital city. You quickly learn that your exploits have earned you a celebration in Bast and are to be honored by all! Prior to the festivities, the duke’s advisor Thril Galia requests to meet you and makes a unique proposal and shows you an arcane piece of the historic book…what have you gotten yourselves into now?

A great evil force descended on the town of Phlan years ago. The townspeople were all either killed or driven away, and Phlan became (literally) a ghost town. Fifty years later, the survivors are ready to reclaim their town. But they need a band of strong and brave adventurers to lead the fight-they need you. Ruins of Adventure is a set of connected short adventures written by James Ward, David "Zeb" Cook, Steve Winter and Mike Breault-four names familiar to all AD&D game fans. It uses the same setting, locations and characters as the classic computer game Pool of Radiance by Strategic Simulations, Inc. In fact, many of the scenarios here in Ruins of Adventure will provide important clues to the successful completion of Pool of Radiance. TSR 9238

Heroes are needed in the mountainside town of Shibai—though thought to be spared from the horrors of the demonic Mists of Akuma, recently the supernatural haze has started to fall onto the settlement and a monster lurks through the evil fog. Despite the presence of the infamous Mubo Brothers, hired by the local mayor, a Sukochi bengoshi calls upon the party to get to the bottom of what ails Shibai. The truth of the matter lay within Robai Shita Temple, though what the adventurers find inside may see them undone!

"Lost Halls of Everforge" is a flame dragon wyrmling lair suitable for four or five 3rd level characters. This adventure can be completed in one session.

The PCs are sent to investigate a sculpture of the goddess Ezra with seemingly miracle-granting powers. The investigation takes the heroes on a pilgrimage to a forgotten chapel, where they encounter a terrible plague, a wererat police force, death, resurrection, mist horrors, and the miracles of the statue itself.

𝐓𝐡𝐞 𝐬𝐞𝐜𝐨𝐧𝐝 𝐚𝐝𝐯𝐞𝐧𝐭𝐮𝐫𝐞 𝐢𝐧 𝐭𝐡𝐞 𝐔𝐩𝐫𝐢𝐬𝐢𝐧𝐠 𝐒𝐚𝐠𝐚. An orcish emissary is travelling the lands south of the dwarven stronghold of Nirzumbil, attempting to keep the tribes in line and focused upon harassing the dwarves. If the PCs can defeat the emissary before he can complete his rounds, they might be able to splinter a part of the orcish alliance. A sandbox-style adventure for a party of 4th level player characters. Includes 5th edition writeups of the giant stag beetle and the krenshar.

Modrons, Mephits & Mayhem is a Dungeons & Dragons 5E tier 2 adventure for three to five characters of levels 5-8. It is primarily set in a modron-designed research facility that has been abandoned by its creators but retains guardians that are still active. Additionally, two groups have broken into the facility with their own goals in mind; the githyanki and their red dragon cohort are antagonistic and provide the main source of combat in this adventure, while a modron traveling with a few mephits may prove friendly although ultimately troublesome. Inspired by adventure games in which the protagonists explore baroque, esoteric technological fortresses, and seeded throughout with factions that sport competing and often bizarre goals, Modrons, Mephits & Mayhem is sure to test the mettle of any group of players, and will provide endless amusement for Dungeon Masters seeking something different from the typical hack-and-slash dungeon crawl. This 70-page adventure features: *Two wilderness areas, random wilderness encounters, and a massive, interlinking 3-level dungeon filled with bizarre puzzles. *Ancient machinery powered by elemental portals, all of which can be activated, turned off, or manipulated by the player characters and the various factions within the modron facility. *Planar creatures like githzerai and githyanki, modrons, mephits, and elemental guardians, skillfully placed into the High Moor area of the Forgotten Realms setting. *Monsters and NPCs that have detailed (yet easy to run!) personalities and goals that will provide tons of roleplaying opportunities. *Notes and sidebars on running the NPCs with added complexity, or simplifying the NPCs' motives to make the adventure more straightforward. *Tactics notes for every single encounter! *An appendix that features all monster stat blocks, and both tagged (DM) and untagged (Player) versions of the dungeon maps. *Wilderness hex map by Elven Tower Cartography! Three interlinked dungeon levels by Dyson Logos...and one of them is a flying fortress! Cover art by Patrick E. Pullen!

Many centuries ago, the dwarven kingdom of Sarphil stretched out across the Galena Mountains east of the Moonsea. They dug for the precious metals hidden beneath the rocky terrain, and they established numerous cities and settlements to aid in their excavation and manufacturing efforts. This was during the early days of Myth Drannor, the elven kingdom in the forest of Cormanthor, and the dwarves and elves initially clashed as each sought resources and expanded their territories. Myth Drannor and Sarphil eventually settled their differences, and many dwarves moved into the elven city to offer their services and expand their knowledge. In the Galena Mountains, Sarphil continued to flourish. Unfortunately, these days of prosperity did not last long. The last great king of Sarphil was lost in the dwarven city of Mount Throndor, beneath the mountain peak of the same name, and Sarphil withered under bitter clan disputes since no single family could claim legitimate lineage over the fragmented kingdom. What happened under Mount Throndor has been a mystery for thousands of years. Many attempts have been made to reclaim the lost riches and legacy of the last Sarphilan king, but powerful wards have prevented intrusion under the mountain, wards erected by the dwarves of Sarphil. Were the wards built to keep outsiders from intruding – or to keep something inside from escaping? An enterprising dwarven leader wants to find out, but she is going to need some help from a band of heroes. Horrors of Mount Throndor is a Dungeons & Dragons adventure of exploration, darkness, and terror featuring a lost dwarven city overrun by forces from the Far Realm and the journey to cleanse it once and for all. The adventure is designed for a group of 11th-level characters, and successful completion of the adventure should put the characters at 16th level. Here There Be Monsters Mount Throndor has become infested with madness from the Far Realm. During their journey to penetrate the ward and through the city itself, the characters are going to face gibbering horrors, unpredictable slaadi, fanatic stone giant cultists, degenerate star spawn horrors, mutant derro, undead dwarves, and countless golems. The ancient breweries of Mount Throndor have produced alementals who slither in the darkness, and a great dwarven war juggernaut named Big Hans stomps through the city. Legendary Villains and Epic Moments Though it has been sealed, Mount Throndor is not empty. The characters have opportunities to meet, interact with, and (likely at least) combat against powerful foes within the legendary dwarf city. A dwarf lich, a Far Realm spider goddess, an iron-encased demilich, and a melted flesh derro warlock monstrosity all await, along with a mind-bending force - Great Cthulhu! The characters have a chance to face an avatar of Great Cthulhu in the dwarven depths in the final confrontation of the adventure to free Mount Throndor and rid Faerun of a Far Realm invasion! An Adventure of Exploration Mount Throndor is a big, sprawling complex, a dwarven city with two major strongholds, a bridge system spanning a massive underground lake, and a deep mining complex. The scale is difficult to grasp and convey. Previous examples of adventures featuring these elements have included maps - usually lots of them, great spawling maps connected at ends to make huge subterranean dungeons. It is the classic image of a D&D dungeon crawl, and the map is a key component to its visualization. However, in this adventure, the maps are handled differently. There are certain areas, ususally outside the dwarven city itself, that include maps that are suitable for use at the game table, either in theater of the mind style or grid-and-miniatures. Mount Throndor itself is presented with an abstract map, and exploring it utilizes the exploration procedure outlined in Appendix A. Characters traverse the huge subterranean system using this abstract system, and during their travels they are going to run into random encounters and sites with more interesting and complex encounters.

Don't you just hate it when you have a bit of downtime but some of your players need a bit more experience? Perhaps your group is fractured and only a pair of players could make it. Today's offering gives you three scenarios for a pair of adventures at three different levels! This offering helps you plug campaign holes with short encounters certain to challenge a pair of PCs!

The Tale of The Haunted Ravine is a Hex Crawl Adventure of Exploration that can be used for any game system but was designed for use with D&D 5e. A Hex crawl map and random roll tables are used to create surprising encounters and mysteries for your players to interact with. Wild necrotic magic, magical mutations, undead, lost souls, and demons all cloaked in a fog fog-choked landscape; forsaken by the gods and scarred by the battle fought here long ago. Will your adventurers survive and escape the Haunted Ravine? Or will they join the legions of cursed souls imprisoned in this corrupted land?
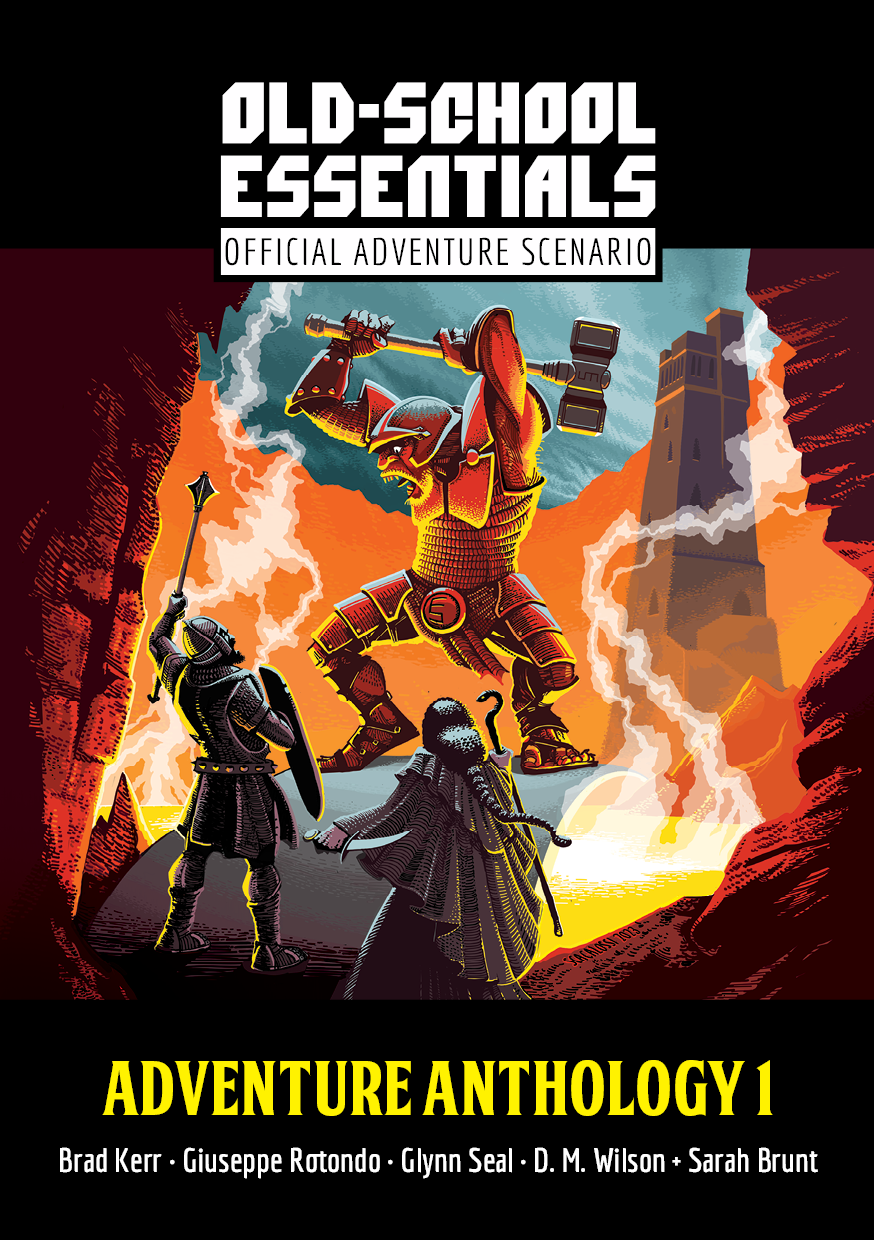
A level 9+ hex-crawl adventure by D. M. Wilson and Sarah Brunt. A portal leads adventurers to a comet of fire and ice hurtling through the void of space. Can they survive prehistoric beasts, warring factions, and the comet’s impending doom, to find priceless treasures and a way home? For Old-School Essentials (OSE) Included as one of four adventures in "Old-School Essentials Adventure Anthology 1"