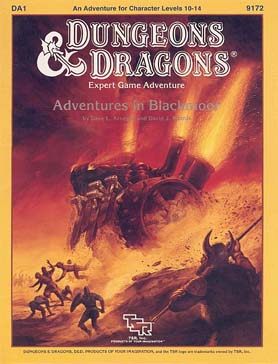
On every side the storm clouds gather. To south and east, the Great Empire of Thonia plots to end Blackmoor's independence and reclaim its lost province. To the west, the implacable Afridhi are on the move. To the north, the evil Egg of Coot prepares to cross the thundering sea and once again bring fire and sword into the heart of the small kingdom. Beyond the realm of the Egg, the hated Skandaharian Raiders are building longships and preparing to fall upon Blackmoor's unprotected coast while its tiny army turns to meet these other threats. Into this time of black despair, there steps a band of adventurers who clutch strange swords and wear the most curious armor?and who claim that Blackmoor sank beneath the ice 3,000 years ago! TSR 9172

South of Tarlac Keep and across Lake Lowe lies a dormant volcano and its set of caverns. This location is currently the home to the powerful Artillus Highwing a massive Black Dragon. Artillus and his mate were responsible for the destruction of Tarlac at the cost of his partner. Artillus lost most of his army that day and has since moved into the caverns and attempted to rebuild the army to set his revenge upon the area.

Caverns of the Dorgel Mountains is/was the finale in Filbar series. It features Lexicon Meridius the Ancient Red Dragon and scourge of the Dwarf Lords (F4 & F5). This large adventure represents how I look at the difficulty of taking on the deadliest dragon of the Prime Material plane. Will your party return to the Halls of the Dwarf Lords to help aid them one more time?

Yegor Bonecruncher is the most ferocious hill giant in the land. When he begins terrorising the small village of Frickley, the inhabitants have only one hope - the legendary warrior, Jahia Giantslayer. The PCs undertake a dangerous trek through the High Forest to find her, battling wild fey magic all the way. But can Jahia live up to her own legend?
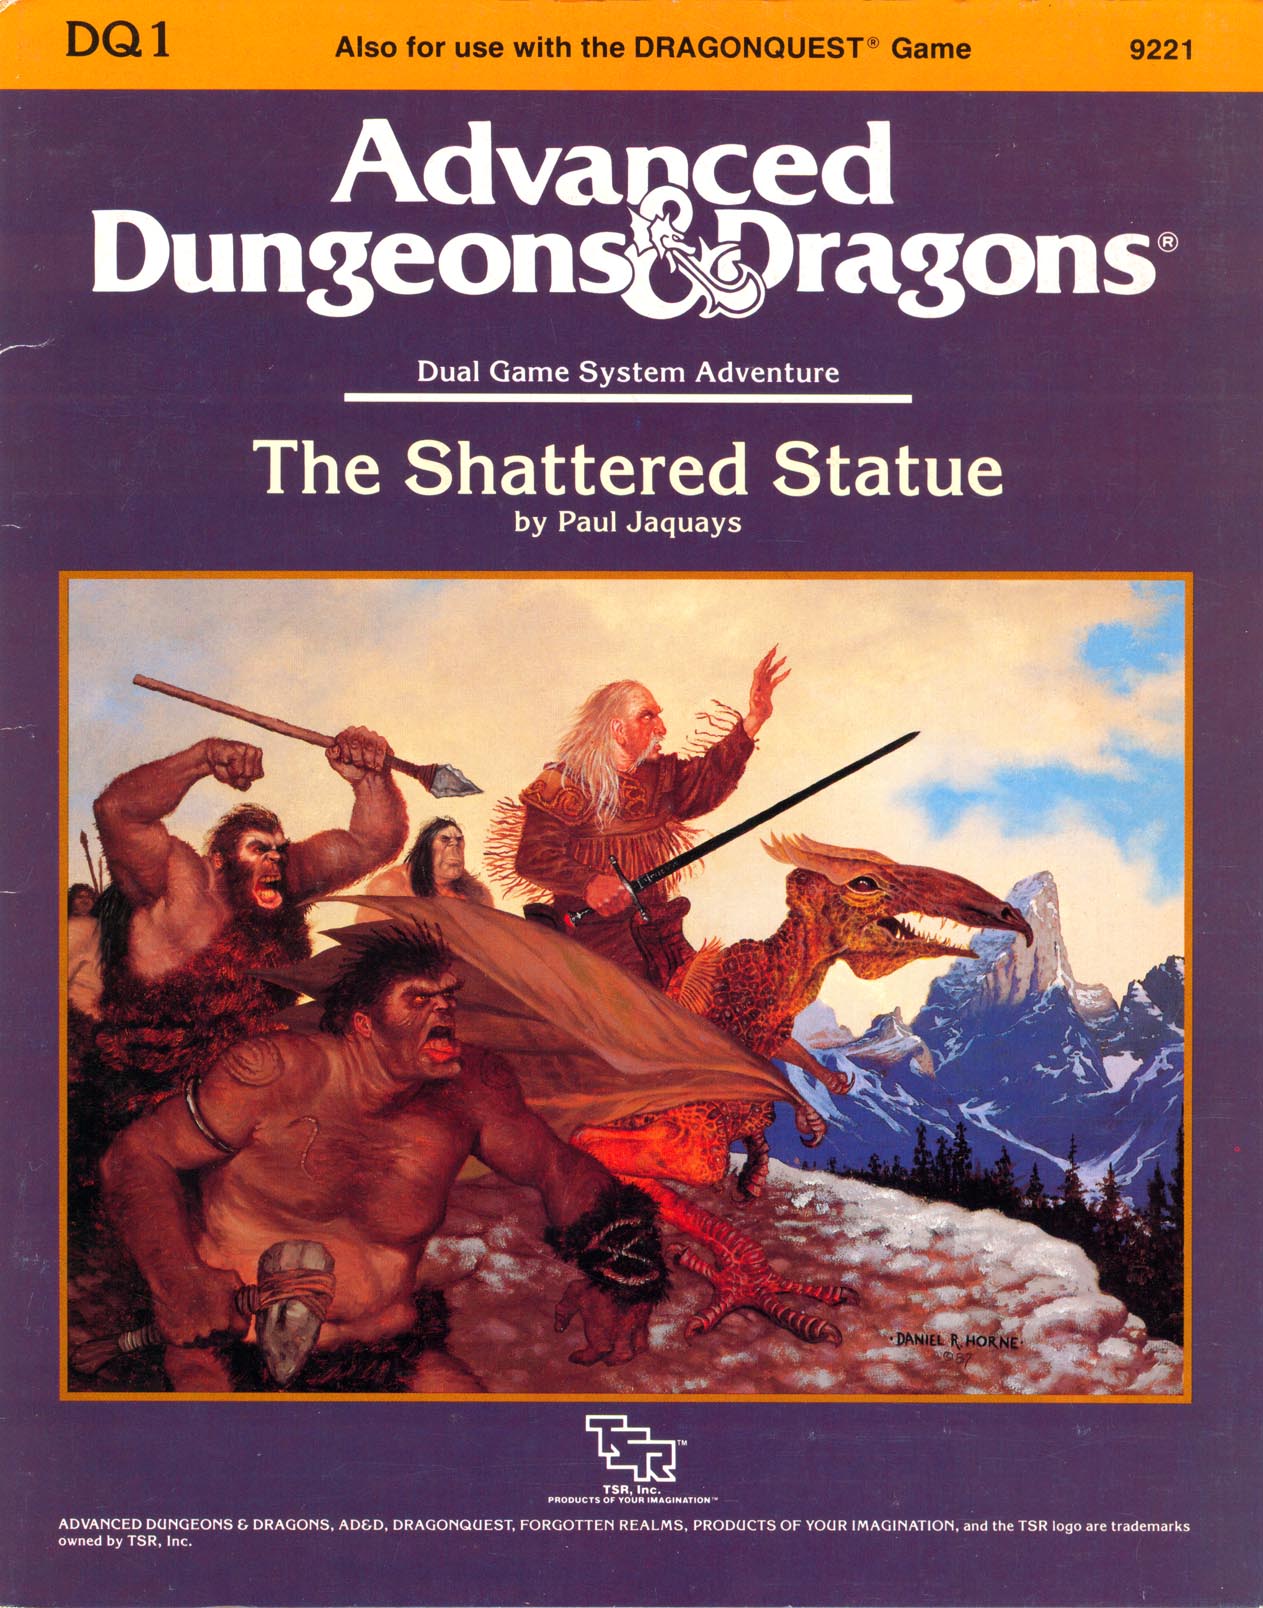
"A mutual friend has praised your skills highly. If you seek rich reward and the opportunity to delve into mysteries ancient and lost, bring this bottle forthwith to my demesne in the village of Volkumburgh. Together we may seek to bring mankind the lost wonder of the awtawmatawn." A mysterious note, a disappearing 5-foot-long religious relic, and the ruins of two magical schools. What do these things have in common? How deeply are your party members involved in all this? "The Shattered Statue" is the first dual-game-system module of its kind. Players of both the AD&D game system and DRAGONQUEST game system can use this adventure. It is suitable for use with FORGOTTEN REALMS campaign setting. TSR 9221

THRESHOLD! The northernmost town in the Duchy - and your last stop before your adventures begin. Threshold, the gateway to mysterious castles, lost temples, deadly caves and caverns. You have heard the stories and legends, now you wish to see for yourself. This product provides a complete campaign adventure that will take beginning characters from 1st all the way to 3rd level and possibly beyond, drawn from the first nine modules of the B-series adventures. See individual adventure entries for Boss, Common Monster and Items lists. TSR 9190

The Tale of The Haunted Ravine is a Hex Crawl Adventure of Exploration that can be used for any game system but was designed for use with D&D 5e. A Hex crawl map and random roll tables are used to create surprising encounters and mysteries for your players to interact with. Wild necrotic magic, magical mutations, undead, lost souls, and demons all cloaked in a fog fog-choked landscape; forsaken by the gods and scarred by the battle fought here long ago. Will your adventurers survive and escape the Haunted Ravine? Or will they join the legions of cursed souls imprisoned in this corrupted land?

As you begin your path to adventuring fame, fate brings you a gift. The military is attacking a humanoid army not too far away but their powerful force has splintered the insurgents. Different groups of aggressive humanoids are now off on their own and the military is overwhelmed trying to track them down. Word has it that one such group is headed to the revered Oracle at Nyo! Your time has come and fame is within reach!

When the water source of the city-state of Guerino is poisoned and its citizens enchanted, a group of adventurers must follow the treacherous path deep into Mistfall Mountain and restore balance to the kingdom. Pgs. 91-97

The village of Silverwell lies at the foot of a mountain range in the icy north. Through most of its history it has enjoyed relative peace, save for its battles with the harsh elements. Recently however, a group of villagers were attacked by bandits while hunting in nearby Rothir’s Pass. The bandits left behind a grim message warning for none to follow. Frightened by the possibility of a larger attack on the village, the headman will happily reward any brave adventurers that can help. Unknown to the inhabitants of the remote village of Silverwell, this new terror pales in comparison to the troubles that have already begun to flood down from the distant Mount Neboria – troubles stemming from the dark wish of a dying dragon. This is an introductory adventure for a group of four or five 1st level characters, which should run for roughly 4 hours of gameplay (excluding preparation time), ending with a quest hook for groups that wish to continue into a full campaign. It includes extra tips and tricks both for new DMs and for interaction with new players.
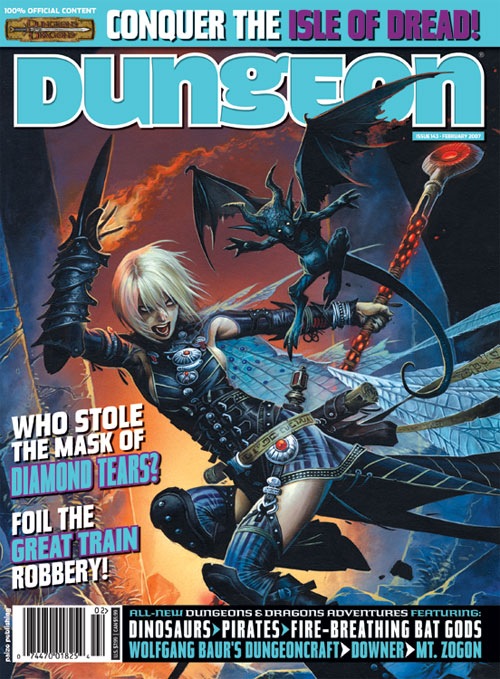
The colony of Farshore has survived on its own for years, a secluded and struggling hamlet perched on the western shore of the tiny island of Temute. An island dwarfed by the savage landscape across the narrow channel to the north, a landscape of rugged mountains, tangled jungles, and trackless swamps. This is the Isle of Dread, and its resources and hidden treasures are matched only by its peril. Yet for all these dangers, what may bring doom to Farshore is not an invasion of inhuman monsters from the mainland, but an invasion of all-too-human monsters from across the sea. "Tides of Dread" is the fifth chapter of the Savage Tides Adventure Path, a complete campaign consisting of 12 adventures appearing in Dungeon magazine. For additional aid in running this campaign, check out Dragon magazine's monthly "Savage Tidings" articles, a series that helps players and DMs prepare for and expand upon the campaign. Issue #352 of Dragon magazine features rumors of Farshore, a helpful list of improvements the PCs can make to the colony, and other features to help get PCs oriented in their new home on the Isle of Dread. The destruction of a pirate ship signals the beginning of a Crimson Fleet invasion. The PCs must race against time to prepare for the onslaught before an old enemy can release another savage tide. Pgs. 28-59 Also see Pgs. 60-71 Backdrop: Farshore City of Hope.

Blight of Biel is a standard “fetch” mission with a twist. After finishing one adventure the PCs head to Biel for some rest. Sadly upon arrival at the thorp they discover the community has “the fever”. Only one person in town has not gotten ill and she needs some ingredients for a cure. This mission will require a quick resolution or the gravedigger will be busy! Oh yea…this game is called Dungeons & Dragons for a reason!

This Christmas, Santa Claus must die! Adopt the role of one of history’s iconic Christmas villains and raid Santa’s North Pole base in order to destroy Santa’s corrupted form. Due to Grinch’s machinations, Santa’s jovial form has been corrupted and he’s called off his annual gift-giving journey. Now, the Spirit of Christmas gives Grinch an ultimatum: he must assemble a team of other famous villains, infiltrate the North Pole base and destroy the corrupted Santa Claus so he can be reborn and deliver presents. The team will have to navigate environmental hazards, deal with four factions of Santa’s elves and finally battle the Man in Red himself. However, each team member has their own secret agenda to complete … and time is running out!

After a successful mission for Earl Phenwick you return to receive your accolades. Upon your arrival it is discovered that the earl's child is missing. His daughter was last seen around a mirror of unknown power and an advisor believes that she may have made her way into a different world via the magical portal. Time to put on your hero hats!

This setting was used in the F series and was used as an area for multiple adventure opportunities as a separate crossing of the Border Mountains. This mountain area has several travel sections to get from the civilized area to the frontier. With a multitude of side adventures this area helps mid-level adventurers increase their experience point base. In the Filbar campaign it was commonly used to get from Havendale to Arcanum College and Cordicstown.
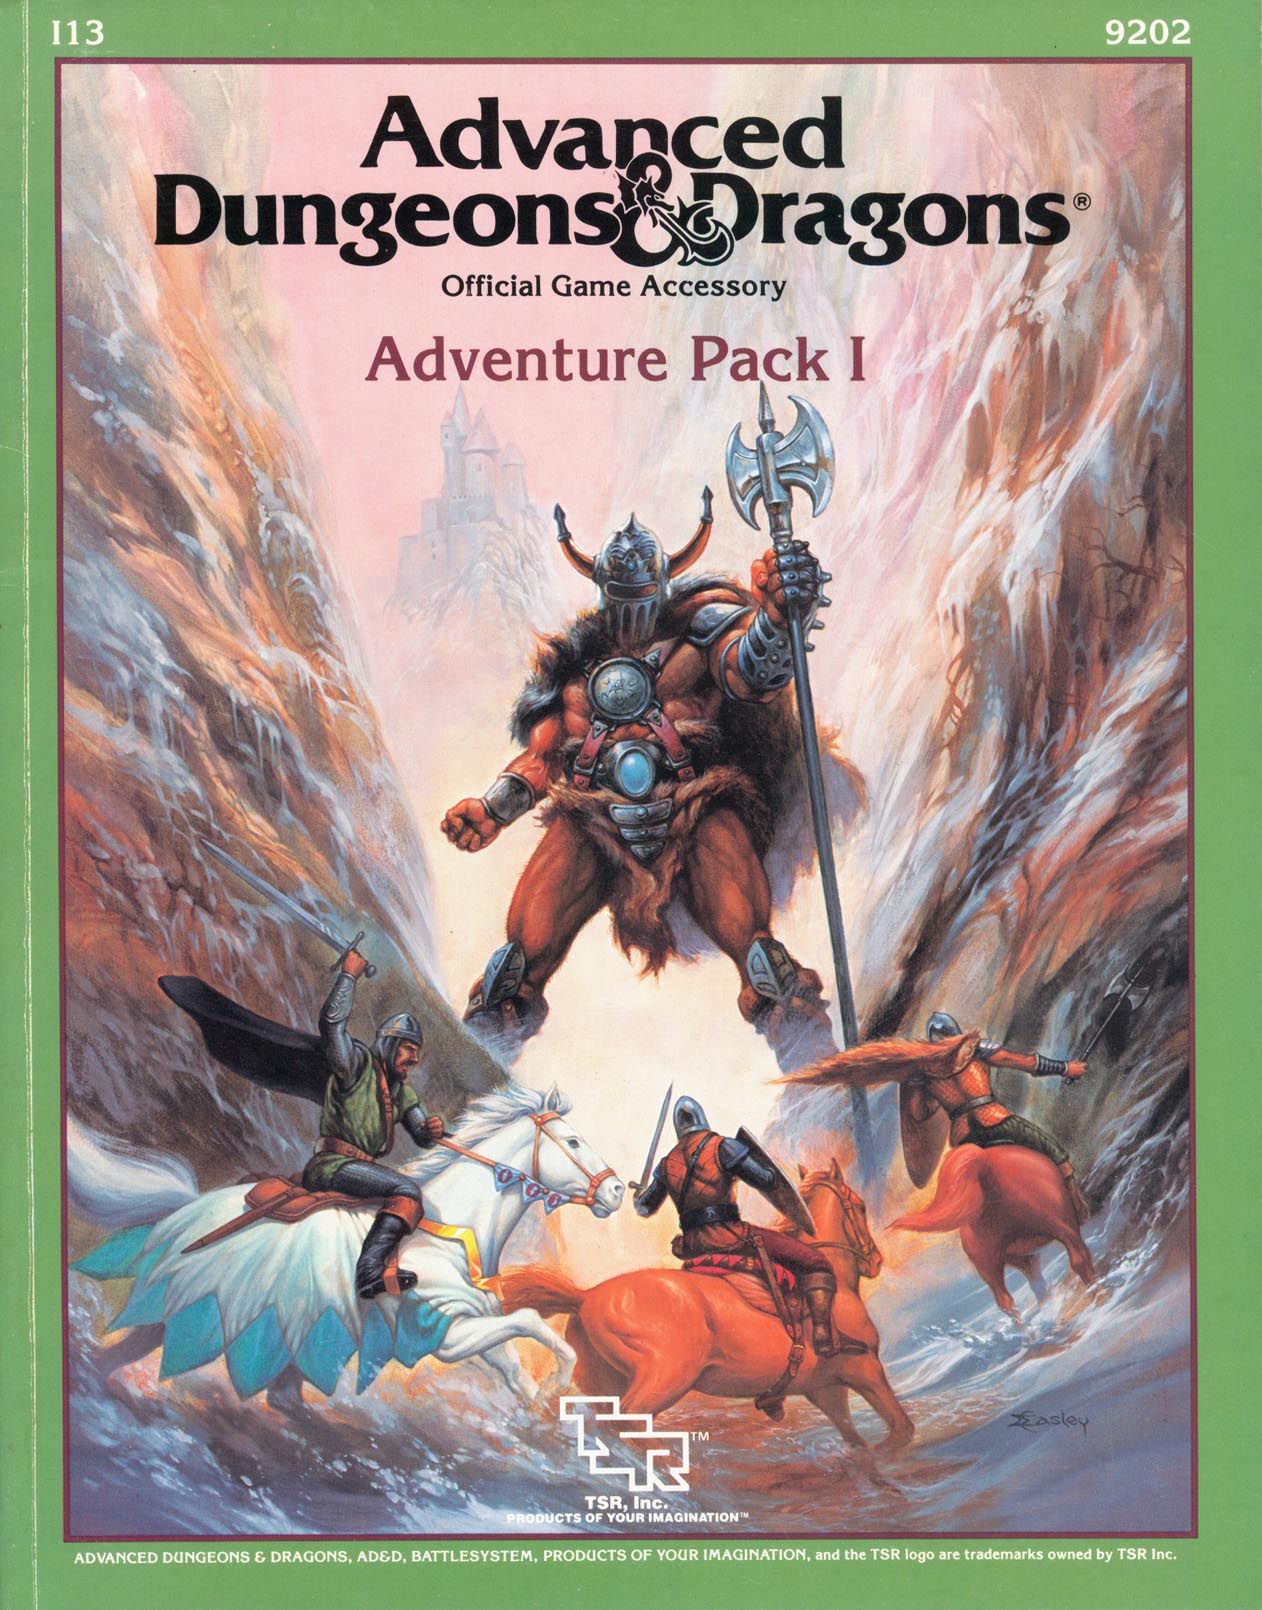
A little friendly competition can be fun now and then - unless, of course, the competition isn't friendly at all. Included in I13 Adventure Pack I - https://www.adventurelookup.com/adventures/i13-adventure-pack-i TSR 9202

The Hag's Hexes is a 66 page guide designed by Dungeon Masters Guild luminaries like JVC Parry and Janek Sielicki alongside rising stars and old stalwarts like Matt Butler, Matthew Gravelyn, and Tim Bannock. It was created with one thing in mind: to make hags more than the sum of their (often meager) Challenge ratings, giving them the mechanics, roleplay potential, and weird magic that can inspire campaigns, lay low kings and warlords, and potentially ensnare unwary Player Characters into campaign-changing curses or long-term bargains that force them into terrible moral quandaries! Split into five chapters, the authors have provided everything a DM needs to terrify their players for years to come. The Bestiary features over a dozen monsters; some are new hags, some are their minions or even their mobile lairs, and one of them -- the Shaitan AKA Desert Hag -- was featured in Monsters of the Guild! Bargains & Curses is a chapter filled with ideas that can kick-start campaigns, threaten valued NPCs, or put Player Characters' very existence and morality at stake. Chapter 3 includes two dozen items of wonderment, weirdness, and dread, ranging from fairy tale-inspired items of whimsy to terribly cursed items of horror. Chapter 4 is titled "Filthy, Vile & Downright Dirty" and provides dozens of roleplaying tips to make hags come alive, new mechanics inspired by and expanding on Volo's Guide to Monsters (coven spell lists, aunties, grandmothers, alternative coven members), and ends with useful combat tactics for each of the hags from the Monster Manual and Volo's Guide, as well as tactics for covens. Finally, Chapter 5 presents five encounter groups (with sub-encounters) to give you quick story seeds and monster lists that you can put together in minutes to create a single encounter or to inspire a full campaign, and ends with three full-length adventures -- each with 3-5 encounters -- that showcase many of the new monsters, rules, magic items, and so on that appeared in earlier chapters. Each of these adventures comes with an encounter map meant to act as inspiration for hag lairs, and they include useful mechanical ideas for terrain effects and descriptive keywords listed directly on the map for added inspiration and easy customization! Designed by Tim Bannock. Written by Matt Butler, JVC Parry, Janek Sielicki, and Tim Bannock. Edited by Matthew Gravelyn and Tim Bannock. Cover Art by Elena Naylor. Cartography by Tim Bannock using Inkwell Ideas' Dungeonographer (Dungeonographer is copyright Inkwell Ideas). Layout & Graphic Elements by Elena Naylor with Tim Bannock. Interior Art by Arcana Games, Bruno Balixa, David Lewis Johnson, Dean Spencer, Earl Geier, Filip Gutowski, Jacob E. Blackmon, Joyce Maureira, Petr Kratochvil, Jayaraj Paul, Brian Brinlee, and Wizards of the Coast.

A storm brews on the cliffs, and thunder takes wing. Near a remote coastal village, livestock vanish and tempests rage without warning. Locals whisper of a legendary beast: the Stormwing—a massive eagle wreathed in lightning, said to nest high among the windswept cliffs. But is the creature truly a menace… or merely a misunderstood force of nature? Dare your party scale the perilous cliffside, brave elemental hazards, and confront the Stormwing atop its thunder-blasted perch? Inside This Adventure: ✅ A lightning-charged dungeon crawl through cliffs, caves, and stormy ledges. ✅ A dramatic final encounter with the Stormwing—can your party fight, negotiate, or outwit it? ✅ A thunderous environment with gusts, static surges, and dangerous terrain challenges. ✅ Unique rewards, including the Gloves of Conducting, a magic item that crackles with power. ✅ Multiple adventure hooks for easy campaign integration. This adventure is part of Thirsty Tiger Tales, an ongoing collection of thrilling one-shots for D&D 5e! Perfect for a one-shot or a side quest in any elemental, coastal, or storm-themed campaign. Pay What You Want until the end of May! Suggested price: $1.00 Will your party tame the skies—or be cast down by the storm?
A Giant Ransom is a short adventure for four 11th-level characters. There are opportunities for diplomacy, stealth, and combat, based on the choices the PCs make, so any mix of classes is appropriate. The adventure can be set in any campaign world, in a frontier region near glacier-covered mountains. In the first episode, the PCs were employed by Duke Ambrinigan to exchange a ransom of 10,000 gp in gems for a golden lion that was taken by frost giants in a recent raid. While waiting for the giants to arrive at the designated meeting place, the PCs watched as the white dragon Whildenstrank attacked the giants and then flew off with the statue. Charged with returning the golden lion statue at all costs, the PCs move to investigate the site of the battle.
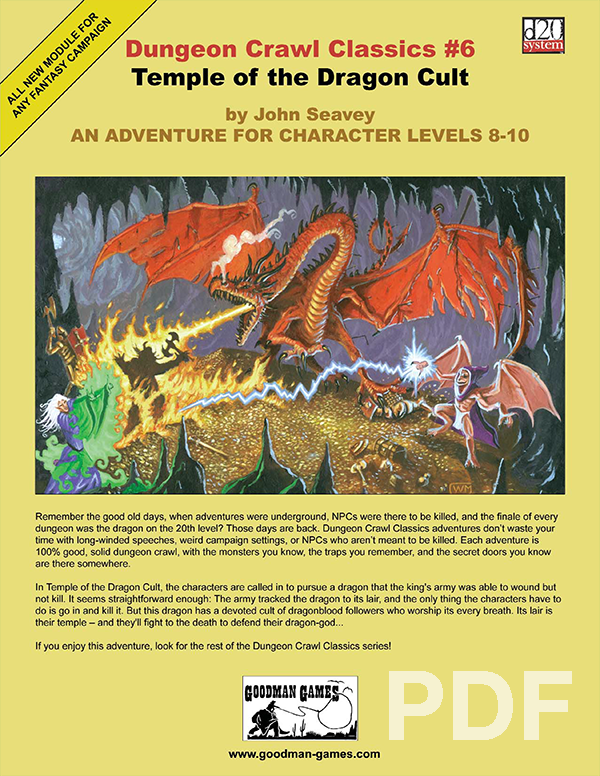
In Temple of the Dragon Cult, the characters are called in to pursue a dragon that the king’s army was able to wound but not kill. It seems straightforward enough: the army tracked the dragon to its lair, and all the characters have to do is go in and kill it. But this dragon has a devoted cult of dragonblood followers who worship its every breath. Its lair is their temple — and they’ll fight to the death to defend their dragon-god…