
Many centuries ago, the dwarven kingdom of Sarphil stretched out across the Galena Mountains east of the Moonsea. They dug for the precious metals hidden beneath the rocky terrain, and they established numerous cities and settlements to aid in their excavation and manufacturing efforts. This was during the early days of Myth Drannor, the elven kingdom in the forest of Cormanthor, and the dwarves and elves initially clashed as each sought resources and expanded their territories. Myth Drannor and Sarphil eventually settled their differences, and many dwarves moved into the elven city to offer their services and expand their knowledge. In the Galena Mountains, Sarphil continued to flourish. Unfortunately, these days of prosperity did not last long. The last great king of Sarphil was lost in the dwarven city of Mount Throndor, beneath the mountain peak of the same name, and Sarphil withered under bitter clan disputes since no single family could claim legitimate lineage over the fragmented kingdom. What happened under Mount Throndor has been a mystery for thousands of years. Many attempts have been made to reclaim the lost riches and legacy of the last Sarphilan king, but powerful wards have prevented intrusion under the mountain, wards erected by the dwarves of Sarphil. Were the wards built to keep outsiders from intruding – or to keep something inside from escaping? An enterprising dwarven leader wants to find out, but she is going to need some help from a band of heroes. Horrors of Mount Throndor is a Dungeons & Dragons adventure of exploration, darkness, and terror featuring a lost dwarven city overrun by forces from the Far Realm and the journey to cleanse it once and for all. The adventure is designed for a group of 11th-level characters, and successful completion of the adventure should put the characters at 16th level. Here There Be Monsters Mount Throndor has become infested with madness from the Far Realm. During their journey to penetrate the ward and through the city itself, the characters are going to face gibbering horrors, unpredictable slaadi, fanatic stone giant cultists, degenerate star spawn horrors, mutant derro, undead dwarves, and countless golems. The ancient breweries of Mount Throndor have produced alementals who slither in the darkness, and a great dwarven war juggernaut named Big Hans stomps through the city. Legendary Villains and Epic Moments Though it has been sealed, Mount Throndor is not empty. The characters have opportunities to meet, interact with, and (likely at least) combat against powerful foes within the legendary dwarf city. A dwarf lich, a Far Realm spider goddess, an iron-encased demilich, and a melted flesh derro warlock monstrosity all await, along with a mind-bending force - Great Cthulhu! The characters have a chance to face an avatar of Great Cthulhu in the dwarven depths in the final confrontation of the adventure to free Mount Throndor and rid Faerun of a Far Realm invasion! An Adventure of Exploration Mount Throndor is a big, sprawling complex, a dwarven city with two major strongholds, a bridge system spanning a massive underground lake, and a deep mining complex. The scale is difficult to grasp and convey. Previous examples of adventures featuring these elements have included maps - usually lots of them, great spawling maps connected at ends to make huge subterranean dungeons. It is the classic image of a D&D dungeon crawl, and the map is a key component to its visualization. However, in this adventure, the maps are handled differently. There are certain areas, ususally outside the dwarven city itself, that include maps that are suitable for use at the game table, either in theater of the mind style or grid-and-miniatures. Mount Throndor itself is presented with an abstract map, and exploring it utilizes the exploration procedure outlined in Appendix A. Characters traverse the huge subterranean system using this abstract system, and during their travels they are going to run into random encounters and sites with more interesting and complex encounters.
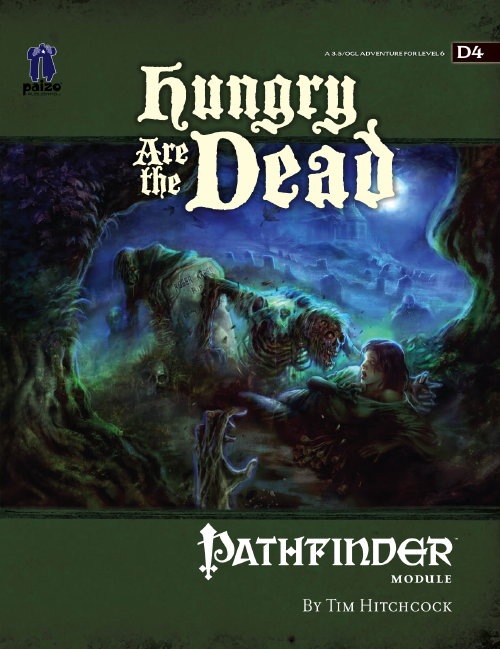
The logging town of Falcon’s Hollow has been through rough times—first a kobold tribe abducted the town’s children for an evil ritual, then an unknown force reanimated the defeated kobolds to attack the town. Now a horde of zombies approaches and a mysterious evil gathers power in the north, tainting wildlife and the buried dead, its presence hinting at ancient evils better left undisturbed.
The Sleeper Awakes! At last, after languishing in its crypt for an age, the secrets of the slumbering city of Tsar burst forth in all their macabre glory. Poured forth from the eldritch furnaces and crucibles of the Necromancer and Orcus himself comes Frog God Games bringing you at long last The Slumbering Tsar Saga™. Something Stirs in the City of Evil Over the distant northern hills, beyond The Camp, and past the Desolation stand the pitted walls of Tsar. A hundred armies have crushed themselves against this bulwark in futile attempts to breach the city. Even the combined might of the Heavens and Earth were unable to break through in the final battle of Tsar. So why was the city suddenly abandoned on the verge of victory, and what waits for those foolish enough to enter the Temple-City of Orcus? The Black Gates Await Only the bravest and most powerful of heroes dare the depths of the Desolation and live to tell of it. But what happens when they penetrate that blasted landscape and look upon the gates of the very center of evil on the earth. Can even heroes of such renown breach the Walls of Death and live?
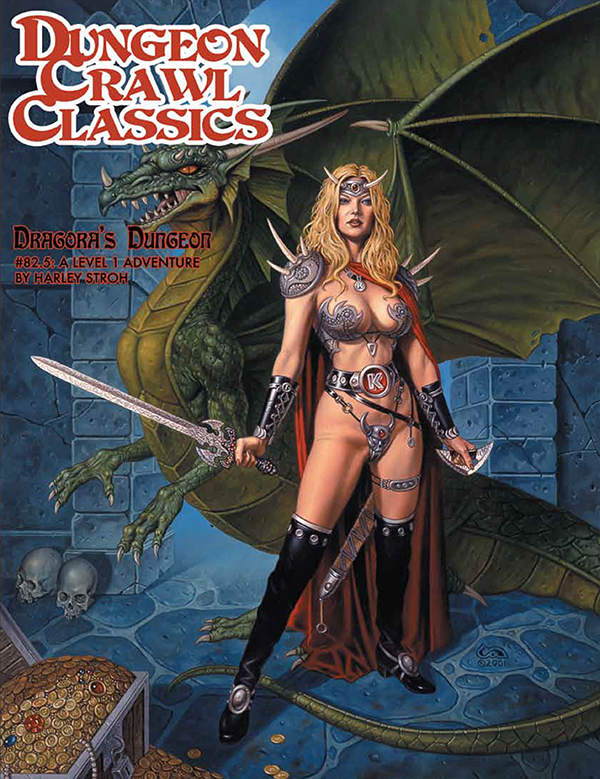
Eons past the fabled sorcerer-kings of Parhok perished in a rain of eldritch fire. But legends hold that one tribe survived the apocalypse, fleeing with their slaves to a hidden city, where the greatest enchanters of all time could sleep away the centuries, and awaken in a future age as rulers of a ruined land. Now once more the forbidden spells of the Parhok threaten the good folk of the Known Realms. A kingdom lies ensorcelled, a royal family ensnared by the forgotten dweomers of a long-dead race. When the best attempts of seers and diviners have failed, it falls to the heroes to save the kingdom. Have the sorcerer-kings risen to reclaim their bejeweled thrones? Or has a more sinister power bent their ancient magics to its sinister will? Only the most courageous and cunning of heroes will emerge victorious from Dragora’s Dungeon.
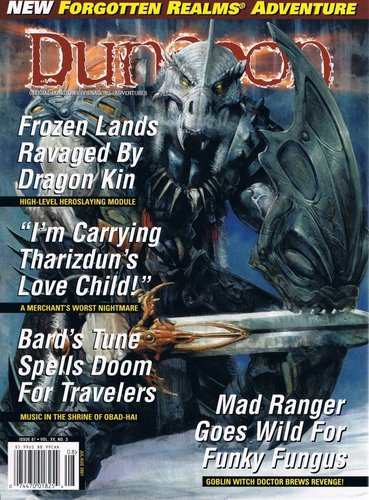
This adventure focuses on a Zhentarim attempt to spread terror in Mistledale, although it is suitable for almost any lightly settled area northwest of the Sea of Fallen Stars. "The Raiders of Galath's Roost" is suitable for four 1st-level characters, but PCs should be at least 2nd level before tackling the adventure's second half, the Zhentarim Citadel. Even in the first half of the adventure, many of the encounters are quite formidable for 1st-level characters, and the PCs might find it necessary to withdraw and recover one or more times before completely exploring the ruins.

Modrons, Mephits & Mayhem is a Dungeons & Dragons 5E tier 2 adventure for three to five characters of levels 5-8. It is primarily set in a modron-designed research facility that has been abandoned by its creators but retains guardians that are still active. Additionally, two groups have broken into the facility with their own goals in mind; the githyanki and their red dragon cohort are antagonistic and provide the main source of combat in this adventure, while a modron traveling with a few mephits may prove friendly although ultimately troublesome. Inspired by adventure games in which the protagonists explore baroque, esoteric technological fortresses, and seeded throughout with factions that sport competing and often bizarre goals, Modrons, Mephits & Mayhem is sure to test the mettle of any group of players, and will provide endless amusement for Dungeon Masters seeking something different from the typical hack-and-slash dungeon crawl. This 70-page adventure features: *Two wilderness areas, random wilderness encounters, and a massive, interlinking 3-level dungeon filled with bizarre puzzles. *Ancient machinery powered by elemental portals, all of which can be activated, turned off, or manipulated by the player characters and the various factions within the modron facility. *Planar creatures like githzerai and githyanki, modrons, mephits, and elemental guardians, skillfully placed into the High Moor area of the Forgotten Realms setting. *Monsters and NPCs that have detailed (yet easy to run!) personalities and goals that will provide tons of roleplaying opportunities. *Notes and sidebars on running the NPCs with added complexity, or simplifying the NPCs' motives to make the adventure more straightforward. *Tactics notes for every single encounter! *An appendix that features all monster stat blocks, and both tagged (DM) and untagged (Player) versions of the dungeon maps. *Wilderness hex map by Elven Tower Cartography! Three interlinked dungeon levels by Dyson Logos...and one of them is a flying fortress! Cover art by Patrick E. Pullen!

Captured! While trekking across a trackless wasteland, your stalwart band has fallen into the clutches of a nefarious gang of desert raiders. Imprisoned in a subterranean chamber, you are bereft of all of your equipment and magic items, save for a few tattered loincloths. But as chance would have it, an opportunity to escape the cell presents itself. To escape, you must head deeper into an ancient sealed tomb, armed with nothing but your wits and anything you can find along the way. Getting to the surface is just one of many challenges, as you still need to recover your precious equipment, and flee the Lost Oasis, which is surrounded by an inhospitable sea of solid glass!
All ocean voyages are fraught with peril, yet a voyage to the infamous Isle of Dread might seem to some old salts to be a deliberate goading of the gods of the sea. Many of those who have attempted the voyage before managed to return to civilization often choose not to speak of the trials they experienced on that dangerous route, yet those whose lips can be loosened by a draught of grog whisper amazing stories... tales of pirates, sea monsters, terrifying storms, and perhaps most harrowing of all, of a strange and sinister land without land, a floating graveyard of dead ships mired in a sargasso the size of an island. This place has many names, but its most well-known may be it's most apt - Journey's End. "The Sea Wyvern's Wake" is the third chapter of the Savage Tide Adventure Path, a complete campaign consisting of 12 adventures appearing in Dungeon magazine. For additional aid in running this campaign, check out Dragon magazine's monthly "Savage Tidings" articles, a series that helps players and DMs prepare for and expand upon the campaign. Issue #350 of Dragon magazine features a regional guide to the seafaring environs the PCs can expect on the journey to the Isle of Dread. It’s time to bid farewell to the city of Sasserine as the PCs board the Sea Wyvern for a 3,000-mile voyage south into the uncharted waters of the Vohoun Ocean. Their destination: the Isle of Dread. Pgs. 16-48

FQ3- Outpost of the Humanoids is the third adventure for the Filbar Quest Series. As you make your way to a meeting with the Baron of the Knolls you come across a roadside inn and a pair of old adventurers that have a small task for you near some old abandoned ruins. Sounds easy enough right? For some reason it never is easy, especially in Filbar!

Your party approaches a barrow at the base of the mountain. A raging storm brews overhead, and as you approach, a bolt of lightning strikes down on the peak of the mound, lighting up the world all around you. A thunderclap momentarily deafens you, and as your eyes adjust to the resuming grey of the dark day, you see a flicker of firelight emerging from the two gaping holes built into the side of the hill. You’ve found the pirates camping within the Barrow of the Raging Storm. As I delivered it to my players, the premise of this Midnight Sun adventure is that some pirates have been attacking ships returning from raids. They have been stealing the loot and the corpses of any slain Nords. Among their victims, a ship from Valthis returns to tell them that the pirates sailed upriver (to hex 506), where I placed the Barrow in my Shadowdark RPG campaign. The adventurers started from there and explored the dungeon thoroughly. The adventure was created using the tools described in the Shadowdark RPG core rules. I created it in about 6 hours between 2024-03-08 and 2024-03-09 and ran it for my group on the 9th. It took about 2.25 hours to play to completion. The party consisted of two level 1 characters and one level 2 character. I had so much fun making and running this that I will continue creating more Midnight Sun Adventures, so stay tuned!

The Frozen Necromancer is a three-part adventure for Fifth Edition that takes player characters from levels 1 to 4. This adventure is the first in a storyline of four modules called The Demonplague that can be used as an entire campaign that takes characters from level 1 to 20. The entire adventure (or just pieces, characters, or encounters from The Frozen Necromancer) can be dropped into any fantasy setting with minimal changes

You wake up in a dark room with a group of friends. You don't know how you got here and your thoughts seem distant, echoing in your mind. The note you find reminds you your mission: retrieve the flower of oshadis and escape this temple alive. Culitsts and traps stand between you and freedom.

Why Go to the Ruinous Palace? 1. Old Gold to be Stolen from Old Places 2. Rumors of Supernatural Fecundity and Ruination. What wizard would not wish to study such? 3. Nearby communities are hemorrhaging Livestock. The Dragon learns to hunt and gather. 4. A forest Unmolested for centuries… could become a fortune in Timber. Ruinous Palace of the Metegorgos is a new adventure from In Search of Games for your standard dungeon fantasy game. It's easily inserted into any campaign, requiring little modification to adapt to any of a number of dungeon fantasy systems (we recommend Lamentations of the Flame Princess). While written for levels 1-3, the adventure works well with parties level 4-6 as well.

At times adventuring groups will hit a town after a successful foray and go their separate ways for a short time. This adventure centers on such a scenario with one member opting to chase down a thief that has burgled the merchant’s guild. When checking with their cohorts the adventurer discovers they are the only one interested and, since its only one thief, the challenge should be fairly easy….right?

The ruins of Castle Hermitage are shrouded in mystery after the disappearance of Lord Soulis Hermitage some 50 years ago. In the time since, the thriving village of Bellshall has grown a reputation for its market and specifically for the gemstones that can be bought there. Unfortunately for the people of Bellshall that supply of gemstones is at risk. Something is watching the Deep Gnomes who live and work in the mine. Soon it will need to feed. Are there any heroes who can help defeat this horrible menace, save the Deep Gnomes, and the village’s prosperity? Contains: A 4 to 6-hour adventure for four 4th level characters. With scaling information for other levels. A new CR3 monster, the Ettercap Host. Print friendly version. Accessible version. Separate GM & player map images for VTT use (Gridded and Gridless).

The Search and Locate Treasure Consortium funded an ill-fated mission into the wastes of Thar. They are unsure if faction infighting or monsters got the best of their expedition team as they followed a map to locate a supposed lost tomb. What dangers and treasures await the party as they go seeking rumors of riches?
The Great Mage Cheiromar, known as Aglahund the Mighty, is said to be buried under the Leaning Stone atop Galzar's Crag. One of his apprentices, Ulthorn, has been discovered dead in an aperture of the Leaning Stone - a doorway that locals swear has never been there before! You must discover how Ulthorn died and the mystery of the Leaning Stone. In the process, you may find yourself at the Endless Stair. Those who never climbed it say is seems to lead nowhere. Those who did never lived to tell of it. Will you dare ascend into the unknown? TSR 9192

The heroes find themselves on a road recently beset by bandits. As they stop to rest for the night near the ruins of an old fort, the truth behind the bandit attacks is revealed: War Dogs. The heroes must fend off the attack before figuring out how to stop the body bandits once and for all. This product contains: - A short adventure for a 1st-level party. - A drop-in, little-prep adventure for any campaign. - 2 combat encounters - 1 negotiation - A 5 room dungeon - Cartography from Dyson Logos with starting positions for encounters. - Written for 5 heroes, with scaling for as little as 3 and as many as 6.

A dark and grievous peril has befallen the peaceful free-village of Peppermint as the forces of undeath raised by Senerith Wildblossom, ravage the land. An eon ago he was a proud elven healer of great renown in Duskwood Dell, that has been reduced to a mere husk of his former self, becoming a manifestation of pure evil, intent on wreaking havoc and mayhem to all the living – a Zombie Lord. The players are called to assist Peppermint village and investigate the nearby woodcutting hamlet of Snakewood. The hamlet has been destroyed by the despicable zombie lord, and his forces are now underway to attacking Peppermint too! The players will have to travel to Snakewood hamlet as well as what used to be Duskwood Dell, and then make a mad rush against time while also carrying an injured Halfling, to warn and defend the unsuspecting villagers.

Lord Blackmoor's son has been kidnapped, and is being held in the crypts beneath an ancient fortress. Can our heroes rescue the boy before he is sacrificed in a diabolical ceremony? The party responds to a plea for assistance from Lord Blackmoor, whose son Willet has been kidnapped. Blackmoor desperately needs someone to mount a rescue mission. The party journeys along the old East Trail, facing bandits and dangerous obstacles before delving beneath the ruins of Firestone Keep, encountering fearsome enemies and ancient magic. Finally, the party must fight for their lives as the truth about Willet’s abduction is revealed.