
To stop a devastating rampage of giants across the land, the party must venture into the lair of the stone giant thane Arnak to uncover the truth about why he has broken his peace with the neighboring dwarves. In the process, they will have the opportunity to retrieve important symbols of the fight against the giants and uncover a dangerous excavation. The adventure is part of the "Against the Giants" series originally by Gary Gygax, hence the writing credit.

Imprisoned in the first layer of Hell a group of unfortunate adventurers must find their way out amidst the chaos of the Blood War. Will they escape before the Lord of the Keep finds them? Well, only time will tell...
A boxful of trouble. Sugar and spice and everything nice, that's what little girls are made of - but not this one! Think of this short adventure as 'Home Alone' meets AD&D. An apprentice to the town's wizard accidentally got into the cursed items while her teacher was away. Now she's acting strangely and playing a dangerous game of hide and seek with the party! Pgs. 44-47

Retrieve the bones of a dracolich to save the life of a paladin. The epic conclusion of the Mere of Dead Men series. Set in the Mere of Dead Men region of the Forgotten Realms.

"An army on the move, an ancient artifact, its purpose long forgotten, and the sinister plans of an unknown foe: When these elements combine, it's bad news for the good-aligned cities of the Blood Plateau. A massive band of orcs is marching on the Monastery of the Yellow Lotus, intent upon taking the "Flower That Does Not Bloom." The heroes must trek through goblin-infested tunnels and monster-filled woods ahead of the orcish horde, in a deadly Race to the Yellow Lotus." This adventure is the second in the "Tales from the Blood Plateau" series, but works well as a standalone or an intro to another campaign. Though the party does not actually engage the Death Knight/Blackguard antagonist, he is the primary driving force behind the events of the adventure. Published by MonkeyGod Enterprises and Highmoon Press

The Shackled City Adventure Path enters the home stretch as the forces of evil take direct action against the heroes of the Cauldron. Dangerous secrets are revealed, important NPCs bit the dust, and your heroes will never know who to trust again! This adventure is seventh part of the Shackled City Adventure Path that began with "Life's Bazaar" (Dungeon #97). Pgs. 36-67
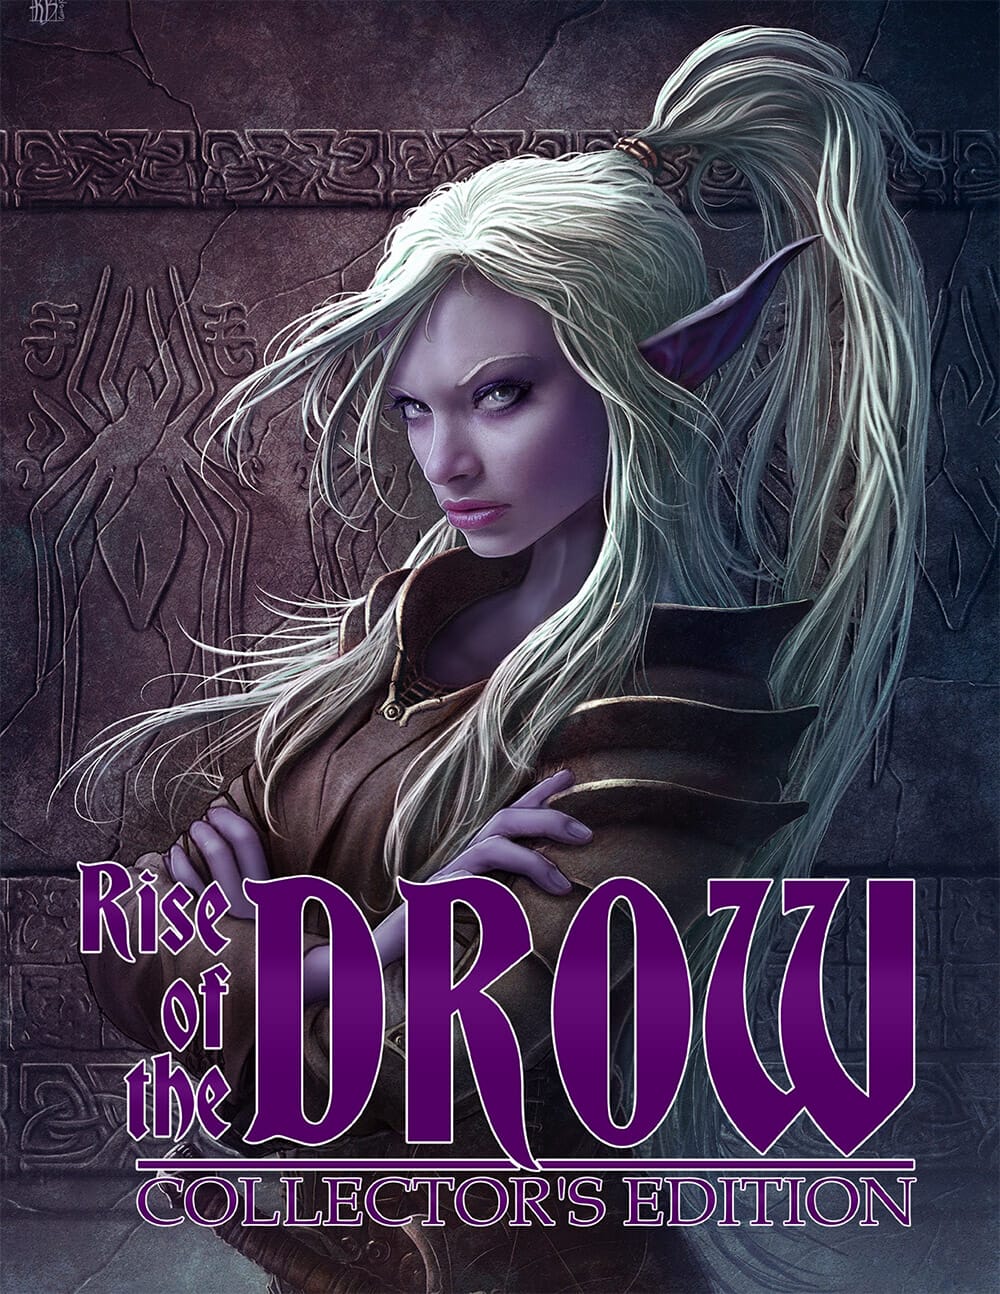
Tonight, a ceremony of light is taking place on the surface. Meanwhile, a world away in the city of spiders, a drow matron solidifies a pact with soul-consuming entities who require great sacrifices in trade for unimaginable power. Drow eyes turn to the surface. This book contains a mega-adventure and setting, taking characters across the surface and into the depths of the world. Adventurers will meet unique denizens, battle horrors of the Underworld, explore epic locations, and fight to stop the rise of the drow.

The Clockwork Queen and the Dame of Dirt have been fierce rivals for years--but a brazen abduction sees the situation escalate dangerously. To put matters right, the party must scale an ever-changing clockwork tower full of weird magic and mechanical mayhem, and attempt a daring rescue!
The orcs remember Tarran Kratys. Today he wishes they had not.

A loyal band of adventurers must find the Horn of Kiri-Jolith, a powerful artifact that could help turn the tide of the War of the Lance before the forces of the Blue Dragonarmy claim it. They must delve into the ruins of Castle di Garinoc - the home of Lord Kiril Garinoc, a Knight of Solamnia who perished 300 years ago in the Cataclysm - and recover the horn before the Blue Dragonarmy arrives and claims it for their own! Dragonlance: Quest for the Horn of Kiri-Jolith is a 5-7 hour adventure for 5th level characters. Inside Quest for the Horn of Kiri-Jolith you'll find: A multi-chapter adventure heavily-researched to fit neatly with previous canon and into the larger story of the War of the Lance. Exploration through a ruined castle from before the Cataclysm. Encounters with draconians, goblins, the ghostly lady that haunts the castle, and a final siege battle with the Blue Dragon, Swiftbolt! Unique versions of classic enemies and magic items to use in your own campaign. A foundational adventure designed to start a larger Dragonlance campaign.

The lizard men are just pining for the fjords. A plague of locusts is bad enough, but when the locusts are each a yard long, the farmers need professional help! A swarm of giant locusts has been eating all the grapes and leaves from the vineyards of Vineyard Vale! In addition, lizard folk have attacked and destroyed several steads in the vale. The farmers are desperate, but what they don't know is that these events are linked! A mage known as Rhungold the Trickster has been orchestrating the attacks and locusts to try to scare the farmers off the land so he can claim it as his own. The players slowly piece the story together by investigating a fairly linear story through a cave, a marsh, and finally to a compound owned by the wizard Rhungold. Pgs. 6-16
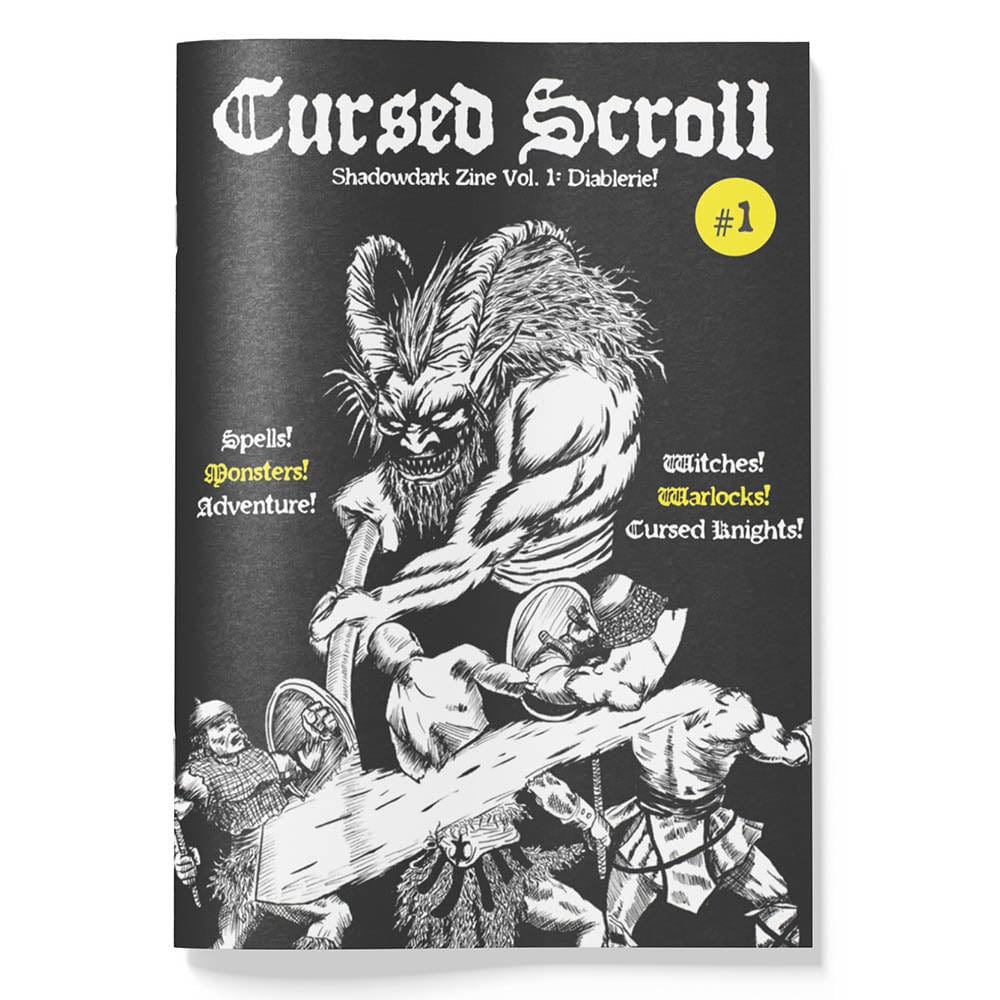
A 1st-level dungeon crawl heavy on exploration, factions, and sorcerous wonder for Shadowdark RPG! Go below the dripping ruins of Bittermold Keep to hunt for legendary treasures and face off against three competing factions that want to claim the Hideous Halls: the degenerate Bittermold family, the wild halfling Howlers, and the disgruntled mutant catfish. The characters might even encounter the abominable god-ooze, Mugdulblub! Winner of "The Best" rating from tenfootpole.org! View the adventure walkthrough video here: https://www.youtube.com/watch?v=mVJ-t7qMjPo This adventure is part of Cursed Scroll Zine 1: Diablerie! Inside the zine, you'll find cursed knights channeling demonic power, mist-addled forests where witches and warlocks stalk the trees, and crumbling castles housing ancient, eldritch creatures. Shadowdark RPG is what classic, old-school fantasy gaming would look like after being redesigned with 50 years of innovation. It's the world's greatest roleplaying game in a whole new light! Learn more and download the free rules here: https://www.thearcanelibrary.com/pages/shadowdark

Part 3 of the Shackled City Adventure Path "Wherein a tribe of the Sea Mother's children suffer for sparing the life of a mad prisoner they probably should have eaten." Synopsis: The adventure begins with an Umber Hulk attack in the middle of the city. The fame gained by assisting during the attack allows them to gain the notice of a representative of Davked Splintershield. The group is asked to rescue Zenith Splintershield from a Kuo-Toan temple in the Underdark. But to find it, they have to visit Crazy Jared to locate an entrance to it. Upon journeying to Crazy Jared's, they fight Hookface's offspring. After more travelling, they are able to descend into the Underdark. Once they find the Kuo-Toan temple, they must fight through many hard challenges, only to realize that Zenith is not a prisoner, but instead is a prophet. Zenith does not go willingly, and so must be captured. Pgs. 28-61

It's a horrible time to have a curse! Each wielding a powerful item to a family legacy, your players are a group of young adventurers who barely survive an attack on their order of vampire-hunters by agents of Dracula. After escaping, they discover Dracula has placed a curse upon the land which makes restful sleep difficult outside of hallowed areas. Dracula, "alive" on another plane but dead on this one, must be resurrected so they can kill him, end the curse, and avenge their dead. To accomplish this goal, the player characters must journey through forest, marsh, hill, and underground paths to retrieve relics of Dracula's last life from keeps and fortresses overrun by monsters and the undead. If they can resurrect him, he will be weak and easy to kill... but the adventurers aren't the only ones who want Dracula on the Material Plane, and Dracula is not the only vampire in the world. Gameplay overview This adventure takes the players from 2nd through 9th or 10th level on a milestone basis as they choose where to travel in what order to retrieve what they need. Starting at a happy gathering at the Belmonte Order, which the characters are hereditary members of, the campaign kicks off with a bang as the group retrieves their chosen legacy items, salvages what other gear they can in a race against time and a growing number of foes, and then escapes to begin their quest. In addition to the six main "dungeons," there are two optional regional lairs, traveling vampires, and many foes along the way. Most of the towns in the area have managed to survive, providing points of light at which the party may stop, long rest safely, acquire supplies, and socialize. Travel is hazardous! 5e classes are balanced for resource management across a 5-8 encounter adventuring day. The campaign is designed to have a semi-variable flow of encounters as the party traels around the area. Encounters grow progressively more difficult as time passes and the party spends more time within a region. These are not random encounters rolled on a table, but encounters designed to be unique to each area's geography, combat terrain, and mix of foes. As the party spends more time in a region or revisits it, the encounter difficulty increases. Dracula's curse requires a Constitution saving throw to successfully long rest outside of Hallowed areas (towns). The difficulty scales up over time, forcing the party to balance speed and safety as they try to accomplish their goals without pushing beyond the limits of what they can handle. The game concept, general map layout, and some enemy distributions are loosely inspired by Castlevania II for the NES, one of the forerunners of the "Metroidvania" genre. Dracula's Curse is indeed a game in which the forests are dark and full of monsters, and every night is a horrible one to have a curse. Includes 15 Legacy items, from weapons like whips and swords to a shield, a belt, or a decanter of holy water 60+ enemy statblocks 8 unique dungeons with unique layouts & challenges 5 inhabited towns with multiple named NPCs 100+ travel encounters (expect to use 30-50%) The module is printer-friendly with no artwork and straightforward grid maps for location-based encounters which require one.
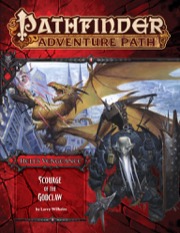
Now bound to Queen Abrogail by infernal contracts, the villainous adventurers are tasked with destroying the Glorious Reclamation's headquarters in the former citadel of the Hellknight Order of the Godclaw, where they face a gold dragon ally of Iomedae herself! Only if they can survive the terrible onslaught of this fearsome foe and secure the citadel from the revolutionaries can the vile characters succeed at their quest—to perform an evil ritual, using the dragon's head to craft a legendary weapon capable of defeating the Glorious Reclamation's army of valorous knights once and for all.

Displace Beast Maze is an adventure that has one long encounter that is a combination of a puzzle (maze) and combat encounter (Displacer beast). The Displacer beast tentacle's ability to attack through the maze walls, knowledge of the layout, and hit-and-run tactics make the labyrinth both a useful and possibly deadly lair for the creature. Pgs. 27-29

A hobgoblin force is expanding and threatening the land. Confronted with the relentless advance of Azarr Kul’s horde, the characters must undertake vital missions to influence the outcome of the war. Can they shatter the armies of the enemy, or will Azarr Kul’s dreams rain destruction upon the human lands? The adventure is fast-paced and time-sensitive, and requires almost constant movement by the party. WoTC 95385

First the bandits attacked then the Roc carried away the guide. Since then you have blindly followed the camels hoping that their instincts would lead you to water or help of some kind. You and your friends are lost in a sea of sand. Plodding along in the shadow of the camels and doing your best to stay alert. Ahead the heat shimmers take shape. This time it is a castle. Blinking away the dryness in your eyes you realize that the tower is not a mirage but it is broken.

The baron’s wife is dead. But she isn’t gone. Can the players lay her to rest and defeat the festering evil hidden away inside the Gilded Tower? Another thrilling tale of madness and mystery inspired by Edgar Allan Poe’s writing! Following the events of Masque of the Worms, the story continues into the hauntingly beautiful forests of the Painted Valley… Valley of the Gilded Tower is a one-shot for four to six 2nd-level characters. It takes about 2-3 hours to complete and includes: Events inspired by Edgar Allan Poe's most ethereal writing: -A new monster that can take over the minds of its victims -Combat cards for each monster, PC, and special treasure -Gorgeous, hand-drawn maps by Jake from Beware the Wizard

This is the "Vecna: Eve of Ruin" + "Phandelver and Below: The Shattered Obelisk" crossover you didn't know you've been waiting for. As dusk settles over the village of Phandalin, a palpable sense of unease grips the villagers. Rumors spread that a hilltop keep has inexplicably materialized on the outskirts of town, and worse yet, the sun fails to rise come morning. Unbeknownst to the townsfolk, a powerful cult of Vecna-worshipping vampires has arrived, and the only hope Phandalin has is a ragtag pack of werewolves and a few brave heroes ready to make their mark on the world. While this adventure can be run as a standalone module, it can also seamlessly serve as a prequel to "Vecna: Eve of Ruin" or as a side quest for "Phandelver and Below: The Shattered Obelisk." This module can also serve as a sequel to "Phandalin Werewolves: Beasts of Her Moon" which is exclusively available over at the dmsguild. Designed for 4-6 players with an average party level ranging anywhere from 4 to 7, this adventure aims to create a backstory of bad blood between the cult of Vecna and the PCs. It includes a monster folio, tokens, as well as maps from the esteemed Tessa Create Maps, Dyson Logos, and Elven Tower.