
Deep beneath the keep of Castle Greyhawk, a really nasty device is creating mutated, unpleasant monsters that are running wild throughout the castle and the twelve-level dungeon beneath. The call has gone out for heroic, fearless, and perhaps foolish adventures to out-hack, out-slash, and sometimes even out-think hordes of doughmen, headless mice, manic bee queens, really bad dead things, burgermen, crazed chefs, and movie moguls. If they survive these and much odder obstacles, the characters still have to find the nasty monster creator and put it out of business. Castle Greyhawkcontains 13 detailed levels for adventuring and exploration. Each is a separate adventure written by different author and each has its own unique brand of baffling weirdness. Some levels involve solving puzzles and some require good old hacking and slashing. The adventure can be played separately or all together as a grand quest to free Castle Greyhawk from the evil, rotten hordes that are plaguing it. The common theme of this dungeon is that no joke is so old, no pun so bad, and no schtick so obvious that it can't be used to confuse and trip up PCs! 13 Adventures for Character Levels 0 to 25. TSR 9222

The Legend of the Black Monastery Two centuries have passed since the terrible events associated with the hideous cult known as the Black Brotherhood. Only scholars and story-tellers remember now how the kingdom was nearly laid to waste and the Black Monastery rose to grandeur and fell into haunted ruins. The Brothers first appeared as an order of benevolent priests and humble monks in black robes who followed a creed of kindness to the poor and service to the kingdom. Their rules called for humility and self denial. Other religious orders had no quarrel with their theology or their behavior. Their ranks grew as many commoners and nobles were drawn to the order by its good reputation. The first headquarters for the order was a campsite, located in a forest near the edge of the realm. The Brothers said that their poverty and dedication to service allowed them no resources for more grand accommodations. Members of the Black Brotherhood built chapels in caves or constructed small temples on common land near villages. They said that these rustic shrines allowed them to be near the people they served. Services held by the Brothers at these locations attracted large numbers of common people, who supported the Black Brotherhood with alms. Within 50 years of their first appearance, the Black Brotherhood had a number of larger temples and abbeys around the kingdom. Wealthy patrons endowed them with lands and buildings in order to buy favor and further the work of the Brothers. The lands they gained were slowly expanded as the order’s influence grew. Many merchants willed part of their fortunes to the Black Brotherhood, allowing the order to expand their work even further. The Brothers became bankers, loaning money and becoming partners in trade throughout the kingdom. Within 200 years of their founding, the order was wealthy and influential, with chapters throughout the kingdom and spreading into nearby realms. With their order well-established, the Black Brotherhood received royal permission to build a grand monastery in the hill country north of the kingdom’s center. Their abbot, a cousin of the king, asked for the royal grant of a specific hilltop called the Hill of Mornay. This hill was already crowned by ancient ruins that the monks proposed to clear away. Because it was land not wanted for agriculture, the king was happy to grant the request. He even donated money to build the monastery and encouraged others to contribute. With funds from around the realm, the Brothers completed their new monastery within a decade. It was a grand, sprawling edifice built of black stone and called the Black Monastery. From the very beginning, there were some who said that the Black Brotherhood was not what it seemed. There were always hints of corruption and moral lapses among the Brothers, but no more than any other religious order. There were some who told stories of greed, gluttony and depravity among the monks, but these tales did not weaken the order’s reputation during their early years. All of that changed with the construction of the Black Monastery. Within two decades of the Black Monastery’s completion, locals began to speak of troubling events there. Sometimes, Brothers made strange demands. They began to cheat farmers of their crops. They loaned money at ruinous rates, taking the property of anyone who could not pay. They pressured or even threatened wealthy patrons, extorting money in larger and larger amounts. Everywhere, the Black Brotherhood grew stronger, prouder and more aggressive. And there was more… People began to disappear. The farmers who worked the monastery lands reported that some people who went out at night, or who went off by themselves, did not return. It started with individuals…people without influential families…but soon the terror and loss spread to even to noble households. Some said that the people who disappeared had been taken into the Black Monastery, and the place slowly gained an evil reputation. Tenant farmers began moving away from the region, seeking safety at the loss of their fields. Slowly, even the king began to sense that the night was full of new terrors. Across the kingdom, reports began to come in telling of hauntings and the depredations of monsters. Flocks of dead birds fell from clear skies, onto villages and city streets. Fish died by thousands in their streams. Citizens reported stillborn babies and monstrous births. Crops failed. Fields were full of stunted plants. Crimes of all types grew common as incidents of madness spread everywhere. Word spread that the center of these dark portents was the Black Monastery, where many said the brothers practiced necromancy and human sacrifice. It was feared that the Black Brotherhood no longer worshipped gods of light and had turned to the service of the Dark God. These terrors came to a head when the Black Brotherhood dared to threaten the king himself. Realizing his peril, the king moved to dispossess and disband the Black Brother hood. He ordered their shrines, abbeys and lands seized. He had Brothers arrested for real and imagined crimes. He also ordered investigations into the Black Monastery and the order’s highest ranking members. The Black Brotherhood did not go quietly. Conflict between the order and the crown broke into violence when the Brothers incited their followers to riot across the kingdom. There were disturbances everywhere, including several attempts to assassinate the king by blades and by dark sorcery. It became clear to everyone that the Black Brotherhood was far more than just another religious order. Once knives were drawn, the conflict grew into open war between the crown and the Brothers. The Black Brotherhood had exceeded their grasp. Their followers were crushed in the streets by mounted knights. Brothers were rounded up and arrested. Many of them were executed. Armed supporters of the Black Brotherhood, backed by arcane and divine magic, were defeated and slaughtered. The Brothers were driven back to their final hilltop fortress – the Black Monastery. They were besieged by the king’s army, trapped and waiting for the king’s forces to break in and end the war. The final assault on the Black Monastery ended in victory and disaster. The king’s army took the hilltop, driving the last of the black-robed monks into the monastery itself. The soldiers were met by more than just men. There were monsters and fiends defending the monastery. There was a terrible slaughter on both sides. In many places the dead rose up to fight again. The battle continued from afternoon into night, lit by flames and magical energy. The Black Monastery was never actually taken. The king’s forces drove the last of their foul enemies back inside the monastery gates. Battering rams and war machines were hauled up the hill to crush their way inside. But before the king’s men could take the final stronghold, the Black Brotherhood immolated themselves in magical fire. Green flames roared up from the monastery, engulfing many of the king’s men as well. As survivors watched, the Black Monastery burned away, stones, gates, towers and all. There was a lurid green flare that lit the countryside. There was a scream of torment from a thousand human voices. There was a roar of falling masonry and splitting wood. Smoke and dust obscured the hilltop. The Black Monastery collapsed in upon itself and disappeared. Only ashes drifted down where the great structure had stood. All that was left of the Black Monastery was its foundations and debris-choked dungeons cut into the stones beneath. The war was over. The Black Brotherhood was destroyed. But the Black Monastery was not gone forever. Over nearly two centuries since its destruction, the Black Monastery has returned from time to time to haunt the Hill of Mornay. Impossible as it seems, there have been at least five incidents in which witnesses have reported finding the Hill of Mornay once again crowned with black walls and slate-roofed towers. In every case, the manifestation of this revenant of the Black Monastery has been accompanied by widespread reports of madness, crime and social unrest in the kingdom. Sometimes, the monastery has appeared only for a night. The last two times, the monastery reappeared atop the hill for as long as three months…each appearance longer than the first. There are tales of adventurers daring to enter the Black Monastery. Some went to look for treasure. Others went to battle whatever evil still lived inside. There are stories of lucky and brave explorers who have survived the horrors, returning with riches from the fabled hordes of the Black Brotherhood. It is enough to drive men mad with greed – enough to lure more each time to dare to enter the Black Monastery.

Trouble stirs in the Borderlands. Khazra, Red Prophet of the Bull God, has united the fractious People of the Bull and proclaimed the promised time is nigh. The Bull God demands blood! Fanatics raid the outlying villages, farmsteads and towns for sacrifices. None are safe! Unbeknownst to Khazra, a power older than man stirs under the earth, fed by the blood of sacrifice. Can a band of unlikely heroes prevail where all before them have failed? Are they brave enough to face not just the minions of the Red Prophet, but the eldritch terror of the Obelisk that Thirsts? The land will suffer terrors lost to time--unless heroes step up and answer the call! A module for 3-6 characters of levels 3-5. This adventure includes a situation for a 4th level paladin to find their mount. The adventure includes new spells, monsters, and magic items.

What begins as a simple expedition to settle a new village in the ruins of the mysterious Castle Inverness sets off a chain of events that could threaten every living being from Winterhaven to Hammerfast. Not everyone in the Nentir Vale is happy to see civilization brought to Inverness, particularly the ghost of Salazar Vladistone, who commands the spectral legion called the Phantom Brigade. "March of the Phantom Brigade" is an adventure designed for season 4 of the Dungeons & Dragons Encounters official play program. It includes the information the Dungeon Master needs to run the adventure, thirteen ready-to-play encounters (each intended for one session of play), and full-color foldout battle maps depicting the various encounter locations.

The Tower. Standing on a grassy hilltop, it seems unremarkable from a distance. Two stories high, cylindrical, thatched roof. Simple and idyllic. There's even a whisper on the breeze, or maybe a thought in the back of your mind: There's nothing to see here. What brought you in the first place? Just turn around and go back. Those that venture nearer find that it's much more than meets the eye. The closer you get, the taller the tower seems to be... until standing at its base, the tower rises dozens of floors and pierces the sky. Do you have the courage to enter the unknown sanctum? What could possibly await you within? Gather your allies and find out!

A loyal band of adventurers must find the Horn of Kiri-Jolith, a powerful artifact that could help turn the tide of the War of the Lance before the forces of the Blue Dragonarmy claim it. They must delve into the ruins of Castle di Garinoc - the home of Lord Kiril Garinoc, a Knight of Solamnia who perished 300 years ago in the Cataclysm - and recover the horn before the Blue Dragonarmy arrives and claims it for their own! Dragonlance: Quest for the Horn of Kiri-Jolith is a 5-7 hour adventure for 5th level characters. Inside Quest for the Horn of Kiri-Jolith you'll find: A multi-chapter adventure heavily-researched to fit neatly with previous canon and into the larger story of the War of the Lance. Exploration through a ruined castle from before the Cataclysm. Encounters with draconians, goblins, the ghostly lady that haunts the castle, and a final siege battle with the Blue Dragon, Swiftbolt! Unique versions of classic enemies and magic items to use in your own campaign. A foundational adventure designed to start a larger Dragonlance campaign.

You and your cohorts have their first adventure under their belts and are now recognized heroes of the realm! You plan on building your reputations but one of your henchmen has promised his love that he would marry her. You and your group are happy to attend and quickly discover that danger lurks everywhere as bandits crash the celebration.

The battle against the slavers continues! You end your fellow adventurers have defeated the slavers of Highport, but you have learned of the existence of another slaver stronghold, and you have decided to continue the attack. But beware! Only the most fearless of adventurers could challenge the slavers on their own ground, and live to tell of It! Second part of Scourge of the Slavelords (A1-4) TSR 9040

In Par2 - Patrician Stronghold, the base defense of the nation is discussed in detail. For decades the protective ring of fortresses has protected the country from outside forces bent on overthrowing it. This offering explains the general overview of the consistently made fortifications as well as giving a low-level adventure to explore a deserted one!

A proud paladin’s quest for glory against marauding orcs ends in tragic failure with his disappearance and presumed death. Worse still, an artifact of his faith entrusted to him has gone missing. Can the adventurers reclaim the artifact and force an end to the hostilities, or will the brightest beacon of good in the Western Heartlands be extinguished? Pgs. 28-43
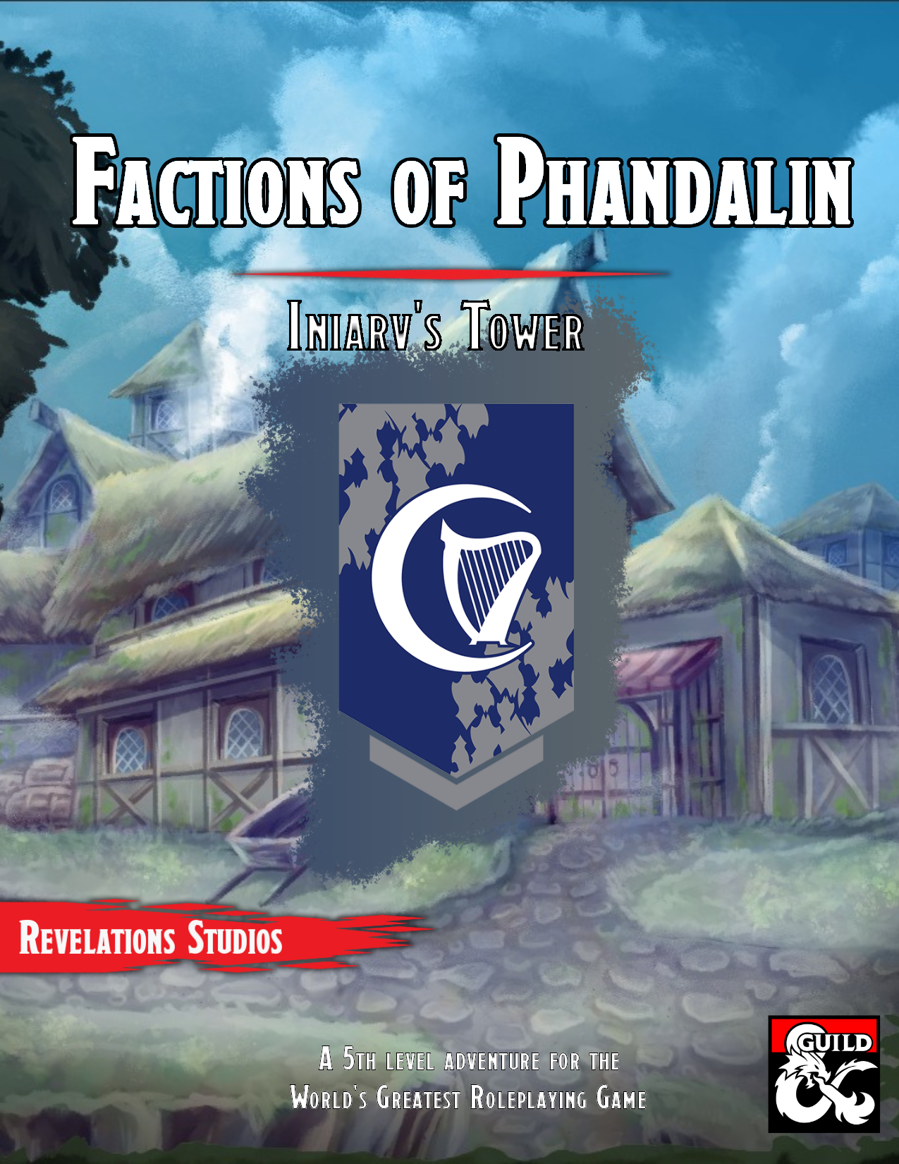
This book goes over the various rules around the faction of the Harpers in Phandalin and the Forgotten Realms, making it easy for any new or veteran DMs to integrate it more into the core stories being told, and making the faction feel more useful for the players that choose to join. The adventure sees the characters on a mission to Iniarv's Tower, sent to search for the artifact, Bowgentle's Spellbook, and rescue the fellow Harper member, Brodven.
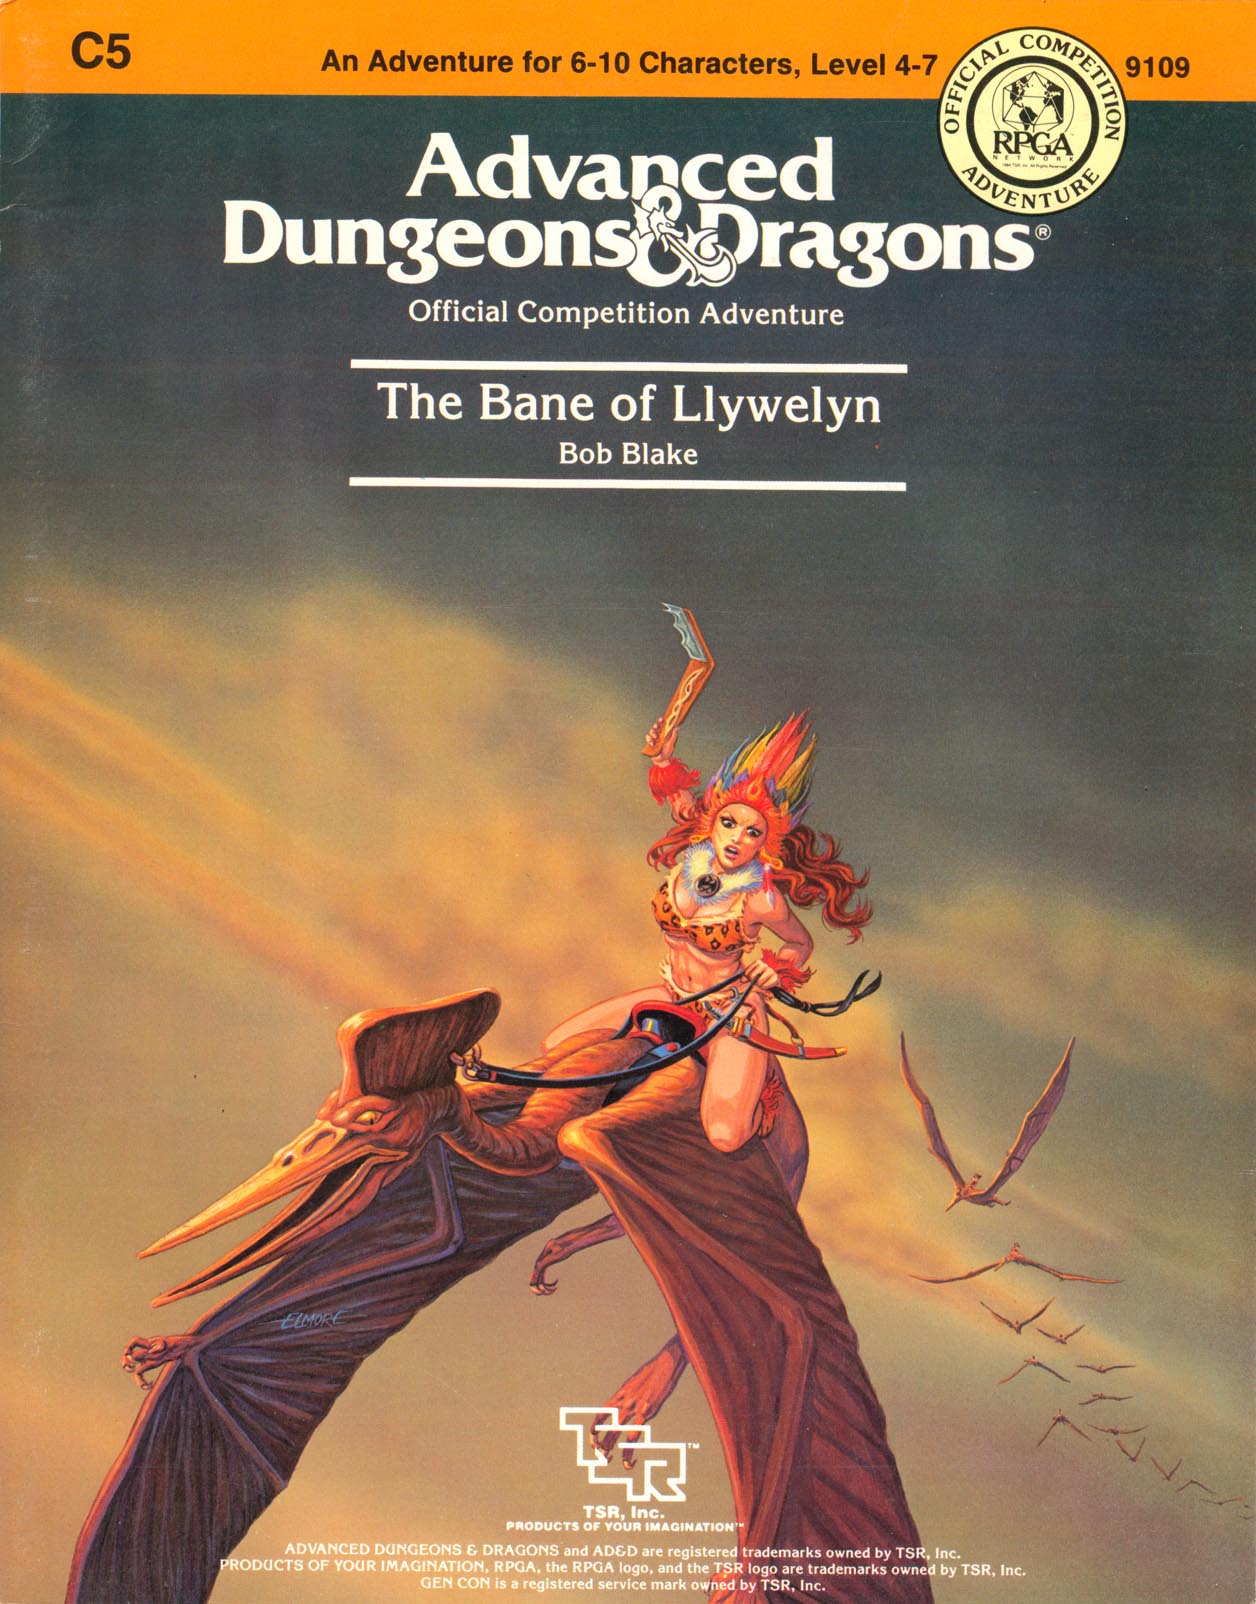
Excitement and unrest grip the land of Pellham. Two hundred years ago, the royal line of kings was deposed and replaced by a High Council. The current council is well-meaning but hopelessly incompetent. Everyone agrees that a drastic change is needed for the kingdom to survive. The ancient Prophecy of Brie foretells that in Pellham's darkest hour, a king from the past will return to restore the kingdom. The time of the prophecy is now. All is in readiness: the symbols of the ancient kings have been recovered, the keys to the royal tomb are in hand, powerful magics to revive the long-dead king have been secured at great cost. Only one problem remains... no one knows where the king is buried! The Bane of Llywelyn concludes the epic adventure of the Prophecy of Brie -- can YOU insure that the quest will be a success? The adventure can be played as a separate adventure or as the second part of the Prophecy of Brie series. TSR 9109
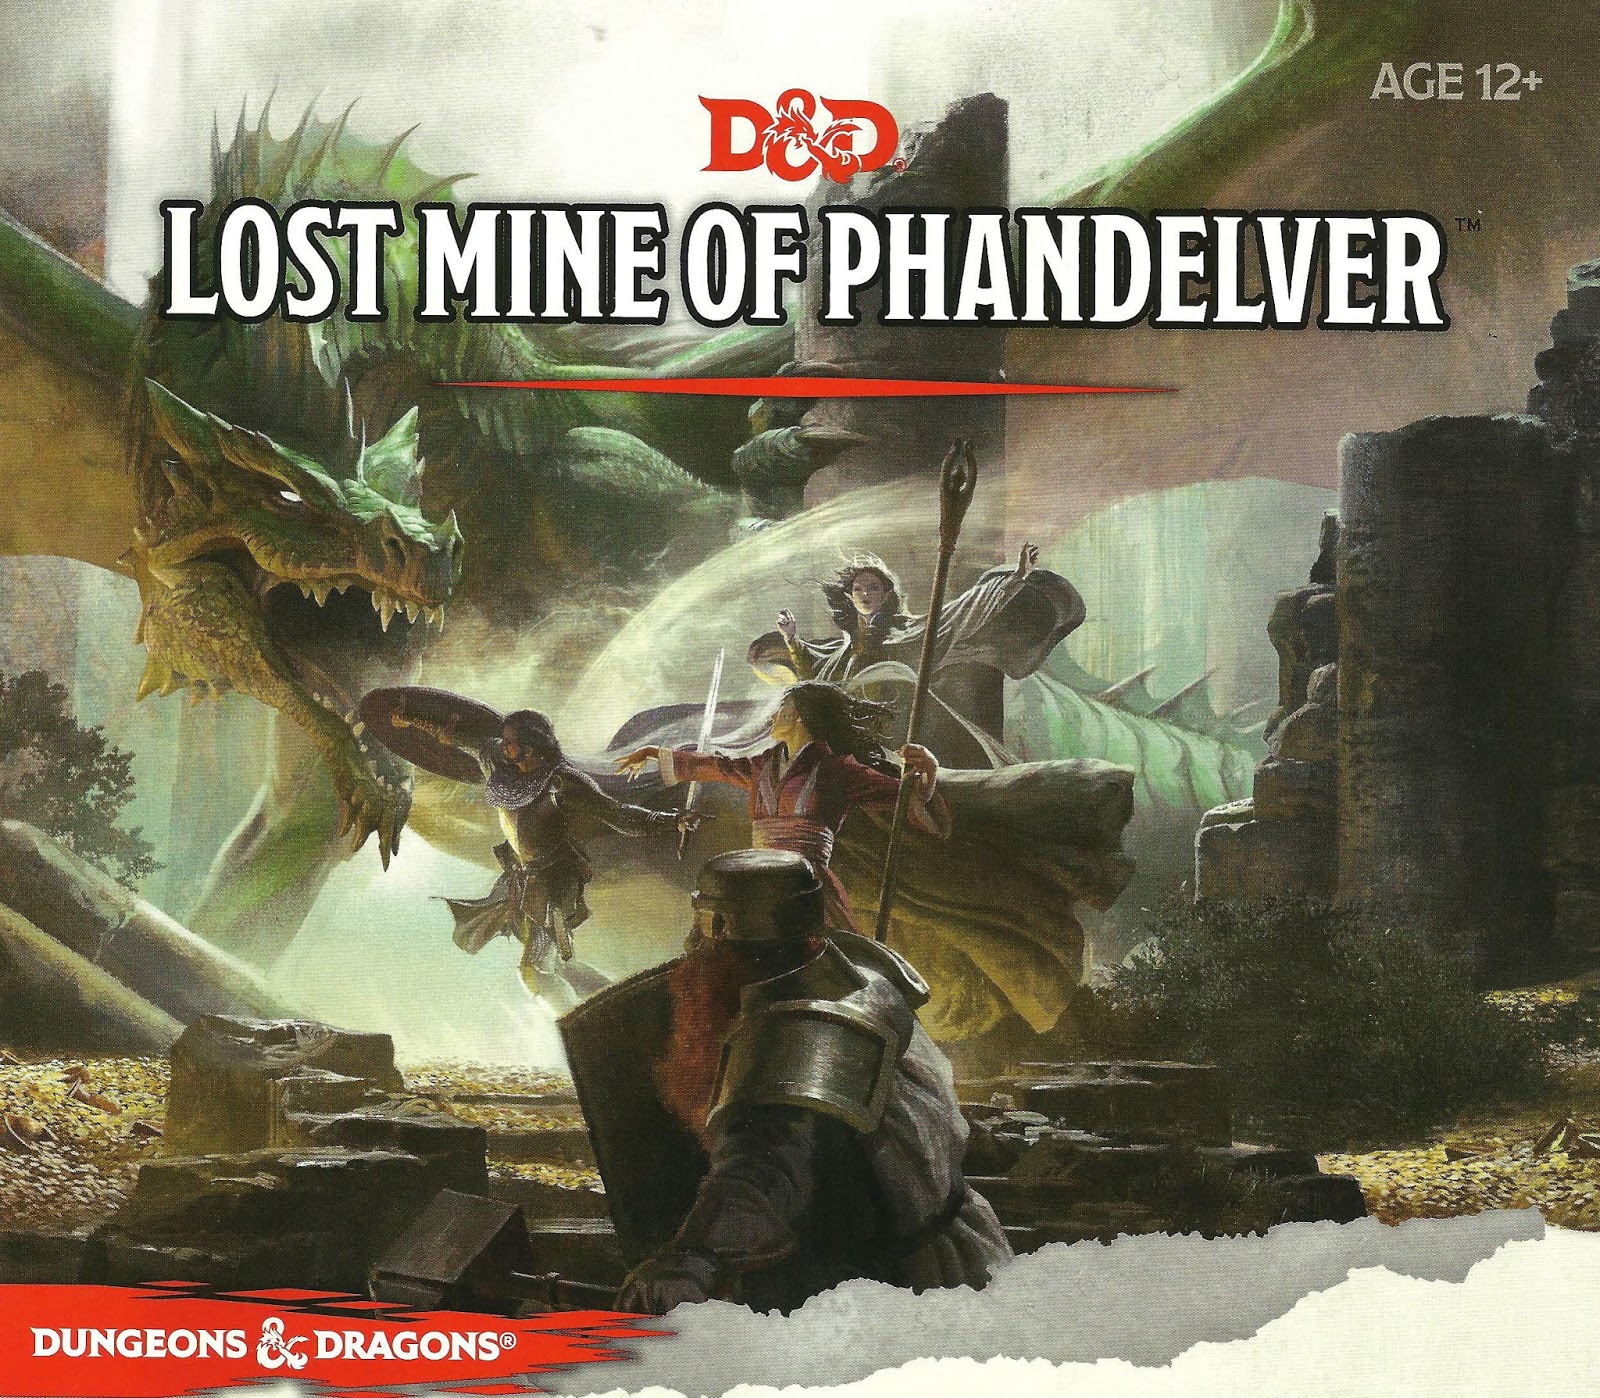
"More than five hundred years ago, clans of dwarves and gnomes made an agreement known as the Phandelver’s Pact, by which they would share a rich mine in a wondrous cavern known as Wave Echo Cave. In addition to its mineral wealth, the mine contained great magical power. Human spellcasters allied themselves with the dwarves and gnomes to channel and bind that energy into a great forge (called the Forge of Spells), where magic items could be crafted. Times were good, and the nearby human town of Phandalin (pronounced fan-duh-lin) prospered as well. But then disaster struck when orcs swept through the North and laid waste to all in their path. A powerful force of orcs reinforced by evil mercenary wizards attacked wave echo cave to seize its riches and magic treasures. Human wizards fought alongside their dwarf and gnome allies to defend the Forge of Spells, and the ensuing spell battle destroyed much of the cavern. Few survived the cave-ins and tremors, and the location of Wave Echo Cave was lost. For centuries, rumours of buried riches have attracted treasure seekers and opportunists to the area around Phandalin, but no one has ever succeeded in locating the lost mine. In recent years, people have resettled the area. Phandalin is now a rough-and-tumble frontier town. More important, the Rockseeker brothers - a trio of dwarves - have discovered the entrance to Wave Echo Cave, and they intend to reopen the mines. Unfortunately for the Rockseekers, they are not the only ones interested in Wave Echo Cave. A mysterious villain known as the Black Spider controls a network of bandit gangs and goblin tribes in the area, and his agents have followed the Rockseekers to their prize. Now the Black Spider wants Wave Echo Cave for himself, and he is taking steps to make sure no one else knows where it is." Extra Info from AL.com users: by @marcellarius. "There are a variety of locations in this adventure: the town of Phandalin, a gang hideout, a ruined keep in the forest, a destroyed village, and Wave Echo Cave (a dungeon crawl). The adventure is written in a sandbox style and relies on the players to choose their path. Phandalin offers several side-quests which could serve as hooks for continuing adventures. The premade characters have ties in their backgrounds to NPCs and locations. If you're not using these you'll need to consider other ways to introduce key NPCs."

Candlekeep is under siege, and it needs adventurers to help protect it! Heed the call to defend the legendary monastery and stand against the tide of evil. Confrontation at Candlekeep was used as a D&D Next playtest for D&D 5E. It was released to organized play Dungeon Masters in August 2013, and ran at Gen Con, PAX, and other major conventions. The adventure includes rules for running multiple tables, but can also be run for just one table. The attack on Candlekeep by forces of Asmodeus is tied to the events in Ed Greenwood's novel about the Sundering, "The Herald."

Experience this totally wicked two-hour adventure for 3-6 characters levels 5-10 from the fantabulous minds of Anthony Joyce and Oliver Clegg! Whoa! You’ve just killed Strahd but his body remains?! How can this be?! Lead your party on a retro journey through Castle Ravenloft to collect five pieces of a powerful artifact known as the Pentaforce to summon a powerful entity that can put an end to Strahd’s reign once and for all! Experience the rad music of the 1980’s as it guides you from room to room, confronting horrors like the Brunch Club, Ghost Hunters, thrilling zombies, Ricky Roll, the Loonies, Prom (Barovian Winter Fantasy ‘86), a flash-dance off with hags, aerobics with undead, Jeremy Krawfjord, Kris Purkens, and much more! This 1980’s inspired PDF is professionally designed and illustrated by Gordon McAlpin (Creator of Death by Goblins!). Inside you’ll find hyperlinks to each creature and their stat blocks on D&D Beyond accessible for free! This PDF also includes hyperlinks to a curated “Weekend at Strahd’s” playlist on Spotify so you can wow your players and relive the epic music of the 1980’s as you put an end to the reign of Strahd von Zarovich! This adventure does not require players to have played Curse of Strahd, nor does it spoil anything in Curse of Strahd. This adventure is designed to play casually as a one shot in a tubular party atmosphere, it’s soooo bodacious. P.S. One player plays as Strahd’s corpse...yes, you read that correctly...one lucky player gets to play the entire time as the corpse of Strahd! Oh, and the player that dies the most wins a crayon drawing of Frankenstein Ronald Reagan. Enjoy!

The Shackled City Adventure Path enters the home stretch as the forces of evil take direct action against the heroes of the Cauldron. Dangerous secrets are revealed, important NPCs bit the dust, and your heroes will never know who to trust again! This adventure is seventh part of the Shackled City Adventure Path that began with "Life's Bazaar" (Dungeon #97). Pgs. 36-67

All ocean voyages are fraught with peril, yet a voyage to the infamous Isle of Dread might seem to some old salts to be a deliberate goading of the gods of the sea. Many of those who have attempted the voyage before managed to return to civilization often choose not to speak of the trials they experienced on that dangerous route, yet those whose lips can be loosened by a draught of grog whisper amazing stories... tales of pirates, sea monsters, terrifying storms, and perhaps most harrowing of all, of a strange and sinister land without land, a floating graveyard of dead ships mired in a sargasso the size of an island. This place has many names, but its most well-known may be it's most apt - Journey's End. "The Sea Wyvern's Wake" is the third chapter of the Savage Tide Adventure Path, a complete campaign consisting of 12 adventures appearing in Dungeon magazine. For additional aid in running this campaign, check out Dragon magazine's monthly "Savage Tidings" articles, a series that helps players and DMs prepare for and expand upon the campaign. Issue #350 of Dragon magazine features a regional guide to the seafaring environs the PCs can expect on the journey to the Isle of Dread. It’s time to bid farewell to the city of Sasserine as the PCs board the Sea Wyvern for a 3,000-mile voyage south into the uncharted waters of the Vohoun Ocean. Their destination: the Isle of Dread. Pgs. 16-48

In Mulcrow, food - not music - soothes the savage beast. The adventure begins in the town of Griffondale whre the PCs encounter Jelmark, an emissary of the Duke of Mulcrow. Jelmark hires the party to help the witch Rudwilla prepare a special stew for a cantankerous bugbear chief who lives in the Rockforge Mountains. Bruggh the bugbear demans the stew once a year on his birthday.-- from the adventure. Pgs. 34-48
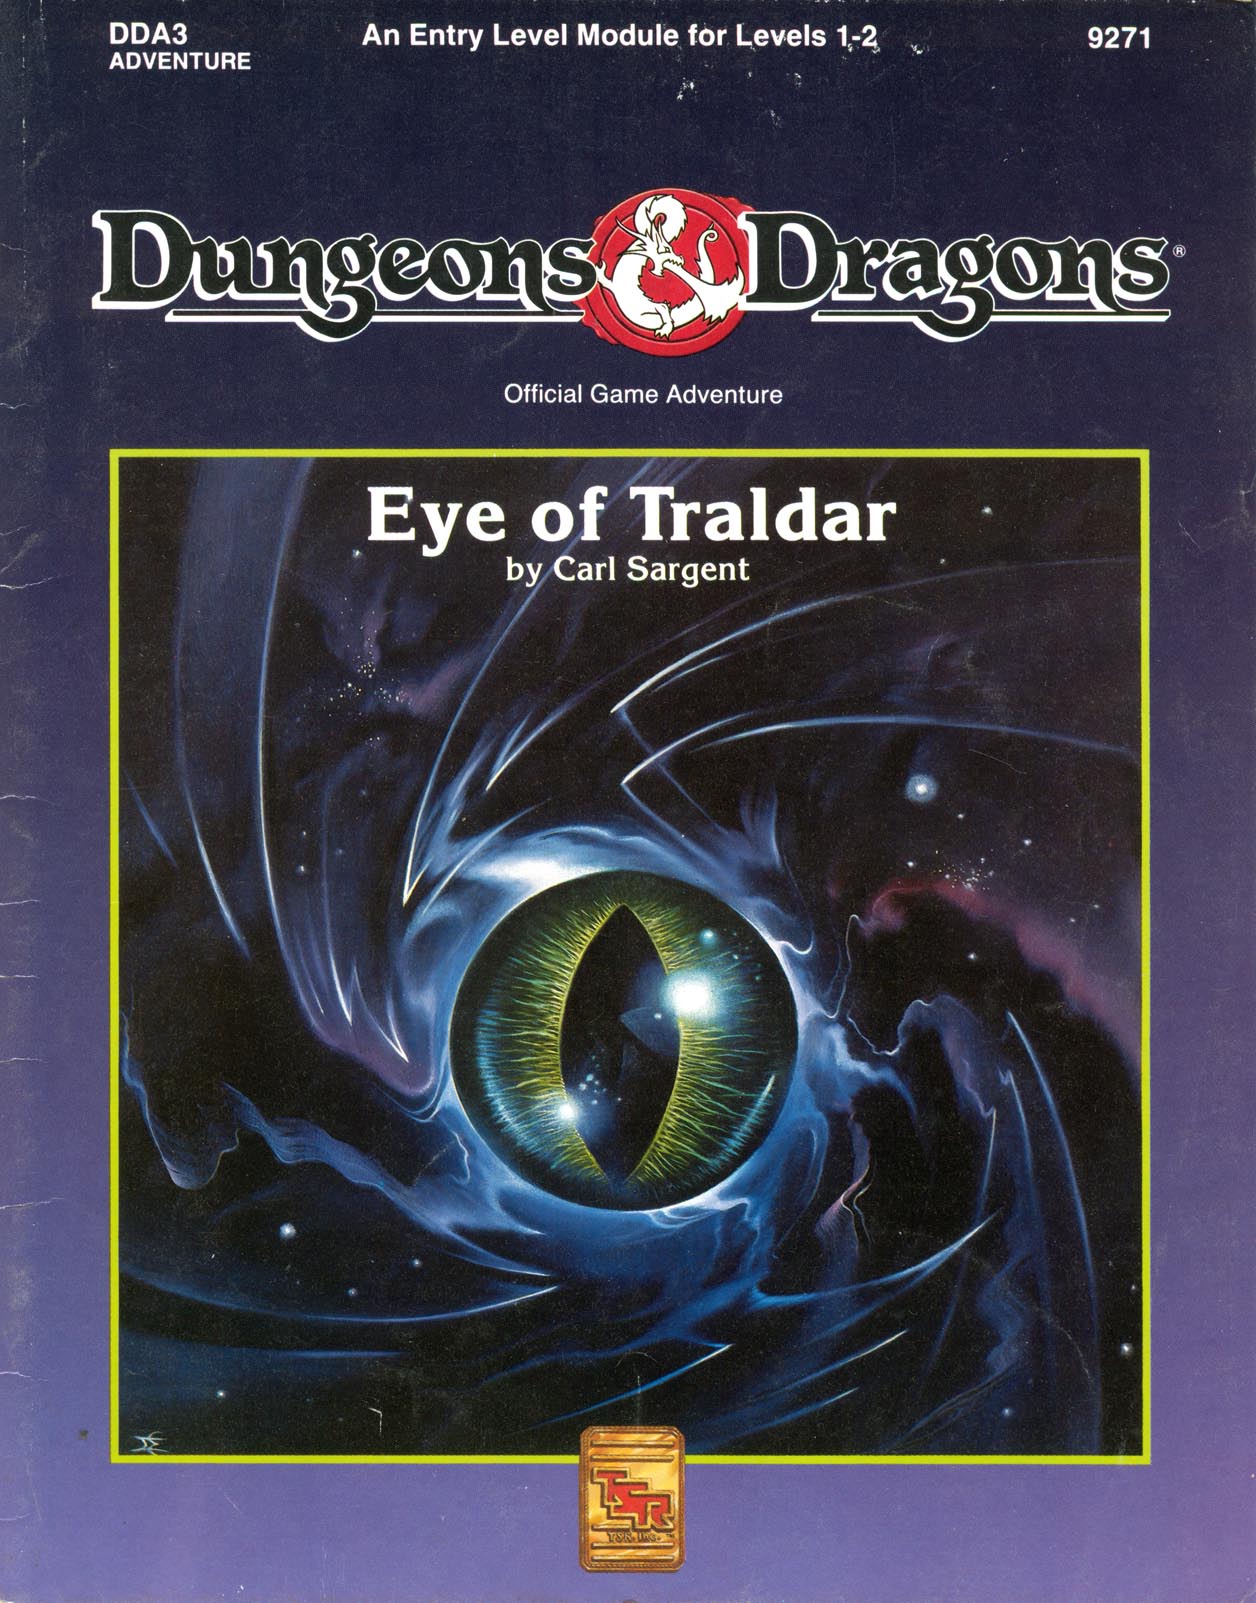
Powerful Magics are Loose in Karameikos! You and your companions are starting on your first adventure and you've been swept into the intrigues surrounding the infamous Black Eagle Barony. To prevent the evil Baron von Hendricks from gaining more power, you and your cmpanions must retrieve the magical Eye of Traldar from the wizard's tower at Fort Doom. Can you escapes the clutches of the armed garrison? Will the Baron gain the powerful artifact and use it for evil? You and your friends make the choices and affect the entire Grand Duchy of Karameikos. This module is particularly recommended for novice Dungon Masters and players who want to try their hand at overland adventuring. Recommended for four to six characters, levels 1-2 Handouts and pregenerated characters provided Suitable for use with the Dungeons & Dragons Game box and conventional D&D Game rules Features simple rules on outdoors travelling for exclusive players of the D&D Game box Adventure in the monster-filled caverns and dungeons beneath Fort Doom. TSR 9271

Enter the Dwarven Forge world of Mythras with the first part of this new city and miniatures based trilogy, The Hidden Valoria Campaign. Discover the world built to provide tabletop with unique miniature opportunities using Dwarven Forge licensed products. Take on the adventure as newly relocated members of the neighborhood of the Patina Court. Battle gangs, undead, and other threats as you try to make a living inside this ancient and mysterious city. This adventure is formatted to both 1E & 5E gaming rules. Also available in PDF.