
Slain in disgrace, reborn in fury, armed to the teeth: Flame returns! Flame is back - and is he mad! The sequel to "Into the Fire" from Dungeon 1. Pgs. 42-63

To Hell and Back Again is the perfect adventure for new players and veterans looking to experience Dungeons & Dragons in a new way! It's written as a solo adventure, where choices have gigantic consequences, but it also provides balanced rules to play with a group or a Dungeon Master as well! This 80 page adventure features: - A heart-pounding origins story that fits perfectly as either a prequel to Descent Into Avernus, a stand-alone adventure, or into your ongoing fantasy campaign. - Beloved characters like Lulu the hollyphant, Mad Maggie and her redcap gang, the archdevil Zariel, and many others brand new to this adventure. - Infernal War Machines, and exciting encounters with unique stat blocks. - Innovative Destiny and Traits mechanics that make your choices really matter. - A ton of possible outcomes that will fuel your character's many adventures to come! - Four gorgeous sample characters, with interactive character sheets designed to be new-player friendly so that you can jump right into the story if you'd like. - A community survey when you finish so that you can see how your outcomes and choices compared to other players!

Dracula, the Lord of Shadow and Darkness, has covered the land in shadow and dispatched armies of monsters and undead from his magical castle. His armies threaten to overrun major cities and plunge the world into a literal Dark Age. The last of the vampire-hunting clan that traditionally opposed him has disappeared, and still the armies advance. He must be stopped. If that's not enough motivation, it is well-known that his castle is full of magical items and great riches... but also great danger. If you've ever wanted D&D and Castlevania to meet, look no further. This adventure is exactly what you wanted. Every area of the castle poses different and unique challenges to keep the party engaged and on their toes. Written for the DM as a ready-to-run adventure, it is designed for four to six characters. The adventure starts at level 3 at the outer defenses of the castle, and ends with the party advancing to level 13 after defeating Dracula in an epic battle. The adventure includes documentation to help even a new DM succed, including suggestions for how to run each of the area "boss" monsters in combat. There are approximately 50 new enemies and over 3 dozen new magical items. It also comes with a list of suggested music for many areas of the castle, and a 25-page campaign log recounting an actual tabletop play-through of this adventure from the DM's perspective.
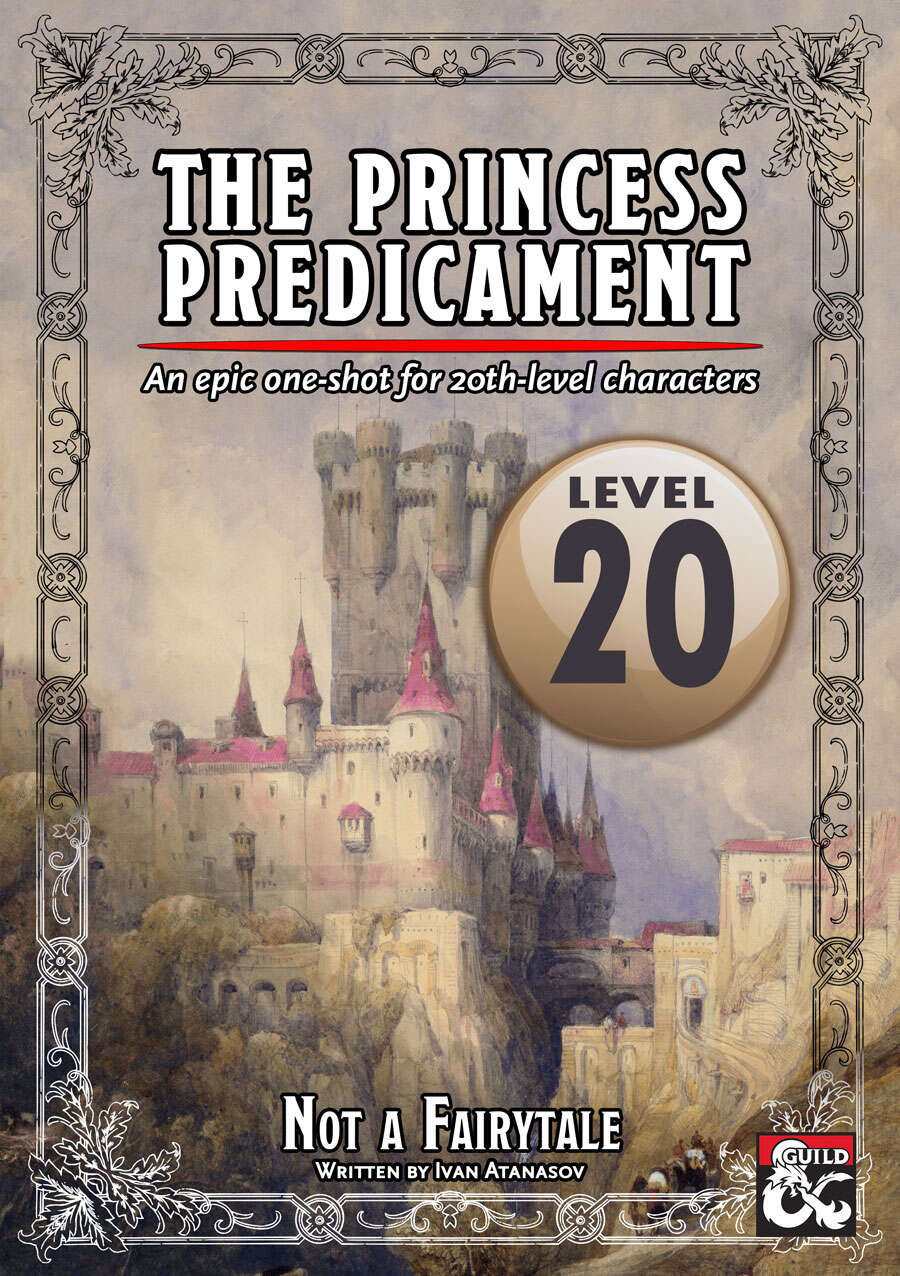
An exiled queen threatens to kidnap her own daughter. A lonely king laments his lost heroic days. A troubled princess struggles with her awakening powers. The realm's most renowned heroes must find a way to fix the dysfunctional royal family in order to save reality. The Princess Predicament is a one-shot adventure for 20th-level characters. It includes: - adorable pink rooms and horrible shadow monsters - a battle for the fate of the world and a battle for a little girl's future - a doll castle - legendary statblocks - 20th-level pregens
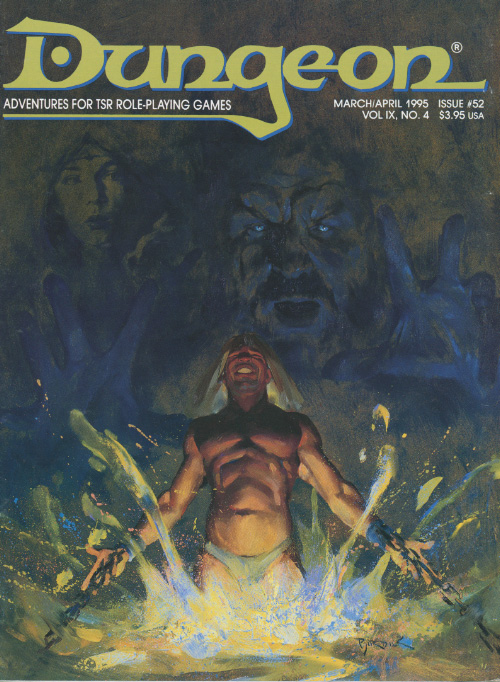
The heroes have spent the last several days in the quiet, secluded town of Relvaunt. Relvaunt's vineyards, wines, and scenic beauty are the subject of bards's songs, and many travelers journey long miles to visit them. Another site receives far fewer visitors--several miles east of town, partially obscured by woods and hills, stands the wondrous Castle Freitstein. As the heroes depart the town in search of adventure, an elderly couple approaches them. The woman suddenly clutches her chest and collapses in the street and the old man calls out to the heroes for help. Includes castle random encounter chart, a map of castle grounds and isometric castle level maps (four main levels, a tower level and a cellar level).
Undead minions turn on their master - When the necromancer's staff is broken, a party of undead become self aware. Play as undead and choose to side with your former master, or the paladin order assaulting his tower. Published by Limitless Adventures.

Stonefang Pass wends its way through the mountains of the Stonemarch, home to brutal tribes of orcs. The time has come to clear the pass and gain a foothold, so that it can be used for trade between the town of Winterhaven and the lands beyond the mountains. Brave adventurers are needed to rid the pass of monsters and liberate Stonefang Keep from the orcs. Who’s up for the challenge?
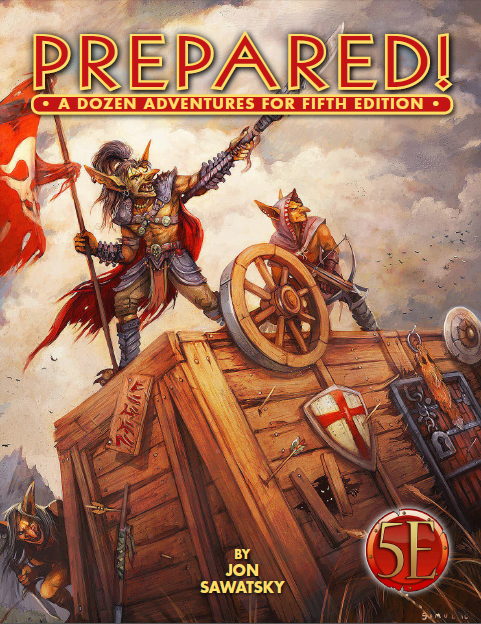
Suitable for four PCs. Adventure can be finished in one session. Several months back, Dip Halfling-Chewer and his cronies were ejected from a nearby goblin clan for indiscriminate wrestling. Their antics, although hilariously entertaining to themselves, were destructive and dangerous to the rest of the clan. The goblins spent several nights in the wilderness before discovering an abandoned wagon by the side of a trade road. There, the homeless cadre transformed the wagon into distinctly goblinoid fortress. They have had some success in assaulting and looting travelers on the road.

The Sea Witch is a short adventure for four 10th-level characters. The difficulty of the adventure can be adjusted by changing the level of main antagonist (Black Molly, the sea hag pirate) or by altering the number of her ogre servants. To tailor the encounter to groups of different levels, refer to table 4-1 in Chapter 4 of the DUNGEON MASTER’S GUIDE. The adventure is set off a lightly populated coastline known as Misty Bay, but adapts easily to any coastal region in existing campaigns. The sea hag known as Black Molly is a notorious pirate who has plagued the coastal cities for the better part of a decade. A successful Knowledge (local) check (DC 15) will reveal that Molly and her ogre crew have a filthy reputation as merciless killers who delight not only in plundering vessels for their riches, but also in destroying the ships themselves and sending all hands to the bottom of the sea. Now the villain and her followers have seized control of the Old Lighthouse of Misty Bay located off a lightly populated coastline. For generations the lighthouse beacon has protected the fishermen of this region, warning them of the dangerous rocks that lurk just below the level of the high tides. Recently, the hag has put out the beacon, darkening the lighthouse; misery and destruction are sure to follow as ships start to blunder into the rocks. Blackmail is apparently Black Molly’s aim in this venture: She conveyed a message to the nearest shore community, the fishing village of Poisson, demanding the princely sum of 50,000 gp. Until she receives this ransom, she intends to hold the lighthouse and its beacon hostage. The fate of the human keepers who tend the lighthouse is unknown to the seaside communities at this time, but they fear the worst. The Sea Witch is ostensibly a rescue mission: The PCs are pitted against the evil of Black Molly and the brawn of her savage ogre crew. It is the heroes’ task to retake the lighthouse and, if possible, free its captives from the clutches of their jailer. What neither the PCs nor the shore communities yet realize is that while she 1would be pleased to have the gold, Black Molly is in fact after bigger treasure. Molly has no intention of giving up the lighthouse — at least, not until she finds what her master sent her here for. Lying on the sea floor practically at the base of the rock on which the lighthouse sits is the wreck of the war galley Flying Cloud, which according to popular legend was captained by a cleric who wore around his neck an amulet of the planes. Black Molly wants this prize, but so far she hasn’t been able to find it. She’s scoured the wreck without finding any sign of the magic item. Now she’s trying to determine where to search next, for the item might well be somewhere near the wreck. If she can’t find it, she’ll start torturing her captives to find out if they have any useful knowledge about the amulet.
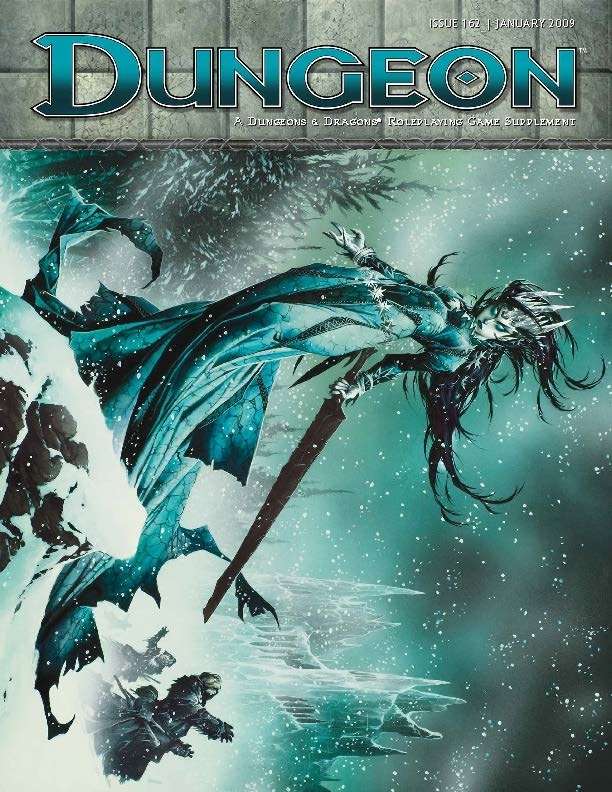
A cold winter wind blows from the Scourge Mountains, but its origins are not of this world. And with it come horrifying stories of a fey who walks the land. Cold, beautiful, and deadly, she turns every mortal she touches into a statue of ice, and she seems determined to blanket the entire north in a blanket of frost. It is the Winter of the Witch…and if the archfey Koliada is not stopped, it could be the world’s last. “Winter of the Witch” starts with the PCs receiving an urgent but somewhat cryptic message from the skeletal knight, Sir Keegan. They find the skeletal knight a helpless victim of an aggressive interrogation by an undead minion of Orcus and his demonic thugs, who are attempting to extract the location of something called the Sun’s Sliver from the stubborn knight. The PCs fight their way into deep ruins, defeat the demon lord’s toadies, and retrieve the Sun’s Sliver. Once the PCs have recovered the Sun's Sliver, they must confront the Winter Witch in Winter's Heart, the witch's icy sanctum in the Feywild. Only there can they confront the cold-hearted archfey and save a section of the world from a wintery doom.

Lord Blackmoor's son has been kidnapped, and is being held in the crypts beneath an ancient fortress. Can our heroes rescue the boy before he is sacrificed in a diabolical ceremony? The party responds to a plea for assistance from Lord Blackmoor, whose son Willet has been kidnapped. Blackmoor desperately needs someone to mount a rescue mission. The party journeys along the old East Trail, facing bandits and dangerous obstacles before delving beneath the ruins of Firestone Keep, encountering fearsome enemies and ancient magic. Finally, the party must fight for their lives as the truth about Willet’s abduction is revealed.

In response to a new but as-of-yet-unnamed threat, the factions have called upon adventurers to venture into the jungle in search of a location for a new base of operations. As such, you have been charged with scouting several locations to assess their viability. Surely something so trivial as a scouting mission couldn’t go wrong?
The Siege of Castle Rend is an adventure for the fifth edition of the world’s first roleplaying game, suitable for five 5th-level characters. It takes place over four parts, and each part can be completed in one or two sessions of play, depending on your group’s playstyle and how long you like to play in a single sitting. If all goes according to plan over the course of this adventure, the player characters will expose an usurping lord, fight orcs, acquire a stronghold, defend it from an invading army, win the admiration of a town filled with potential vassals, and make political connections within the Barony of Bedegar. Of course, no adventure goes according to plan. The PCs will invariably throw these well-laid schemes into chaos, and they’ll have to improvise. But if we know how things would have gone if the PCs never showed up (or are cowards), it makes it easier for us GMs to improvise when things go off the rails. Published by MCDM

Designed to remedy the lack of "end game" content for Old School-style gaming, The Dreams of Ruin is a setting-neutral adventure supplement aimed at characters of level 12 to 16. The material can be used with groups from level 8 to max level (and beyond, if the system supports ascent to divinity for high-level character). Capable of challenging even the most experienced players and most powerful characters, The Dreams of Ruin are an unforgettable addition to any high-level campaign. But beware! The dreams are mighty and can overwhelm even fearsome warlords and powerful wizard-kings. One touch of them, and your campaign world will never be the same.

It is time to put a stop to the marauders! For years the coastal towns have been burned and looted by the forces of evil. You and your fellow adventurers have been recruited to root out and destroy the source of these raids. But beware, hundreds of good men and women have been taken by the slavers and have never been seen or heard from again! First part of Scourge of the Slave Lords (A1–4) TSR 9039

If absolute power corrupts absolutely, Matron Maelora best beware; her plans for total domination of the Underworld are already close to satisfactory completion, while attacks on the Upperworld have become increasingly successful. The other power-hungry drow families of Holoth may despise her but they know a true leader when they see one, and House Gullion has been revealed as the family to lead them all on the path to glory. With the entire Underworld in chaos and the Spider Goddess regularly communing with her chosen Matron, far greater dreams than mere regional conquest are within the grasp of the drow, as Maelora prepares her grand dark elf army for victory! With other mystical allies standing firm with the Matron, other Underworld races beneath her heel or cowering behind fortified walls, and every drow ready to play their part when she gives the word, what could possibly stop her from achieving her final triumph and fulfilling her destiny? But even the greatest of plans has a flaw if you look hard enough, and a party of stout heart and strong resolve can make a difference. At first, such a party may well believe it is on a smaller adventure, perhaps to win a few baubles or some small acclaim by rescuing a few kidnapped villagers. Soon, however, those adventurers will realise that much more is at stake, and that they are the ones who will need to make moves against the evil Matron Maelora and her increasing dominance if both the entire Underworld and Upperworld are to be saved. But how will they go about it? Can they ensure their own success when an entire city is standing against them? Only they have the chance to halt the Rise of the Drow! Published by AAW Games.

The Blistering Forge Situated atop Mount Marazbor, an active volcano, it the dwarven lava-forge once known as Citadel Grungharaz. Once, this great armoury produced hordes of weaponry for dwarven regiments in far off lands, but now it has been taken over by rampaging fire giants. Are you capable of infiltrating the Gauntlet of Flame?

“Siege of Bordrin’s Watch” is the sequel to “Rescue at Rivenroar,” continuing the unfolding story of the Scales of War campaign. This adventure features exploration, roleplaying opportunities, and combats in dynamic environments. In this adventure, a new threat looms to the west: A vast horde of orcs and their despicable kin emerge from the barren lands bent on plunder and conquest. While the Elsir Vale and other lands mobilize their meager forces to respond to the danger, a call has gone out to those heroes of the Vale to join forces and help to push back this new evil before it’s too late. Pgs. 4-55

While exploring for hints of the Kobolds lair, an unexpected plea changes everything. This is the fourth and final adventure in a miniseries with the following adventures being: A Chance Encounter The Mystic Circle An Urgent Rescue In addition to the adventure, there are a few of maps of the adventure area as separate jpeg files. There is also a printer friendly version of the adventure.

A storm of unparalleled fury has been ravaging the peaks of the Earthspur Mountains for a tenday, and the Monastery of the Yellow Rose sits in its eye for now. Some monks have fled the monastery to the safety of Mulmaster and beseech you to convince their more obstinate brothers to retreat to the city before the eye of the storm shifts, and the monestary is in terrible danger. Can you brave the elements and convince the monks to escape?