
Madness in Freeport, the final part of the Freeport Trilogy, details the final confrontation between the PCs, the Brotherhood of the Yellow Sign, and Sea Lord Milton Drac. In Part One, the Drac invites the PCs to the Grand Lighthouse Ball. Careful investigation can reveal the secret purpose of the lighthouse. In Parts Two and Three, the PCs must recover a powerful artifact to thwart the Brotherhood's plans. They must pass through an infamous pirate's hidden caves, then search a sunken temple of the serpent god Yig. In Part Four, the heroes must enter the Grand Lighthouse, AKA Milton's Folly, in a race against time to stop the Brotherhood's world-shaking master plan from coming to fruition. (Bibliographic note: This adventure was originally written for v.3.0, and later updated to the v.3.5 rules. The revised versions of Death, Terror, and Madness in Freeport were reprinted in an omnibus edition, along with two shorter filler adventures, as The Freeport Edition: Five Year Anniversary Edition.)

"It was already a freezing morning when you set out for the legendary Castle of Madness – the mysterious castle that is said to emerge from blizzards once every seven winters. " In this short treasure hunt for one 2nd level player, you'll brave an frigid mountain, an icy cave, and a haunted castle to bring home a pile of loot. Written as a digital gamebook, you will keep track of your character's hit points, spells, and inventory on your character sheet, and keep track of enemies using your own scratch paper. The game will play GM and all enemies.

This new version of the classic adventure is completely updated to 3.5 edition. In The Lost Vault of Tsathzar Rho, a defenseless village asks the characters to slay an out-of-control ogre. Sounds easy enough. But the ogre, who used to be nothing more than a nuisance, has become crazed and psychotic. When the characters arrive at its cave, they find a subterranean portal has connected the cave to a much larger underground complex. Something in that complex has transformed the ogre and many other local creatures into fiendish marauders. In fact, it’s the lost vault of Tsathzar Rho, an ancient wizard and prophet of the Outer Gods, who are gathering their foul minions for battle.

Buried in fire, but hardly dead. Only the Keep survived the destruction of Koralgesh, but few adventurers will survive the terrors that now stalk the lost Keep's halls. Players hear rumours of the Keep at Koralgesh and then traverse it to acquire the treasure within. Pgs. 45-64
Under Mirt’s Folly is a 200+ location mega-dungeon from Dunromin University Press Mirt the Long Flame was a mighty wizard a hundred years ago. He fell in love, so the story goes, with a beautiful Goddess. Using all his powers he built his true-love a temple and a pleasure palace with the intention of making her his wife. On midsummer’s eve he bent all his powers to calling her down from Olympus, luring her to our world with the sweetest compliments and tempting gifts. After several hours of calling she appeared and he proposed to her, explaining the wonderful life together he had planned for them. She was not amused. The blasted remains of the temple and the derelict palace, all made from the finest white marble, are all that remains of Mirt’s crazy ambitions. The abandoned ruins are now known by all as Mirt’s Folly. Of course, the anger of a mighty Goddess leaves deep scars in the landscape. A hundred years later the hill, despite being in civilised lands, remains an abandoned place of strange magic. It is the haunt of ghosts and monsters and all who go there return changed, fearful and anxious, if they return at all. No one knows the nature of the Curse of Mirt’s Folly and few desire to find out. But Mirt was a great mage! His powerful magic items and his many books of spells and research have never been found, not to mention the vast wealth he had accumulated. All this amazing loot must still be up there, in the ruins of the palace, or perhaps below it, in the catacombs he is said to have dug there. But who is brave enough, or foolish enough, to go and look? WormThe best-selling Under Mirt’s Folly is just one product from Dunromin University Press. As with all our supplements, Under Mirt’s Folly represents astonishing value, offering excellent quality and quantity at rock-bottom prices: A challenging scenario for a party of 4-8 characters of levels 5-8; Written for OSRIC, OSR, 1st and 2nd Edition D&D and compatible with pretty much ANY FRPG you fancy; More than 100 pages with over 250 encounter locations over 8 levels; Four wandering monster tables; A rumour table to inform and confuse; New and inventive uses of all kinds of Monsters; Inspiring new magic items; Tricks, traps and treasure enough to make any player salivate. And all this for less than FOUR BUCKS for the pdf and not much more for the softback or hardback print copy on Print-on-Demand: that's amazing value for such a quality product! But the best quality playing aids at the best possible prices is what we do at DunrominDunromin University Press...

A storm of unparalleled fury has been ravaging the peaks of the Earthspur Mountains for a tenday, and the Monastery of the Yellow Rose sits in its eye for now. Some monks have fled the monastery to the safety of Mulmaster and beseech you to convince their more obstinate brothers to retreat to the city before the eye of the storm shifts, and the monastery is in terrible danger. Can you brave the elements and convince the monks to escape? An eight-hour adventure for 5th-10th level characters.

In the frontier stronghold of Purdey’s Rest, rumors of mysterious lost ruins lead a group of young adventurers into the wilderness — and the forgotten dungeons of a legendary dark mage. Facing off against evil bandits, foul undead, and ravenous monsters, the characters seek the rewards of wealth and fame. But before they can claim either, they must survive all the deadly threats of Hazakor’s lost halls. The Hidden Halls of Hazakor is a starter adventure for fifth edition fantasy roleplaying, written with a special focus on young, beginning Gamemasters of ages twelve and up. In a friendly and straightforward fashion, this adventure explores some of the ways a good fantasy RPG dungeon crawl can be put together. It offers advice on how to just let things happen during a game session, and how to not be overwhelmed by all the directions in which an adventure can go. It talks about how to bring nonplayer characters to life, how to have fun running monsters, and how to challenge the other players and their characters alike. The Hidden Halls of Hazakor is for any player who’s ready to sit in the GM’s chair for the first time — and who is ready to learn some of the tricks and techniques that help all GMs run great games. The PDF download also includes untagged maps for Purdey's Rest and the Hidden Halls of Hazakor dungeon, making it easy to run the adventure in a virtual tabletop setup. These maps are missing the number key and any features that should initially be known only to the GM (including traps and secret doors). The publisher's website offers free pregenerated characters for the adventure, but they are not included in the adventure. The website also has a free GM Guide as well. Insane Angel Studios

The outpost of Fort Dolor has experienced an unprecedented stretch of peace in recent times. Then nearly the entire garrison disappears on a supposed routine patrol, and the town— still on the frontier— is left nearly defenseless. Can the adventurers dig to the bottom of the mystery at Fort Dolor before they, too, disappear? Pgs. 82-103

How dangerous is a wounded dragon? A black dragon has seized Ravenglade Keep, though not without resistance! Badly wounded in the fight, the Warriors of Sehanine have fled their home and now turn to the outside world for help. There’s no time to lose! Can you arrive at Ravenglade Keep in time and discern allies from foes on the way? Warriors of Sehanine is a Dungeons & Dragons adventure module for a party of four to five characters from 3rd to 5th level. • Experience the Wood of Sharp Teeth on the way to Ravenglade Keep in a 12 to 16 hour adventure of 38 pages, written by Mithral Best Selling creators Florian Emmerich, JVC Parry and DMsGuild Adept Ashley Warren • Rock the (virtual) table with four breathtaking maps by Dean Spencer & Erin Harvey that come with player and DM versions • Bring the adventure to life with stunning artwork and player handouts by Raluca Marinescu,Henrik Rosenborg & Nathalie Lehnert • Show the NPCs with selected exclusive Trash Mob Minis

Tell the greatest story no one ever told... A tantalizing tale; in which a bold group of heroes braves the depths of Fort Morninglord, a long forgotten ruin. Therein, their mettle is tested by cruelty, suffering, and no small-measure of mischief. Will their courage -and their stomachs- hold steady? Will they banish the wicked presence that holds dominion here? Can they end the misery of Fort Morninglord's Mourning Lord? Let's find out! The players delve the tainted depths of Fort Morninglord to find the cause of its corruption. This leads them into terrifying peril and certain doom at the hands of the fort's denizens. Specters, Wraiths, Mummies, Revenants, Death Knights, The Mourning Lord himself and more await them inside! Along with plenty of mind-bending, gut wrenching obstacles that are sure to keep these heroes on their toes!

In this prelude to the full Princes of the Apocalypse campaign book, adventurers face off against the influence of Elemental Cultists in the hills and canyons of the Dessarin Valley. The four mini-adventures within are only tangentially related to each-other, and instead serve as starting points and hooks for the plots of the complete Princes of the Apocalypse Campaign. Players start in the well-described town of Red Larch; first investigating a local necromancer, then uncovering cult influences within the town, and finally heading off to infiltrate or do battle with two small elemental cultist strongholds. All parts of this adventure can serve as great places to seed hooks for other campaigns.
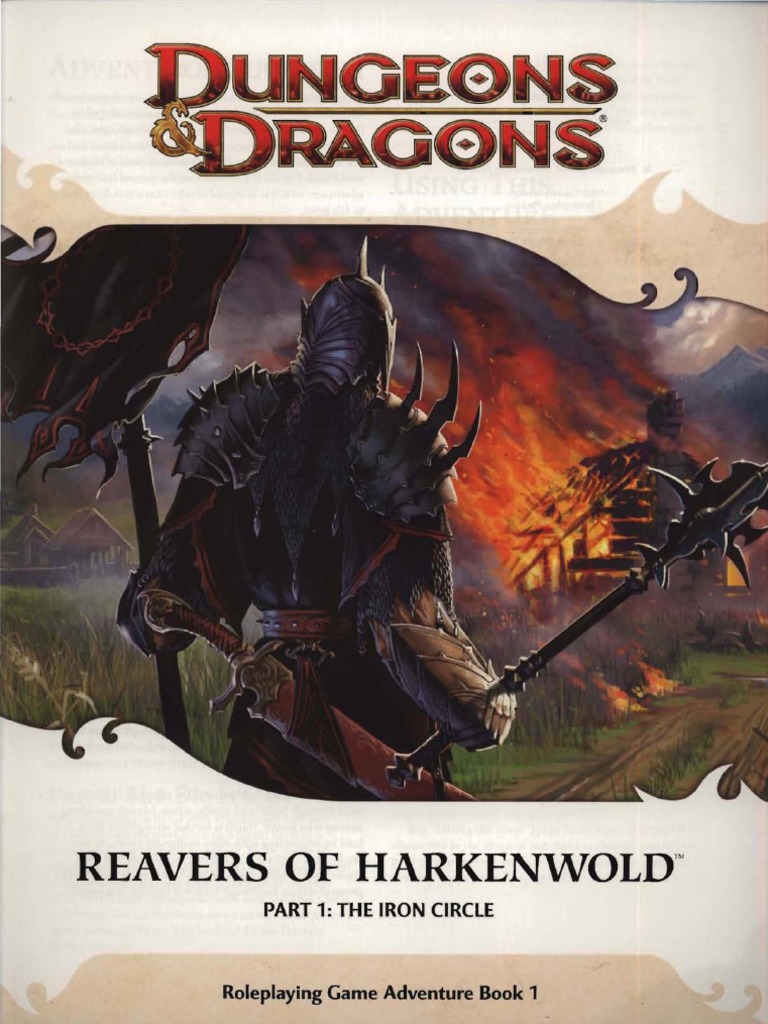
Reavers of Harkenwold pits the heroes against the Iron Circle, a company of cruel mercenaries that has seized control of the small land of Harkenwold. In this adventure, the heroes become daring rebels and lead the folk of Harkenwold against their oppressors.
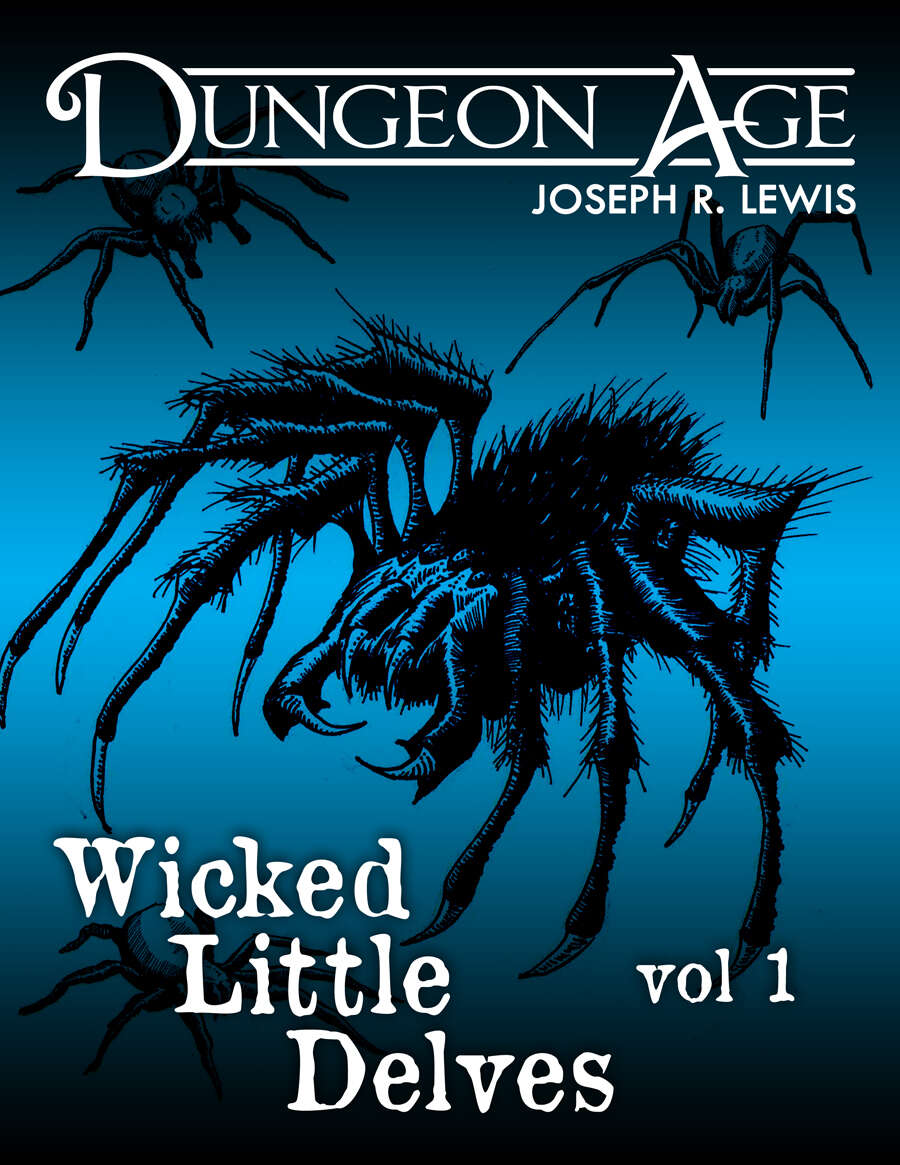
These are three one-shot dungeon delves. Each delve features nine rooms or locations full of challenges and interactivity. Each delve has only one type of monster, but they are complex, and there are lots of them! This volume of Wicked Little Delves includes three small dungeon adventures: - a new twist on the classic spiders-in-the-cellar, - a prison full of attack dogs, and - an abandoned cult lair full of pirate treasure and killer crabs. SYSTEM: Each monster has stats for Fifth Edition, Old School Essentials, and Into the Odd. These adventures are intended for characters at levels 1, 2, and 3. They are mainly focused on exploration and combat, with some minor social encounters. Estimated run time for each: 1 session, or 2-5 hours. Each adventure includes one complex original monster and a variety of unique treasures. ADVENTURE TYPE: Low Level / Combat / Exploration / One-Shot / Dungeon Delve

Displace Beast Maze is an adventure that has one long encounter that is a combination of a puzzle (maze) and combat encounter (Displacer beast). The Displacer beast tentacle's ability to attack through the maze walls, knowledge of the layout, and hit-and-run tactics make the labyrinth both a useful and possibly deadly lair for the creature. Pgs. 27-29
The 13th Circle is an epic battle with one of the archfiends of legend, the demon Baphomet. Designed for Tier 3-4 characters (levels 15-17) and set in the Dread Domain of Kachelior, the adventure requires the party to navigate the mysterious and maddening mazes that protect the demon's castle, and battle fiends of all kinds to reach his throne room. But will they discover the truth of his machinations? Word has spread through the small collection of towns within the Grey Shade that a cult of Baphomet has been preparing something for their master within his palace. The players will travel to Baphomet’s palace, and make their way through the massive forest maze that surrounds it. They will find the corpse of one of the previous heroes enshrined near the center which hints towards the true purpose of the cultists. They will then have to infiltrate the dread palace either stealthing or fighting their way through the defenses. They then must make it past Baphomet’s Lieutenant, Aphalos, the Godeater. The characters defeat Aphalos or persuade him to leave his master to his fate. Once they enter the chamber, Baphomet’s plan is made clear. He wishes to create a maze within time, thus trapping this world in the same cycle of pain and doom as before.

Designed for a party of five characters of at least 9th level, this adventure will challenge players seeking a powerful magic item of the GM’s choosing. A sphere of annihilation has been provided and is woven into several elements of the adventure, but any appropriately powerful item can be substituted if something else suits your campaign better. Though the adventure is designed to test every type of character class, a rogue who can deal with traps is essential, as is a wizard or sorcerer of at least 9th level. Larger groups will have an easier time; parties of four or fewer characters will be in for a very bad time unless you mitigate some of the tower’s more lethal traps and encounters. This adventure culminates in an encounter with devils and a sphere of annihilation. The sphere of annihilation is hidden deep within the tower-and-dungeon complex of Crane the Sorcerer. Originally set atop a high mountain in a secluded and wild part of the world, the tower and dungeon can be relocated to meet the situation in your campign. Crane, an introvert, stayed as far away from civilization as possible, as is detailed below. The tower above the dungeon doesn’t present many difficulties for a group of powerful characters or alert players. It might lull PCs into a false sense of security before they enter the areas where they’ll really be put to the test.

You and your cohorts have their first adventure under their belts and are now recognized heroes of the realm! You plan on building your reputations but one of your henchmen has promised his love that he would marry her. You and your group are happy to attend and quickly discover that danger lurks everywhere as bandits crash the celebration.
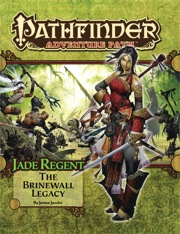
The town of Sandpoint, Varisia, Inner Sea Region has put out a bounty on the nearby tribe of Licktoad Goblins in retribution for the goblins raiding traders and travelers near the quiet town. The party takes up the bounty and ventures into the swamp; eventually finding the goblin village in ruins and it's inhabitants scared in it's burned huts. The party finds out; either through investigation of the ruins or the goblins themselves; that a group of skeletons with eastern arms and armor had ransacked the village and took a stash of fireworks that the goblins stole from an old shipwreck. The party then makes it to this cave and finds it empty except for a half dozen skeletons. Further in past the skeletons is their leader, a skeletal samurai who fights the party in an attempt to defend his treasure. The treasure turns out to be a letter that reveals that secrets of the Kaijitsu family; the same family their good friend Ameiko who runs the Rusty Dragon inn belongs to; that lies in wait in the abandoned town of Brinewall to the northern boarder of Varisia. Ameiko along with several other important NPCs with a caravan north. It's recommended that GMs create encounters for the caravan trip north as it's essentially 3 weeks of travel with nothing in it. It's also recommended that GMs completely ignore caravan rules; they're not flushed out and they're not fun to run. The party and the caravan reaches the abandoned town of Brinewall where their friend Ameiko becomes possessed and is thrown into a coma; where the other NPCs agree to take care of her while the party explores the town and castle. The castle is a three floor behemoth of a dungeon populated by Dire Corbies, Troglodytes, and various other monsters all under the leadership of Kikonu, an Yamabushi Tengu Oni. The goal of exploring Brinewall Castle is to find the two keys to the vault; one of which is on the Yamabushi Tengu while the other is on a Half-Fiend Decapus that lives in the basement of Brinewall. Once the PCs enter the vault they find the Amatatsu Seal; one of the seals that cement authority to one of the ruling houses in Minkai of Tian Xia; as well as several visions that show that Ameiko Kaijitsu is the rightful heir to be ruler of Minkai and that they'll need to travel north to do so. Such ends the first book of six.
The invisible enemy. Rats, cats, and double-drats. Six months ago, the residents of Luskwald heard rumors from passing merchants of a possible goblin incursion into the region. News from the nearest city confirmed speculations that goblin tribes were massing in the distant hills. Worried about the future of his small community, the Laird of Luskwald commissioned a stonemason and several carpenters to rebuild a damaged keep two miles north of the village. The repair crew worked for weeks restoring the keep's fallen walls, while waiting nervously for the first goblin to show its ugly head. For the first several days the restoration proceeded according to schedule, but in the weeks that followed several 'accidents' led many to believe the keep was cursed or haunted. In the past week three of Luskwald's villagers have died, each the victim of a grisly assassin whose identity remains a mystery. Several citizens have heard or seen peculiar things over the last several days, leading them to believe that Luskwald has been cursed, or worse, ravaged by angry spirits--perhaps sent by a greater evil that dwells within the ruined keep! Pgs. 34-52

While at times cliché there are few adventures better than an old fashioned trek into the ruins of a deserted castle. This adventure pits a new adventurer against the decades old remains of a hilltop castle that is “haunted”. The old keep was the site of a mighty battle years before that swayed the power in the area but now it is the crumbling remains of the once powerful Baron Sancrist. While the old fortress is supposed to be deserted the area farmers and villagers swear they have seen the dead walk the parapets in the moonlight. Well you wanted adventure….here it comes!