
Haedirn Lastlight is a respected elven wizard and sage. After the death of his lover Lyonthel, the elf has been overcome with grief and has locked himself away in his study- a small manor on the cliffs of Wailing Crag. Haedirn has not been seen for over a year now, and those that knew him are beginning to worry. Worse still, a band of ogres has been terrorizing the nearby town, slaughtering the town folk and haughtily boasting the elf wizard is dead. The PCs must put a stop to the ogres' attacks, make way to Wailing Crag to root out the rest of their gang, and lay Haedirn Lastlight's tortured remains to rest.
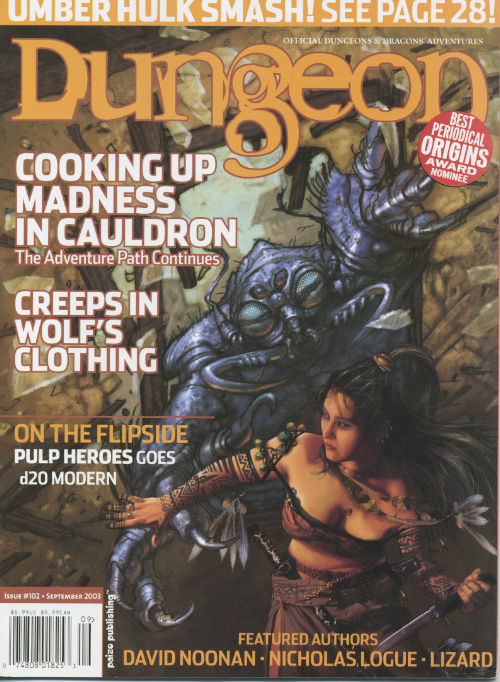
Part 3 of the Shackled City Adventure Path "Wherein a tribe of the Sea Mother's children suffer for sparing the life of a mad prisoner they probably should have eaten." Synopsis: The adventure begins with an Umber Hulk attack in the middle of the city. The fame gained by assisting during the attack allows them to gain the notice of a representative of Davked Splintershield. The group is asked to rescue Zenith Splintershield from a Kuo-Toan temple in the Underdark. But to find it, they have to visit Crazy Jared to locate an entrance to it. Upon journeying to Crazy Jared's, they fight Hookface's offspring. After more travelling, they are able to descend into the Underdark. Once they find the Kuo-Toan temple, they must fight through many hard challenges, only to realize that Zenith is not a prisoner, but instead is a prophet. Zenith does not go willingly, and so must be captured. Pgs. 28-61

While travelling the open road, the party encounters two good-hearted thieves with a potentially lucrative proposition: The despotic baroness Ytrix hoards a large treasure nearby, locked within her army’s fort. Wouldn’t it be exactly what she deserves to have that treasure stolen and given to the needy that she’s so long ignored and oppressed? That’s what the party’s new companions think anyway, and they certainly have no ulterior motive for the job... The treasure is protected by high walls, a legion of soldiers, a fanatical wizard, and plenty of other surprises to keep would-be thieves on their toes. The party will choose how to approach the fort, case the joint, make their plan, and execute their heist. When they're done—and if they're successful—they'll leave with a small fortune and even a few unique magic items. A 6-8 hour adventure for 3rd or 4th level characters.
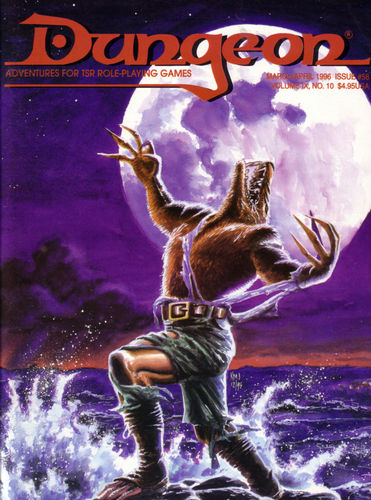
Come on up for a bite. Sometimes the adventure comes to you. The local inhabitants of a large town have been disappearing and its up to find what is causing and bring back the people that have disappeared. Pgs. 48-59
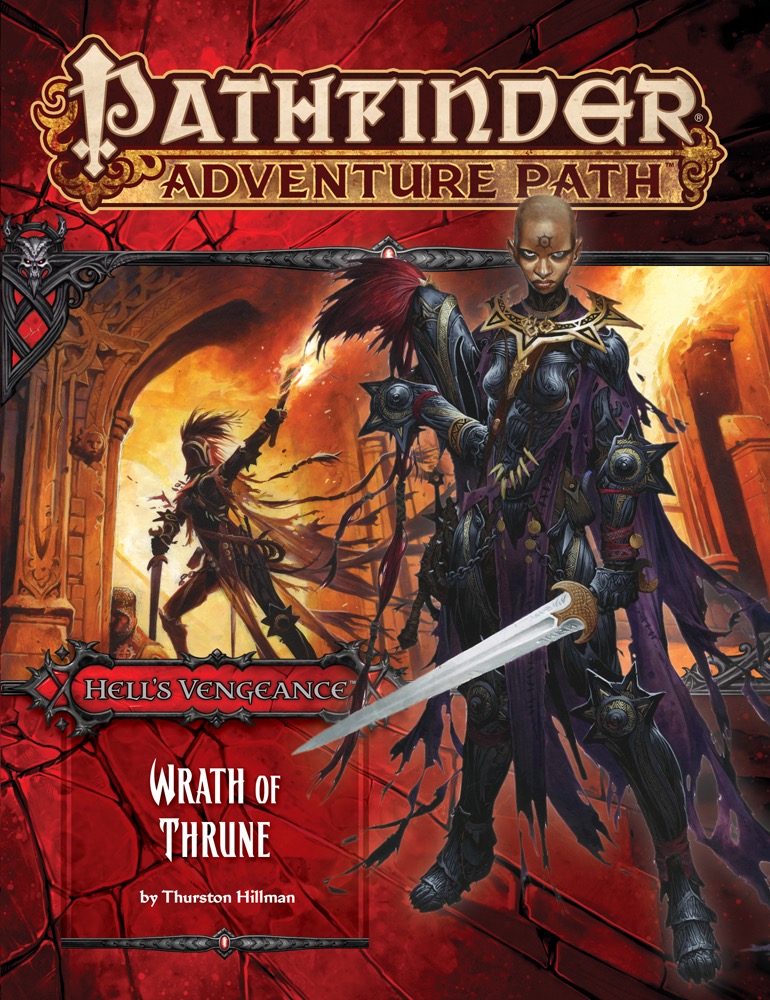
The knightly order known as the Glorious Reclamation continues its crusade against diabolic Cheliax, conquering the town of Kantaria, where the goddess Iomedae once ruled as a mortal. The villainous adventurers, now official agents of House Thrune, must retake the town, depriving the knights of a valuable holy site. Can the evil characters earn greater infamy and prestige by dealing the Glorious Reclamation a serious defeat in their most substantial territorial gain so far, or will the knights' rebellion continue unchecked across Cheliax?

When you read the posting for this job, you knew what you were getting yourself into. "Lady of means requires the assistance of a stalwart group of adventurers willing to undertake a mission of the utmost importance. Discretion is required." Words like that never mean that the woman in question is looking for someone to weed her Garden - unless, of course, it's full of man-eating plants. Those are the kinds of words you only post if you are really in a bind. If it's a matter of life and death. If you're desperate for help and willing to pay for it through the nose. It just so happens that you've made yourself quite a reputation lending just that kind of aid to people in just that kind of need. And the money hasn't hurt you any either. So when Lady Elena Zadrian tells you that her father - the near legendary alchemist Sir Timoth Zadrian - has gone missing, well, you're not all that surprised. Lady Elena looks upon you once again, brushing the long blonde hair from her bright blue, tears soaked eyes. "My father lives outside of a village only four days ride from here, a sleepy, little place called Cuthder," she says. "He comes to see me every 4 months. He's a forgetful, old man, but I could set my clock by his visits." She chokes back a sob. "It's been eight months since I last saw him. I fear something has gone horribly awry. Either brigands have robbed his tiny castle, or one of his experiments may have left him dead - or worse." The lady stares you straight in the eye, and you can almost taste her desperation." My father is a good man, wise and Noble, but if word of this disappearance were to get out, it would hurl my household into a shambles. I need you to travel to his castle and learn for me what has happened to him, quickly and quietly." "Please," she begs of you, her Ruby painted lower lip beginning to quiver. "I need your help. And I'm willing to pay - handsomely." She has your attention.

Jarl Aelfric Whitehand of Jotunspine, one of the Moonshae Isles, is not happy. His ward, Cordin Wainthrower, has disappeared. Clues imply that Cordin has headed for a ruined keep deep in the Giantspine Mountains. The characters are tasked by the jarl to track down Cordin and bring him back to safety – the Giantspines are filled with many dangers including the legendary Winter King, a fey of great power. Will the characters force Cordin to return to the keep or help him in his quest to restore a family heirloom? If they help him, they must face the chilling depths of the crypt of Icegate Keep. Icegate Keep is an adventure for the first tier, levels 1 to 4. The adventure includes full scaling recommendations for each level, as well as four pre-generated PCs at each of the four levels. The adventure is designed to be tough for the pre-gen PCs, who have little magic to brave the icy mountains. It is estimated to take 4-6 hours to play. The adventure has several new monsters including Ice Wights, Ice Zombies, Frostsnakes, and the infamous Winter King. New magic items are also included such as the greatsword Frostreaver, the ancient Snowbane dagger, the Horn of the Howling Wolf, and the Throne of the Winter King. There is a player handout outlining the legend of the Winter King and three battlemaps showing separate levels of the small keep.

This material was originally published as three separate adventures: G1 (STEADING OF THE HILL GIANT CHIEF), G2 (THE GLACIAL RIFT OF THE FROST GIANT JARL), and G3 (HALL OF THE FIRE GIANT KING). Contained herein are referee notes, background information, maps, and exploration keys for three complete adventures using the ADVANCED DUNGEONS & DRAGONS rules. This module can be used alone or as the first in a series of adventures that includes Dungeon Modules D1-2 (DESCENT INTO THE DEPTHS OF THE EARTH), D3 (VAULT OF THE DROW), and Q1 (QUEEN OF THE DEMONWEB PITS). TSR 9058

The Lotus Blossom Steppes have long been a land of disjointed tribes, squabbling with one another for central rulership. In the past, great rulers laid claim to the Steppes, bringing the tribes under a single banner for a great purpose—be it under the terrible dictatorship of a half-rakshasa khan or an enlightened visionary khan that leads the tribes beyond the borders of the Steppes. Yet there is great power tucked away behind the tribes’ individual banners. All it takes is an individual with enough ambition and enough power to change the destiny of the Lotus Blossom Steppes... and one ambitious man is on the hunt for the fragmented powers of the NewGod war. Can the PCs put an end to a rising warlord's ambitions, or will the Lotus Blossom Steppes fall again into tribal conflict?

Madness in Freeport, the final part of the Freeport Trilogy, details the final confrontation between the PCs, the Brotherhood of the Yellow Sign, and Sea Lord Milton Drac. In Part One, the Drac invites the PCs to the Grand Lighthouse Ball. Careful investigation can reveal the secret purpose of the lighthouse. In Parts Two and Three, the PCs must recover a powerful artifact to thwart the Brotherhood's plans. They must pass through an infamous pirate's hidden caves, then search a sunken temple of the serpent god Yig. In Part Four, the heroes must enter the Grand Lighthouse, AKA Milton's Folly, in a race against time to stop the Brotherhood's world-shaking master plan from coming to fruition. (Bibliographic note: This adventure was originally written for v.3.0, and later updated to the v.3.5 rules. The revised versions of Death, Terror, and Madness in Freeport were reprinted in an omnibus edition, along with two shorter filler adventures, as The Freeport Edition: Five Year Anniversary Edition.)

Evil Reigns in the Elven Ruins Where elves once built the shining city of Myth Drannor, demons and devils now prowl in search of prey. Ancient evil slumbers beneath mossy stones, waiting for those foolish enough to venture within its grasp. Bold swordsmen, stealthy rogues, and skillful wizards have all met their end within the walls of Myth Drannor. But the lure of the city's magical treasures still draws heroes and villains alike to tempt death—or worse. Drawn by the dream of limitless magical power, the Cult of the Dragon has carved out a secret stronghold in the heart of the ruins. Using the power of a corrupted pool of radiance, the Cultists stand poised to attain their goal of subjugating all of Faerûn... unless a group of brave heroes can stop them first.

Candlekeep is under siege, and it needs adventurers to help protect it! Heed the call to defend the legendary monastery and stand against the tide of evil. Confrontation at Candlekeep was used as a D&D Next playtest for D&D 5E. It was released to organized play Dungeon Masters in August 2013, and ran at Gen Con, PAX, and other major conventions. The adventure includes rules for running multiple tables, but can also be run for just one table. The attack on Candlekeep by forces of Asmodeus is tied to the events in Ed Greenwood's novel about the Sundering, "The Herald."
The Giants are on the March! The Rise of the Runelords Adventure Path continues! Driven to battle by a maniacal warlord, the once-peaceful stone giants of the Storval Plateau threaten to destroy the sleepy town of Sandpoint. Will fast action and quick wits be enough to save the defenseless community? Yet, even if the giants' initial raid can be repelled, only by striking at the heart of their titanic war machine—the black-towered fortress of Jorgenfist—can the menace be quelled. But who knows what mysterious bloodlust spurs the usually peaceful giants to war, or what mysteries lie beneath their ancient fortress?

Something evil is devouring the souls of the living in Chult, but before the characters take on the horrors in Tomb of Annihilation, they must first uncover the death curse’s origin by braving a lich’s tower in the Cloakwood. This introductory adventure is designed for a party of four to six 1st-level characters, who should advance to 2nd level by the adventurer’s conclusion. It is a prelude to Tomb of Annihilation that should take about 2 to 3 hours. This product includes Fantasy Grounds files for the adventure. What Inspired Cellar of Death? The introduction of Tomb of Annihilation states Syndra Silvane learned about the Soulmonger from the Harpers, who “received their intelligence from a lich.” This adventure is the story of how the Harpers gathered that information. Cellar of Death has a second purpose: to give characters a greater stake in the outcome of Tomb of Annihilation by creating an NPC they love. The death curse kills this NPC, giving the characters a personal reason to go to Chult.

A strangely delivered advertisement has led you to a sage named Demetrios. He needs a rare component to complete a desperately needed potion. The journey to retrieve it will take you through a large, unexplored swamp to a ruined keep, the former headquarters of a vile cult that once claimed the lives of many innocent youths. You cautiously accept the mission... To solve the mysteries of "Baltron's Beacon," the characters must excel in handling wilderness, building ruins, traps, puzzles, and new monsters. This adventure, originally designed for tournament use, is now available for your own campaign. TSR 9152
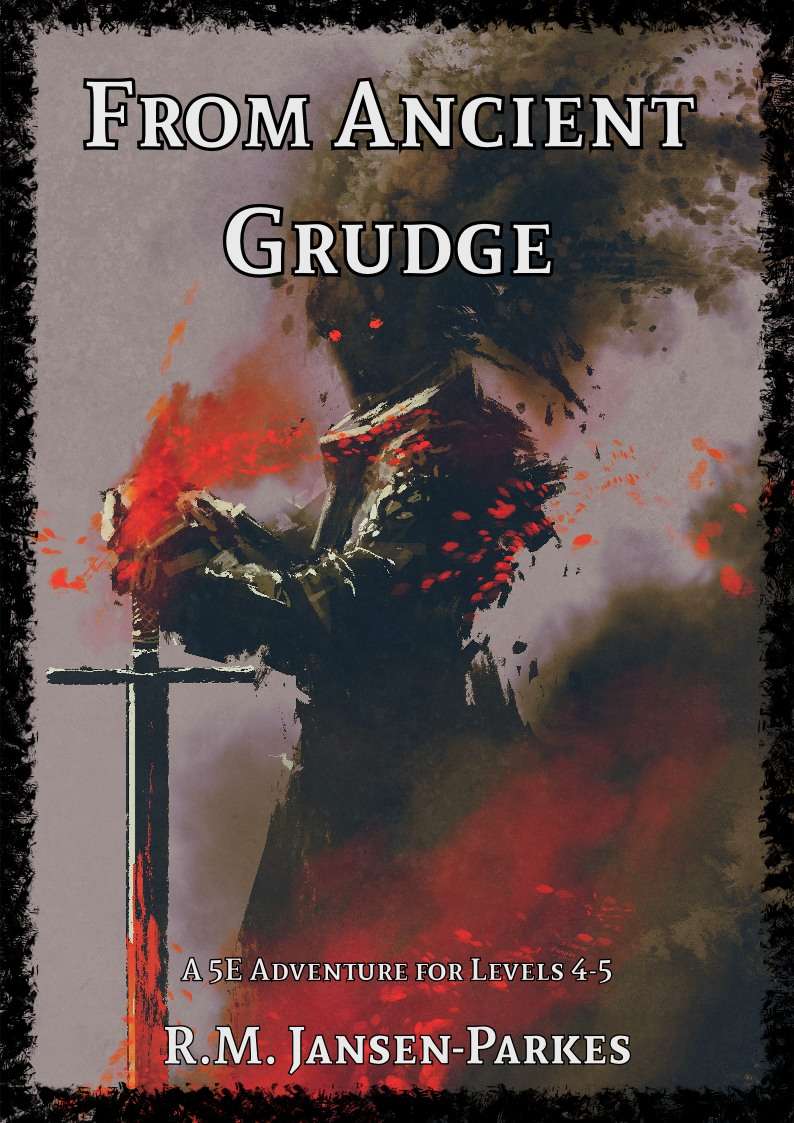
A Star-Crossed Tragedy. When the party is hired to investigate a haunted castle, they’re drawn into a tale of hatred, love and betrayal stretching back more then 300 years. Will they be able to free the ghosts haunting Arevon Castle, or will they find themselves just another footnote in its long history of misery?
Standing 100 feet off the shores of the vast Sapphire Lake are the ruins of a small fortress standing atop a rocky islet. The fortress belonged to a lich posing as a warlord from the Kingdom of Old Hagada, but fell rapidly into ruin when the Shrouded Hero was able to pierce the lich with the Blade of Five Seals. The lich cursed the assassin and his incompetent guards with his final breath. He cursed them to the same fate, their bodies petrifying and all of their souls being sealed in the Sheath of Five Seals. Afterwards, the warlord’s armies were defeated on the battlefield and the fortress became abandoned. In this short 3rd level dungeon crawl, the party investigate a ruined island fortress to solve a mysterious puzzle box. You can run this as a one-shot or plop this into your campaign world with minimal effort. The adventure is designed for Shadowdark RPG and references the core rulebook. If you're an experienced game master, you could convert the adventure to whatever system you prefer.

Aumvor is aware of the intruders and sends a warning with a powerful fire ball. Satisfied that the party has lost interest, Aumvor returns to his vault where he can safely leave his remains and travel the planes in search of greater power. Perhaps the PCs that survive the blast may have the upper hand. Growing closer to the final chapter, the party of adventurers will find that the only way out is into the tank for a swim. Aumvor the Undying has hidden here in this dungeon for centuries, waiting for his chance to resurface as the emperor of Netheril. The time has passed slowly and Aumvor’s powers are waning. He has hidden phylacteries well, but what use will they be if he has no vessel I which to dwell. Aumvor makes a final effort to kill the party before returning to his vault to wait in ambush for them. In “𝐏𝐚𝐫𝐭 𝟓 The Lower Tower”, you will find the secret at the bottom of the tower, 16 exciting and deadly encounters, and a lot of zombies floating in cadaver soup. Ever fight zombies while swimming and dodging specters? Here is your opportunity. Also coming soon, Roll 20 Map Pack for The Tower of Bondage.

Giants have been raiding civilized lands in bands, with giants of different sorts in these marauding group. Death and destruction have been laid heavily upon every place these monster have visited. This has caused great anger in high places, for life and property loss means failure of the vows of noble rulers to protect the life and goods of each and every subject--and possible lean times for the rulers as well as the ruled. Therefore, a party of the bravest and most powerful adventurers has been assembled and given the charge to punish the miscreant giants. Remake of the original series of AD&D adventure.
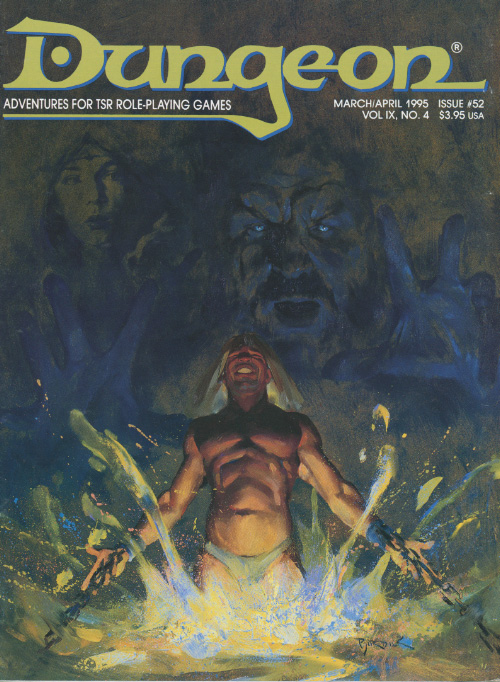
The heroes have spent the last several days in the quiet, secluded town of Relvaunt. Relvaunt's vineyards, wines, and scenic beauty are the subject of bards's songs, and many travelers journey long miles to visit them. Another site receives far fewer visitors--several miles east of town, partially obscured by woods and hills, stands the wondrous Castle Freitstein. As the heroes depart the town in search of adventure, an elderly couple approaches them. The woman suddenly clutches her chest and collapses in the street and the old man calls out to the heroes for help. Includes castle random encounter chart, a map of castle grounds and isometric castle level maps (four main levels, a tower level and a cellar level).